
Blog, Dressmaking, Guides
Dressmaking Patterns Online: A Practical Guide for UK Makers
You've opened a row of tabs for dressmaking patterns online, found a dress you like, then discovered that one file needs assembling at home, another is posted as tissue, and the size charts don't agree. Before you spend money or cut fabric, it helps to treat the pattern as the start of a process, not a product to add to your basket.
The decisions work best in order: choose a format you can use, find a source whose instructions and support suit your skill level, print and assemble any PDF accurately, then select a size by measurement rather than habit. After that, a toile and a few considered alterations can help you get a better fit. Choosing with future repairs in mind can also make a handmade garment more useful over time.
What You Will Get From This Guide
A pattern listing can look clear until you try to print it, match your measurements to its size chart, or work out whether the seam allowance is included. The practical answer isn't to compare every option in a marketplace. It's to make a series of decisions that reduce uncertainty before you cut.
Start with format. A tiled PDF may be convenient to buy and download, but it takes paper, printer access and assembly time. A posted pattern avoids the home-printing stage, though it needs physical storage and may take longer to reach you. Neither is automatically better; what works depends on your sewing space, printer, budget and patience for taping sheets together.
Then assess the pattern itself. Check that the listing tells you what sizes are included, what fabric types are suitable, whether seam allowance is included, and what instructions come with the file or envelope. If those details are missing, you may have to do more guesswork at the cutting table.
Sizing is the decision that deserves the most care. Your usual high-street size isn't a reliable shortcut to a pattern size. Measure your body, compare the pattern's chart and finished-garment measurements, and decide whether you need to blend sizes or adjust the length before cutting.
Finally, think past the first make. A pattern that's easy to alter, and a garment you can mend, is more useful than a project chosen only for its first impression. That's the workflow: choose, check, print or prepare, fit, modify and care for what you make.
The Main Pattern Formats Explained
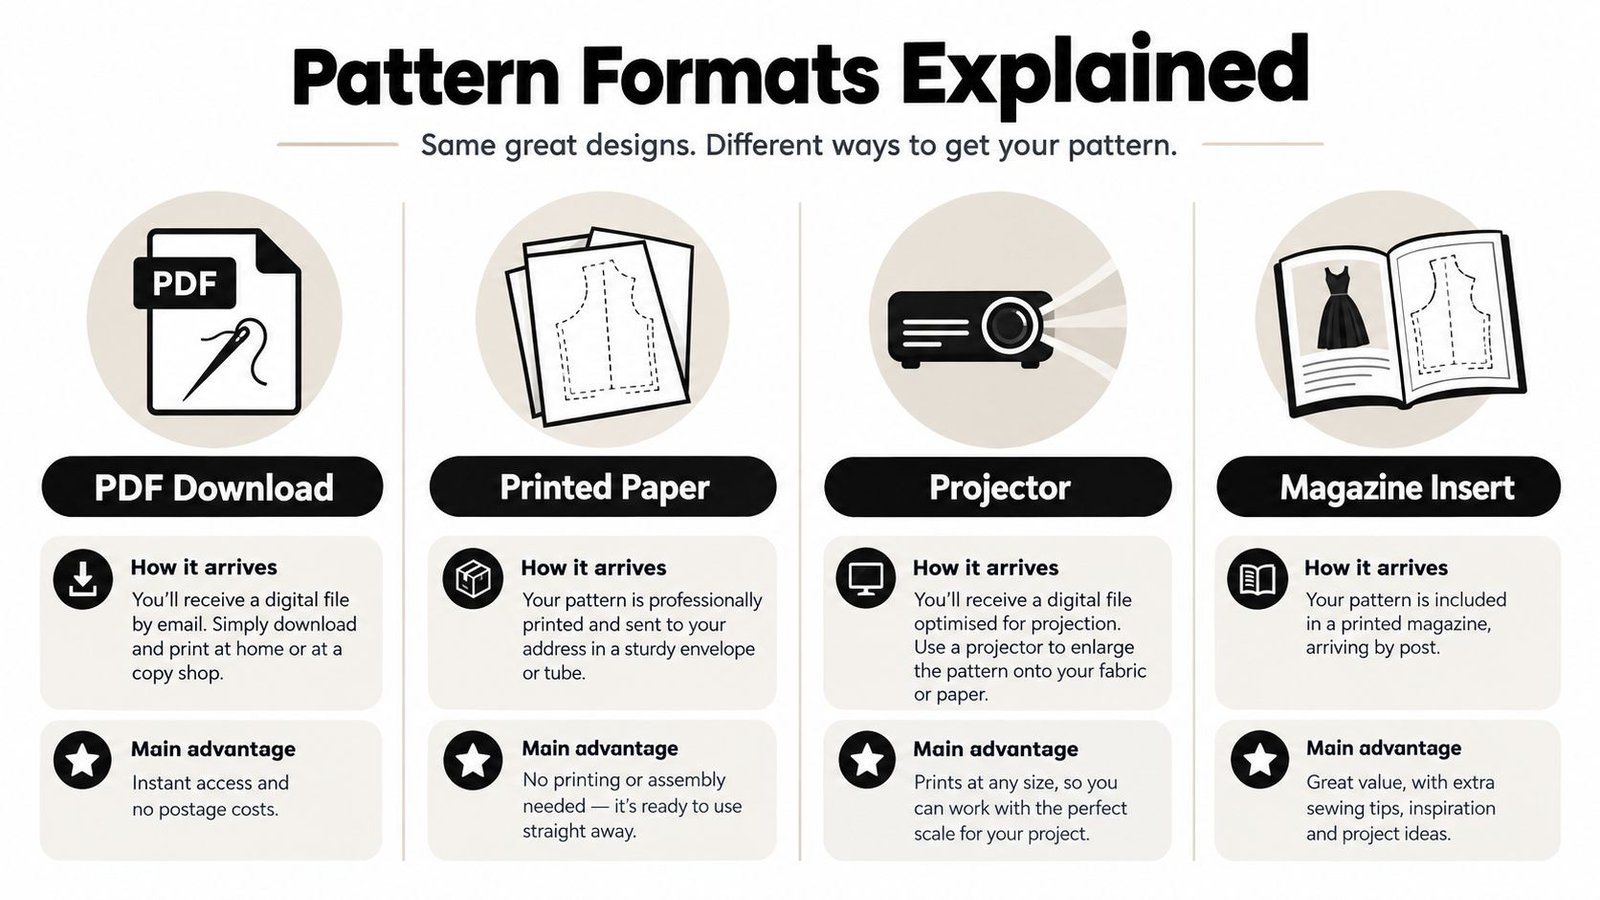
Before you buy, identify what will arrive and what you'll need to do with it. Online listings may use terms such as nested for several size lines printed together, trim for cutting away a sheet edge, or overlap for lining up pages using shared marks. Also check whether seam allowance is included. If it isn't, you'll need to add it while cutting or tracing.
| Format | What you get | Print or post | Best for |
|---|---|---|---|
| PDF download | A digital file, often tiled for home printing or supplied in large format. It may be layered by size. | Print tiled pages at home, use a copy shop for a large sheet, or use a compatible projector file. | Makers who want quick access and can manage printing or have access to large-format printing. |
| Tissue paper | Pre-printed pattern pieces, usually nested across a size range. | Posted to you. | Sewists who'd rather trace or work from paper than assemble a PDF. |
| Magazine insert | A pull-out sheet shared with other designs, sometimes with crowded or overlapping lines. | Posted with the magazine. | Makers who enjoy browsing issues and are comfortable tracing pattern lines. |
| Book or pattern bundle | One or more designs with instructions, sometimes packaged with a book or other resources. | Usually posted, though digital editions may be available. | Sewists who want several patterns or guidance in one place. |
PDFs save delivery time and physical storage, but tiled files require careful printing and assembly. A0 or plotter-ready files avoid a sheet-by-sheet puzzle, while layered PDFs can make it easier to print only the size lines you need. Projection-friendly files suit makers with the right setup, but they're not a shortcut if you haven't checked the file's compatibility and scaling instructions.
Paper formats skip printer setup, but you'll need room to store them. Magazine inserts can be economical, yet tracing a pattern from a busy sheet takes concentration. If you're developing a garment idea visually before choosing a pattern, a resource on drawing clothes for art school applications can help you think through silhouette and design details.
Free Patterns Versus Paid Patterns
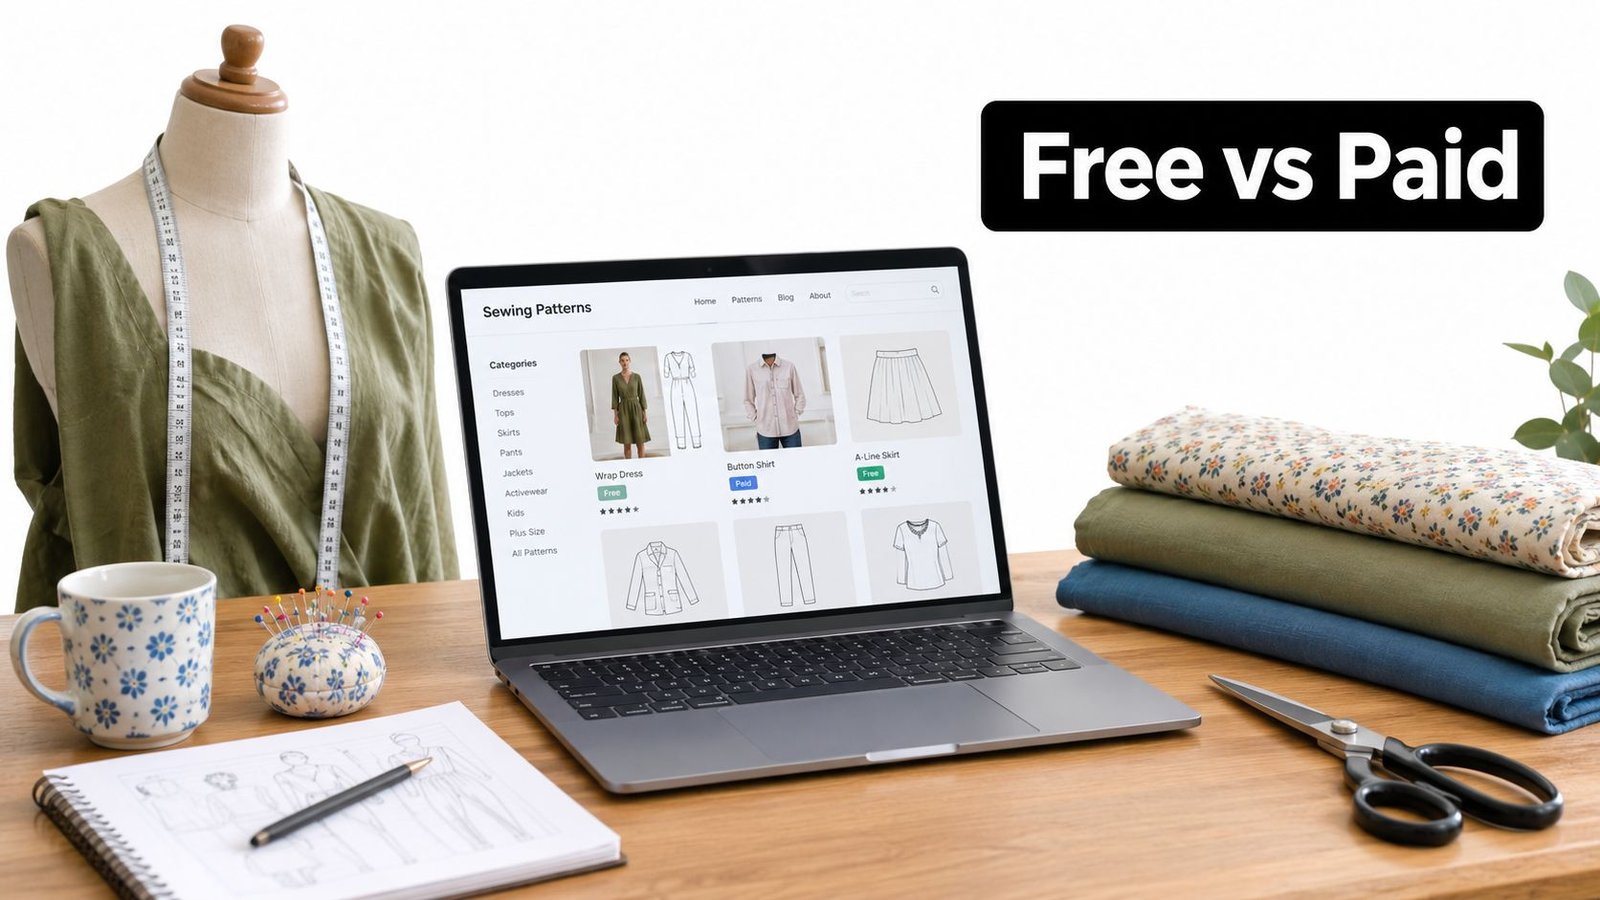
Free patterns are useful, especially when you're learning basic construction or want to test an unfamiliar technique without committing to a purchase. You may find them as brand giveaways, community resources or magazine inserts. Before printing, check whether the file includes the full size range, clear instructions and a test square. “Free” describes the price, not necessarily the amount of support or the ease of the making process.
Paid patterns can earn their place when the extra information helps you sew with confidence. Depending on the designer and release, a purchase may include multiple sizes, a layered PDF, detailed construction photos, tester feedback or customer support. Independent designers, major pattern publishers and curated marketplaces all offer different approaches, so judge the individual pattern listing rather than assuming that one category always delivers better results.
A historical study of dressmakers shows why online discovery shouldn't be treated as a replacement for older sources. Respondents used books (77%), reissued patterns (64%), original vintage patterns (59%) and modern patterns with a vintage appearance (57%). For online sourcing, the study recorded vintage-pattern websites (43%), Etsy (41%) and eBay (34%) (study of historical dressmakers). These channels sit alongside one another: a maker might find inspiration in a book, track down a vintage design online, or choose a new pattern from an independent designer.
Before you buy: Check the instructions, size range, fabric guidance and licensing terms, not just the finished garment photographs.
Most home sewing patterns are intended for personal use. Don't assume that buying a pattern grants permission to produce garments commercially. If you want to sell finished pieces, read the designer's terms or contact them before making anything for sale. A balanced pattern library can include dependable freebies for straightforward practice and paid designs when fit guidance, clear instructions or a specific design make the cost worthwhile.
How to Print and Assemble PDF Patterns Correctly
A PDF pattern is a set of measurements and lines, not a picture to print at whatever size looks right. A small scaling error can affect the shape and dimensions of the pieces, so begin with the test square rather than printing the entire file.
For home printing, use A4 paper, which measures 210 mm by 297 mm, and set the print dialogue to 100% or “Actual Size.” Disable options such as “Fit to Page” and “Shrink to Fit,” which can change the intended dimensions (home printing instructions for PDF patterns).
Print, measure, then assemble
- Find the test-square page. Print that page first, with the pattern's scaling instructions in front of you.
- Measure the square with a ruler. If the file specifies a 10 cm square, check that it measures exactly 10 cm by 10 cm. Correct your settings if it doesn't.
- Print the remaining pages. Check the page numbers and registration marks before you start trimming.
- Follow the file's assembly method. Some patterns ask you to trim a margin; others use an overlap. Align the marks carefully, tape the sheets flat, and work in a clear, well-lit space.
- Keep the pieces organised. Once assembled, label the pieces and store them together with the instructions and size information.
A layered file can let you hide sizes you don't need, which makes overlapping lines easier to read. If you prefer not to assemble tiled pages, check whether the pattern comes with an A0 file that a copy shop can print. For occasional work, that can be simpler than purchasing specialist equipment. If you need to separate or organise PDF pages before printing, you can browse PDFKing's free PDF tools, then still check the pattern's test square before printing the full file.
The video below provides a visual companion to the print-and-assembly process.
Choosing the Right Size Before You Cut
Your usual ready-to-wear size is a poor guide to a sewing pattern. Pattern companies draft from their own blocks, and the same label can mean different measurements across brands. A national UK anthropometric survey scanned more than 11,000 adults and recorded approximately 130 automated body measurements per person. UCL reports that more than 60% of UK shoppers had difficulty finding clothes that fit, and that the average female waist measurement had increased by 16.5 cm compared with the earlier national survey (UCL on UK body measurements and fit).
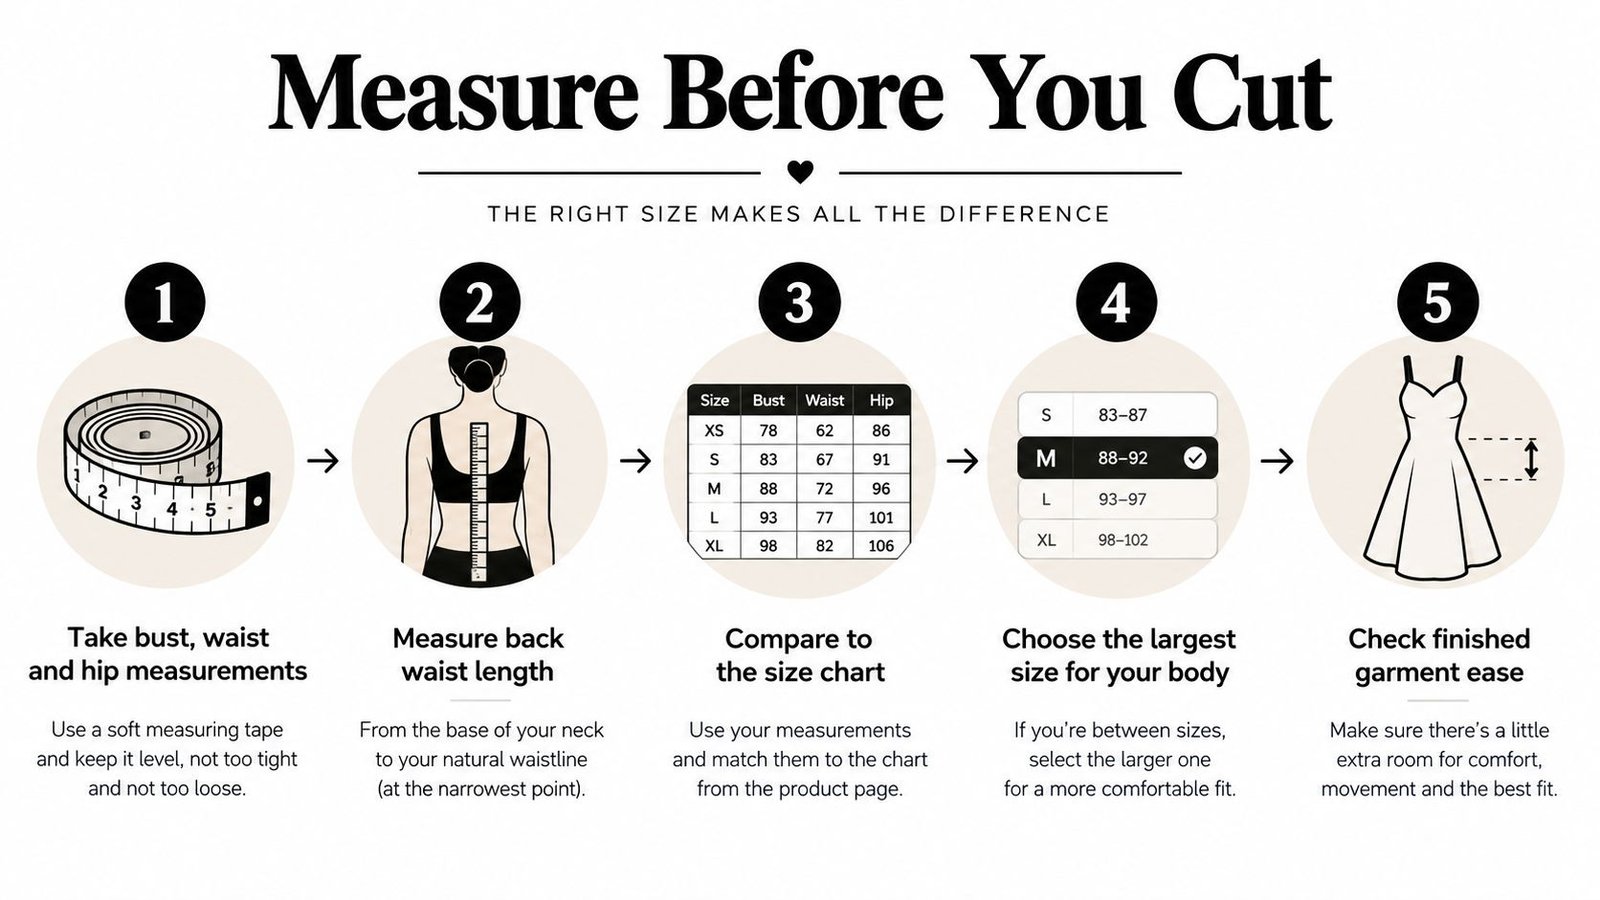
Measure your bust, waist, hips, back waist length, shoulder and height. Compare your measurements with the pattern's body chart, then look at the finished-garment measurements to understand how much room the design allows. Positive ease means the garment is larger than the body; negative ease means it's smaller and relies on stretch or close fit. A woven shirt usually needs room to move, while a close-fitting knit top may rely on the fabric's stretch.
Blend sizes where your measurements differ
Suppose your bust matches size 12, while your waist and hips match size 14. Follow the size-12 line through the upper bodice, then gradually curve towards the size-14 line at the waist and hip. This technique, often called grading between sizes, avoids choosing one size for the whole garment when your measurements don't fall in the same band (guide to grading between pattern sizes).
For a close-fitting bodice, the bust may control your starting size; for another design, a different measurement may matter more. Check the pattern's intended ease and the fabric's stretch before deciding. A guide to custom shirts from a local can also provide useful context on the considerations involved in custom shirt fit.
Before cutting your chosen fabric, use a toile to check the shape and movement. Confirm that the garment sits comfortably at the bust, waist and hip, and that the length works for you. Adjust the paper pattern based on what you see, rather than hoping the fabric will correct a sizing mismatch.
Simple Modifications That Transform a Pattern
A well-chosen pattern doesn't have to produce the same garment every time. Small adjustments can make a design work better for your body or give it a different feel without starting from scratch. Keep an unaltered copy of the original pattern, and make changes on a traced version so you can return to the starting point.
Lengthen or shorten at the marked line. Cut across the adjustment line, then spread the pieces to add length or overlap them to remove it. Keep the edges parallel as you move the sections, then redraw the side seams so the line flows smoothly. If the pattern has no adjustment line, use a suitable horizontal line on the piece and check that the change won't distort a dart or seam.
Blend between sizes. As with the bust-to-hip example above, trace one size at the upper body and move gradually towards another size at the waist or hip. Avoid a sharp corner between size lines; a smooth transition is easier to sew and more comfortable to wear.
Try design changes on a traced copy
For a neckline change, compare the pieces carefully before borrowing a shape from another pattern. The neckline and shoulder need to meet correctly, and a different neck shape may need a new facing or binding. If the patterns come from the same drafting family, their proportions may be easier to reconcile, but make a toile before using your final fabric.
Darts can also be adjusted. To change the dart position, mark the new point and draw the new dart legs before closing the old dart on paper. For a fuller or smaller bust, a basic alteration may involve changing the dart or adding or removing room through the bodice. Because that affects fit, test it in a toile rather than relying on the paper shape alone.
The slash-and-spread method is a useful next step for adding fullness. Draw the lines where you want more room, cut along them while leaving a small paper hinge, then spread the sections by the amount needed and secure them with paper. The amount and placement change the garment's shape, so keep your first experiment modest and make a test version. The size-grading example above is a good reminder that pattern lines can be connected gradually, rather than forcing every part into a single size.
Thinking Beyond the First Wear
A pattern is more useful when it helps you make a garment that can be altered, repaired and worn again. Before choosing, look beyond the cover image. Consider whether the design has room for future let-outs, whether the length can be adjusted, and whether the fabric and fastenings will be practical to mend.
Patterns with generous seam allowances can give you more room to alter a garment later, if the design and construction allow it. A separate button or replaceable fastening may be easier to repair than a complicated closure. A forgiving silhouette can also be simpler to take in or let out than a close-fitting style. None of these details guarantees a garment will last, but they're useful things to weigh before you cut.
UK research found that 32% of adults had discarded brand-new clothes during the previous year; 44% lacked confidence stitching a hem and 26% lacked confidence sewing on a button. The same report cited WRAP evidence that repairing an item keeps it in use for at least another year on average (UK clothing disposal, repair confidence and repair evidence). That makes repair a practical part of choosing and making clothes, not an afterthought.
Keep the pattern and materials ready for later
A simple A-line skirt pattern can be adapted over time: adjust the waistband for a changing fit, alter the length, or use the same basic shape for a child's skirt. If you keep the original pattern, you can make those changes without having to reconstruct the design from memory.
Save useful leftovers from the project, especially fabric that could work for a patch or a replacement pocket. Label pattern pieces with the design, size and any changes you've made. Store the master pattern separately from a working copy, and keep your notes with it. A toile can also help you remember what needed changing, particularly if you return to the pattern after a long break.
Making a garment at home doesn't automatically make it sustainable. A poor fit can leave a handmade piece unworn, and fabric still represents time and material. Checking the fit, planning alterations and keeping basic mending skills in reach give your pattern a longer useful life.
Your Quick-Start Checklist and Common Questions
For your next project, work through this list before cutting into your fabric:
- Choose the format: Decide whether home printing, copy-shop printing or posted paper suits your workspace.
- Check the listing: Confirm sizes, instructions, fabric guidance and seam-allowance status.
- Measure your body: Use the pattern's chart rather than your usual clothing label.
- Verify the test square: Check the scale before printing the full PDF.
- Pick and blend sizes: Mark any transitions between bust, waist and hip lines.
- Make a toile: Test the fit and movement in a fabric you don't mind using for practice.
- Alter, then record: Note adjustments on a working copy and preserve the original.
- Plan for care: Keep leftover fabric and basic repair supplies with the project.
Common questions
Should I invest in a projector setup? Only if you're comfortable checking file compatibility and scaling, and you'll use projection often enough to justify the equipment and workspace. It isn't necessary for sewing successfully from PDFs.
Is A0 printing better than printing at home? It avoids joining tiled pages, but you'll need access to a copy shop and a file supplied in a suitable format. Home printing costs less to outsource, though it takes more assembly.
How should I store a printed pattern? Fold it carefully or roll it, then keep it with its instructions and notes. Store a traced working copy separately if you've made alterations.
What if the finished garment stops fitting? Check the seams and construction first, then decide whether the garment can be let out, taken in or altered in length. Refer to your pattern notes and use a toile or scrap fabric to test a change before cutting into the garment itself.
More Sewing offers dressmaking patterns alongside fabrics, haberdashery and ready-to-sew kits, so you can plan a project and find the practical supplies to make it. Visit More Sewing to explore patterns and materials for your next garment.
