
You're halfway through a repair project when the problem becomes clear. Your favourite jeans need a new zip, a dress is missing a button, and a quick bag project calls for bias binding that will follow a curve without puckering. The fabric is ready, but the success of the project now depends on small details: the right width, material, fastening type, thread, and quantity.
That's where buying haberdashery trimmings online can make sewing more practical. Digital shops let you compare colours, measurements, materials, and project uses without travelling between fabric counters. They also make it easier to find specialist components for dressmaking, tailoring, repairs, bags, quilts, and decorative work.
The difficulty is choosing accurately. A photograph can't tell you whether an elastic will recover after stretching, whether a zip has the correct end type, or whether a ribbon is too bulky for a neckline. This guide shows how to identify useful trimmings, check compatibility, measure for real projects, apply them neatly, and buy with repair and waste reduction in mind. The approach suits beginners, fashion students, hobby sewists, and small UK makers who want fewer unsuitable purchases and more reliable results.
Introduction – Why Haberdashery Trimmings Online Matter
A trim often looks like a finishing touch, but it can determine whether a garment remains wearable. A replacement zip restores the function of jeans, matching buttons preserve the character of a handmade coat, and suitable binding turns a raw neckline into a smooth, durable edge. Decorative ribbons, ric rac, lace, beads, hooks, and tapes can also change a plain item without requiring a complete redesign.
UK evidence shows that these components have a repair role, not just an ornamental one. An examination of more than 1,000 garments donated to UK second-hand retailers found accidental damage in at least 29% of items, including holes in seams and damaged trims. Eight per cent had damaged trims such as buttons, zips, or beads, according to the study of garment damage and repair requirements.
That finding makes product detail important. If you're replacing a zip, the listing should help you identify its length, fastening arrangement, and construction. If you're repairing a seam, compatible thread, a suitable needle, and reinforcement may matter more than a decorative finish.
Practical rule: Buy a trim for the job it must perform first, then choose the colour and appearance.
Online shopping works particularly well for small, specification-sensitive items. You can search by colour, width, fibre, finish, quantity, and garment application, then keep a record of what worked. A simple notebook or digital project folder can include the product name, measurements, fabric used, needle choice, and wash-care information.
That routine turns haberdashery trimmings online from a last-minute search into a dependable part of sewing. You'll be better prepared for repairs, more confident when starting a new project, and less likely to choose a product because it looks attractive in a thumbnail.
Understanding Haberdashery Trimmings and When to Use Them
The easiest way to choose a trim is to begin with its function. Ask whether it must finish an edge, stabilise fabric, fasten a garment, stretch, reinforce a seam, or decorate a surface. Once that purpose is clear, the product category becomes much easier to identify.
Match the trim to the job
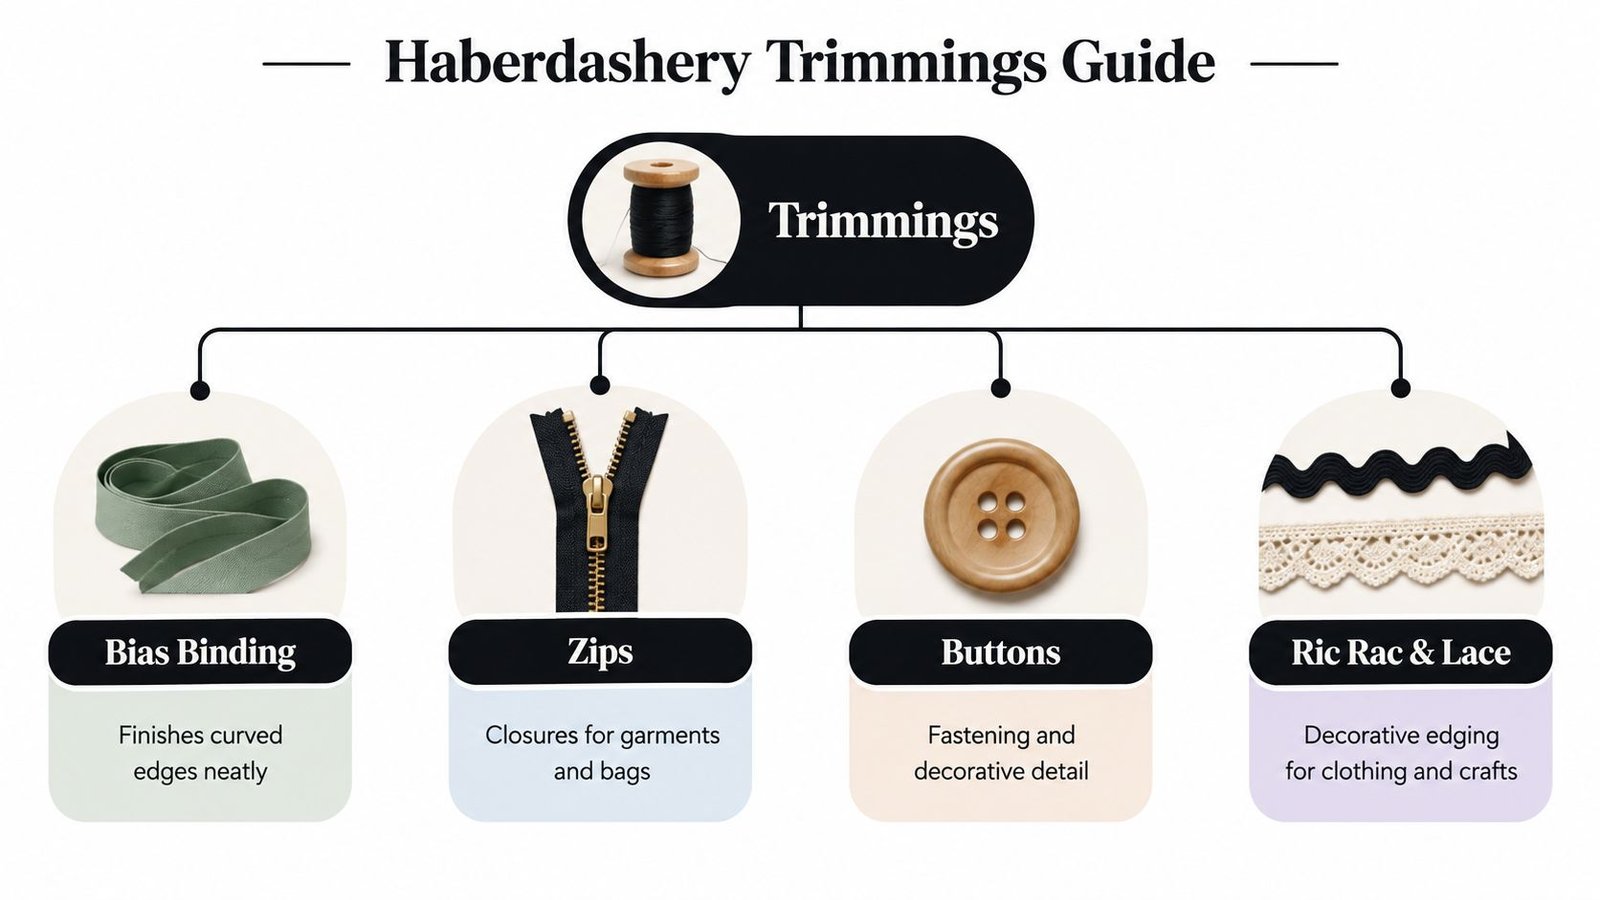
Bias binding is cut diagonally across the fabric grain and is useful for raw edges that curve, including necklines, armholes, sleeves, hems, quilts, and bags. Its flexibility allows it to turn smoothly where straight tape might pull or crease. Use it on a sleeveless blouse neckline, for example, when you want a clean finish without adding a separate facing.
Seam tape supports areas that might stretch or distort. A strip along a shoulder seam can help a knit or loosely woven fabric keep its shape. On a waistband, it can provide a stable foundation for stitching and reduce wear at a high-stress edge.
Fusible interfacing isn't usually visible, but it changes the behaviour of fabric. Apply it to a collar, cuff, waistband, button stand, or bag flap when the fabric needs body. Match its weight to the fabric. Heavy interfacing on delicate cotton can make the area stiff, while very light interfacing may not support denim.
Essential hardware and decoration
Thread and needles are working partners. Fine thread with a fine needle suits lightweight fabric, while sturdier cloth such as denim needs a thread and needle combination that can handle thicker layers. Elastic belongs to the functional group too. Waistband elastic, lingerie elastic, knitted elastic, and braided elastic don't behave identically, so the product description should explain the intended use.
Buttons and zips need closer inspection than their appearance suggests. A button's diameter, hole or shank arrangement, and thickness affect how it sits. A zip's finished length, tape construction, slider, teeth or coil, and end type affect whether it can replace the original.
Ribbons, beads, lace, and ric rac are primarily decorative, but they still need a sensible match. A heavy beaded trim can pull a lightweight blouse out of shape, while a narrow cotton tape may disappear on a thick coat. Start with the fabric's weight and movement, then select the visual effect.
Choosing the Right Material, Width, and Compatibility
A trim can be attractive and still be wrong for the project. Material controls feel, strength, stretch, and wash behaviour. Width controls proportion and coverage. Compatibility determines whether the component will work once sewn into the garment.
Natural fibres such as cotton can provide a soft, breathable finish and are useful for bindings, tapes, and lightweight decorative work. Synthetic fibres may offer abrasion resistance, smoothness, or resilience, which can suit zips, technical garments, and hard-wearing edges. Blends sit between these qualities. For a stretch jersey neckline, flexible binding is more important than a rigid, crisp tape. For the fly of a pair of jeans, strength and accurate hardware construction matter more than softness.
Width needs a physical check. A trim that appears narrow on a product page may cover too little of a raw edge, while a wide ribbon may overwhelm a small collar. Compare the listed width with a ruler or paper strip before ordering. For a waistband, place the paper strip against the fabric to see whether the finished proportions look balanced.
Compatibility checks before checkout
Use the product description as a technical specification, not just a colour catalogue.
| Trim Type | Common Uses | Key Compatibility Factors |
|---|---|---|
| Bias binding | Necklines, armholes, hems, quilts, bags | Finished width, folded width, fibre, flexibility, wash-care limits |
| Zips | Trousers, dresses, skirts, coats, bags | Finished length, closed-end or separating construction, teeth or coil, slider type |
| Buttons | Closures, cuffs, coats, decorative details | Diameter, thickness, hole or shank style, weight, spacing |
| Elastic | Waistbands, casings, cuffs, lingerie | Width, recovery, softness, casing size, wash and heat limits |
| Thread | Construction, repairs, topstitching, hand sewing | Fibre, thickness, colourfastness, machine or hand use, needle choice |
| Ribbon and lace | Edging, embellishment, textile crafts | Width, bulk, edge stability, stretch, attachment method |
A button that looks similar to the original may sit too high if its shank is deep. A zip with the correct visible length may still fail if its construction doesn't match the garment opening. Elastic can also cause trouble when a firm waistband product is substituted for a softer trim intended for a gathered sleeve.
Before buying, write down the measurement of the original component and the job it performs. Search for that specification, not merely a similar photograph.
For specialist or unfamiliar trims, request a swatch where possible. Place it beside the fabric in daylight, bend it, stretch it, and test how it behaves against the seam. This small check is particularly useful when colour, texture, and drape all matter.
Measuring, Matching, and Sewing Techniques for Trims
Good trim work starts before the sewing machine is switched on. Measure the actual edge, not the pattern illustration or the existing trim if it has stretched. Add enough allowance for gathers, corners, pattern matching, joins, and possible shrinkage, then record the calculation with the project notes.
For a straight hem, measure from one end to the other and include the amount needed to turn or join the trim. For a gathered edge, measure the finished garment edge first, then account for the extra length required to create the gathers. Corners need additional care because the trim must turn without pulling. Patterned ribbon also needs spare length if motifs must align at a join.
A reliable bias binding method
Bias binding follows curves because the strip is cut diagonally across the fabric grain, at approximately 45 degrees to the selvedge. A useful rule from The Sewing Directory's bias binding guide is to cut the strip at four times the intended finished width. A strip cut at 4 cm will normally produce binding about 1 cm wide.
- Cut the strip accurately and join pieces with diagonal seams if more length is needed.
- Press the folds before attaching the binding. Pre-formed tape still benefits from careful pressing.
- Align the raw edges of the binding and the garment's raw edge, with the binding on the right side.
- Sew slowly around the curve. Clip small V-shaped notches into the seam allowance where necessary, taking care not to cut the stitching.
- Fold the binding over the edge and stitch close to its folded edge on the inside.
Clipping releases tension around the curve. Without it, the seam allowance acts like a tight outer ring and can make the finished edge pucker. Pressing then settles the layers flat.
UK dressmaking often uses a 15 mm, or 5/8-inch, seam allowance, while many craft and haberdashery projects use 6 mm, or 1/4-inch. If several layers meet beneath binding, grading can reduce bulk. Trim the outer allowance to about 6 mm and the underlying allowance to approximately 3 mm, as described in Janome UK's sewing reference.
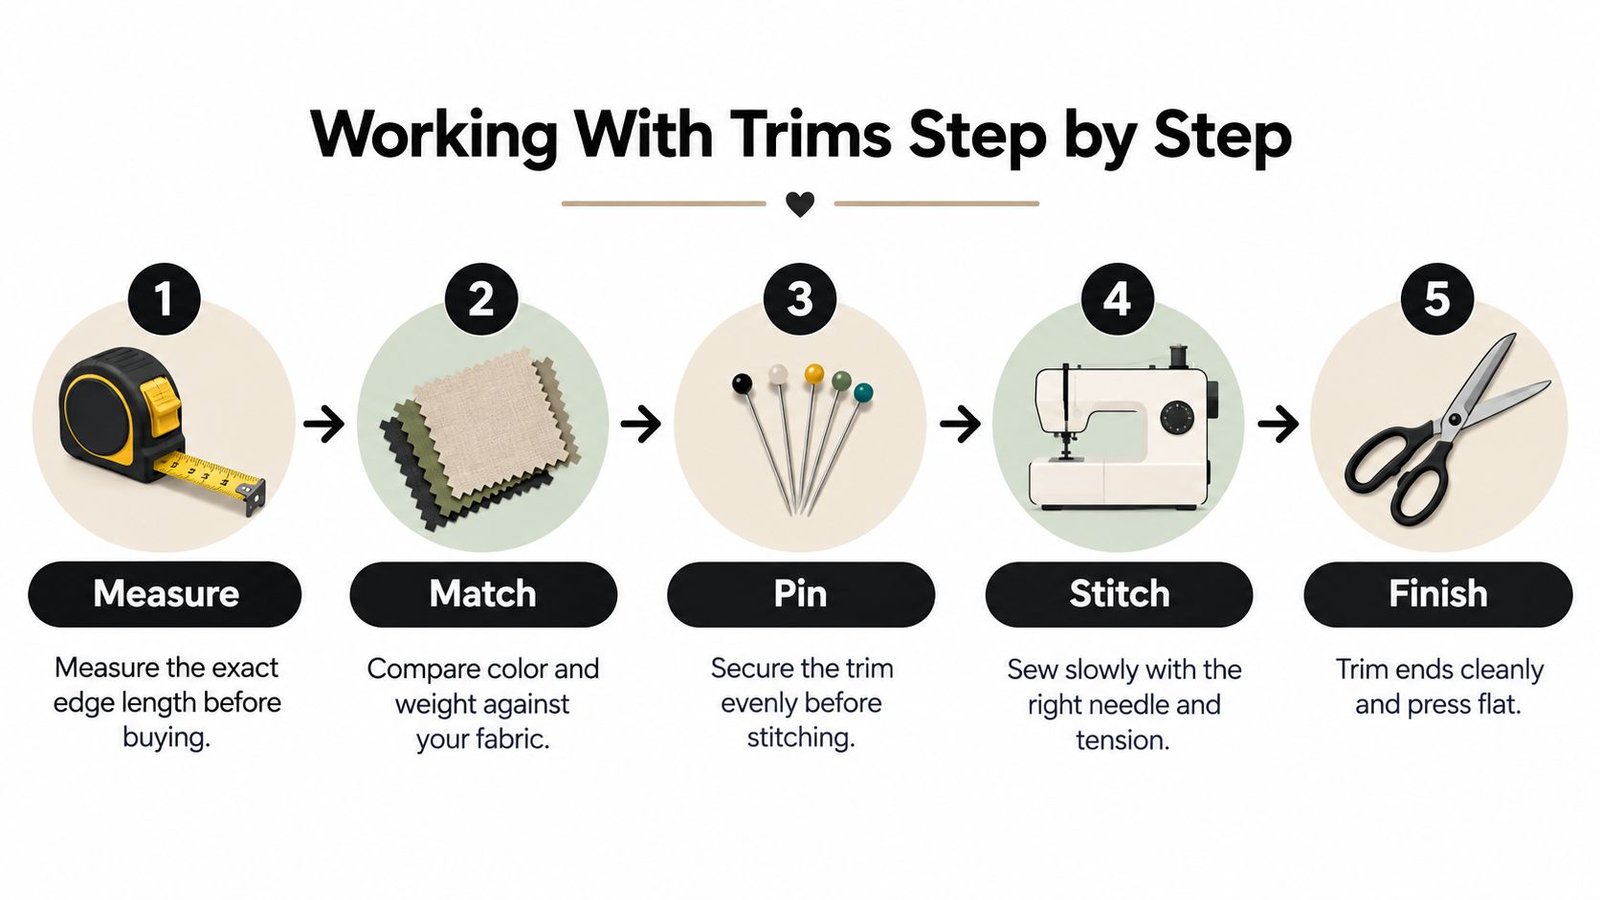
A short test seam on a fabric scrap reveals whether the needle, thread, tension, and trim are working together. It's much easier to adjust a stitch length or change a needle before the trim is attached to the garment.
For hems, let construction guide the choice. A UK guide to professional clothing alterations gives practical allowances of about 3 cm for jeans, 4 cm for ordinary trousers and skirts, and 2.5 cm for full skirts finished with a hand-sewn blind hem. A machine narrow hem may need only about 6 to 10 mm. The right tape or binding should cover the raw edge without creating unnecessary weight.
Care, Storage, and Repair-Ready Haberdashery Habits
A well-organised trim collection saves money because you can use what you already own before ordering again. It also protects delicate materials from heat, moisture, light, and distortion. Keep ribbons and binding rolled rather than tightly folded, especially when a sharp crease would remain visible after sewing.
Store hardware separately from soft trims. Buttons, hooks, beads, and metal fasteners can catch lace, snag elastic, or mark folded fabric. Small labelled boxes or envelopes make it easier to group components by type, colour, or project. Keep a sample of the original garment fabric with replacement buttons or zips when an exact match matters.
Store according to material
Synthetic tapes and fusible products can react badly to excessive heat. Follow the care information supplied with the product, and test pressing on a scrap before applying an iron to the finished trim. Elastic may lose performance when exposed to unsuitable heat or repeated harsh washing, while bonded or adhesive trims may have stricter care limits than sewn alternatives.
A repair-ready stash should be arranged by failure mode rather than only by colour:
- Missing buttons: Keep spare buttons with notes about diameter, thickness, and garment use.
- Broken closures: Record zip length and whether it is closed-end, open-end, or separating.
- Damaged seams: Store compatible thread, needles, patches, and reinforcement materials together.
- Worn waistbands: Separate elastic by width and intended use, such as casings or lingerie.
- Raw edges: Keep bias binding and seam tape near the garments or projects that need them.
UK circular-textile research estimates that approximately 166 million clothing items could be reused if they were repaired, as reported in this research on repair and garment reuse. A small replacement component can therefore preserve the use of an otherwise serviceable garment.
If your sewing materials share space with seasonal wardrobes, a guide to organising seasonal clothes in a unit can help you plan labelled, accessible storage rather than losing repair items in sealed boxes. The principle is simple: store infrequently used supplies safely, but keep everyday repair components within reach.
The UK Online Market Context and Smart Buying Habits
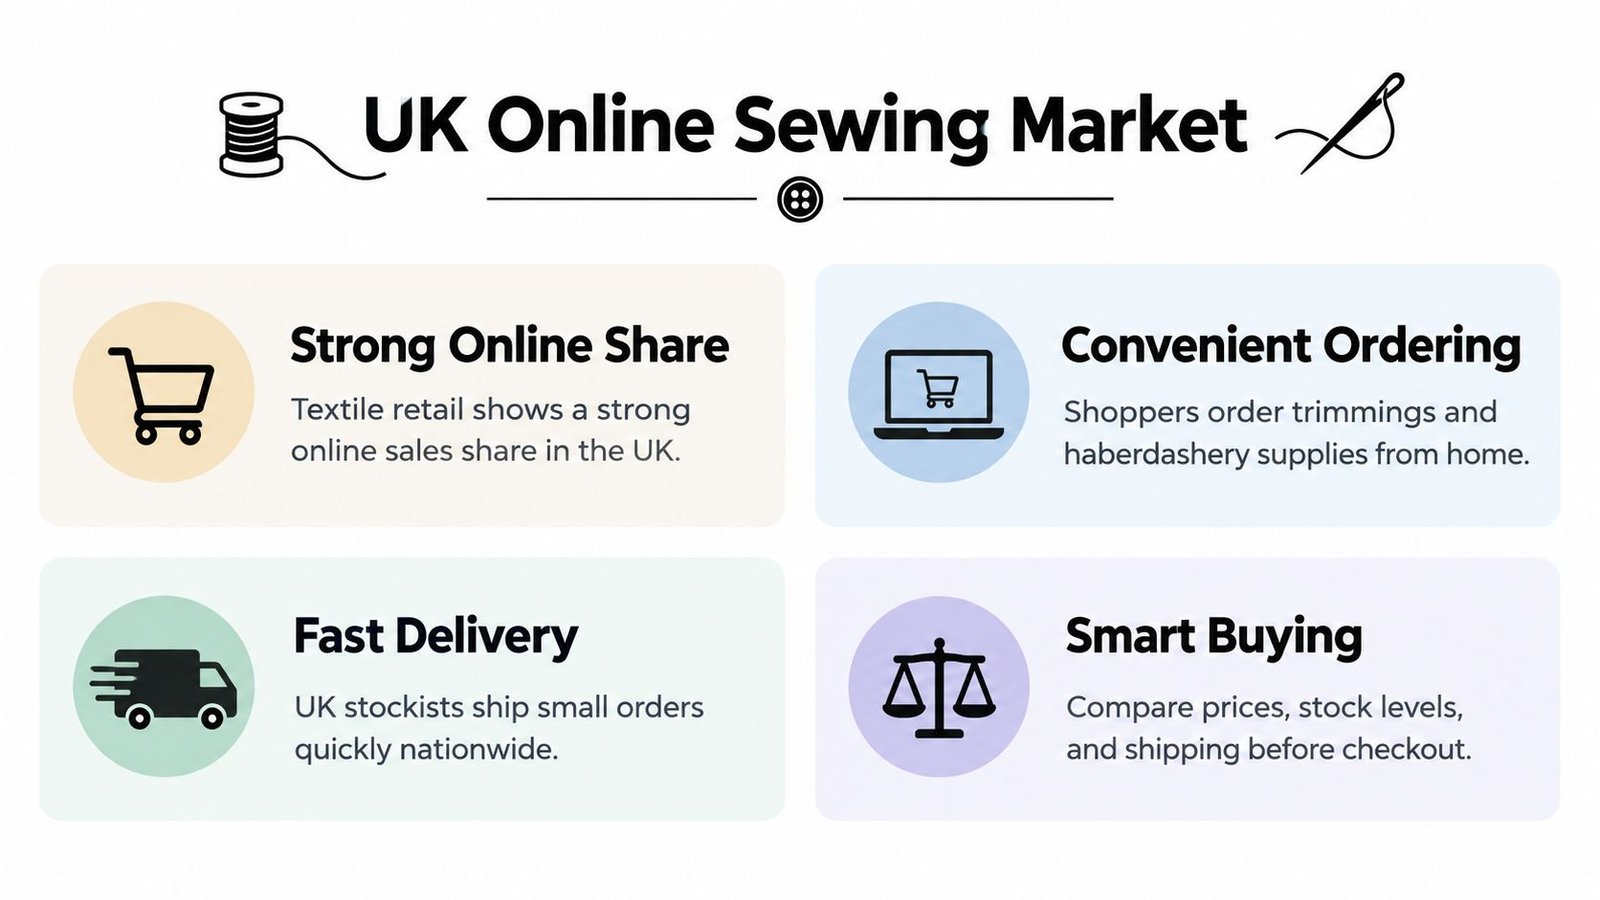
Buying textile-related supplies online is now part of ordinary UK retail behaviour. ONS data show that online sales in the textile, clothing and footwear category reached £444.4 million in December 2024, compared with £252.8 million in January, according to the ONS retail sales time series. The pattern points to stronger seasonal demand around Christmas, gift-making, and winter sewing projects.
That timing matters for trimmings. Ribbons, buttons, threads, zips, elastic, decorative tapes, and project kits may be especially useful when makers begin present-making, repairs, and indoor sewing. Ordering early gives you time to check a sample, test the trim, and find an alternative if the first choice doesn't suit the fabric.
A lower-waste buying routine
Use online convenience without turning every project into a separate delivery.
- Plan the project: List the fabric, trim category, required dimensions, fastening type, thread, and needle.
- Measure twice: Check the finished edge, opening, casing, or button spacing before adding products to your basket.
- Sample uncertain items: Order a swatch or small quantity when colour, drape, recovery, or texture is difficult to judge on screen.
- Consolidate purchases: Group compatible project needs into one considered order where practical.
- Buy for use: Compare cost per project and expected lifespan, not only the lowest unit price.
- Check end of life: Consider whether mixed fibres, adhesive backing, metal parts, or plastic packaging require different disposal routes.
Sustainability advice should also include delivery and returns. Research from DHL's UK shopper report states that 50% of UK shoppers expect sustainability to become more important over the next five years, while three in four would abandon a basket if their preferred delivery and returns options weren't available. That makes accurate listings and consolidated buying practical environmental decisions, not just customer-service details.
Makers selling finished items or kits can also explore the MerchLoom Etsy guide for broader product-planning ideas. The same discipline applies whether you're buying one zip for a repair or sourcing trims for repeated projects: specify, sample, measure, and order deliberately.
Evaluating Online Sellers and Avoiding Common Mistakes
A trustworthy online seller makes it possible to judge a trim before it arrives. Look for clear measurements, material information, care guidance, close-up photographs, and an explanation of how the item is sold. “Per metre”, “per pack”, and “per piece” describe very different quantities, so check the unit before comparing prices.
Independent customer reviews can reveal whether colours match photographs, whether elastic recovers after use, and whether a zip feels suitable for the advertised garment. A visible quality guarantee, sample service, clear returns policy, and responsive customer support also matter when a product is difficult to assess through a screen.
Mistakes that cause disappointing results
Relying on colour alone can lead to mechanical incompatibility. Two black zips may have different lengths, sliders, teeth, and end constructions. Two white elastics may have very different recovery and softness.
Underestimating quantity is another common problem. Gathers, corners, mitred joins, pattern matching, and shrinkage all consume material. Measure the finished requirement, then add a sensible project allowance rather than ordering the exact edge length.
Skipping a test seam is risky on stretch, delicate, coated, or bulky fabrics. Test the trim with the intended thread and needle, then wash or press the sample if those treatments will affect the final item.
Ignoring seam allowances can make a binding appear too narrow or leave raw fabric exposed. Check whether the listing gives the unfolded width or finished width, because the two measurements aren't interchangeable.
The need for accessible guidance is clear. A UK survey found that only 27% of adults said they could operate a sewing machine confidently, while just 9% regularly darned clothing, according to Good Housekeeping's traditional skills survey. Beginners often don't need more product choice first. They need a clear connection between a problem, a compatible component, and a manageable technique.
A useful product page should answer the question a beginner is afraid to ask: “Will this actually work with my fabric and project?”
Before checkout, confirm the trim's function, material, width, quantity, compatibility, care limits, and return terms. Save the listing or photograph the packaging once it arrives, then record what worked in your sewing notes. More Sewing's online haberdashery category includes notions and specialist trims for dressmaking and tailoring, alongside fabrics and ready-to-sew kits, so it can be one option when you want project supplies in one place.
More Sewing offers fabrics, haberdashery, specialist trims, and ready-to-sew kits for beginners, hobby sewists, students, and independent makers. Visit More Sewing to compare practical sewing supplies and choose the components your next repair or garment project needs.
