Sewing notions are the small tools, fasteners and supporting materials used to construct, finish, fasten, reinforce or repair a textile item. UK shops usually call them haberdashery.
You've chosen your fabric, opened a pattern and discovered a shopping list of unfamiliar extras. There's interfacing to buy, a particular zip to find and a needle that apparently needs to suit the cloth. At the haberdashery counter, the easiest way to choose is to ask what each item needs to do.
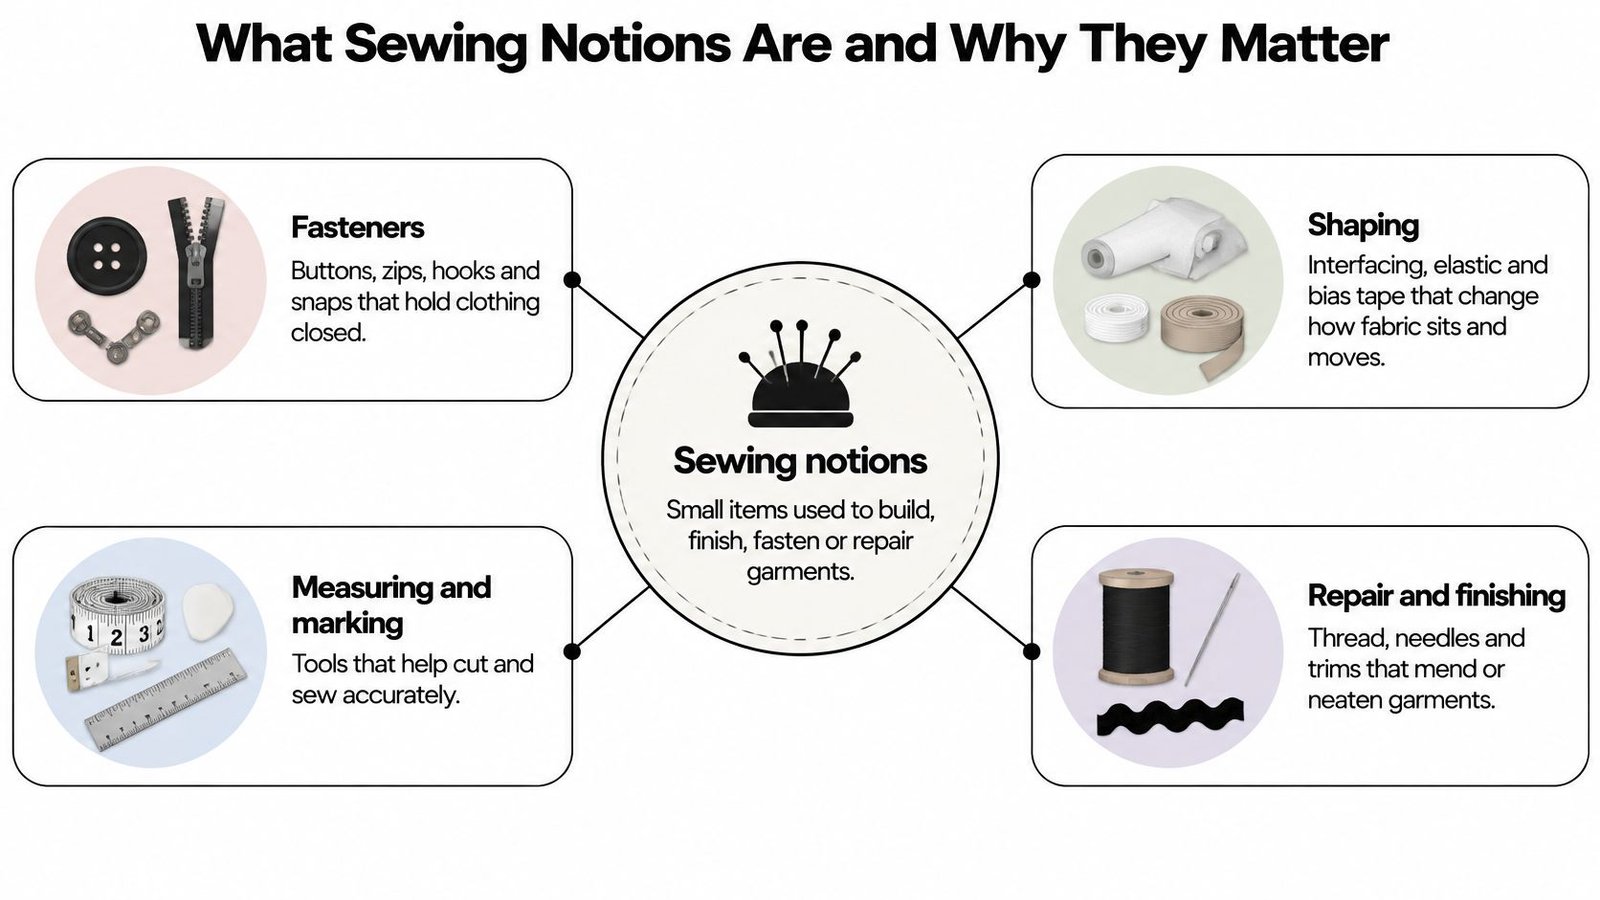
What Sewing Notions Are and Why They Matter
Fabric provides the main material for a garment. Notions provide the means to turn it into something wearable. Some stay in the finished piece, such as thread and buttons. Others help you make it, such as pins, scissors and marking tools.
If you've searched for “what is sewing notions”, the unfamiliar word is probably the obstacle, not the equipment. You may already own several notions without calling them that. A needle used to mend a sock belongs to the same broad category as the zip specified for a handmade dress.
Haberdashery is the familiar UK term
In Britain, you'll generally find these supplies under haberdashery. Their place in everyday shopping has a long history: Woolworths' first British store opened in Liverpool on 5 November 1909 with a dedicated counter selling penny notions.
That history offers a useful perspective. These weren't merely decorative purchases. They helped people make clothes, finish household textiles and maintain things they already owned.
The categories below organise notions by purpose rather than by shelf position.
Think about the job before the item
A pattern's notions list is best understood as a set of construction decisions:
- Build the garment. Needles and thread create the stitches that join its parts.
- Make it usable. Buttons, zips and hooks allow the wearer to open and close it.
- Control its shape. Interfacing and elastic support different kinds of structure and movement.
- Finish or repair it. Binding, patches and other small supplies help complete or restore the article.
Shop categories aren't always tidy. An iron or sewing machine belongs to your wider equipment, even if a retailer groups it alongside sewing notions. You don't need to settle every classification before you start.
Practical rule: Ask what the garment needs to do, then choose the notion that makes that possible.
A small component can affect a surprisingly noticeable part of the result. A closure must work, an edge must sit comfortably and a repair must hold. That's why notions deserve attention alongside the fabric.
Core Notions Every Sewist Reaches For
Lay your fabric on the table and think through the work in order: measure, mark, cut, hold, stitch and correct. Each stage gives a familiar tool a clear purpose.
A Birmingham school textiles resource lists needles, pins, thread, measuring tape, fabric scissors, pinking shears, pressing equipment and construction materials. It also highlights shaping curved seams, a useful reminder that tools help control the finished shape, not just cut things out.
Measure and prepare before stitching
Start with a measuring tape to check dimensions. Use a fabric-marking tool where you need a visible reference, such as a hem fold or fastening position. My recommendation is to test the mark on an offcut before using it somewhere conspicuous.
Cutting tools have different jobs. Fabric scissors cut the pieces to shape. Small scissors give you more control when trimming thread ends. Pinking shears leave a zigzag edge that can reduce fraying on suitable woven fabrics, but they aren't a universal substitute for a secure seam finish.
For a curved seam, the useful action comes after stitching. Carefully snip the seam allowance without cutting the stitching line, allowing the allowance to spread around the curve rather than pull against it.
Hold, sew and correct
Temporary holding is especially helpful when edges must meet accurately. The Scottish Qualifications Authority's Textile Technologies specification includes cross-pinning, tacking, machine stitching and seam-allowance guides among practical construction techniques.
Choose your holding method according to the job:
- Pins position layers before you stitch. Cross-pinning can help you organise a seam; remove pins before the machine needle reaches them.
- Clips are an alternative when you prefer to hold layers at their edges without pinning through them.
- Tacking, also called basting, uses temporary stitches. I recommend it when a slippery layer or important matching point won't stay where you want it.
Needles and thread then make the permanent join. Don't assume the combination already in your machine suits the next project. A sample seam lets you check the result before committing to the garment.
Keep a seam ripper nearby for removing unwanted stitches. Use it carefully on the thread rather than pulling against the cloth. Correcting a short section early is usually more manageable than trying to disguise it later.
Finally, press during construction. Set the iron for the material and leave it standing safely on its heel when hot, as the SQA guidance advises.
Fasteners and Closures from Zips to Buttons
A fastening has to work while someone is wearing the garment, not just look tidy on the table. Buttons, zips and hooks and eyes all need sensible positioning and secure attachment.
Test a closure in its intended position before finishing the surrounding work. Can you open it comfortably? Do the garment edges meet as intended? If you need to tug the fabric to fasten it, investigate the fit and placement rather than adding more stitches.
Give a button room to work
For a sew-through button on a garment with fabric beneath it, a thread shank provides clearance. Think of it as a short stem between the button and the cloth, not a loose attachment.
The Sew dressmaking techniques tutorial describes repeated stitches through the button holes, followed by wrapping thread between the button and fabric to form the shank. Work through the holes securely, leaving enough space for that stem. Wrap the thread around the connecting stitches, then secure it on the wrong side.
Check the button through its buttonhole afterwards. It should hold the layers together without forcing them into a tight pinch. A button that sits too close to the cloth may need its attachment adjusted, rather than a larger buttonhole.
Position a concealed zip accurately
A concealed zip, also called an invisible zip, needs close control beside the teeth. The same tutorial describes using a zipper foot or concealed-zip foot and pressing the opening's seam allowances before positioning the zip.
A practical working sequence is:
- Prepare the opening. Press the allowances so you have a clear placement crease.
- Position the zip. Open it and place it face down, aligning the teeth with the crease.
- Stitch each side. Use the suitable foot to control placement, keeping the needle away from bulky teeth.
- Check before finishing. Close the zip and inspect how the garment edges meet.
The tutorial also gives a separate seam-finishing example: sew a 7 mm allowance, trim it to 5 mm and press it to one side. That isn't permission to trim every zip opening to those measurements. Follow your pattern's allowance for the construction you're making.
Hooks and eyes offer another closure choice where the pattern calls for them. For detachable decoration rather than a garment opening, Raccoon Transfers' guide to removable patch options for custom apparel provides a useful separate reference.
Test the fastening as the wearer will use it, not only as it sits under the sewing-machine foot.
Interfacing, Elastic and Bias Tape in Practice
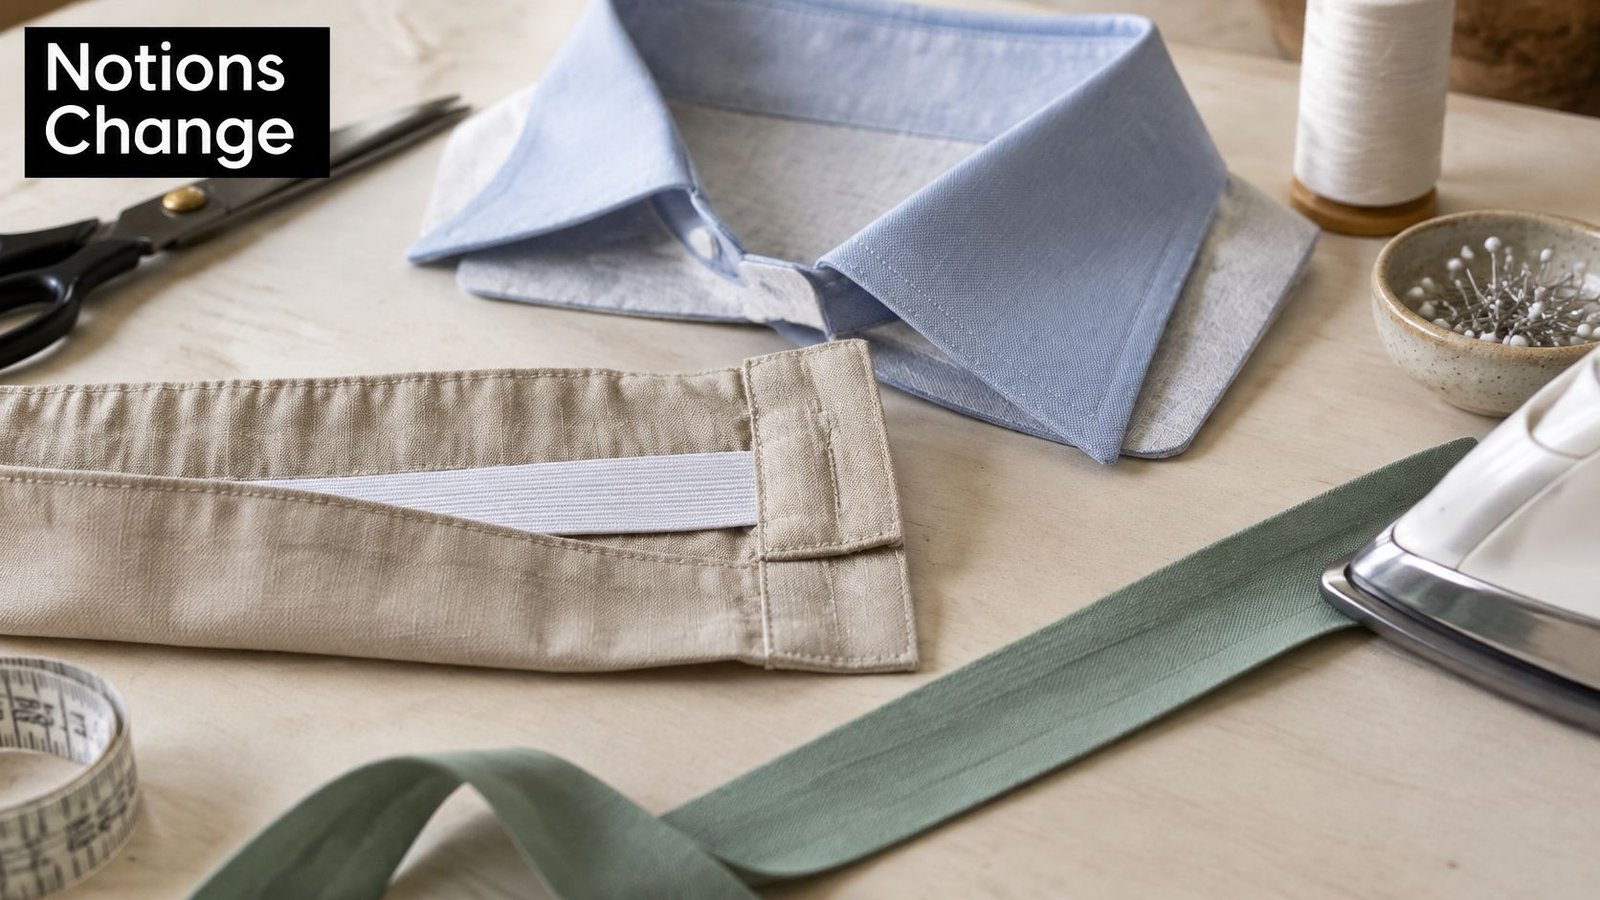
Some notions change the behaviour of the fabric itself. Interfacing supports it, elastic allows controlled stretch, and bias tape finishes an edge. Choosing among them starts with the result you want, not the closest colour on the shelf.
Keep your fabric offcuts beside the supplies while you make these decisions.
Support without unwanted stiffness
Interfacing adds body or stability to areas such as collars, cuffs, waistbands and button stands. Think of it as an internal support layer. You want enough support for the job without accidentally changing the character of the cloth.
For a soft blouse collar, I'd compare lightweight samples before considering anything firm. For an area carrying a closure, I'd pay particular attention to whether the supported sample remains stable when handled.
Test fusible interfacing on an offcut first. Heat and adhesive can affect delicate materials, so assess both the appearance and the feel after applying it according to its instructions.
The wider selection principle is to match notions to fabric weight, stretch, seam construction and expected laundering. The Health and Safety Executive's textile standards guidance also provides a useful reference point for the technical and safety context of textile work.
Allow movement or enclose an edge
Elastic belongs where a garment needs stretch and recovery, such as a waistband or cuff. A suitable elastic must stretch for the intended use and return afterwards. A rigid substitute won't perform the same function just because it fits inside the channel.
Bias tape, often called bias binding in UK patterns, is used to bind an edge. Choose it with the thickness of the enclosed fabric and the intended finish in mind.
| Construction decision | Notion to assess | What to check on a sample |
|---|---|---|
| Keep a collar supported | Interfacing | Whether the result has the intended body |
| Make a comfortable gathered waistband | Elastic | Stretch, recovery and comfort |
| Enclose a visible raw edge | Bias binding | Coverage, bulk and how the edge sits |
| Reinforce a fastening area | Suitable interfacing | Stability without excessive stiffness |
Don't treat a lightweight woven and heavy denim as interchangeable test materials. Make your sample from the actual project cloth.
My preferred check is simple: fold, handle and gently stretch the sample as the finished area will be used. If the combination already feels wrong in your hand, reconsider it before cutting the garment pieces.
Beginner Essentials Versus Advanced Tools
Buy for the operation you're about to learn. A beginner repairing a seam doesn't need every machine attachment, while someone inserting a concealed zip needs more than a general hand-sewing kit.
Specialist doesn't necessarily mean difficult or essential. It means the tool solves a narrower problem. Equally, an iron is useful from the beginning, even though careful pressing becomes increasingly important as projects grow more involved.
Beginner Essentials and Advanced Notions Compared
| Category | Beginner essentials | Advanced tools |
|---|---|---|
| Stitching | Hand needles and suitable thread | Project-specific machine needles and attachments |
| Holding layers | Pins and thread for tacking | Clips for particular handling needs |
| Cutting and correcting | Fabric scissors and seam ripper | Pinking shears for suitable edge finishes |
| Measuring and alignment | Measuring tape and marking tool | Seam guide for consistent allowances |
| Fastening insertion | Hand-sewing tools for buttons | Concealed-zip foot |
| Pressing | A suitable iron used safely | Additional pressing aids chosen for the project |
A standard tool is enough when it lets you complete the operation accurately and comfortably. A specialist attachment earns its place when the construction needs the control it provides. You don't need to purchase it merely because it appears in someone else's toolkit.
Learn what the stitches do
Before working on clothes, practise the relationship between needle, thread and fabric. The Cedarbank School beginner hand-sewing guide explains threading, knotting, running stitch, backstitch and whip stitch, and recommends practising on a scrap.
Use the stitches for distinct purposes:
- Running stitch is useful for temporary work or lightly stressed joins. Practise making the movement even before trying to work quickly.
- Backstitch gives a more secure joining stitch. Bring the needle up, go back to complete the previous stitch, then bring it up farther along.
- Whip stitch works around an edge. The guide gives an example spacing of approximately one-third of a centimetre between angled stitches.
Secure the thread on the wrong side when you finish. Then inspect both faces of your practice piece, rather than judging only the side you watched while sewing.
Practice suggestion: Keep a labelled stitch sample in your kit. It gives you something tangible to compare with when you return to a technique.
A scrap lets you discover whether you can control the needle and tension without risking a garment. That's a better starting point than buying another tool to solve an unfamiliar movement.
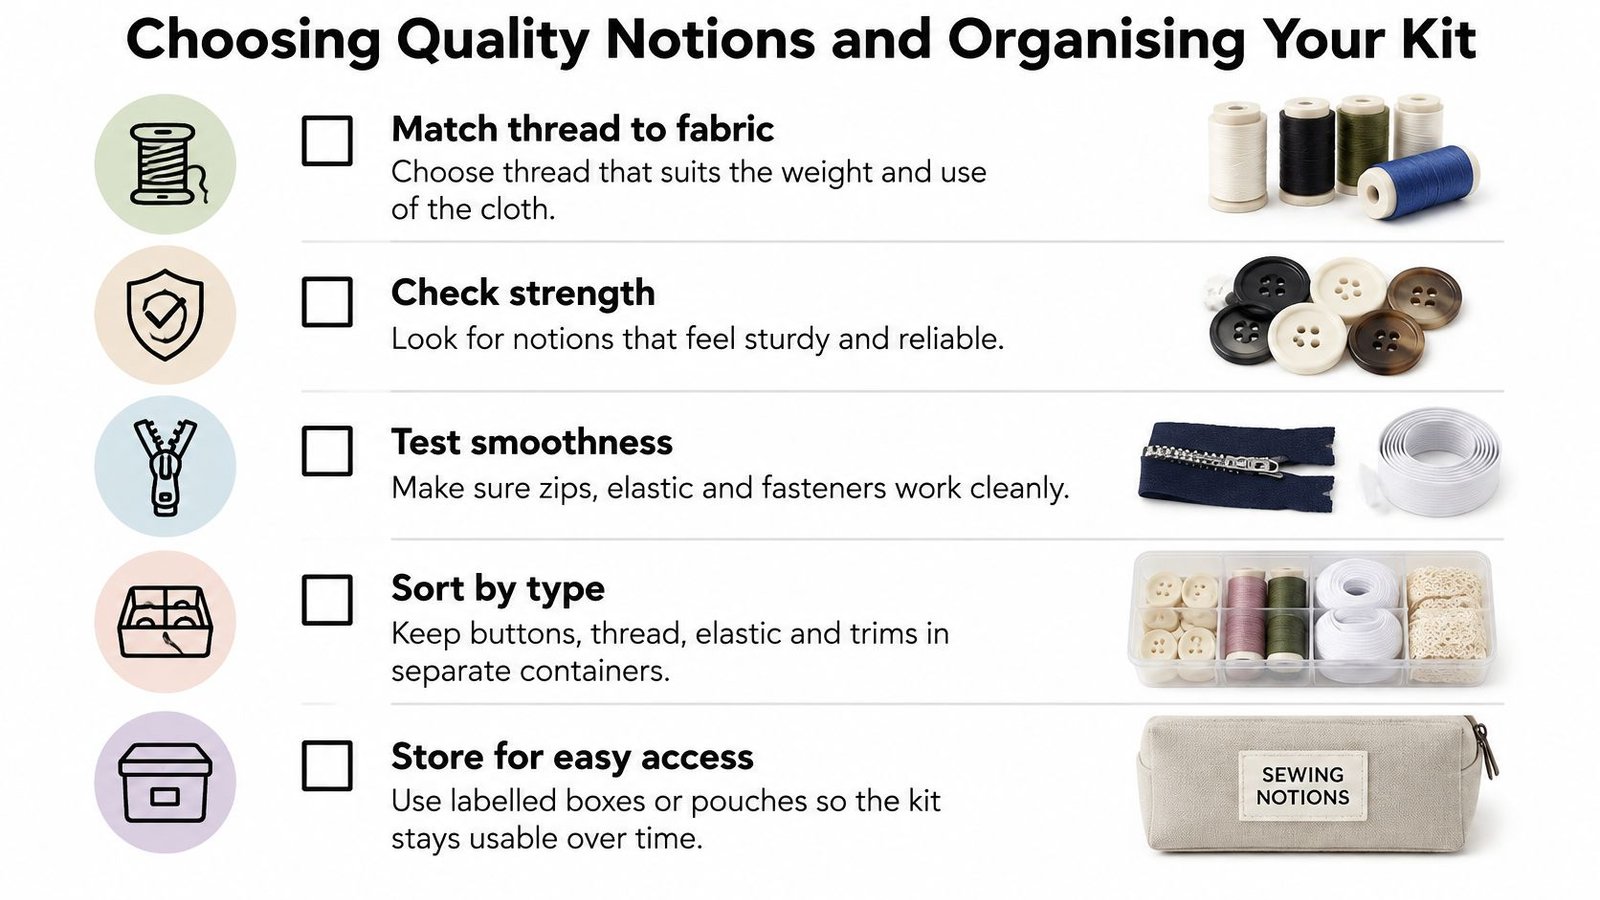
Choosing Quality Notions and Organising Your Kit
Quality is about suitability and dependable function, not price alone. A neatly packaged notion can still be wrong for your project. Before buying, identify the fabric, the operation and the conditions the finished item will face.
For UK buyers, More Sewing is one option offering haberdashery alongside fabric, all-in-one dressmaking kits, sample swatches and a Quality Guarantee. Whatever retailer you choose, use the pattern and a fabric sample to guide the conversation.
Inspect the item against its job
Turn a broad shopping list into specific checks:
- Thread compatibility. Check the recommended use and whether it suits the fabric and seam you're making.
- Needle suitability. Choose for the cloth and sewing method, rather than keeping an unknown needle in service.
- Interfacing behaviour. Compare the supported sample with the finish you want.
- Closure operation. Check that the fastening opens and closes cleanly and suits the garment's care requirements.
- Replacement practicality. Keep identifying information so you can find the same item again if needed.
Don't assume a firmer or thicker product is automatically better. Ask whether it solves the problem without creating another one, such as unwanted bulk or stiffness.
Use this checklist when reviewing supplies you already own, too.
Store information as well as objects
An organised kit should make the next decision easier. Sort buttons, closures, needles and marking tools into separate labelled containers. Keep sharp items safely contained rather than loose among fabric scraps.
Store thread so you can distinguish colour and type. Keep interfacing and elastic flat where practical, with labels or packaging that identify what they are. An anonymous strip is much harder to use confidently.
For a project in progress, I recommend a small pouch containing its fastening, matching thread and other selected notions. Keep a fabric offcut with them. That gives you a useful reference if you need to buy a replacement midway through sewing.
Review the kit before shopping. You may already own the right tool, but don't substitute an unsuitable material just to empty the drawer. Organisation helps you find what you have; judgement tells you whether to use it.
Using Notions to Repair Clothes and Take Your Next Step
A loose button or opened seam is a concrete reason to learn about haberdashery. You're not assembling an abstract toolkit. You're choosing the supplies needed to make a particular garment wearable again.
Begin by looking closely at the damage and the surrounding fabric.
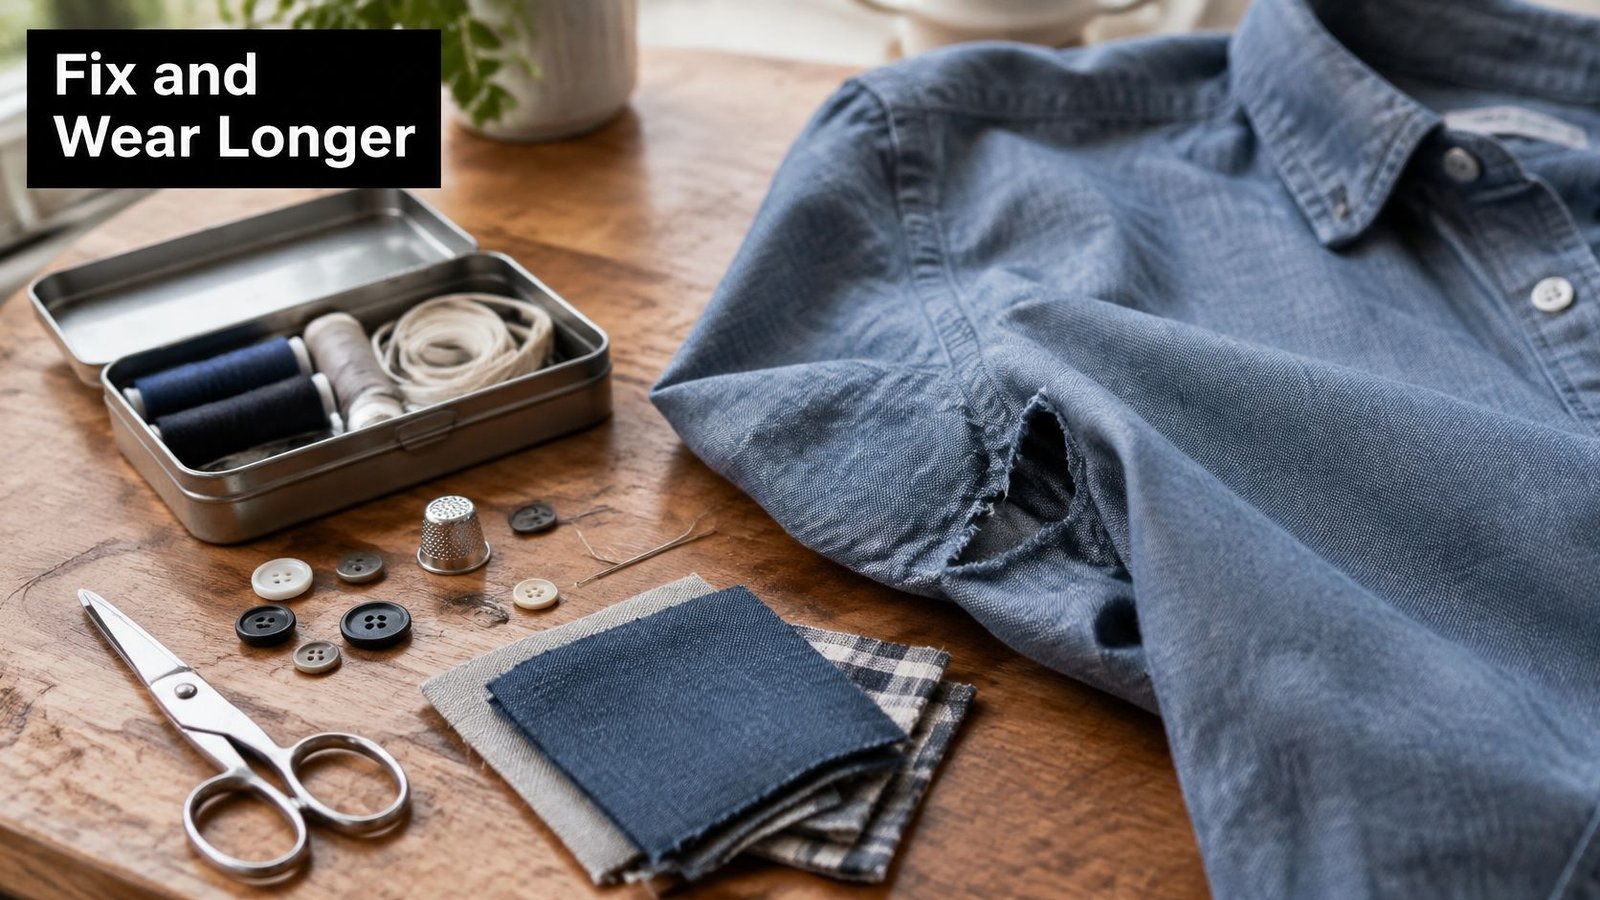
A UK-focused UCL study found that 72.7% of respondents would be extremely likely to sew on a button. It also identified lack of equipment, including sewing machines and haberdashery supplies, as a repair barrier. Having the appropriate small supplies available can remove that immediate obstacle.
Match the repair to the damage
For a missing button, gather a suitable replacement, needle and thread. For a broken seam, first inspect whether the stitching has failed or the fabric itself has torn. Those aren't the same repair.
Use the damage to guide your choice:
- Opened stitching. Consider restitching when the surrounding cloth is still sound.
- A hole or tear. Assess whether patching or darning suits the position and material.
- A worn fastening area. Inspect the support beneath it before attaching another closure.
- A difficult alteration. Seek professional advice if you're unsure how the repair will affect fit or construction.
Don't promise yourself an invisible result on the first attempt. Aim for a secure, usable repair that respects the condition of the garment.
If you prefer to watch practical sewing alongside written guidance, set aside time for the video before starting.
Make a manageable start this week
Choose a garment with a loose or missing button. Gather matching thread, a suitable hand needle and a replacement button if required. Practise the thread-shank technique on the folded hem of a spare scrap before working on the garment.
Then complete the repair and test the fastening gently. You'll have made a useful connection between the name of a notion, the technique it supports and the result it produces. That understanding is more valuable than a drawer full of unfamiliar supplies.
More Sewing offers fabric and haberdashery, plus All-in-One dressmaking kits for beginners who want supplies grouped around a project. Visit More Sewing to choose notions for your next repair, explore a kit or ask the Worthing shop for help matching supplies to your garment.
