
Blog, Dressmaking, Guides
Blouse Sewing Pattern: Fitting, Fabrics, and Finishing
Most blouse fitting problems come from ignoring bust ease and finished garment measurements: a close-fitting blouse typically needs 0–2 7/8 inches of bust ease, while a fitted style allows 3–4 inches. Check both before cutting fashion fabric, then make a toile if the balance is uncertain.
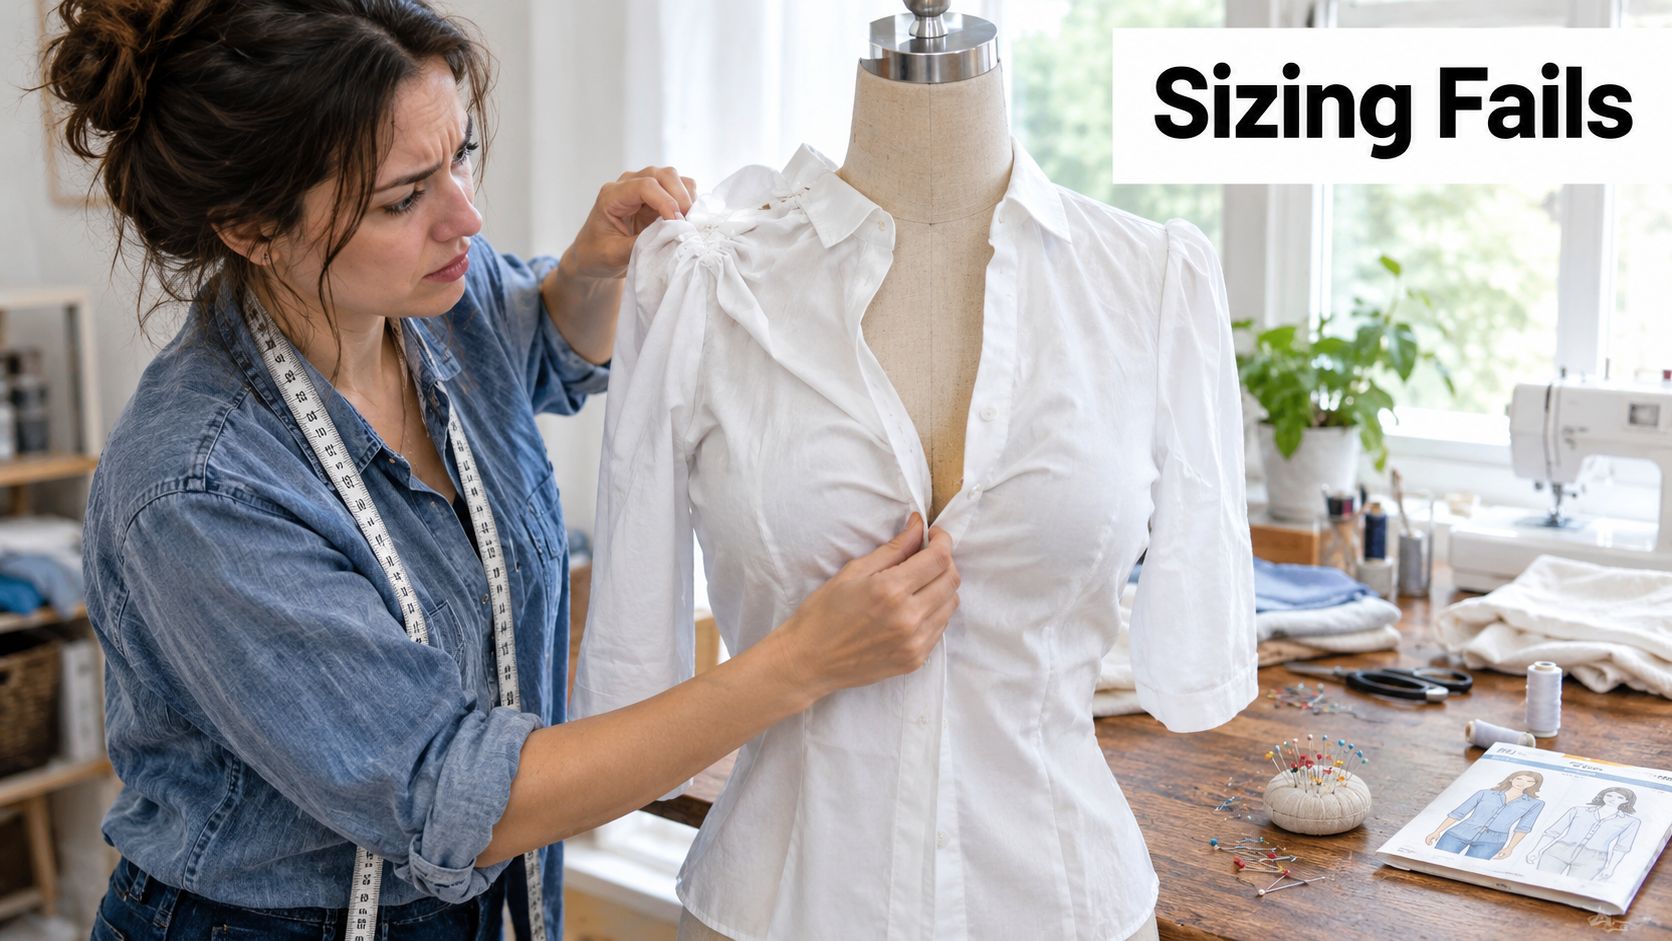
You've found the perfect blouse sewing pattern, cut the size suggested by the envelope, and sewn the shoulder seams. Yet the bust pulls, the neckline gapes, or the back develops diagonal drag lines. That result doesn't necessarily mean you've sewn badly. UK patterns use different size ranges, cup blocks, ease conventions, and finished measurements, so the label on the envelope is only a starting point.
A reliable blouse begins with three decisions made before cutting: which bust measurement controls the size, how much ease the design includes, and whether the fabric can support the pattern's details. Once those are right, fitting and finishing become controlled adjustments rather than emergency repairs.
Why Most Blouse Sewing Patterns Fail at First Try
A blouse can look straightforward on the pattern sheet and still fit poorly because the printed size represents a drafting system, not your finished garment. The most useful figure is often the finished bust measurement. Compare it with your body measurement and the stated ease, rather than assuming a familiar label will give you the same fit across every brand.
The history of paper patterns explains why this mismatch is so common. Full-size paper patterns only came into use in the 1840s, and British pattern publishers were selling them by the 1860s. Magazine inserts, including those associated with The Englishwoman's Domestic Magazine, helped home sewists access blouse and dressmaking designs without drafting every garment from scratch. The shift from bespoke dressmaking to published templates made clothing more accessible, but it also required designers to simplify bodies into repeatable blocks. A British account of historical dressmaking patterns documents that development.
A simple block can hide complex fitting
An Edwardian blouse studied by the University of St Andrews looked highly elaborate, yet its main structure used only four basic shapes, front, back, sleeve, and collar. Decorative sections expanded from a central cut-work panel. That is a useful lesson for modern sewists: visual complexity doesn't always mean complicated underlying engineering.
The blouse became a particularly important home-sewing garment because it taught useful skills without demanding a tailor's resources. You could practise bust shaping, collars, sleeves, gathers, and plackets on a manageable garment. The same accessible structure remains valuable today, but modern bodies still need adjustments that a standard block can't predict.
What wartime simplification left behind
British austerity rules introduced simplified clothing styles in 1942, and most of those regulations stayed in force until 1946. The restrictions reduced labour, fabric use, and construction complexity, influencing both manufactured clothing and home dressmaking. Research into standardised and simplified British patterns shows how this period helped reinforce practical, standardised pattern systems.
Practical rule: Treat the pattern as a tested starting block, not a promise that the envelope size will fit without alteration.
The historical pattern is clear. Blouse patterns have always balanced accessibility with simplification. Your job is to identify where that simplification meets your own bust, shoulders, waist, and back shape, then alter the paper before the fabric makes the mistake expensive.
Selecting the Right Size and Understanding Ease
Start with the bust, because a blouse needs room to move and close across the fullest part of the chest. Commercial fitting guidance commonly recommends choosing dresses, blouses, tops, vests, jackets, and coats by bust or chest measurement first, then refining the waist and hip. The Fittleworth blouse fitting guidance also identifies bust ease as a central fit decision.
Measure in the order the garment needs
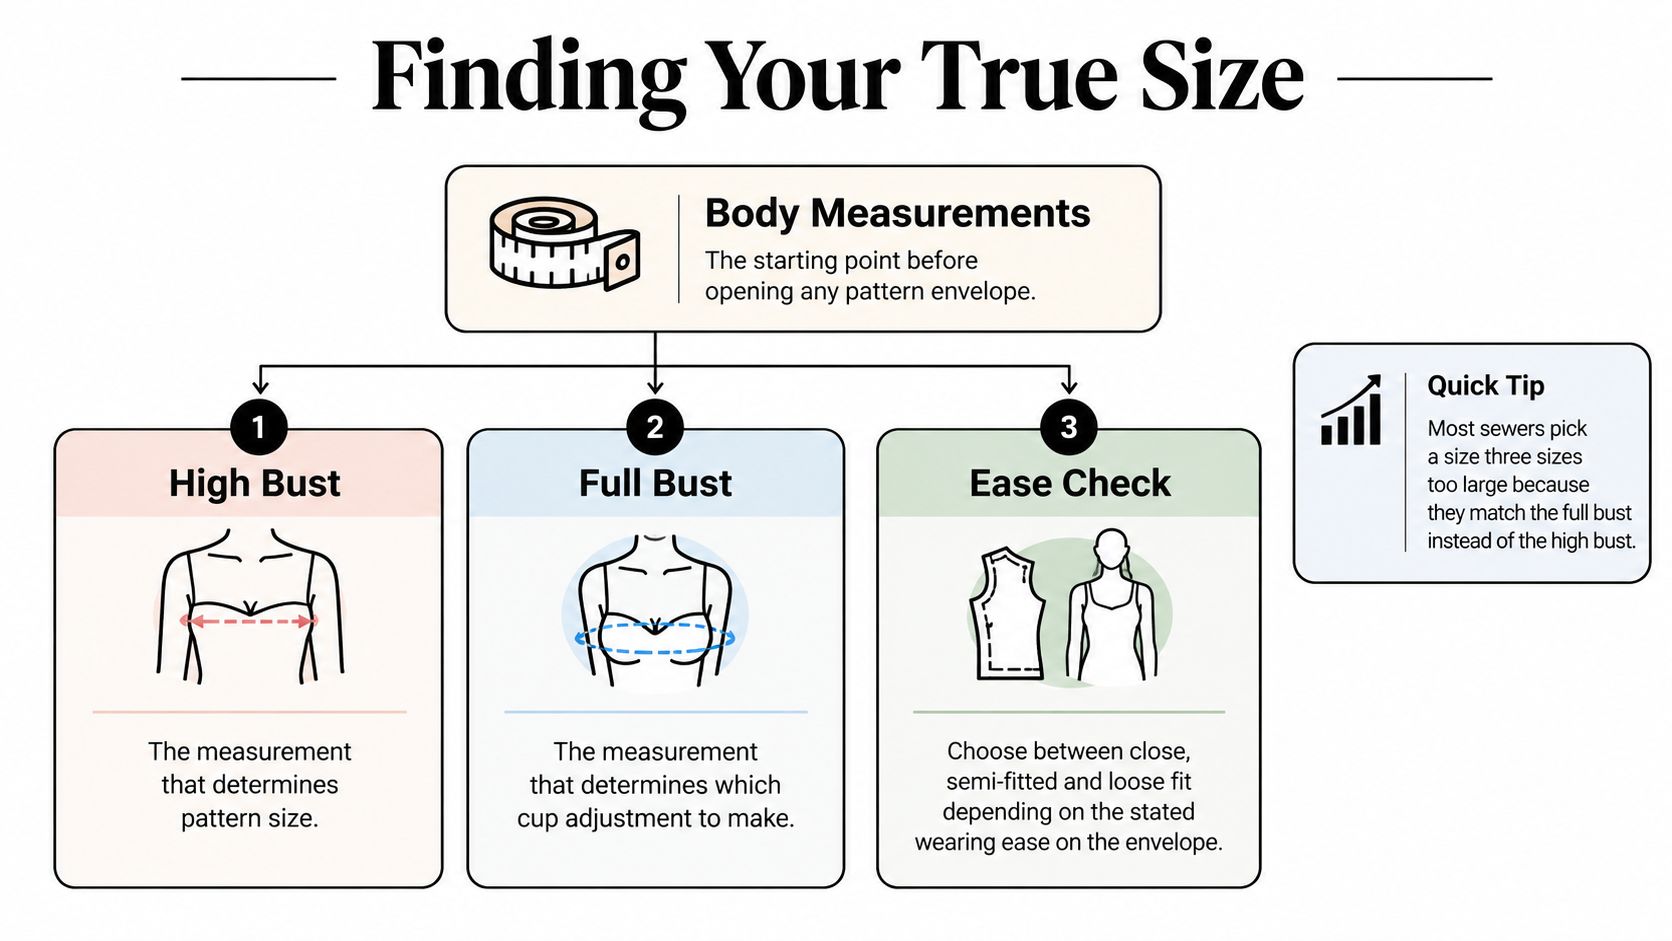
Take measurements over the undergarments you'll normally wear with the blouse. Keep the tape level, avoid pulling it tight, and record the high bust, full bust, waist, and hip. The high bust sits above the fullest part of the bust, while the full bust passes across it.
Use the pattern's measurement chart and finished garment chart together:
- Use the high bust when the pattern provides a cup system. This usually gives the shoulder and upper chest a closer starting point.
- Compare the full bust to the chosen cup block. A full-bust piece may add room and length where you need it, without enlarging the shoulders.
- Check the finished waist and hip. Grade between sizes if your bust, waist, and hip fall into different columns.
- Calculate the ease. Subtract your body measurement from the finished garment measurement at the same point.
Ease isn't a flaw. Wearing ease gives your body room to breathe and move, while design ease creates a relaxed, gathered, oversized, or deliberately boxy silhouette. A close-fitting blouse generally uses 0–2 7/8 inches of bust ease, while a fitted style typically uses 3–4 inches, according to the commercial guidance linked above.
Why the toile earns its place
A pattern can match your measurements and still behave differently once the shoulder slope, bust prominence, and fabric weight interact. Make a toile from inexpensive woven fabric, transfer the key balance lines, and test the neckline, armhole, bust, and waist before cutting the final cloth.
A toile is especially useful when the design has a collar, shaped neckline, fitted sleeve, or bust dart. It's less wasteful to move a dart on calico than to discover that the dart point sits too high after you've cut silk or a limited deadstock fabric.
Navigating UK Pattern Ranges and Cup Sizing
UK blouse patterns don't share one universal sizing system. One UK-facing range may cover UK 6–30, while another may split the drafting into a B-cup block for UK 6–20 and a D-cup block for UK 18–30. The Fittleworth blouse pattern information gives examples of how these ranges can differ within the same market.
That fragmentation changes how you choose a pattern. A label such as UK 14 tells you far less than the high-bust measurement, full-bust measurement, finished bust, and cup assumption. If you select a larger size just to fit the bust, the shoulder may extend too far, the neckline may fall away from the body, and the back may develop excess width.
Compare the blocks, not just the labels
A B-cup block usually distributes less volume over the bust than a D-cup block. If you have a fuller bust relative to your upper chest, using the correct cup piece can preserve the shoulder fit while adding room through the front. If the bust fits but the waist is smaller, blend the side seam rather than automatically moving up another size.
| Pattern detail | What it affects | What to inspect |
|---|---|---|
| High-bust size | Shoulder and upper chest | Shoulder width and neckline |
| Cup block | Bust volume and front length | Dart position, bust shaping, centre-front balance |
| Finished bust | Actual garment room | Ease compared with your body |
| Finished waist and hip | Lower-body comfort | Whether to grade between sizes |
Bra sizing can also cause confusion when measurements are gathered from international lingerie charts. If your bra size is being converted between systems, use a clear US vs UK bra size chart as a reference, but don't substitute bra-label sizing for the body measurements required by the sewing pattern.
Choose fabric alongside the block
The same blouse block can look crisp and architectural in poplin or relaxed and fluid in viscose. A structured fabric exposes restrictive ease and sharp fitting problems, while a fluid fabric can disguise a small imbalance but introduce stretching, twisting, and unstable seams. Choose the block first by body measurements, then choose cloth according to the silhouette you want and the handling you can manage.
Choosing Fabric for Your Blouse Style
Fabric labels such as “drapey” or “lightweight” don't tell you enough. Before buying, assess opacity, slip, recovery, seam stability, pressing response, and resistance to distortion. A romantic blouse with gathers and a collar needs different support from a loose shell with minimal shaping.
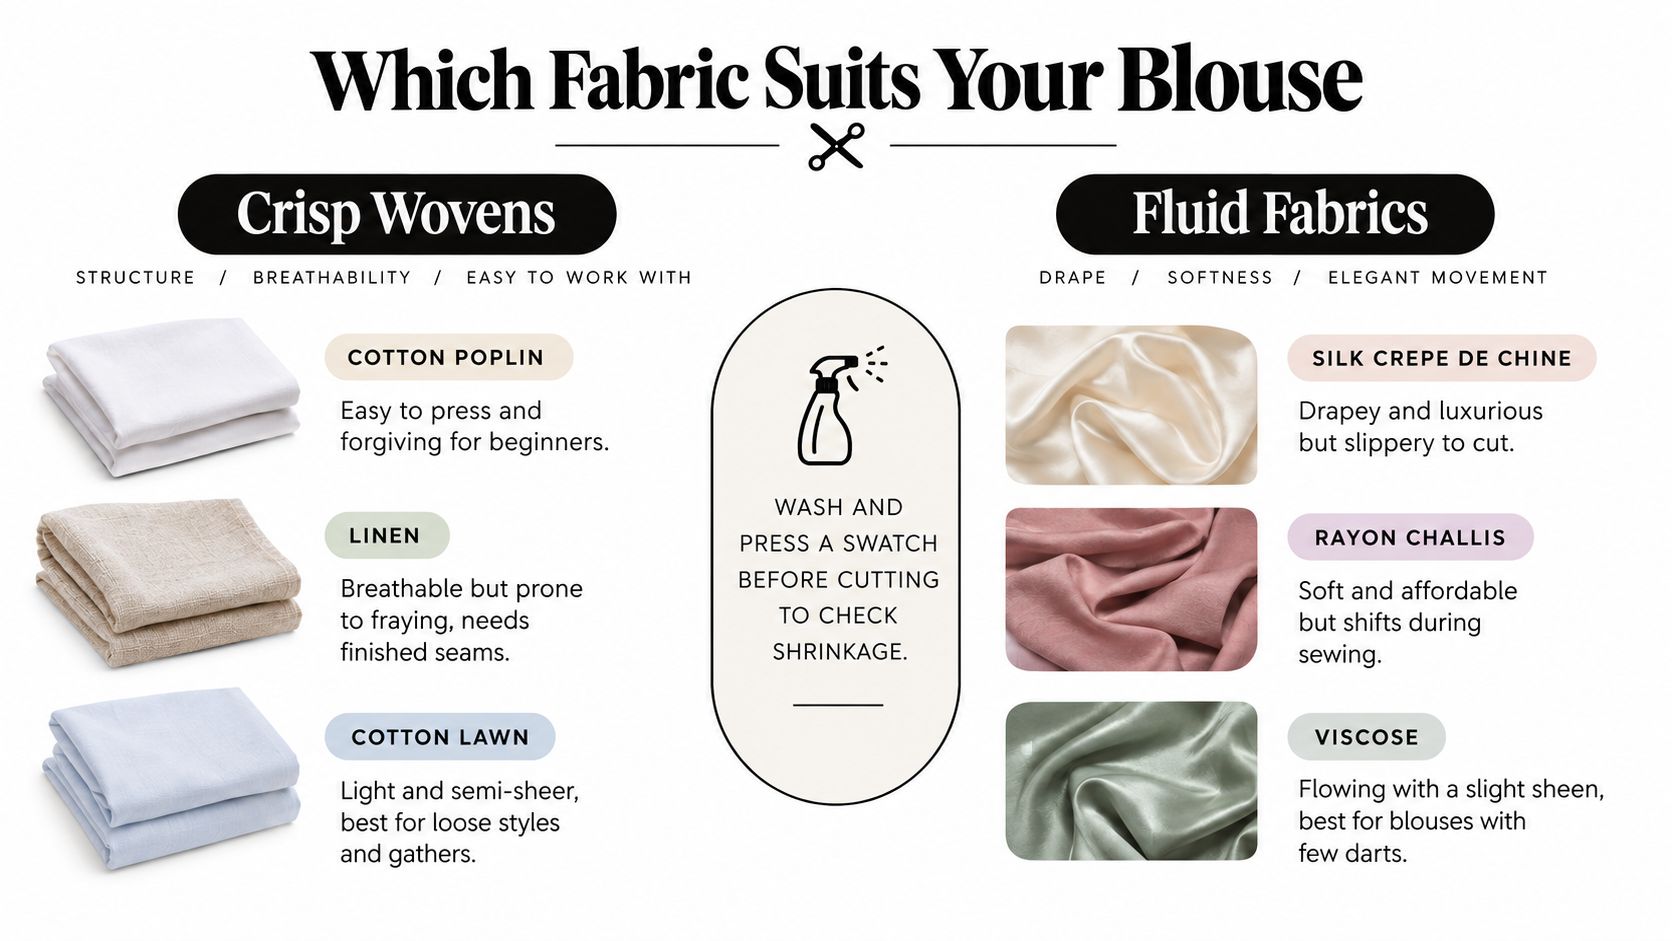
Cotton poplin is often the forgiving choice for a first blouse. It presses into a sharp collar, supports buttonholes, and stays stable while you ease a sleeve. Cotton lawn is lighter and can handle gathers beautifully, but it may be semi-sheer, so a loose style or lining may work better. Linen is breathable and gives an attractive dry texture, though it frays readily and needs disciplined seam finishing.
Viscose and rayon challis produce movement that crisp cotton can't imitate. They suit loose blouses, soft sleeves, and gentle gathers, but the fabric can shift under the scissors and stretch at curved edges. Silk crepe de chine offers a luxurious fluid line, yet its slipperiness makes accurate cutting and controlled pressing more demanding.
Match fabric behaviour to pattern details
Use a simple decision test before cutting:
- For a standing collar or sharp cuff, favour a stable woven that accepts pressing and light interfacing.
- For soft gathers and a fluid sleeve, choose viscose, rayon challis, or a similarly mobile cloth, then stabilise the neckline and seam lines.
- For a beginner's first version, use cotton poplin or another stable plain weave so the pattern's fit is easier to judge.
- For a sheer or semi-sheer fabric, plan the garment's opacity before construction. A camisole, lining, or layered finish may be part of the design rather than an afterthought.
Wash and press a swatch before cutting. That test reveals changes in handle, surface, opacity, and shrinkage that the roll in the shop won't show. It also tells you whether the fabric still supports a pressed collar after laundering.
Respect the grainline
Fluid cloth needs a calm cutting setup. Keep the full length of the fabric supported on the table, align the grainline with a stable reference, and avoid pulling the fabric into shape as you pin. For stripes or obvious motifs, check matching at the centre front, side seams, and sleeve seams before cutting.
The fashionable choice isn't always the successful choice. A romantic blouse may need a little structure at the collar and shoulder to avoid looking limp, while a heavily gathered design can become bulky in a stiff cloth. Let the pattern's construction decide where the fabric needs control and where it can move.
Laying Out Patterns and Finishing Seams
Before placing a single pin, press the fabric and the paper pattern. Fold the cloth accurately, identify the selvedges, and place every pattern piece on the grainline marked by the designer. A blouse cut slightly off grain can twist at the side seams, hang unevenly, or make a sleeve appear to rotate around the arm.
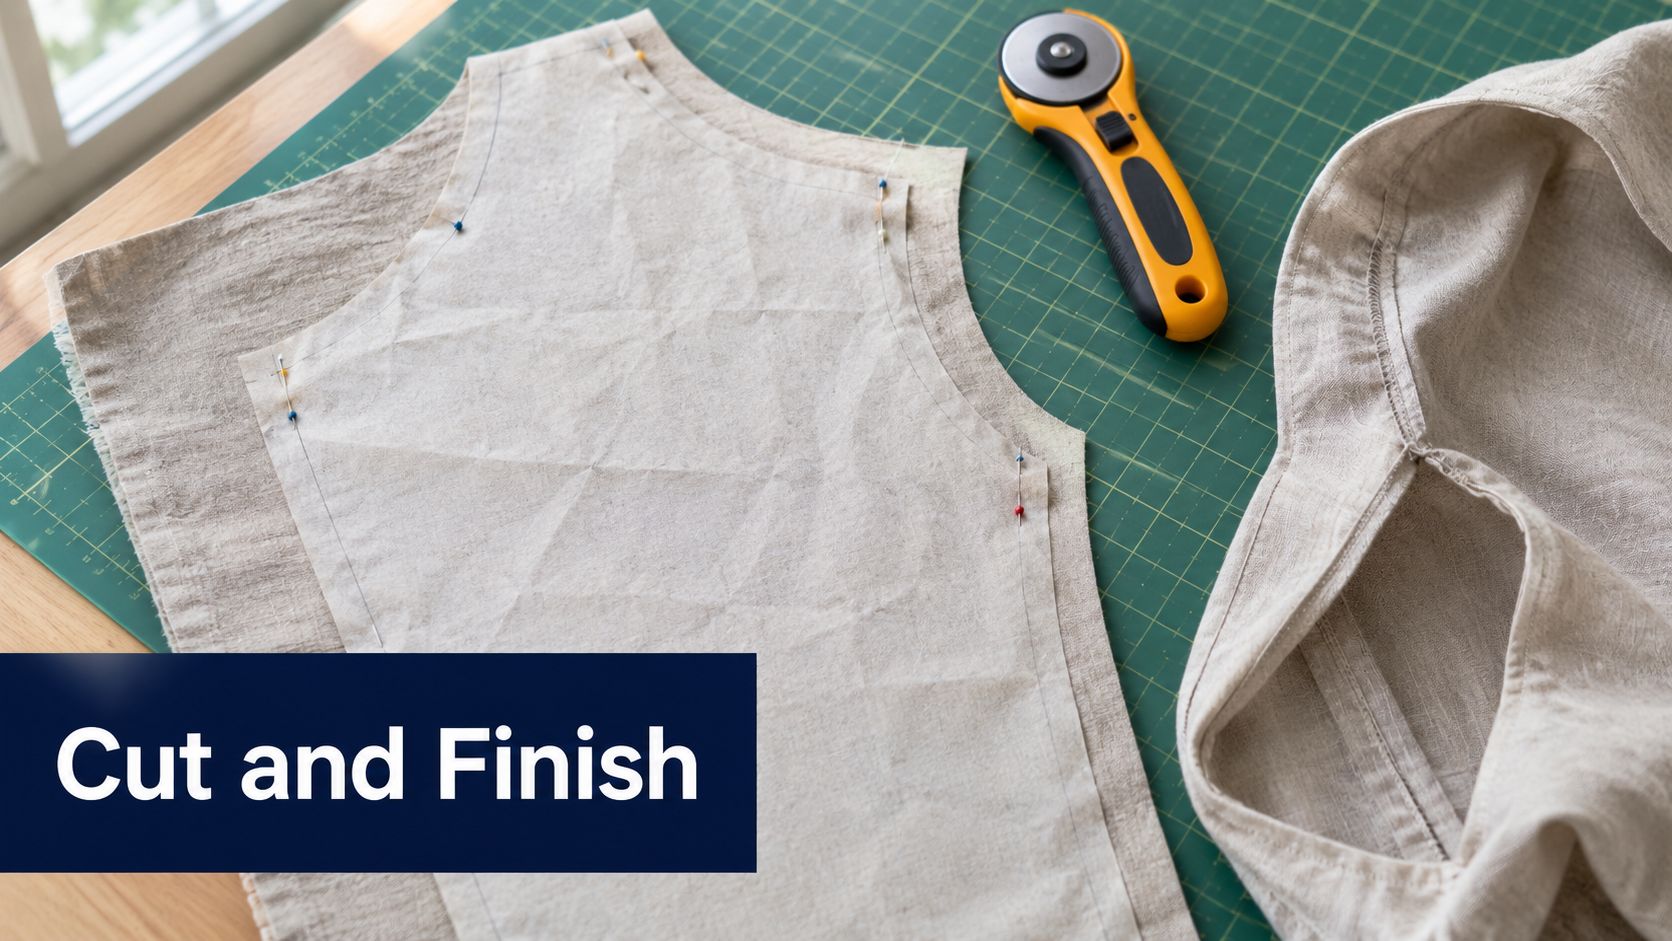
For a one-way print, nap, or directional stripe, place all pieces in the same orientation. Mark the centre front, notches, dart ends, pocket positions, and any matching points before removing the paper. A rotary cutter and a firm cutting mat help with stable fabric, while sharp shears and extra pattern weights are often kinder to slippery cloth.
Select the seam finish by fabric
French seams work particularly well in lightweight, loosely woven, or semi-sheer fabrics. Sew the first seam with wrong sides together, trim the allowance, press, then enclose the raw edges with right sides together. The result is neat, durable, and especially attractive inside a translucent blouse.
Flat-felled seams create strength and a clean finish, but they add bulk. They suit a sturdy cotton blouse or a casual style where the internal construction can support visible topstitching. A narrow zigzag or overlocked edge is faster for many medium-weight fabrics, but test the width and tension on a scrap first.
Staystitch curved necklines soon after cutting, particularly in viscose and rayon. Interfacing should support a collar or facing without turning a soft blouse board-stiff. Press with the iron lifting and lowering rather than dragging across a shifting fabric.
A clean finish only helps if the fit is correct. If the bust area pulls, examine the front before assuming the seam allowance is wrong. If diagonal lines run from the armhole towards the waist, the back may need more width or length, or the shoulder angle may need adjustment.
Use a toile to test those changes before committing to the final cloth. The video below demonstrates a blouse construction approach that can help you visualise the order of assembly and pressing.
Common Fitting Tweaks and Final Adjustments
Fitting a blouse becomes easier when you diagnose the line rather than tugging randomly at the fabric. Gaping at the neckline can come from excess width, a bust adjustment that hasn't been transferred correctly, or a neckline that needs a small dart or tuck. Pin the excess on the toile, redraw the neckline smoothly, and true the facing or collar piece to the new edge.
A bust that fits but shoulders that extend past the body usually needs a narrow-shoulder adjustment, not a smaller overall size. Remove width from the shoulder and armhole area while preserving the bust measurement. Recheck the sleeve head afterwards, because changing the armhole alters the shape and length of the sleeve insertion.
Read drag lines as evidence
Back drag lines deserve the same careful attention. Horizontal strain across the upper back suggests insufficient width, while diagonal folds can indicate that the shoulder slope, posture, or back length doesn't match the block. Add paper through the relevant area, spread or overlap the adjustment, and redraw the seam lines before making another toile.
A sleeve that feels tight may need more bicep room, but a sleeve that twists can point to grainline or armhole balance instead. Mark the sleeve grainline on the toile and observe whether it hangs vertically when your arm is relaxed. Don't solve every sleeve problem by adding circumference.
A polished blouse is usually the result of several small, accurate decisions, not one dramatic alteration.
Your most dependable workflow is simple. Measure the body, choose the bust-led size or cup block, compare finished measurements, calculate ease, test the pattern in a toile, then select fabric whose behaviour supports the design. Cut with the grainline controlled, stabilise vulnerable edges, and press each seam as you sew.
The shortcut that fails is trusting the printed size and cutting expensive fabric immediately. The shortcut that works is spending time on the paper and toile so the final blouse can be sewn with confidence. That preparation gives you a garment with the ease, balance, and internal finish of a thoughtfully made piece rather than a pattern sample forced onto the wrong block.
More Sewing offers fabrics, haberdashery, sewing kits, and sample swatches that can help you test a blouse pattern before committing to the final cloth. Visit More Sewing to compare suitable fabrics and gather the tools needed for a clean, well-fitted finish.
