
You finish a blouse, dress or pair of pyjama bottoms, try it on, and it fits exactly as you hoped. The seams sit neatly, the hem falls where it should, and the fabric feels lovely. Then it goes through its first wash and comes back tighter, shorter, or twisted just enough to spoil the result.
That moment is why a fabric shrinkage test method matters.
If you sew often, you've either had this happen already or you've narrowly avoided it by instinctively pre-washing everything. If you sew with precious deadstock, ex-designer remnants, or the last cut of a fabric you adore, the stakes feel even higher. You can't always buy extra. You can't assume the bolt information is complete. And you definitely don't want to sacrifice a huge square of fabric just to feel safe.
The good news is that home testing doesn't need to feel technical. A lab test aims for repeatable, standardised proof. A home test aims for a dependable sewing decision. Those are different goals, and once you understand that difference, shrinkage testing becomes far less intimidating and far more useful.
The Heartbreak of a Shrunken Masterpiece
One of the most frustrating sewing problems is also one of the most preventable. A garment can look beautifully made, fit well, and still fail after the first wash because the fabric changed shape after you cut and stitched it.
That usually shows up in ordinary ways. A sleeve is suddenly too short. A bodice that skimmed neatly now pulls across the bust. Trousers lose a bit of length and become awkward rather than elegant. Sometimes the change isn't dramatic enough to call the garment ruined, but it's enough that you stop reaching for it.
Why this catches good sewists out
Shrinkage doesn't only affect beginners. It catches careful makers because the garment was sewn accurately. The pattern wasn't the problem. The fabric moved after the fact.
Natural fibres and many blends can relax when they meet water, heat and agitation. Some fabrics tighten up. Some shift more in length than width. Some soften and drop. Others seem to shrink in the wash, then recover differently depending on how they dry. That uncertainty is exactly what a quick test helps remove.
Practical rule: Test the fabric in the way you plan to live with the garment, not in the gentlest way the fabric might possibly survive.
If you know you'll machine wash the finished dress, test with machine washing. If you'll air-dry your shirt, air-dry the sample too. A mismatch between test conditions and real use is one of the common reasons sewists feel they "did a test" but still got a surprise.
The real value of testing
A shrinkage test isn't about chasing perfection. It's about protecting your time.
It helps you answer practical questions before you've committed to cutting:
- Will this fabric lose length
- Does it draw in on the crosswise grain
- Should I pre-wash the whole length
- Do I need extra allowance for a hem, cuff, or waistband
- Is this fabric too unpredictable for a fitted pattern
Once you treat testing as part of preparation rather than a tedious extra step, it stops feeling like a chore. It becomes the same kind of sensible insurance as checking grainline, pressing seams, or making a toile for a close-fitting bodice.
And when you're sewing something you can't replace, that's exactly the sort of quiet habit that saves a project.
Why Fabrics Shrink and What to Expect
Fabric shrinkage usually starts long before the cloth reaches your sewing table. Fibres are spun, yarns are tensioned, fabric is woven or knitted, dyed, finished, pressed, rolled and stored. All of that handling can leave stress in the cloth. When moisture and heat arrive, the fabric often relaxes toward a more settled state.
A simple way to think about it is a coiled spring. Hold it stretched and it looks stable. Let it go, and it wants to return. Fabric can behave in much the same way.
Fibre type changes the risk
Some fabrics are more likely to change than others. Cotton and linen often respond clearly to washing. Viscose can be unpredictable because it may shift in hand as well as in size. Wool can react strongly to moisture, heat and handling. Stable synthetics often move less, but construction still matters. A loosely woven synthetic can behave very differently from a tightly finished one.
Fabric structure matters too. A crisp poplin, a brushed cotton, a floaty viscose twill and a knit jersey all release tension differently. That's why two fabrics with similar fibre content can still behave nothing alike in the wash.
Manufacturers try to control this in production. As noted in Deepwear's guide to shrinkage control in fashion production, choosing pre-shrunk, sanforized, or compacted fabrics can help resist further dimensional change, and shrinkage needs to be considered before pattern-making and grading rather than after cutting.
What a home sewist should expect
You don't need a lab mindset to make good decisions. You just need sensible expectations.
- Cotton and linen often deserve pre-washing before almost any garment project.
- Viscose and rayon benefit from a test even when they feel soft and drapey straight off the roll.
- Wool needs thoughtful handling because wash method and drying method can change the result.
- Blends can be awkward because one fibre may move while the other resists it.
- Knits may change not only in size but also in recovery and drape.
The most reliable habit is to test first, then decide how much trust to place in the fabric.
Typical Shrinkage Rates for Common Fabrics
| Fabric Type | Typical Shrinkage % (Length & Width) |
|---|---|
| Cotton | Often 3-5% in cottons can cause fit issues if exceeded, as discussed in Fashion Incubator's shrinkage testing guide |
| Linen | Varies qualitatively. Test before cutting |
| Viscose or rayon | Varies qualitatively. Test before cutting |
| Wool | Varies qualitatively. Test before cutting |
| Synthetic blends | Varies qualitatively. Test before cutting |
| Jersey knits | Varies qualitatively. Test before cutting |
That table is intentionally cautious. Outside cotton, exact results depend so much on finishing, weave or knit structure, and aftercare that a broad expectation is less useful than a quick test on your own piece.
Fabrics don't read labels. They respond to water, heat, friction and drying method.
If you're sewing for home use beyond garments, the same principle applies. Anyone choosing upholstery-friendly materials or washable furnishings will recognise the same care questions, which is why a practical guide like best sofa covers Australia can be useful for thinking through real-life wear, washing and fabric behaviour.
The Simple and Essential Home Shrinkage Test
For most home sewing, a good test doesn't need to look like a laboratory protocol. It needs to be small, repeatable, and honest about how you'll treat the finished item.
That matters because a 2025 UK textile study found that 67% of home sewists skip shrinkage testing entirely due to "too much fabric waste" fears, which points to the need for a micro-sample approach under 100cm² that standard larger protocols don't support, according to HN Leading's shrinkage testing discussion.
A tiny swatch won't give you certified lab data, but it can absolutely give you a sensible sewing answer.
A low-waste method that works
Start with a manageable sample from an uncut edge or a corner you can spare. The exact swatch size can be modest at home. The important part is that you can mark and measure it clearly.
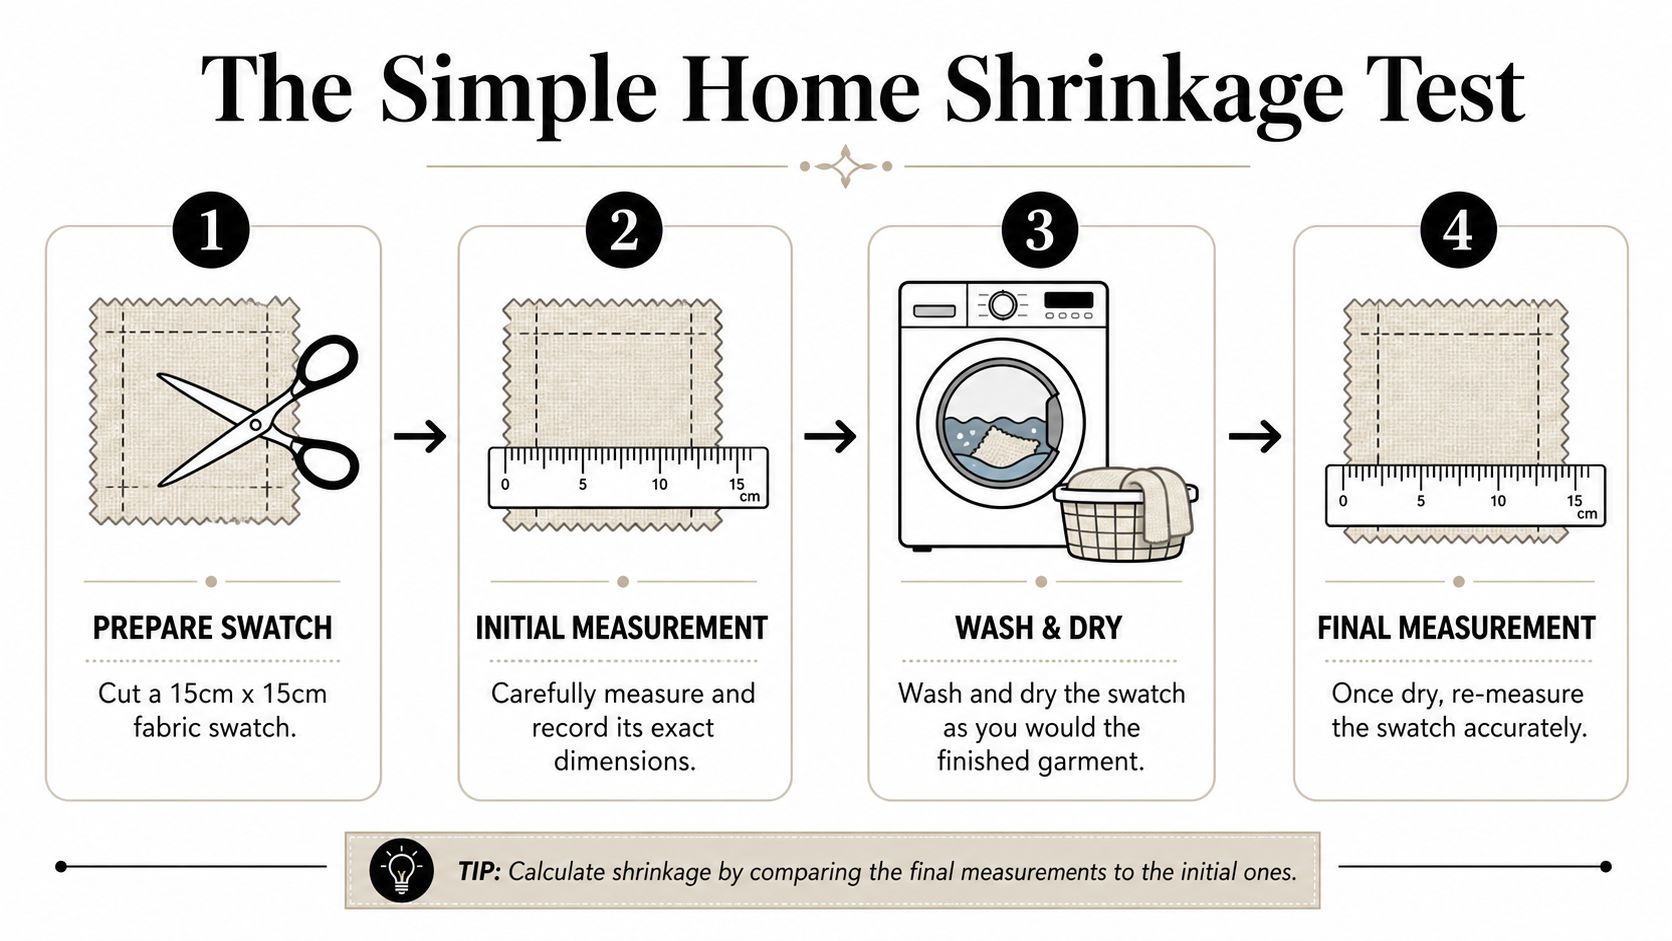
Use tools that improve accuracy without fuss:
- A clear quilting ruler so you can align straight with grain
- A fine-point permanent marker on the wrong side, if the fabric allows
- Tailor's tacks or contrasting thread for fabrics that don't like ink
- Paper and pen or your phone notes to record the before-and-after measurements
- A mesh laundry bag for slippery or fraying samples
Step by step at home
Cut a neat swatch
Keep the edges square. If the fabric frays badly, pinking shears can help the sample survive the wash long enough to be measured properly.Mark a test square or rectangle inside it
Don't rely on the cut edges alone. Edges distort. Marking an internal measurement area gives you a truer reading.Measure carefully before washing
Measure lengthwise and crosswise. Write both down straight away. If you're making trousers or a dress, lengthwise movement usually matters most. For fitted tops, width matters just as much.Wash and dry it exactly as you plan to handle the garment
If you'll machine wash cool and line dry, do that. If the finished item will be tumble dried, tumble dry the sample. The point isn't to be gentle. It's to be realistic.
After you've seen the visual summary, this short video is useful for seeing the process in motion.
What makes a home test reliable enough
A home test becomes unreliable when sewists cut a scrap, wash it casually, then try to eyeball whether it "looks smaller". That isn't a method. It's a guess.
A much better approach is to control the parts you can control:
- Mark before washing so you're comparing like with like
- Measure on a flat surface rather than in your hands
- Let the sample dry fully before re-measuring
- Press only if the finished garment would be pressed after laundering
- Test both grain directions because shrinkage often isn't even
If your fabric is precious, don't test a bigger piece. Test a smaller piece more carefully.
Good enough versus perfect
Many sewists get stuck. They think if they can't reproduce a professional fabric shrinkage test method exactly, there's no point doing anything at all.
That's not true.
A home test is good enough when it helps you make one or more clear decisions:
- pre-wash the whole length
- buy a little extra if you still can
- avoid a close-fitting pattern
- allow more hem depth or sleeve length
- switch from tumble drying to air drying after you've seen how the fabric reacts
A home test is not enough when you need certified documentation, repeatability across production, or confidence for customer care labels. That's the point where labs and standards matter.
For the home sewist, though, a carefully measured micro-test is often the difference between sewing with confidence and sewing on hope.
Understanding Professional Fabric Test Methods
Professional testing exists for a different reason than home sewing. A lab isn't trying to decide whether one blouse pattern is safe to cut. It is trying to produce repeatable results that a manufacturer, retailer, or buyer can rely on.
That need for consistency is why formal standards are much stricter than anything sensible at home.
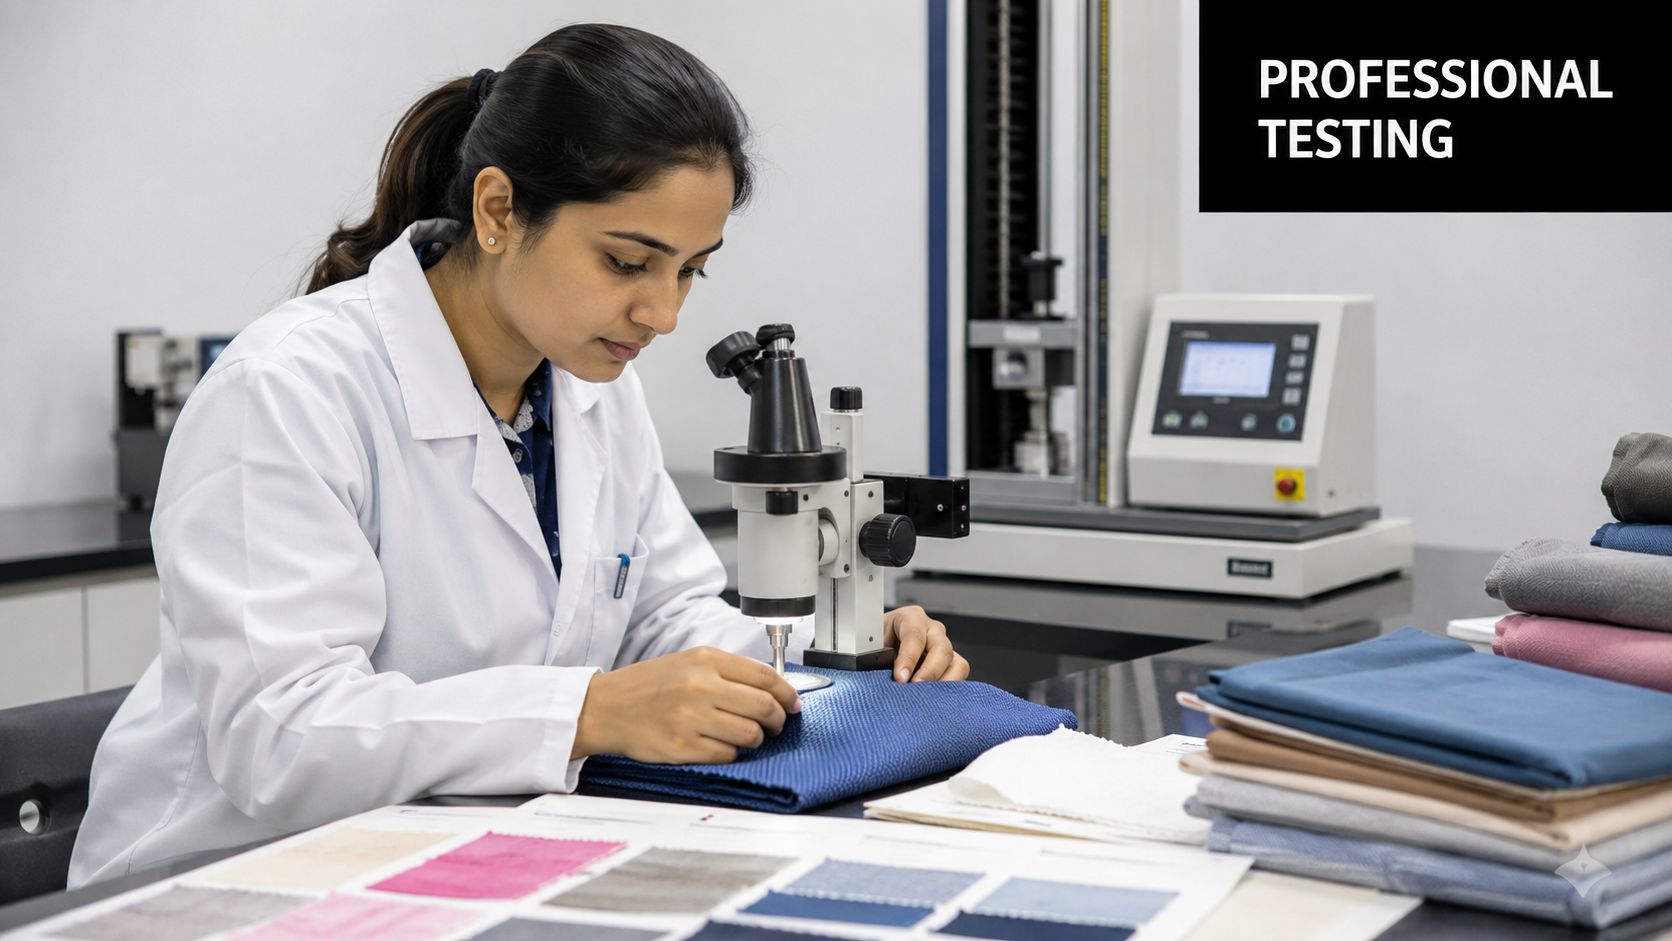
What BS 4931 requires
In the UK, the foundational standard is BS 4931:2018. According to TestingLab's overview of BS 4931 dimensional stability testing, samples are conditioned at 20 ± 2°C and 65 ± 4% relative humidity for at least 4 hours before testing, and the method often uses 50 cm × 50 cm samples with a marked test area of 35 cm × 35 cm.
Those details matter because moisture content changes how fabric measures. In other words, a lab doesn't just test the cloth. It controls the environment around the cloth.
Why labs seem so fussy
From a sewist's point of view, professional methods can look overly exacting. But every bit of fuss has a purpose.
- Conditioning the sample reduces variation from ambient moisture.
- Using standardised sample sizes makes one test comparable to another.
- Following fixed wash and drying procedures helps brands compare fabrics fairly.
- Recording measured dimensional change supports technical sheets, quality checks and claims made to customers.
This is also why lab results are more useful for production than home guesses. If a factory is cutting hundreds of garments, a small dimensional error becomes a big sizing problem very quickly.
Other professional approaches
Not all dimensional stability testing is basic wash testing. Some fabrics are also checked for how they behave with steam.
In one standardised steaming approach described by Testex on steam shrinkage testing, the steam cylinder runs at 70 g/min with a 20% tolerance, is pre-heated for at least 1 minute, and samples go through 30 seconds of steaming, 30 seconds of cooling, repeated three times, before measurement between marks initially set 250mm apart.
Professional tests remove as many excuses as possible. If the fabric changes, the lab wants to know that the fabric changed, not the room, the weather, or the technician's measuring habits.
For most home dressmakers, the point isn't to copy these methods. It's to understand why a fabric mill or technical sheet may quote shrinkage with more confidence than a seller of one-off deadstock can.
How to Calculate and Interpret Your Results
A home shrinkage test only helps if it leads to a decision you can sew from. For most projects, especially deadstock and other hard-to-replace fabrics, you do not need a lab-perfect number. You need a careful, repeatable result that is good enough to stop you cutting precious cloth at the wrong size.
The formula is straightforward: Shrinkage % = [(Initial Dimension – Final Dimension) / Initial Dimension] × 100. For home testing, accuracy matters more than complexity. Sewing and Vacuum's guide to fabric shrinkage gives the same basic calculation and reinforces the value of measuring the sample before and after washing with care.
A worked example
Say you marked a 20cm square on your sample. After washing and drying, the length measures 19.4cm and the width measures 19.8cm.
Your length shrinkage is [(20 – 19.4) / 20] × 100 = 3%. Your width shrinkage is [(20 – 19.8) / 20] × 100 = 1%.
That difference matters. A fabric with 3% length shrinkage and 1% width shrinkage will affect garment length more than body circumference. We see that show up first in dresses, sleeves, trousers, pyjama legs, and anywhere a hem lands in a specific place.
Good enough at home versus perfect in a lab
A lab aims to remove every possible variable. At home, the goal is more practical. Measure the same marked area carefully, wash it the way you will wash the finished garment, then use the result to make sensible choices.
That approach wastes less fabric.
If you are working with expensive linen, a one-off wool blend, or deadstock you may never find again, there is no prize for copying full laboratory procedure in your sewing room. There is real value in testing a small sample well, recording both directions, and accepting that a reliable home result is often all you need.
How to read the result
The percentage is only the start. The useful part is what it means for cutting and finishing.
- Low shrinkage in both directions usually means standard pre-washing is enough, and the fabric is unlikely to surprise you later.
- Higher shrinkage in length than width tells you to protect finished length. Check hems, sleeves, rises, and bodice length.
- Different results in each direction can affect balance and drape, not just size.
- A softer or denser fabric after washing means the post-wash fabric is the real fabric. Base your decisions on that version, not the one fresh off the roll.
- Growth instead of shrinkage still counts as movement. Handle layout, interfacing, and pressing with more care.
For children's sewing, this matters even more because garments are washed often and expected to keep their shape. If you are comparing fabric options for children's wear, a simple shrinkage check can save a lot of disappointment after the first laundry cycle.
Write the numbers down. Then act on them. Add a little length where it matters, pre-wash the full cut, or change your pattern choice if the fabric proves less stable than you hoped.
That is the main point of the test. A home result does not need to impress a lab technician. It needs to help you protect the garment you are about to make.
Putting Your Shrinkage Knowledge into Practice
You test a beautiful length of deadstock, get a result, and then the primary question starts. What should you do with that information before you cut into fabric you may never find again?
Use the result to protect the finished garment, not to chase lab-level perfection. In a home sewing room, a good enough test is the one that helps you avoid waste, add insurance where it matters, and choose the right project for the cloth in front of you.
A sewing-room checklist
Pre-wash the full length the way the garment will live
If the finished piece will go through a normal machine wash, test and pre-wash it that way. A gentle sample wash followed by a harder real-life laundry routine gives you a false sense of safety.Measure carefully and write it down
Use the standard shrinkage formula: Shrinkage % = [(Initial Dimension – Final Dimension) / Initial Dimension] × 100. For home sewing, the main thing is consistency. Mark clearly, measure from the same points before and after washing, and record both lengthwise and widthwise change. The AATCC overview of dimensional changes in fabrics reflects the same principle professionals use: careful marking and repeatable measurement matter more than fussing over tiny differences you cannot act on.Let the fabric become itself before cutting
Dry it fully. Press or smooth it in the way you normally would. Then look at drape, density, surface texture, and any twist or torque before laying out pattern pieces.Add insurance where the fabric proved unstable
If length shrank more than width, protect hems, sleeves, rises, bodice length, plackets, and waist placement. If the cloth tightened up overall, allow for that in ease and facings too.
Working with deadstock and mystery fabric
Here home testing earns its keep.
With deadstock, you often do not know how the fabric was finished, how it was stored, or whether the fibre content on the ticket is fully accurate. You also may not have enough yardage for a generous mistake. In that situation, a small, honest test is usually more useful than waiting for perfect certainty.
We suggest a low-waste approach:
- Start with a small offcut if you have one, especially for precious fabric.
- Wash and dry it exactly as you expect to treat the garment later.
- Check feel as well as measurements. Some fabrics do not shrink much but become denser, softer, looser, or slightly twisted.
- Decide whether the fabric still suits the pattern. A crisp shirt cloth that turns limp after washing is a different fabric for sewing purposes.
- Only then pre-wash the full piece, or change plans if the result raises concerns.
That sequence saves fabric and avoids blunt-force pre-washing when a quick check would have warned you off first.
This matters even more for children's clothes because they are washed hard and often. If you are comparing practical fibres for frequent laundering, this guide to fabric options for children's wear is a useful companion read.
What works and what doesn't
What works is matching the test to real use, then making calm adjustments. Add a little length. Choose a less fitted pattern. Pre-shrink interfacing if needed. Cut after the cloth has settled, not straight from the line or drying rack.
What causes trouble is treating the result as a technical exercise with no follow-through. A notebook full of percentages will not save a too-short dress or twisted trouser leg. Practical decisions will.
For most home sewists, the best fabric shrinkage test method is simple, consistent, and honest about how the garment will be washed. That is enough to protect a special project, especially when the fabric is rare and buying more is not an option.
If you'd like help choosing fabrics that are worth the effort, or you need tools, haberdashery, dressmaking kits, or local sewing machine support, explore More Sewing for practical supplies and inspiration that suit both careful beginners and experienced makers.
