
Guides
What Are Fat Quarters of Fabric? a UK Sewist’s Guide
You're standing in front of a bundle of coordinated prints, already matching future projects to each one. Then the practical questions arrive. Are fat quarters only for quilting? Will they work for a pouch, a child's skirt, a patchwork cushion, a bag lining? And if you buy a bundle online, will the fabric feel good in the hand when it arrives?
That uncertainty is common, especially for UK sewists who often see plenty of American quilting advice but not much guidance that reflects UK fabric widths, metric cuts, or the realities of sewing garments from pre-cuts. Fat quarters of fabric are one of the easiest ways to build a usable stash without buying large lengths, but they're also one of the easiest things to buy optimistically and use hesitantly.
The good news is that they're far more useful than many beginners realise. They're affordable, easy to mix, and ideal for trying techniques without committing to metres of fabric. They also suit experienced makers who want contrast prints, pocket linings, facings, patchwork panels, appliqué shapes, or small gifts sewn from quality cottons.
An Introduction to the Mighty Fat Quarter
A fat quarter often enters the sewing room in the most tempting way possible. It's folded neatly, colour matched beautifully, and sold as a ready-made invitation to start something. Many sewists buy a bundle because the prints are irresistible, then tuck it away because they're not fully sure what each piece can become.
That's a shame, because fat quarters of fabric are one of the most flexible cuts you can keep on hand. They suit patchwork, of course, but they also earn their place in dressmaking and everyday sewing. I'd rather see a bundle turned into zip pouches, apron pockets, quilted placemats, scrappy facings, bunting, small storage baskets, or pieced yokes than left untouched on a shelf.
What makes them so useful is the balance they strike. They're small enough to feel low-risk, but large enough to cut real pieces from. That matters when you want to test a print, practise topstitching, make a gift, or add contrast without buying more fabric than you need.
A fat quarter is often the cut that gets someone sewing again after a long pause. It feels manageable.
For newer sewists, they remove some of the pressure. You're not committing to a full dress length of fabric. You can try out quilting cotton, practise pressing, work on accurate seam allowances, and finish something in an afternoon. For more experienced makers, they're excellent problem-solvers. Need a sturdy pocket bag, a contrast binding, a patch pocket, a pieced tote panel, or an inside yoke? A fat quarter can do that job neatly.
They do come with trade-offs. Some bundles are beautifully cut and consistent. Others are creased hard, loosely woven, or not quite as substantial as you expected. If you sew garments, prewashing can also bring fraying and distortion into the mix. Those are exactly the practical details worth knowing before you buy and cut.
What Exactly Is a Fat Quarter of Fabric
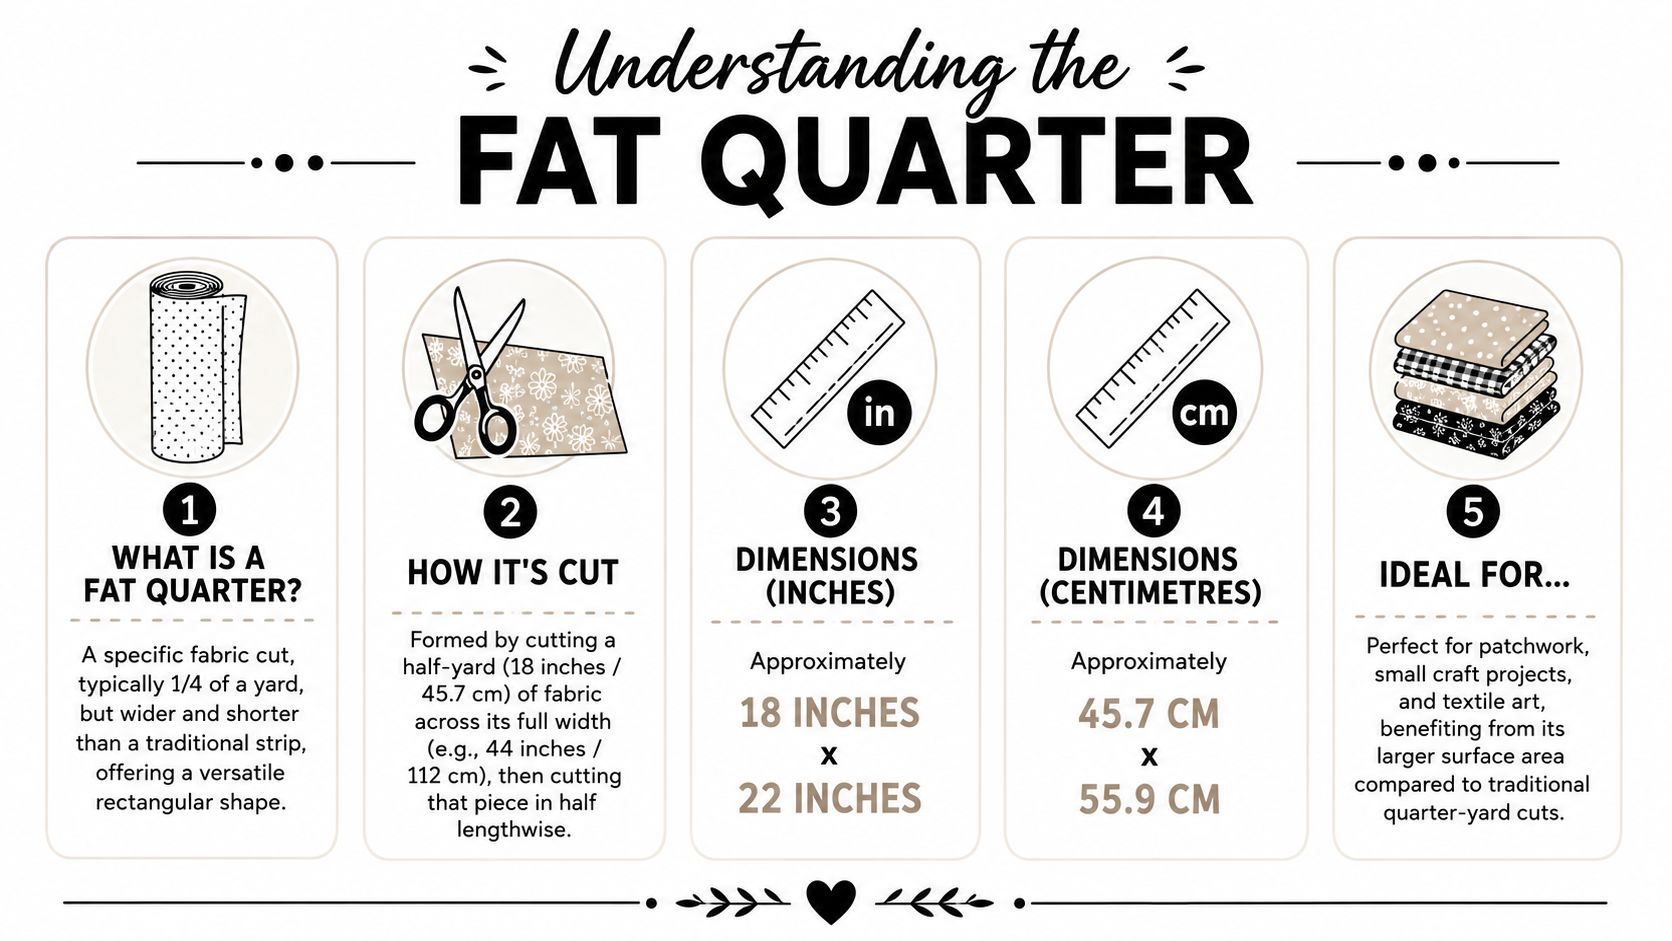
A fat quarter is not just “a quarter of fabric”. The shape is the important part.
In the UK fabric trade, a fat quarter is typically cut from a 110cm-wide bolt, giving a piece of about 45cm x 55cm (18" x 22"), which makes it wider and more versatile than a standard quarter-yard cut of 9" x 44" according to Dalston Mill Fabrics' explanation of fat quarter dimensions. That extra width is why sewists keep reaching for them.
The easiest way to picture it
Think of two ways to cut cake.
A standard quarter cut is the long, thin sliver. You've still got the right amount overall, but the shape limits what you can do with it. A fat quarter is the squarer slice. Same basic share of fabric, far more practical on the cutting table.
That shape gives you room for:
- Larger pattern pieces such as pouch panels, apron bibs, patch pockets, small cushion fronts, and bag linings
- Fussy cutting when you want to centre a motif, frame a floral, or place a novelty print neatly
- Less waste on smaller makes, because you're not fighting a long, awkward strip
How the cut works in practice
The UK method matters because most quilting cottons here are sold on widths that suit this cut well. A fat quarter comes from halving a half-metre piece vertically, rather than slicing a narrow strip off the end. That's what creates the more usable rectangle.
If you lay a fat quarter next to a standard quarter-yard, the difference is obvious at once. The thin quarter is useful for binding, strips, or very narrow pieces. The fat quarter handles shapes that need width.
Practical rule: If your pattern piece looks squat rather than long, a fat quarter is usually the better bet than a narrow quarter cut.
When that shape helps most
The biggest advantage shows up when you're cutting around a print or trying to fit one self-contained piece onto the fabric. A pouch back, a pieced tote square, a hat band, or a child's patch pocket often fits comfortably on a fat quarter in a way that would be frustrating on a long strip.
It also helps with planning. Because fat quarters of fabric are sold in standardised cuts, they're easier to mix across collections. You can buy six different prints for one patchwork project, then use the leftovers in smaller accessories instead of ending up with a pile of mismatched scraps.
If you mainly sew garments, don't dismiss them as “quilt fabric cuts”. They're excellent for contrast collars, facings, pocket linings, waistbands, fabric-covered buttons, and pieced yokes. They won't replace buying fabric by the metre for a full dress or shirt, but they're brilliant for details.
Creative Project Ideas Beyond the Quilt
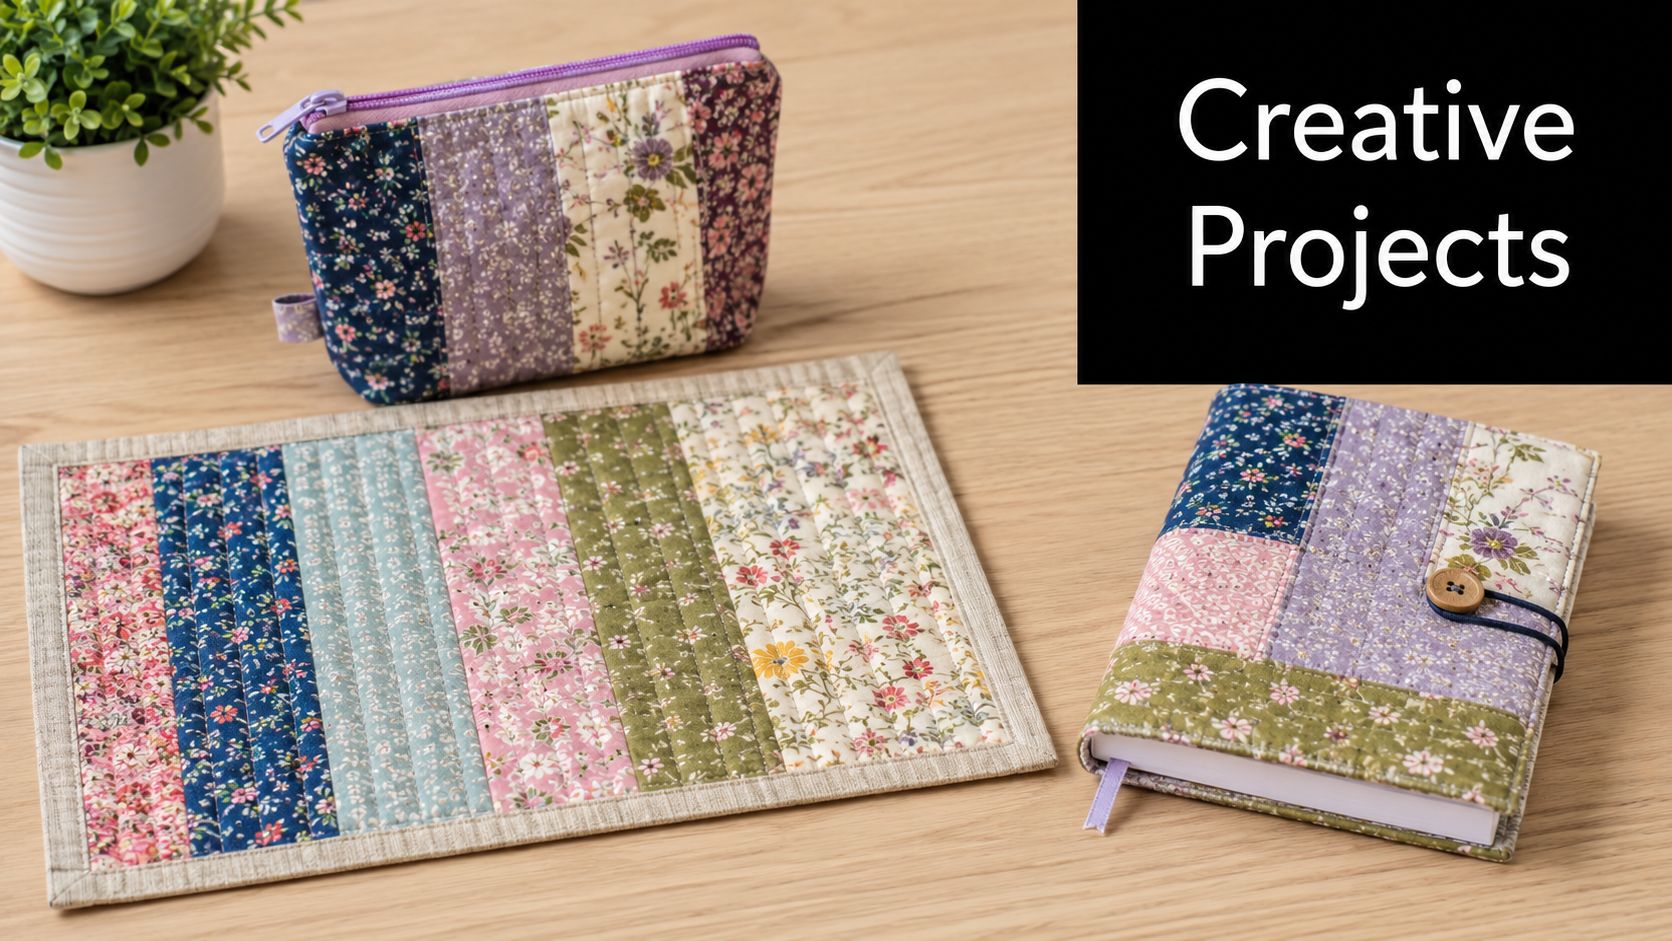
A lot of sewists buy fat quarters of fabric for quilting plans that never quite happen. The better approach is to treat them as flexible building blocks. One print can become a pouch. Three can become a patchwork front panel. A bundle can become a set of useful household makes that gets finished.
Projects that suit fat quarters well
Some projects are almost made for this cut.
- Zipped pouches work especially well because you can use one print outside and another for the lining, then add a third for tabs or binding.
- Patchwork cushion covers let you mix several fabrics without needing large repeats.
- Children's aprons and simple accessories are ideal because the pieces are small and playful prints shine.
- Tote bags can use fat quarters for outer panels, pockets, contrast bases, or linings.
- Fabric baskets, placemats, coasters, and mug rugs are satisfying weekend makes and good for practising accuracy.
- Garment details such as facings, pocket bags, inside waistbands, collars, cuff details, or pieced yokes make excellent use of smaller cuts.
A simple patchwork cushion is a great first project. Choose four or more fat quarters, cut equal squares or rectangles, arrange them on the floor or table until the colours balance, then stitch row by row. Add a plain backing from stash fabric if you have it, or piece the back from leftovers and use an envelope closure.
Using fat quarters in garment sewing
Many tutorials stop short of addressing a key issue. Garment sewists often find that fat quarters arrive tightly folded, heavily creased, and prone to fraying at the cut edges. That's a real issue, and it's one reason some people give up on using them for clothing details.
As noted in this discussion of fat quarter prep problems for garment sewing, sewers using fat quarters for garments often run into creasing and fraying that simple prewashing doesn't solve, and UK-specific guidance on flattening, starching, or stitching cut ends before machine washing is hard to find.
What works better in practice is a gentler prep routine:
A prep routine that usually behaves well
Press first, wash second if needed
Open the fold lines and press with steam before you do anything else. Deep-set creases are easier to remove while the fabric is still dry and flat on the ironing board.Use spray starch or starch alternative lightly
This helps if you're cutting crisp shapes for collars, pockets, facings, or patchwork. Don't soak the fabric. A light mist is enough to improve handling.Secure the raw edges before machine washing
If the fabric frays easily, run a line of stay-stitching close to the edge or use a quick zigzag around the outside. It takes a few minutes and can save a lot of thread tangles later.Consider hand washing instead
If a print looks delicate, or the weave feels loose, hand washing is often kinder than a full machine cycle.
Here's a useful visual reference for small makes and layout ideas:
If a fat quarter is fighting you at the ironing board, don't cut immediately. Press, let it cool flat, then press again. Fabric remembers.
What doesn't work so well
Very structured garments with large uninterrupted pieces don't suit fat quarters unless you're intentionally piecing. A full shirt front, an adult skirt panel, or sleeves usually need yardage, not pre-cuts. Stretch fabrics also behave differently from quilting cotton, so the typical fat quarter bundle won't solve every garment idea.
But for details and combined projects, they're excellent. One of the most effective habits is to pair fat quarters with a supporting plain fabric. Use the prints where they'll be seen and let a solid or blender carry the larger sections. That gives you more options and keeps the project from looking overworked.
How Many Fat Quarters Do You Need
This is the question that saves money and disappointment. Buying too few means a stalled project. Buying too many leaves you with an expensive pile of leftovers you didn't plan to use.
The most useful rule is simple. For UK quilting and dressmaking, one yard (36" x 44") equals exactly four fat quarters, so a project that needs 2 yards requires 8 fat quarters according to Mrs Quilty's guide to calculating fat quarters for quilts. Keep that rule in your head and you can do quick conversions while shopping.
A quick way to calculate
If a pattern gives a fabric amount in yards, multiply by four to estimate the number of fat quarters needed.
That won't replace checking pattern-piece shapes, but it gives you a practical starting point. It's especially handy when you're planning a patchwork project, a scrappy tote, or a mixed-print set of home accessories.
Fat Quarters Needed for Common Quilt Sizes No Border
| Quilt Size | Approx. Dimensions (cm) | Fat Quarters Needed |
|---|---|---|
| Cot quilt | 75 x 100 | Varies by block size and layout |
| Lap quilt | 125 x 150 | Varies by block size and layout |
| Single bed topper | 170 x 220 | Varies by block size and layout |
The exact count depends on the size of the units you cut, how much contrast you want, and whether you're adding sashing, borders, or backing from separate fabric. For quilting, I always suggest laying out the block plan on paper first. Even a rough sketch helps you see whether you need a wide mix of prints or repeats of the same few fabrics.
Useful planning examples
For non-quilt projects, think in terms of piece size rather than strict formulas.
- A simple tote bag often takes 2 to 3 fat quarters, depending on whether you're using them for the outer, lining, and pockets.
- A set of placemats usually needs several fat quarters if you want each mat different, or fewer if you repeat fabrics.
- A patchwork cushion cover may only need a handful of coordinated pieces, plus backing fabric from stash.
- A child's apron can often be made from a small selection of prints if you piece pockets or ties creatively.
Buy for the largest piece first. The accents are easy to improvise later.
A common mistake is counting total area without thinking about shape. Even if the math looks right, a piece may not fit if it needs more width than the fat quarter offers. That's why tote panels, pockets, and pieced garment details are usually safe choices, while larger dress sections are not.
If you're ever unsure, cut paper templates first and place them on a rectangle the size of your fat quarter. It's old-fashioned, but it works.
A Smart Shopper's Guide to Buying and Storing
Not all fat quarters are equally useful. Some feel crisp, stable, and worth every penny. Others look lovely folded but disappoint as soon as you open the bundle. That gap matters more than most buying guides admit.
Some UK fat quarters are cut slightly larger than US ones, with 50cm x 56cm often mentioned against 45cm x 55cm for US cuts, but size alone doesn't guarantee quality. As The Fabric Fox notes in its guide to choosing fat quarters, shoppers often encounter inconsistent fabric weights and flimsy pre-cut bundles, and some fabrics are described as thin enough to see through.
How to judge quality before you buy
If you're shopping in person, use your hands first.
- Check the weight. Quilting cotton should feel present, not limp.
- Hold it to the light. If the weave looks sparse and the print loses body, it may not wear or quilt as well as you'd like.
- Look at the print clarity. Muddy outlines and uneven colour can make a project look cheaper than the sewing deserves.
- Inspect the cut. A skewed cut can make accurate piecing more annoying than it needs to be.
If you're buying online, read the fabric description carefully and favour shops that tell you what the base cloth is. “Cotton” on its own doesn't tell you much. Poplin, quilting cotton, lawn, brushed cotton, and canvas all behave differently.
Bundles or singles
Curated bundles are brilliant when you want instant colour harmony. They're quick, they look beautiful, and they remove some of the stress of pairing prints. The downside is that you may love only part of the selection, or discover that one weak-quality print affects the whole bundle.
Choosing individual fat quarters gives you more control. You can build around one hero print, pick a proper balance of scale, and avoid novelty fabrics that don't fit your style.
Thin fabric can still work for linings, pieced details, or decorative items. It's a poor choice for anything that needs body.
Storage that keeps them usable
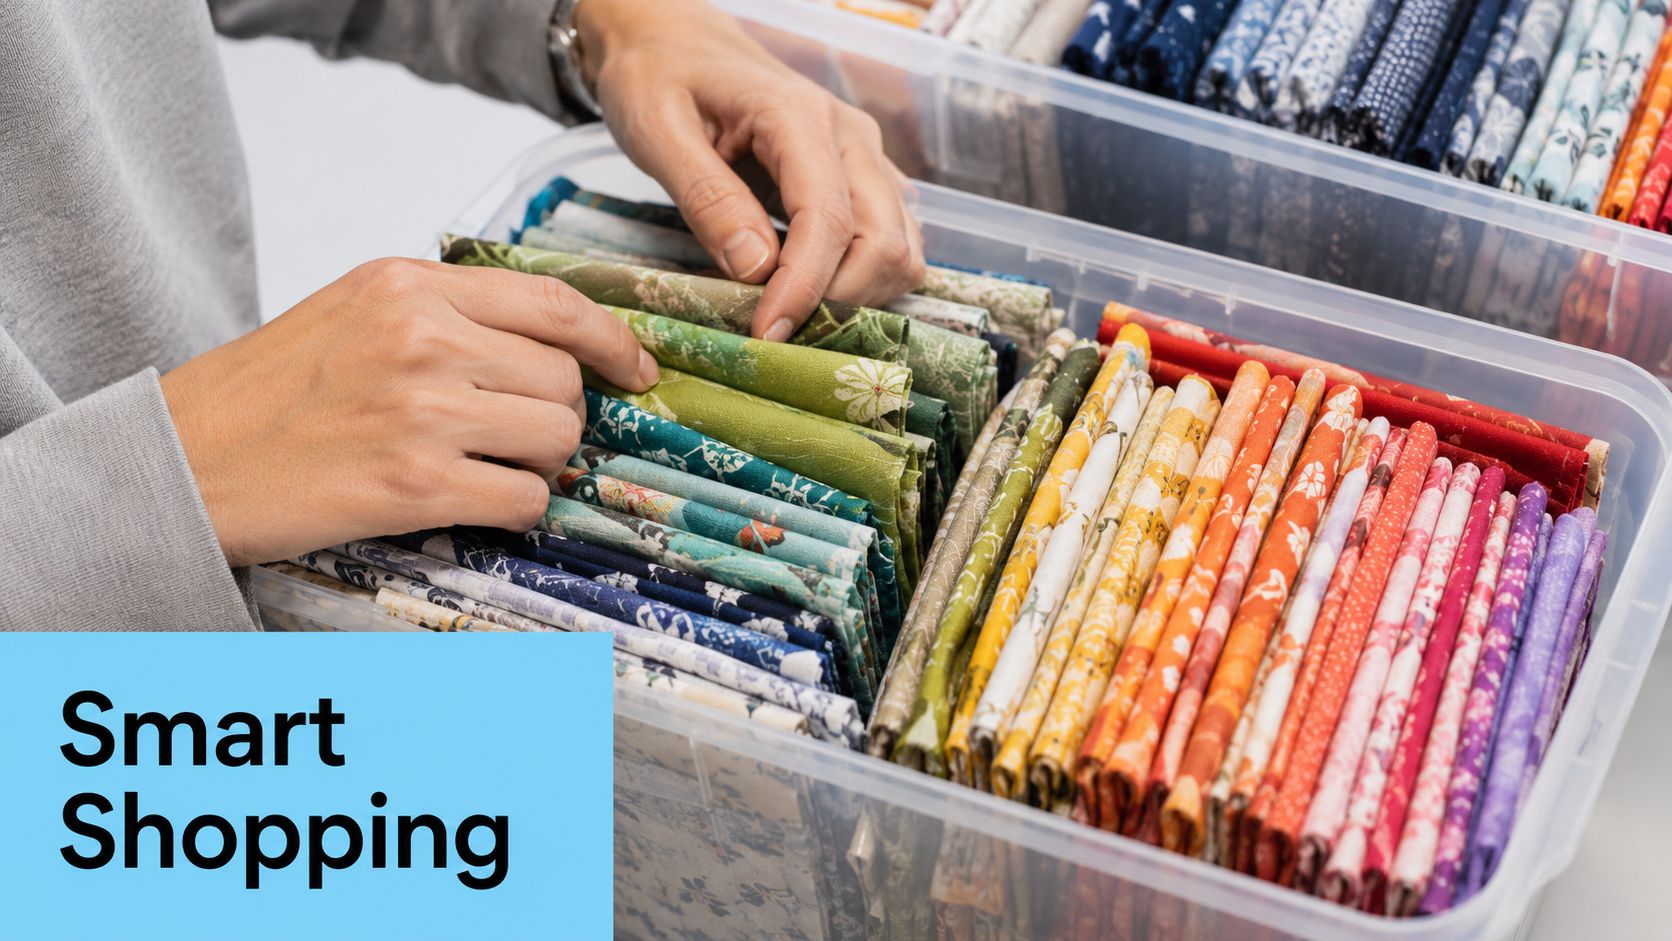
Storage affects whether you use them or forget them.
A practical setup looks like this:
- Fold consistently so each piece is visible at a glance
- Group by colour family if you sew intuitively
- Group by theme or base cloth if you plan projects methodically
- Store upright in shallow bins or drawers so you can flick through them rather than dig through a stack
Rolling can work for very small spaces, but folded storage usually keeps the fabric flatter and makes print identification easier. If you know a fat quarter is destined for garment details, keep it with your pattern or notion pouch instead of filing it away with the general stash. That simple habit makes projects far more likely to happen.
Your Fat Quarter Questions Answered
Can fat quarters be used for dressmaking
Yes, but usually for parts of garments rather than the whole thing. They're excellent for facings, pocket bags, collars, cuff details, yokes, inside waistbands, appliqué, and pieced panels. If you want to make a full adult garment, you'll generally need fabric by the metre unless the design is intentionally patchworked.
Are fat quarters only quilting cotton
No. Quilting cotton is the format commonly associated with fat quarters of fabric, but the idea of a pre-cut piece can apply more broadly. What matters is how the fabric behaves. A crisp woven suits pouches, patchwork, and structured details. A drapier fabric suits soft accessories or contrast elements, but may be less forgiving for beginners.
Should you prewash fat quarters
Usually yes, if the finished item will be washed, but handle them thoughtfully. If the cut edges look prone to fraying, secure them first and avoid rough washing. For projects that need precision, many sewists prefer to press and starch before cutting so the fabric behaves better on the table.
Why do some bundles feel better than others
Because pre-cut bundles can vary in weave, finish, and consistency. Two prints can look coordinated in a photo but feel quite different in person. One may be smooth and stable, another light and slightly flimsy. That difference shows up quickly when you press, cut, and topstitch.
Are fat quarters good for beginners
They're one of the best starting points. They let you practise accurate cutting, pressing, and seam work on a manageable scale. A zipped pouch, coaster set, drawstring bag, or patchwork cushion teaches a surprising amount without the pressure of fitting a full garment.
What's the best first project
Start with something useful and forgiving. Good options include:
- A zip pouch for practising seams, interfacing, and topstitching
- A simple tote for learning straps, boxed corners, and linings
- A cushion front for trying colour placement and patchwork
- An apron for working with ties, hems, and pockets
How do you stop them becoming a “saving for best” stash
Use one immediately. Don't wait for the perfect quilt plan. Pick the least precious print in the bundle and make something small this week. Once the first cut is made, the rest of the bundle stops feeling too special to touch.
If you're ready to turn inspiration into a finished project, More Sewing is a reliable UK destination for quality fabrics, haberdashery, sewing kits, sample swatches, and practical help for makers at every level. Whether you're hunting for beautiful cottons, dressmaking fabrics, or the tools to get a project over the line, it's well worth a browse.
