
Dressmaking
How to Attach Elastic Waistband: A Practical Garment-Making
You've sewn the trousers, skirt or pyjama bottoms, and the final waistband looks deceptively simple. Then the elastic twists inside its casing, the gathers bunch on one side, or the finished garment feels either loose or uncomfortably tight. The reliable way to learn how to attach an elastic waistband isn't to memorise one method. It's to match the elastic type, fabric and waistband construction before you stitch.
Elastic waistbands are technical textile components, not merely a shortcut for home sewing. The UK standards record includes BS AU 258, issued for elasticated straps in 1995, and BS EN ISO 20932-3:2020, the UK implementation of an international method for testing elasticity and related properties in narrow fabrics. The newer standard superseded BS EN 14704-3:2006, reflecting changes in how stretch, recovery and wear are assessed (British Standards Institute standards record). Your home-made waistband still needs the same practical qualities: it should stretch comfortably, recover after wearing, stay flat and survive laundering.
Setting Up Your Sewing Space and Tools
A smooth waistband starts before the machine is switched on. Clear a cutting mat, press the fabric, check your measurements and place every tool within reach. I find that this small amount of organisation prevents the most frustrating interruption, reaching for a bodkin while holding a partly stitched casing under the presser foot.
Prepare the work area in a practical order:
- Cutting surface: Use a clean cutting mat so elastic and fabric lie flat.
- Cutting tools: Keep sharp fabric scissors and a rotary cutter with a fresh blade nearby. Scissors are often easier for short elastic cuts, while a rotary cutter can give a clean, square edge when the elastic is held securely.
- Marking tools: Fabric chalk or a water-soluble pen will let you mark quarter points without leaving a permanent line.
- Holding tools: Pins and clips are useful for different fabrics. Clips are particularly gentle on bulky layers and delicate knits.
- Threading and hand finishing: Set out a safety pin or bodkin for feeding elastic and a hand-sewing needle for closing a casing opening.
Place the sewing machine beside an ironing station, with a pressing cloth and steam ready. Pressing the folded casing before stitching makes the fold easier to control and helps you see whether the channel is wide enough for the elastic.
Workshop habit: Choose thread to match the main garment fabric, not the elastic. The thread should disappear into the garment, while the elastic should remain free to stretch.
Test straight and zigzag stitches on a fabric scrap that includes the same layers as the waistband. Check the stitch tension, length and width, then record the settings in a notebook with the elastic width and fabric type. Keep trimmed elastic in a small basket so it doesn't tangle around pins, scissors or machine leads. These notes turn a successful waistband into a repeatable technique rather than a lucky result.
Choosing Elastic Types, Widths and Casings
The elastic should suit both the fabric and the way the garment will be worn. Woven elastic keeps its width as it stretches, so it works well inside an enclosed casing in medium-weight woven garments. No-roll versions are useful where the waistband needs stability, while soft or plush-backed options are kinder against skin.
Knitted and extra-soft elastics suit jersey pyjamas, leggings and loungewear. They're comfortable and flexible, but the waistband construction must support the fabric rather than pull it out of shape. Braided elastic can feel soft and economical, although it narrows when stretched and has less recovery strength, so it needs careful handling and is better suited to lighter casings or children's garments.
UK haberdashery suppliers list woven, knitted, non-roll, extra-soft and buttonhole elastics in widths from 13 mm to 38 mm, while other commonly stocked waistband products include finer widths for delicate garments (UK waistband elastic selection). Buttonhole elastic is especially useful where the wearer's size may change, because it allows the waistband to be adjusted through a button sewn inside the casing (buttonhole elastic for adjustable waistbands).
| Elastic Type | Common Widths | Best For | Recovery After Stretch |
|---|---|---|---|
| Woven or non-roll | Medium to wide | Woven skirts, trousers and stable casings | Holds width and generally recovers reliably |
| Knitted or extra-soft | Fine to medium | Jersey pyjamas, loungewear and close-fitting garments | Comfortable, flexible recovery |
| Braided | Fine to medium | Light casings and children's garments | Can narrow and recover less strongly |
| Buttonhole | Medium widths | Children's wear, maternity and adjustable garments | Depends on the product, but permits fit changes |
| Plush-back | Fine to medium | Lingerie and skin-contact waistbands | Soft against the body |
Choose the width before drafting or folding the casing. A UK garment-construction calculator gives the mechanical rule casing width equals elastic width plus a fold-over allowance, with a default fold-over allowance of 1.5 cm (elastic casing calculator). If the casing is too narrow, the elastic will buckle or twist. If it's excessively wide, the waistband can collapse inside the channel.
Measuring, Marking and Cutting the Elastic
Start with the pattern. If it provides a finished elastic length, use that as your starting point, but still test the elastic around the wearer. If you're calculating the length yourself, measure around the natural waist or the position where the garment will sit. Keep the tape snug, not tight, and don't pull it into the body.
A UK garment construction calculator gives elastic length = waist measurement × 0.82, with a commonly used shortcut of approximately 80 to 85% of the waist measurement (UK waistband calculator). This is a useful starting rule, not a substitute for a comfort check. A different sewing guide recommends cutting elastic 2 to 3 inches, or 5 to 7.5 cm, shorter than the waist measurement, then adding about 1 inch, or 2.5 cm, for overlap when applying elastic directly to a raw edge. It also advises a larger reduction for braided elastic because its recovery is weaker (direct-application elastic guidance).
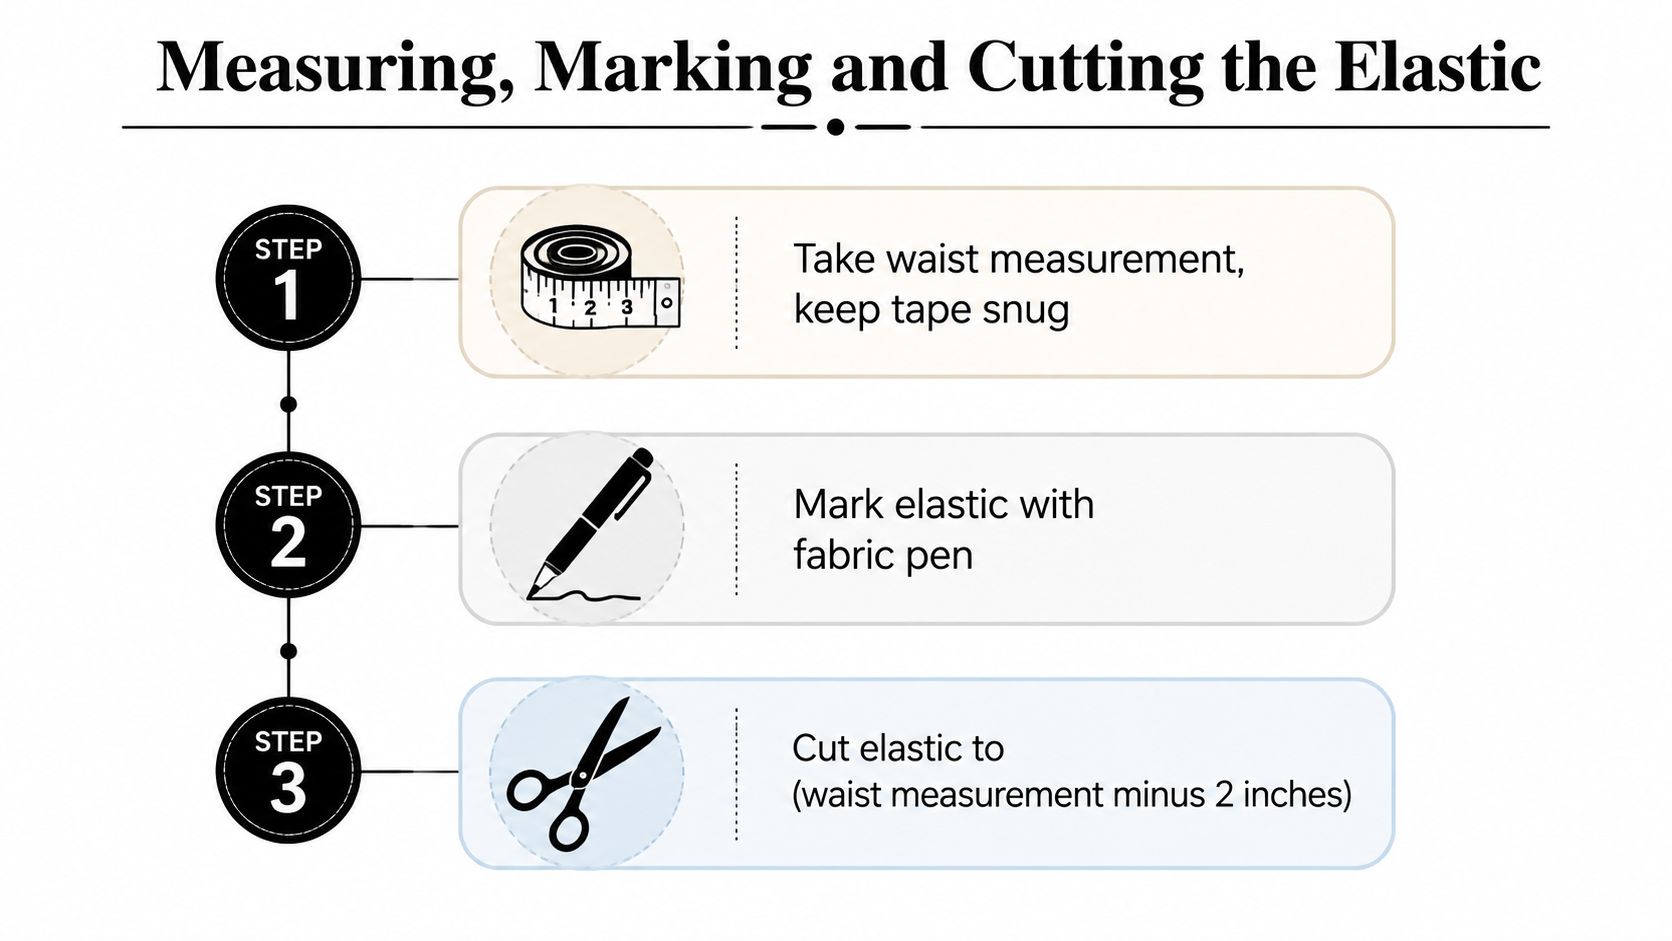
Use this sequence at the cutting table:
- Measure the wearer: Wrap the tape around the intended waist position and note the measurement.
- Read the fabric: Woven fabrics usually need a different reduction from stretchy knits. Consider the elastic's recovery, width and whether it will be enclosed or stitched directly to the garment.
- Cut cleanly: Place the elastic flat and cut straight across with sharp scissors or a rotary cutter. An angled edge can form a hard corner inside the casing.
- Add the joining allowance: If the method requires overlap, include it in the cut length rather than trimming it away later.
- Record the decision: Write the final length, elastic type, fabric and reduction on a small card.
Now mark the elastic and garment waistline into quarters. Fold the elastic loop to find the centre front and centre back, then mark the two side points. Do the same with the garment opening, using the side seams and centre points as guides. These marks divide the distribution into manageable sections and prevent all the fullness from collecting at the front.
The UK Sewing Directory recommends cutting elastic long enough for comfort plus 1¼ inches, or 3 cm, for joining, overlapping the ends by the same amount, and marking both elastic and waistband into quarters before attaching (casing waistband method). Follow the measurement system specified by your chosen method, and keep the joining allowance consistent.
Sewing an Enclosed Casing and Channel Waistband
A child's pyjama trouser is a friendly project for learning the enclosed casing method. The waist edge should first be finished according to the pattern, then pressed towards the wrong side. I like to press the fold carefully so the waistband feels soft and even in my hand, with no bulky ridge along the top edge.
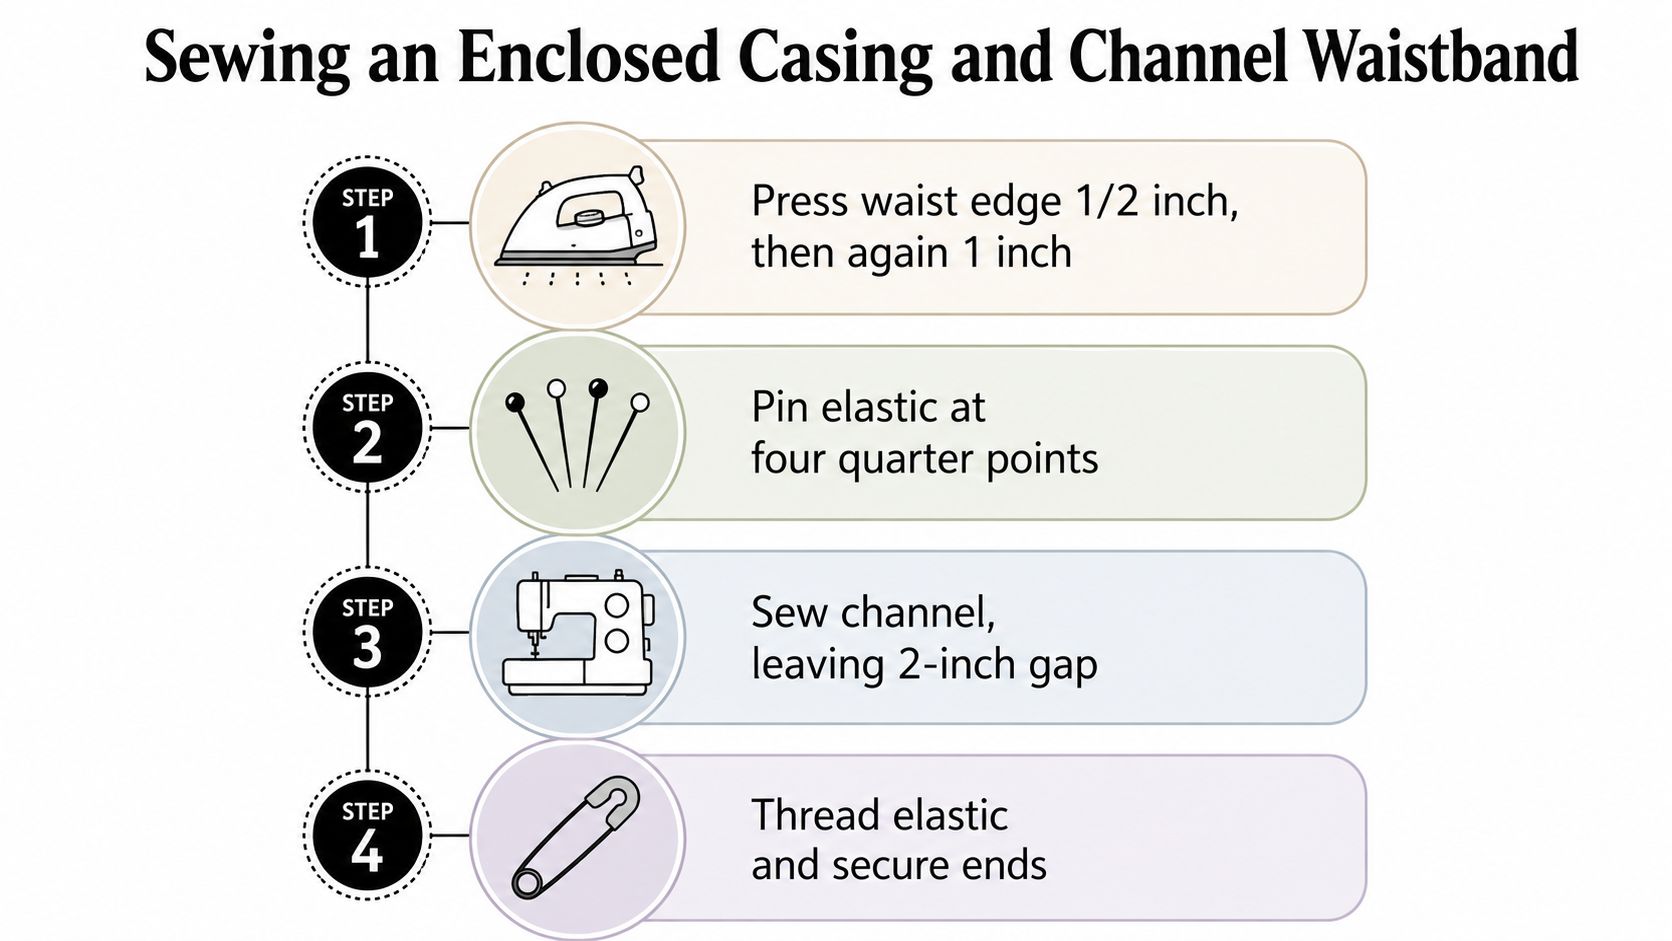
For a separate waistband casing, stitch the waistband seam first, leaving an opening of about 5 cm for threading. Press the seam, attach the casing to the garment and turn the folded edge inwards. Check that the channel is wide enough for the elastic before closing the stitching line.
A worked pyjama trouser example
Thread a bodkin or safety pin through one end of the elastic. Push it through the opening, keeping the free end outside the casing so it can't disappear into the tunnel. As the elastic travels around the waist, feel for twists through the fabric. The elastic should lie flat, with the same side facing upwards throughout.
Once both ends emerge, overlap them by 1¼ inches, or 3 cm, and secure the join with a regular straight stitch. Add a firm bar-tack or a box-and-cross reinforcement if the waistband will receive frequent pulling. Avoid relying on a single short line of stitching, because the join carries the tension of the whole loop.
Pull the waistband gently so the elastic disappears inside the casing, then close the gap with a hand slipstitch or ladder stitch. Before trimming threads, stretch the finished waistband around your hand. The gathers should distribute evenly, and the elastic should spring back rather than remain extended.
The Sewing Directory recommends quarter-marking the elastic and waistband, pinning those points first, then stretching and pinning evenly between them while machine-stitching with a narrow seam allowance (step-by-step elastic casing advice). This staged tension matching is much safer than trying to stretch the entire circumference at once.
Tactile checkpoint: If one section feels thicker than another, stop before closing the opening. A twist is easier to correct while the elastic ends are still accessible.
A channel waistband uses the garment itself as the casing. Fold a single waist edge to the wrong side, stitch the lower edge to form the tunnel, then feed the elastic through. This finish suits prairie skirts and gathered dirndl-style garments where a visible line of stitching can look intentional. Use a slightly longer stitch for stable woven fabric, a matching thread and a walking foot when several layers shift under the presser foot.
For more help handling stretch fabrics before attempting a knit waistband, this pro minky sewing tutorial offers useful guidance on stabilising and controlling stretchy materials.
Stretching Elastic Onto Knits and Finishing Flat Waistbands
Jersey leggings and jersey shorts usually benefit from elastic sewn directly to the wrong side of the waistband edge. This method removes a separate casing and lets the elastic support the knit close to the body. It's particularly effective when the fabric has enough stretch to pass over the hips without needing a bulky opening.
Begin by joining the elastic into a loop. Divide both the loop and the garment waist into quarters, then align the marks with the wrong side of the fabric. Hold the elastic taut between each pair of pins while sewing. Don't stretch the fabric independently of the elastic, because that can create a wavy or distorted waist edge.
A serger gives a flexible enclosed edge, but a domestic machine can also work. Use a narrow zigzag or another suitable stretch stitch, and test it on a scrap first. A straight stitch can restrict the elastic and may snap when the waistband stretches. Woolly nylon thread can soften the inside and reduce the harsh feel of the seam against skin, particularly in close-fitting garments.
Matching the finish to the garment
A folded fabric band can enclose the elastic neatly. Sew the band to the garment, place the elastic against the wrong side, fold the band over and stitch through the layers while maintaining even tension. On viscose jersey, use clips and support the fabric so it doesn't slide into the machine throat. Stable cotton knit is easier to control, while ribbing can stretch readily and may need light interfacing where the waistband joins the garment.
A visible flat-elastic finish takes a different approach. Place the elastic on the right side of utility trousers or a paper-bag waist, then topstitch it in parallel rows. This turns the elastic into a design feature rather than hiding it inside a casing.
| Method | Best Fabric | Stitch Choice | Finish on Right Side | Ideal Garment |
|---|---|---|---|---|
| Stretched-on elastic | Jersey, rib knit and activewear fabrics | Serger, narrow zigzag or stretch stitch | Usually hidden | Leggings and jersey shorts |
| Folded fabric band | Stable cotton knit and soft jersey | Stretch stitch or serger | Clean fabric waistband | Pyjamas and loungewear |
| Visible flat elastic | Stable woven fabric and firm utility cloth | Zigzag or parallel topstitching | Elastic remains visible | Work trousers and paper-bag waists |
| Fold-over elastic | Fine knits and skin-contact edges | Zigzag or cover-style stitching | Decorative or exposed edge | Underwear and soft shorts |
For comfort-led makes, select soft fold-over elastic. Plush-back elastic is more suitable for lingerie, while ribbed knit bands work well for cuffs and coordinated knit garments. The correct product won't compensate for poor tension, but it makes the construction more forgiving.
Common Mistakes, Quick Fixes and Troubleshooting
A waistband rarely fails because the final line of stitching is difficult. More often, the chosen elastic doesn't suit the fabric, the reduction was too aggressive, or the elastic travelled through the casing with a twist. UK guidance distinguishes woven construction from knit and activewear construction, recommending a casing for woven fabrics and beginners, and direct attachment for knits and activewear (construction guidance for elastic waistbands).
| Symptom | Likely Cause | Quick Fix |
|---|---|---|
| Elastic twists inside the casing | It turned while being threaded or the casing is too loose | Unpick the opening, flatten the elastic and secure the waistband at key seams |
| Waistband rolls | Elastic is too narrow, over-reduced or unsupported | Replace it with a more suitable width or reduce the tension |
| Gathers sit higher at one side | Quarter marks weren't matched or the elastic was stretched unevenly | Reopen the casing and redistribute each quarter |
| Recovery disappears after washing | Elastic quality or heat exposure isn't suitable | Replace the elastic and test laundering on a sample first |
| Join snaps at the overlap | The overlap is too short or the stitching doesn't cross the full width | Rejoin with the correct overlap and reinforce securely |
| Waistband feels tight | Too much reduction or elastic with strong recovery | Recut with less reduction and retest around the wearer |
| Waistband feels loose | Too little reduction or elastic with weak recovery | Recut shorter, following the chosen elastic's behaviour |
If the elastic twists, don't try to flatten it by stretching the waistband harder. Open the casing with a seam ripper, pull the elastic partly out and correct the loop by hand. For direct application, a light zigzag can preserve stretch where a straight stitch would make the seam rigid.
Prevention is simpler than repair. Pre-wash the fabric, mark quarter points with a washable pen, test the stitch on a scrap and press the finished waistband flat before the first wear. Also check the elastic after laundering, because a waistband that feels fine at the machine can behave differently once it has been washed and dried.
Before you close the casing: Rotate the waistband slowly and confirm that the elastic lies flat at the front, back and both sides.
Buttonhole elastic provides another solution when a fixed measurement won't serve the wearer well. It allows adjustment inside the casing, making it useful for children's garments, maternity and postpartum clothing, or any piece intended to accommodate changing body measurements (adjustable buttonhole elastic).
Pulling It All Together and Next Projects
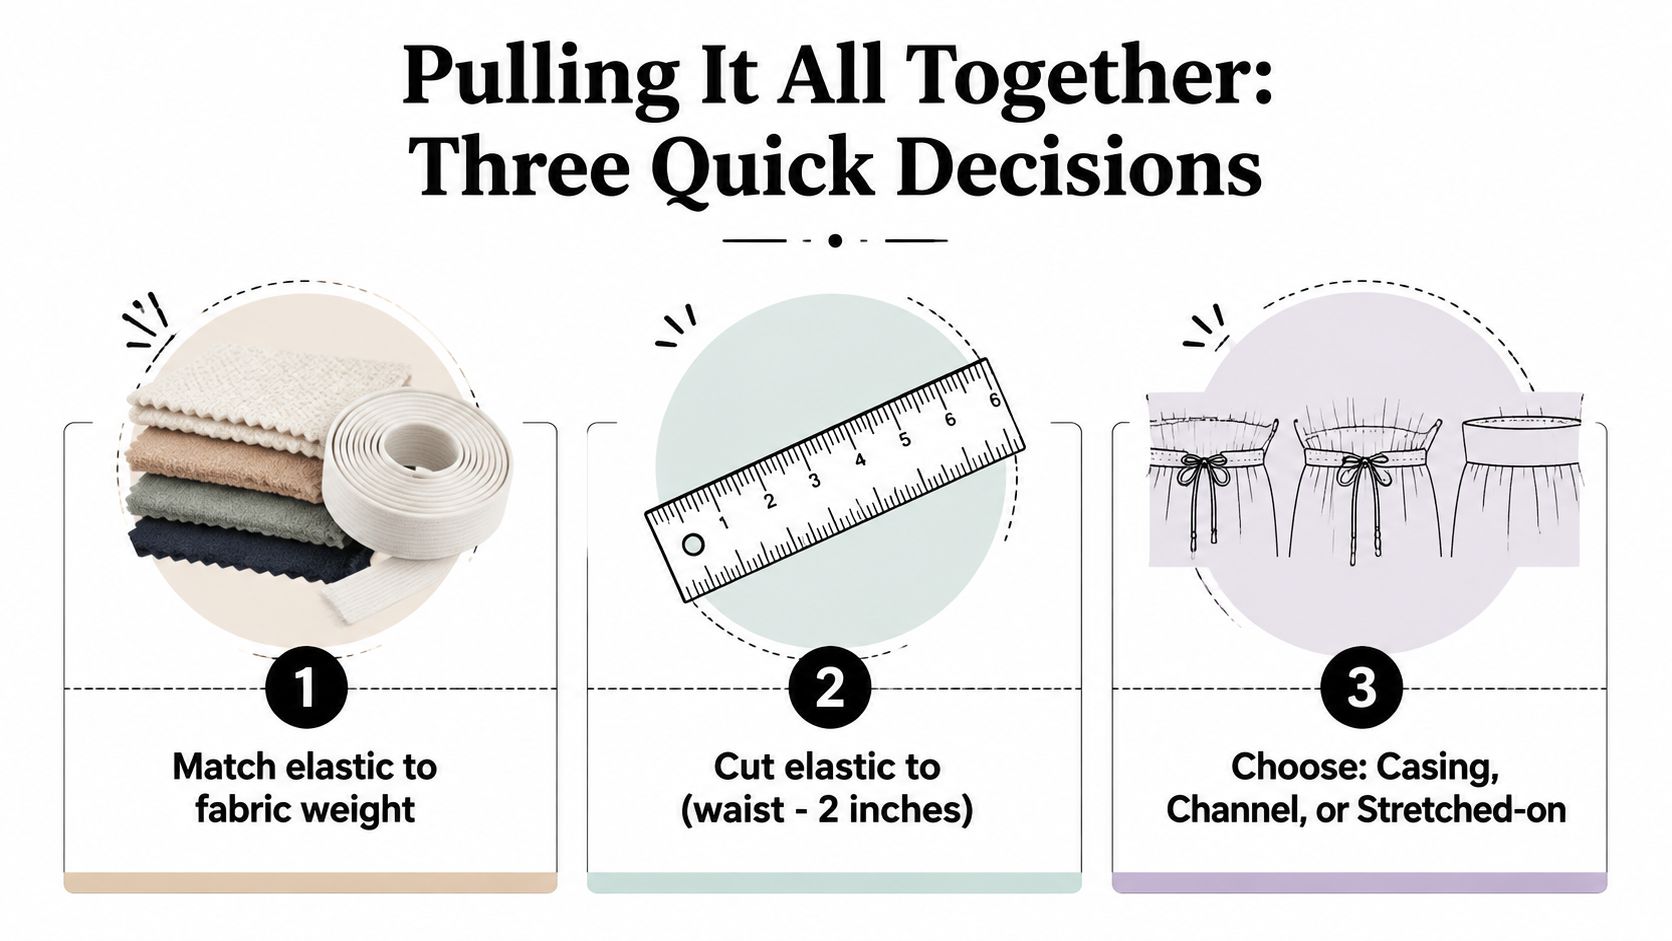
Good waistband construction comes down to three decisions:
- Match the elastic to the fabric weight and purpose. Use stable woven or non-roll elastic in a woven casing, soft knitted elastic against comfortable jersey and adjustable buttonhole elastic where fit may change.
- Calculate a comfortable length. Start with the pattern or a reliable calculation such as waist measurement multiplied by 0.82, then test the result on the wearer (UK waistband length calculator).
- Choose the attachment style that suits the stretch. A casing hides elastic neatly, a channel creates a controlled tunnel, and stretched-on application supports knit garments directly.
For example, poplin pyjama trousers pair naturally with flat encased elastic. Jersey leggings usually sit better with stretched-on elastic and a flexible stitch. A denim skirt can use a fabric-covered channel, giving the waistband a clean appearance while keeping the elastic contained.
Once you've made one successful waistband, repeat the skill in a child's gathered skirt. Then try a baby grow with front-applied elastic or convert a wrap dress into an elastic-back style. Each project changes the fabric and fit slightly, but the underlying choices remain familiar.
Build a useful starter kit with several elastic types, a bodkin, ballpoint needles for knits and pattern paper for testing casing shapes. When you're ready for the next garment, bookmark this guide and return to the measurement and fabric-matching decisions before cutting.
More Sewing offers carefully selected fabrics, haberdashery, sewing kits and practical supplies for makers, including elastic and tools that suit different waistband methods. Visit More Sewing to choose materials for your next casing, channel or stretched-on waistband, and find support for the rest of your garment-making project.
