
Blog, Dressmaking, Guides
How to Make Your Own Sewing Patterns Made Simple
You've found a fabric you love, cut your usual size, and still ended up with a shoulder seam sitting too far back, a waistband that pinches, or a bust dart pointing somewhere it has no business being. That familiar size-chart gamble is exactly where learning how to make your own sewing patterns starts to earn its keep.
A personal pattern doesn't need to begin with complicated couture techniques. It can start with a simple block, a careful set of measurements, and a toile made from inexpensive fabric. From there, you can create an A-line skirt, reshape a bodice, copy a favourite top, or adapt a woven design for jersey. The fiddly parts are real, but they're manageable when each adjustment has a reason.
Why Making Your Own Patterns Changes Everything
Before paper patterns became normal, dressmakers in Britain marked measurements directly onto cloth. Full-sized paper sewing patterns didn't come into widespread use until the 1840s, a shift that made separate, traceable templates central to home dressmaking. The history is documented by the University of St Andrews' account of historical dressmaking.
That change still affects the way we sew now. A paper block lets you keep the shape, alter one area without disturbing another, and return to a known starting point when a new garment goes wrong. Commercial pattern companies later turned that repeatable approach into a large-scale system. By the late nineteenth century, companies commonly released 30 to 40 new designs each month, with yearly output often reaching 350 to 450 styles, while Butterick produced about 1,000 styles annually in the 1890s, according to the same historical source.
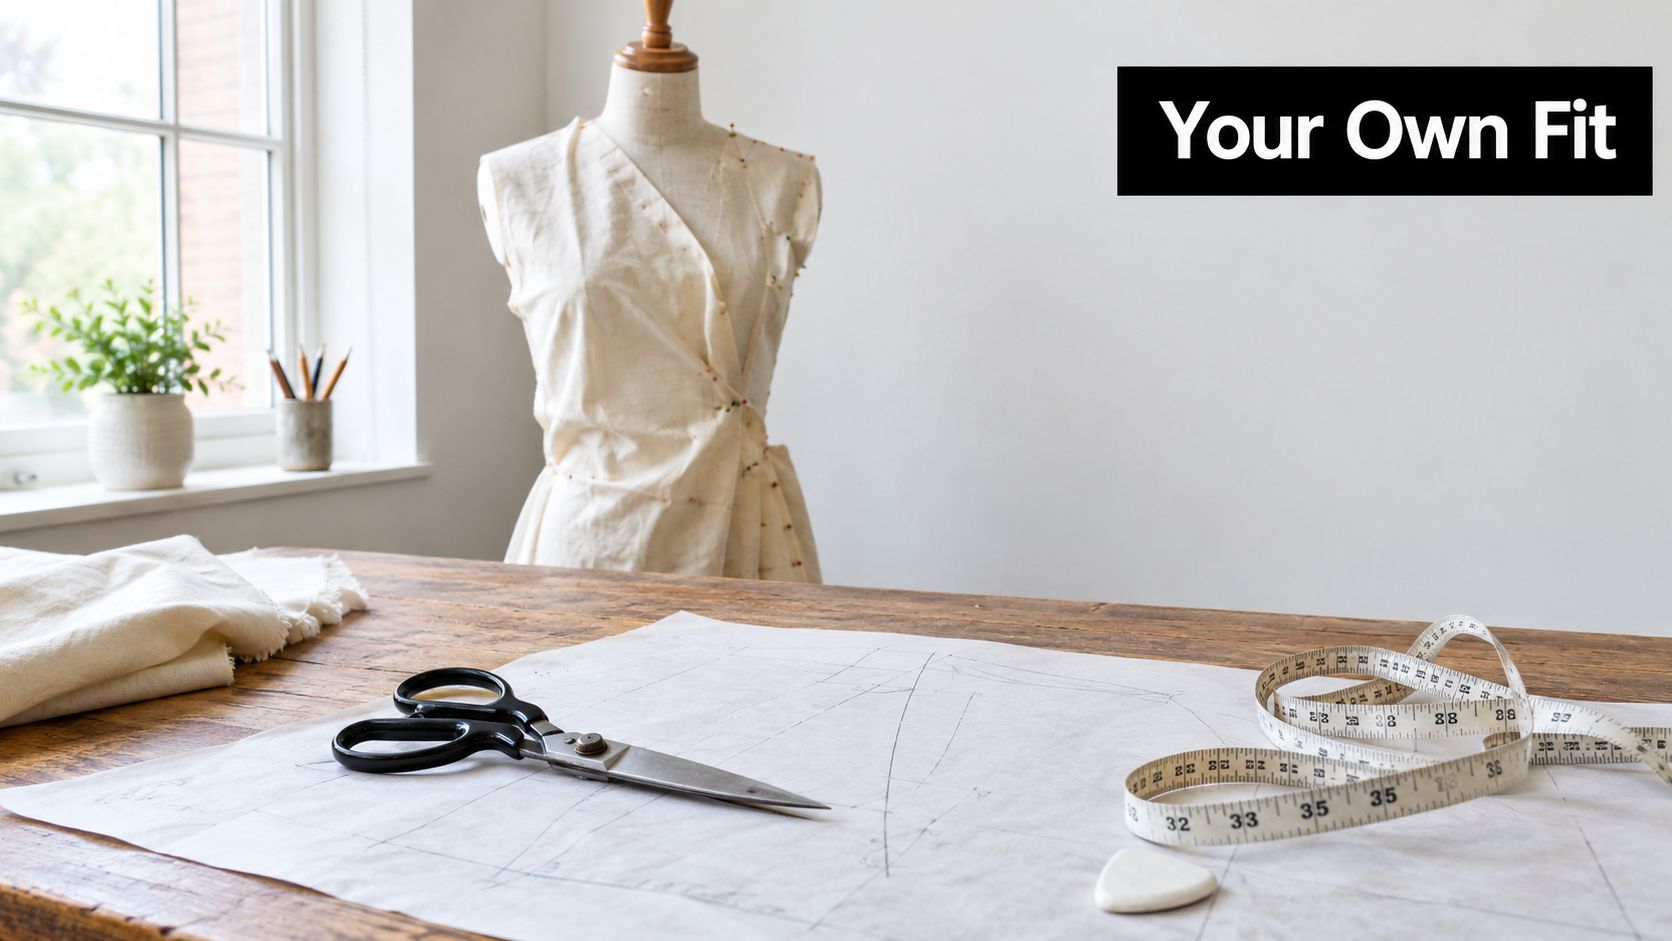
The three routes to a personal pattern
There isn't one correct way to create a pattern. The right route depends on the garment, the fabric, and how closely your starting point already fits.
- Draft from measurements when you want a reusable personal block or you're working with a body shape that commercial sizing doesn't reflect well.
- Clone a favourite garment when the original fits beautifully and you want to reproduce its proportions. This works particularly well for simple tops, skirts, and relaxed garments without complicated internal construction.
- Adapt an existing block or pattern when the foundation is close, but you want a different neckline, hem, sleeve, dart, or length.
For example, I'd usually draft a bodice block for a fitted cotton blouse, but I might clone a much-loved loose jersey top if its shoulder width and hem balance are already right. A deadstock fabric with limited availability deserves a toile before cutting, whatever route you choose. Replacing a poor pattern is cheaper than replacing fabric, but testing is cheaper still.
Practical rule: Draft the shape you need, not the pattern-making method you think you ought to use.
A personal block gives you more than a single garment. It gives you a controlled base for design changes, so you can tell whether a problem comes from the fit, the style line, or the fabric. That distinction saves hours of randomly taking seams in and letting them out.
What to Measure and How to Get It Right
Your tape measure is the first pattern-making tool, but the numbers are only useful if you take them from consistent landmarks. A UK guide recommends starting with height, chest, bust, waist, and hips, and gives a practical sizing rule: use the hip measurement for skirts, shorts, and trousers, and the bust measurement for dresses, tops, and jackets. You can review that guidance in the Sewing Directory's explanation of pattern measurements.
Set yourself up before measuring
Wear the underwear or bra you'll wear beneath the finished garment. A padded bra, thick jumper, or bulky trousers can change the shape you're trying to record, so measure over light, close-fitting clothing where possible.
Use a flexible tape that hasn't stretched or distorted. Keep it snug, not tight, and stand naturally. Don't pull your stomach in or lift your chest into an artificial posture. The block needs to fit your everyday body, not the version you can hold for a few seconds.
A mirror helps you check that the tape stays level, especially around the bust, waist, and hips. Ask a friend to take height and back-neck-to-waist measurements. Trying to reach around your own back usually introduces a tilt, and that tilt can become a crooked block.
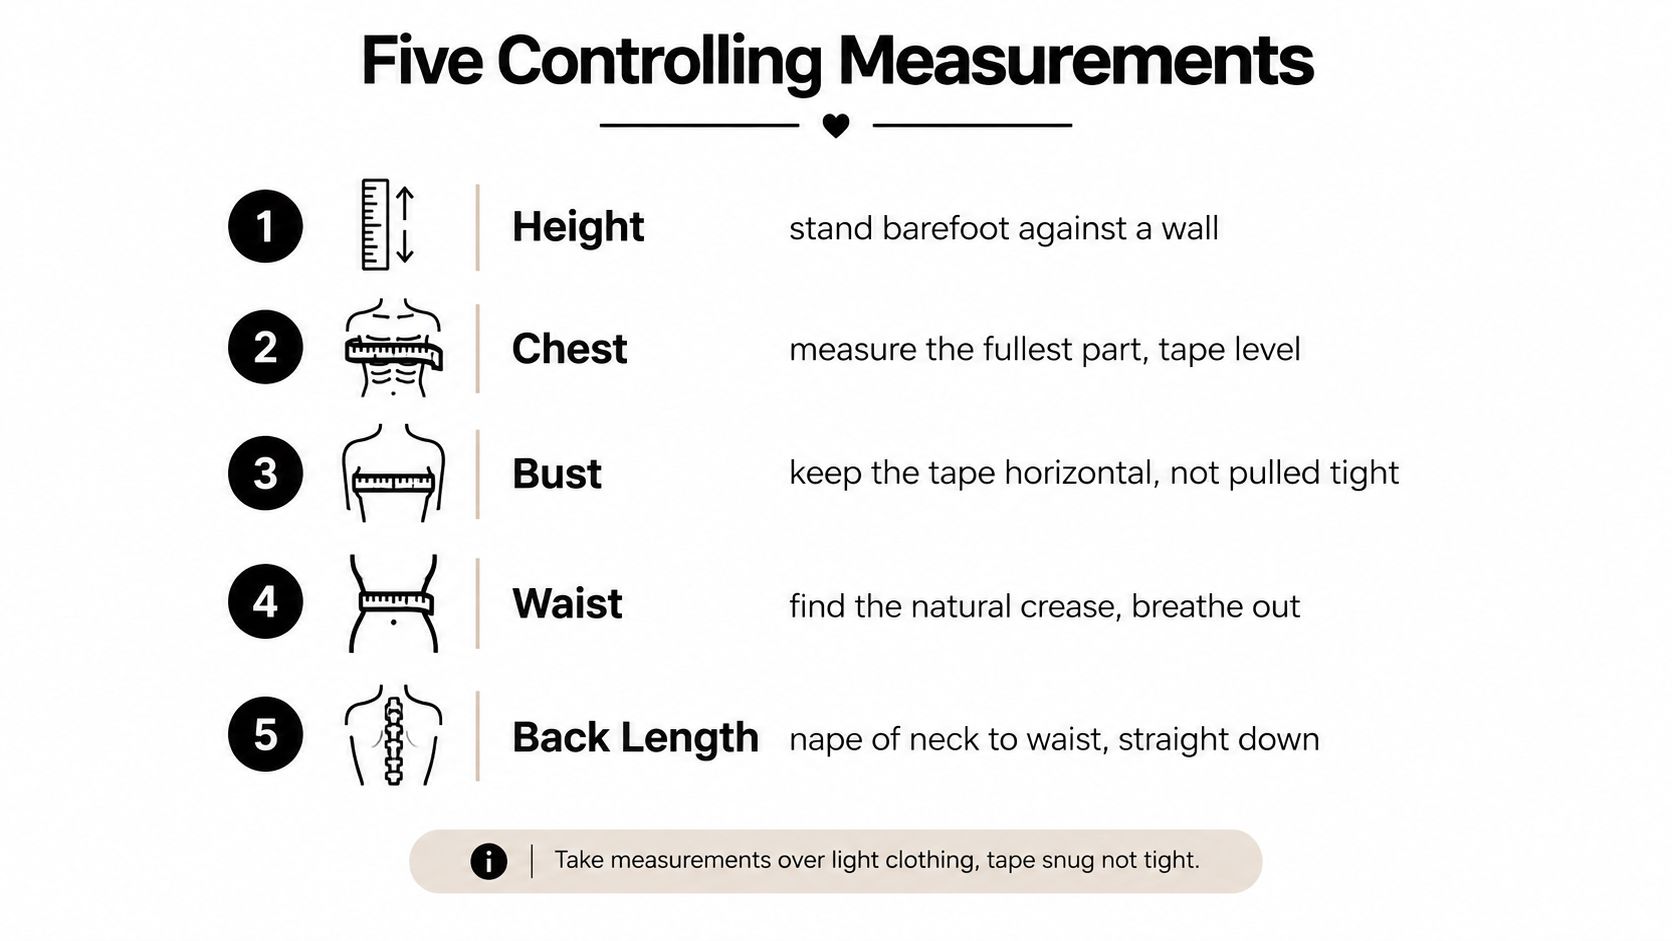
Take the five controlling measurements
Height
Stand barefoot against a wall, with your head level. Mark the wall or ask a helper to measure from the floor.Chest
Place the tape around the fullest part of the chest or upper torso, keeping it horizontal. Don't compress the ribcage.Bust
Measure around the fullest part of the bust. Keep the tape parallel to the floor and let it rest against the body without pulling.Waist
Bend sideways. The natural crease that forms is your waistline. Return to a relaxed stance and measure there, rather than at the narrowest visual point.Hips
Measure around the fullest part of the hips and seat. UK guidance places this line 18 to 23 cm below the waist, depending on the method used, so record the vertical distance as well as the circumference. The Maven Patterns size guide explains the placement and the importance of keeping the tape level.
Write each measurement down immediately, then take it again. If the two readings differ, check your tape position before averaging anything. A personal measurement chart should also include useful supporting dimensions such as shoulder width, back-neck-to-waist, arm length, and the finished garment length you want.
A few centimetres at the wrong measuring point can alter the whole balance of a fitted garment.
The controlling measurement is about where the garment needs room, not about choosing a dress size. A trouser pattern may fit your waist but fail at the hip, while a top chosen by waist measurement may pull across the bust. Start with the area that governs movement and shaping, then adjust the rest of the pattern around it.
Drafting Your Basic Block Without Guesswork
A basic block, or sloper, is a fitted foundation for developing garments. It is not a finished pattern. In UK pattern drafting, you build a block around the wearer, then alter its fit, dart position, length, seam allowance, neckline, and sleeve details for each design. The DesignLab London pattern size guide sets out this difference clearly.
Set up your tools before drawing. You need large pattern paper, a mechanical pencil, rubber, clear ruler, set square, pattern master or French curve, paper scissors, tracing paper or card, and a fine permanent marker. Use paper scissors for paper only. Fabric shears become blunt quickly, and that makes cutting cloth less accurate.
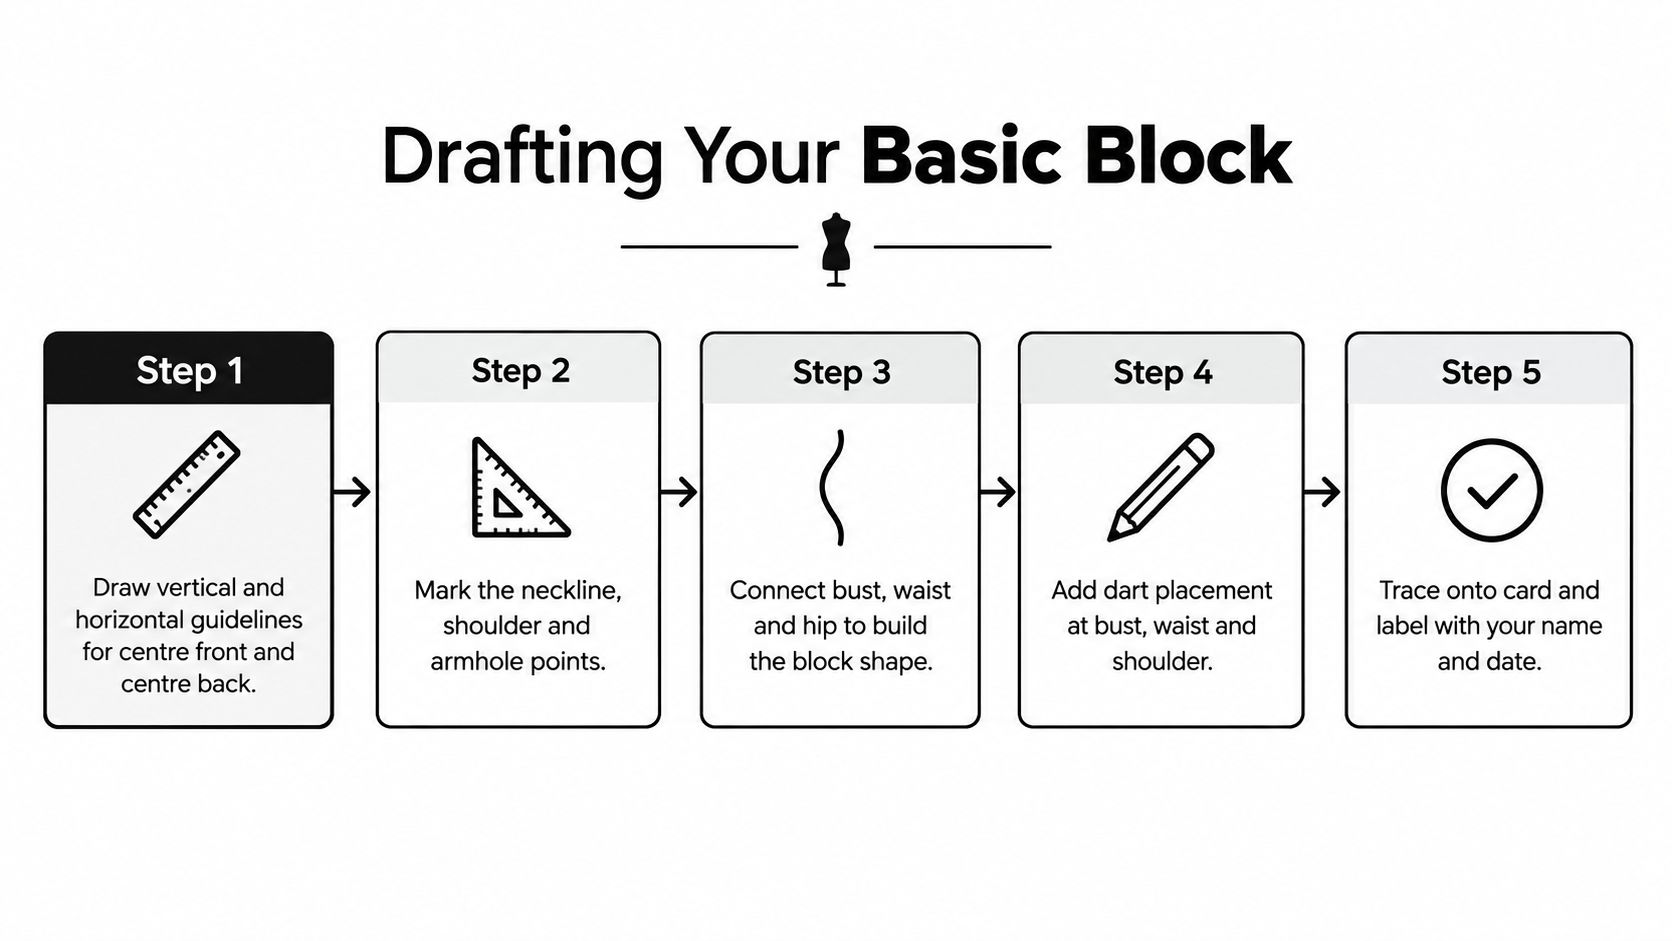
Build the shape from reference lines
Draw a long vertical line for the centre front or centre back. Use the set square to add horizontal reference lines at the bust, waist, and hip. These lines control the draft more reliably than the outside outline. They keep the pattern balanced and give you fixed points for checking later.
Mark the neckline, shoulder, armhole, side seam, and hem from your recorded measurements. Draw lightly while the shape is developing. Use a French curve for the neckline and armhole so the transitions remain smooth instead of forcing a straight ruler through a curved area.
Draft the front and back as separate pieces. The front normally needs bust shaping, while the back requires its own shoulder and back-width checks. Side seams may look alike on paper but differ in length after shaping. Walk one edge along the other with your finger or a ruler, matching the key reference points, and correct the lengths before adding design lines.
Place darts with control
A dart removes fabric so a flat pattern can fit over a curved body. Mark the required intake, then aim the dart towards the bust area without taking the point directly to the bust apex. The finished point depends on the wearer and the style, so confirm it in the toile rather than relying on one standard position.
Dart manipulation lets you move the same shaping to the shoulder, neckline, armhole, centre front, or a seam. Cut from the new position towards the dart area, close the original dart, and pivot the paper open at the new position. The shaping stays the same while the design changes.
Keep the first draft free of seam allowance. Trace the basic shapes onto clean paper or card, then add seam allowances, notches, grainlines, and construction marks to that copy. This protects the original geometry and gives you a master to return to when a toile reveals a problem.
Label the master copy
Mark the centre line, grainline, bust, waist and hip references, notches, dart legs, cut instructions, piece name, and date. Note whether each piece is cut on the fold or as a pair. A block built from detailed personal measurements can account for proportions that a standard chart cannot. UK tuition guidance describes a garment block based on 24 measurements, showing why an individual block can fit more closely than a chart using only a few body measurements.
A block is a working reference, so keep its information readable. If a line becomes crowded after alterations, trace a fresh copy rather than layering every change onto the original.
Finish by tracing the master again if necessary, then store it flat. Make experimental changes on copies. Your master should remain the dependable starting point for a toile, a cloned garment, or an adapted design, not a record of every trial you have made.
Turning Your Block Into Real Garments
A block earns its keep when it becomes a controlled starting point for different garments. Trace a fresh copy for every design and leave the master untouched. Then decide whether you are drafting, cloning, or adapting before changing the lines that shape the garment.
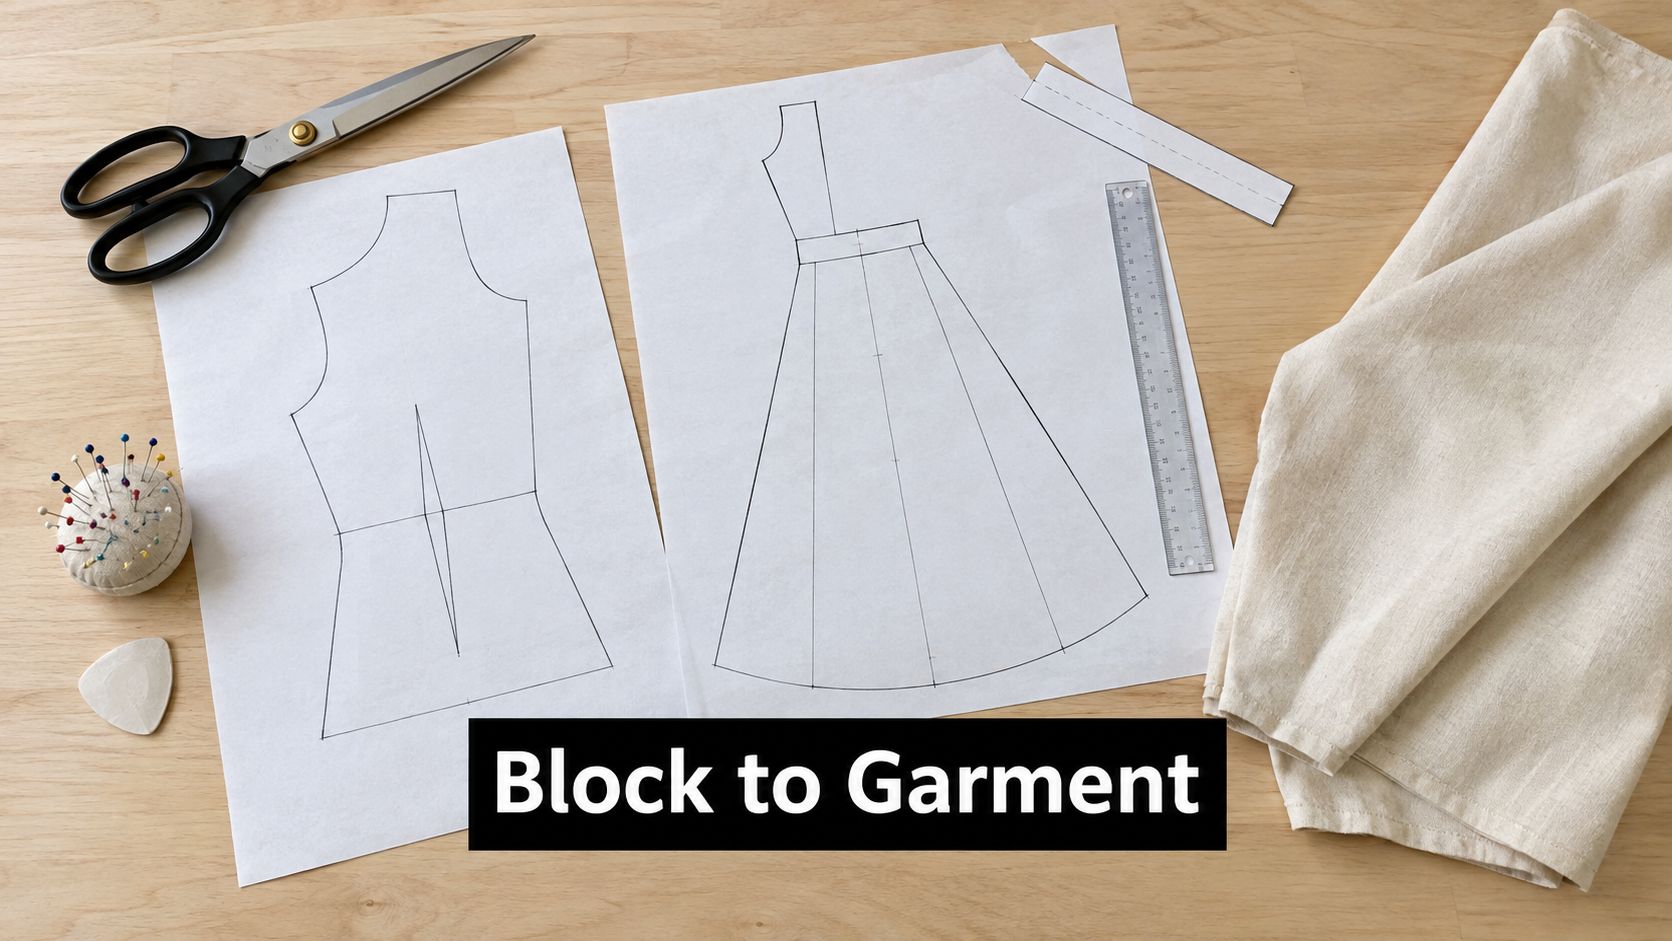
Three useful transformations
For an A-line skirt, trace the skirt block to the hip line and choose the finished hem position. Draw lines from the hem towards the waist or dart area, cut along them, and pivot the sections open to add flare. Keep the waist shaping controlled, true the new hemline, and check that both side seams flow smoothly. A stable cotton may suit a modest flare, while viscose or a Tencel blend will hang more softly and may need a different hem treatment.
For a fitted bodice, copy the front and back block, then alter the neckline and hem length. Move the dart by cutting towards its new position and pivoting the existing dart closed. Lowering the neckline or reducing shoulder coverage changes the armhole, support, and movement, so redraw that area carefully rather than treating it as a small style change.
For a sleeve, start with a sleeve block that matches the armhole. Adjust the length, then review the sleeve cap and the ease needed for insertion. A woven blouse generally needs enough cap ease for a clean set-in sleeve. A close-fitting jersey sleeve may need less ease and a different draft.
The Fashion and Textile Museum pattern-cutting guidance sets out a practical order: take measurements, construct the block, add seam allowances after establishing the base shape, test a toile, assess the fit, and rectify the pattern. Follow that sequence. Styling before checking the foundation makes it harder to identify whether a fault comes from the design or the fit.
Choose the method for the fabric
Use a body block for stable woven fabrics when you need close control over bust, waist, hip, and shoulder fit. It suits cotton poplin, denim, and many structured deadstock fabrics. Drafting gives you the clearest control over balance and shaping, although it takes more checking than copying an existing garment.
Clone a favourite garment when its fit and wearing ease already work. This can be efficient for a loose T-shirt or simple pull-on style, but the outside will not reveal every construction detail. Identify seam lines, hems, facings, and hidden shaping before turning the garment into pattern pieces.
Adapt for stretch when working with jersey. A woven block may be too generous when transferred directly to fabric that stretches around the body. Assess the cloth's recovery, decide how close the garment should sit, and test the result in a toile or a similar fabric. Viscose and Tencel blends need room for drape and movement, rather than the firmer treatment you might use for cotton.
More Sewing offers cottons, viscose and Tencel blends, jerseys, denims, ex-designer deadstock, sewing patterns, haberdashery, and dressmaking kits. Comparing those fabric behaviours while planning the next version helps you choose adjustments based on the cloth, not only the paper shape.
Fitting Your Toile and Cutting With Confidence
Your toile is the first test of whether the block works on a moving body. Make one before cutting good fabric, especially for a fitted bodice, shaped skirt, sleeve, or unfamiliar design. The practical UK workflow is iterative: draft, clone, or adapt the block, test it in fabric, then correct the master pattern. A paper shape cannot show every fitting problem.
Use calico or another inexpensive fabric with a similar weight and stability to the final cloth. Transfer the grainline, centre lines, darts, notches, and balance marks. Sew the main seams, press them, and try the toile on with the underwear you plan to wear beneath the finished garment. If the final fabric is stretchy, drapey, or bulky, make the test in something that behaves similarly, because a stable calico toile cannot predict every fabric reaction.
Read the fit before changing it
Stand naturally first. Then raise your arms, sit, and walk. Look at drag lines and seam movement rather than relying only on whether the garment feels tight. Horizontal pulls across the bust can show insufficient width or a dart in the wrong position. A neckline that lifts may point to balance or shoulder issues. If the side seam swings forwards, the front may need more room.
Make one correction at a time where possible. Mark the toile with a fabric pen, pin out excess, release a seam where more room is needed, and draw the revised line clearly. Transfer each change to the paper pattern, then check that adjoining seams still match. Record what you changed. Altering the shoulder, bust, side seam, and hem together makes it difficult to identify which adjustment solved the fault.
A fitted toile may need more than one round. After the first correction, sew the relevant section again and reassess movement, balance, and seam position. Keep the corrected master pattern separate from working copies so later style changes do not erase the fit you have established.
Treat layout as part of pattern making
Press the fabric before cutting. Identify the selvedges, face, nap, direction, and pattern repeat, then place the pieces with the cloth's behaviour in mind. Keep the grainline parallel to the selvedge. For a piece placed on the fold, measure from the selvedge to the fold at more than one point. This prevents the fold from drifting across the fabric.
Check each marking:
- Grainline: Align it with the selvedge unless the design requires another direction.
- Cut on fold: Put the marked edge exactly on the fold and do not add a seam allowance there.
- Notches: Transfer them clearly, using small snips within the seam allowance where suitable.
- Pattern matching: Allow extra fabric for checks, stripes, large prints, and directional designs.
- Nap and direction: Lay every piece consistently when the cloth has a visible up and down.
Forgotten seam allowances, inaccurate grainlines, incorrect fold markings, and skipped toiles can all create poor fit or wasted fabric. Use the Sewing Directory patterned-fabric layout guide when matching or direction affects the layout, and buy enough cloth for the planned arrangement.
| Problem You See | Likely Cause | Fix Before Cutting Final Fabric |
|---|---|---|
| The toile feels smaller than the paper pattern | Seam allowance was forgotten or sewn inside the intended measurement | Check the master pattern and mark seam allowances clearly |
| The garment twists around the body | Grainline is not parallel to the selvedge | Recheck the grainline against the selvedge before cutting |
| The print doesn't meet at the seams | The layout ignored pattern direction or matching | Plan the pieces together and allow extra cloth |
| Fit problems appear everywhere | The toile stage was skipped | Make a test version and transfer measured corrections |
| A folded piece is uneven | The fold was judged by eye | Measure from selvedge to fold at several points |
Cutting rule: If the layout looks uncertain, stop before the scissors reach the fabric.
Next Steps for Grading Digitising and Storing Your Patterns
Once your toile fits, decide whether the pattern is for your body only or whether you want several sizes. Keeping one personal size is quicker and protects the fit you've worked hard to achieve. Grading makes sense if you sew for other people, produce samples, or want a controlled range of sizes, but it requires consistent grade rules and additional testing.
Digitising is useful when paper storage becomes awkward. You can photograph or scan each piece, provided the camera or scanner is square to the pattern and you include a known measurement for checking scale. Save files with clear names, preserve the original paper version, and print a test section before relying on a full digital copy.
Choose the next step by purpose
| Your priority | Sensible next move | What to protect |
|---|---|---|
| Repeat the same garment | Trace a clean working copy | Keep the fitted master intact |
| Try several necklines or hems | Duplicate the block and alter each copy | Record every change |
| Sew for different bodies | Learn grading and test each size | Don't assume one fit adjustment scales perfectly |
| Reduce paper clutter | Digitise and verify scale | Store a physical backup |
| Develop a small collection | Build related patterns from the same block | Label dates, fabrics, and fit notes |
Home sewing has a strong UK learning culture. The Craft and Hobby Association UK reported that more than 3 million people took up home sewing between 2013 and 2016, as recorded in the research repository copy of the survey material. Many makers combine commercial patterns, tracing, adapting, vintage references, and self-drafting. Your own block belongs naturally in that mix.
Store paper masters in a large envelope, portfolio, or roll protected by paper bands. Label every piece with the garment name, body measurements, seam allowance status, grainline, cut instructions, and date. Keep a fitting notebook with the fabric used, changes made, and anything you'd alter next time.
Your next project can begin with a short checklist:
- Recheck your current measurements.
- Trace the master block onto fresh paper.
- Choose draft, clone, or adapt according to the fabric.
- Make and fit a toile.
- Rectify the pattern before cutting the final cloth.
- Record what worked.
Choose a straightforward project, gather your paper, rulers, calico, and fabric, then visit More Sewing for suitable dressmaking fabrics, haberdashery, patterns, kits, and practical supplies for testing your first block-to-garment version. If you're in Worthing, you can also ask about sewing machine servicing and repairs before a long pattern-making session.
