
Blog, Dressmaking, Guides
Sewing Kits for Teens: How to Choose the Right One
Pupils at Key Stage 3 in England received an average of just 17.7 hours of textiles education a year, according to the 2024 Textiles Skills Centre report. That helps explain why a teenager might love designing clothes yet still need help threading a needle. The best sewing kits for teens start with what the learner can really do, not what the age label suggests.
What the School Data Means for Buying a Kit
School experience isn't a reliable shortcut for choosing a kit. A teen may have decorated fabric in an art lesson without joining seams, or used a classroom machine without learning how to thread it.
Say your teenager wants to make a bag. They can sketch it confidently, but they don't know how to stop the edges fraying. A suitable kit should connect that idea to a manageable sequence: identify the fabric, mark the pieces, practise the stitch, assemble the bag and inspect the finish.
A kit can supply materials and structure. It can't replace a demonstration, feedback or appropriate supervision.
Buying shortcut: Choose for the technique the teen needs to learn next, rather than the most impressive finished photograph.
Parents usually need reassurance about tools and machines. Teens need a project they'll actually use, grandparents may prefer a straightforward hand-sewing gift, and teachers need contents that support a repeatable lesson.
If you already know the learner's skills, use the readiness table to choose a starting stage. If you're unsure whether to buy a hand kit, a machine bundle or a garment kit, begin with the comparison below.
Kit Types Compared at a Glance
Teen sewing kit types, contents and price checks
| Kit type | Typically includes | Approx. price (UK) | Best fit |
|---|---|---|---|
| Hand-sewing starter kit | Needles, embroidery thread, fabric scraps, sometimes a hoop, thimble and instructions | Check the complete project price | First stitches without a machine |
| Repair and mending kit | Assorted hand needles, strong thread, patches, spare buttons, needle threader, sometimes a darning mushroom | Compare reusable tools and repair materials | Practical mending and upcycling |
| Machine beginner kit | Mini or entry-level machine, bobbins, starter fabric, basic pattern and presser foot | Obtain a current machine-bundle quote | Supervised first machine use |
| Dressmaking all-in-one kit | Fabric, paper pattern, notions and instructions, usually no machine | Check fabric quantity and included notions | Teens with access to a suitable machine |
| Intermediate project kit | Lining, zip, interfacing, fabric and detailed pattern | Compare the complete materials package | Learners already comfortable with construction |
| Quilting or craft kit | Pre-cut cotton pieces, template, thread and pattern sheet; cutting tools may be separate | Include any missing cutting equipment | Patchwork and decorative projects |
These are kit categories, not verified retail price bands. Check current UK listings and the complete contents before comparing value. A low box price isn't useful if you must buy the main tools separately.
Hand sewing or machine sewing
Hand kits teach needle control, stitch spacing and fabric handling without powered equipment. They still contain sharp tools, so they aren't risk-free. A felt pouch with pre-cut pieces is a gentler introduction than woven fabric that needs cutting and edge finishing.
Machine kits add pedal control, threading and accurate seam guidance. A machine included in the box doesn't automatically make the bundle beginner-friendly. Check controllable speed, compatible guarding, a clear manual and the ability to form dependable straight stitches, rather than choosing by decorative stitch count.
If there's no household machine, start with a hand-sewing or repair kit unless an adult is ready to learn and supervise machine use too.
Give every kit a next project
Choose a kit with somewhere useful to go afterwards:
- Hand-sewing starter: Begin with a name patch, then make a blanket-stitch pouch.
- Repair kit: Replace a button, then add a visible patch to a worn pocket.
- Machine beginner: Practise straight seams, then make a drawstring bag.
- Dressmaking all-in-one: Complete a loose, simple garment, then try an elasticated-waist skirt.
- Intermediate project: Make a zipped pencil case, then attempt a lined wash bag.
- Quilting or craft: Join cotton squares, then turn the panel into an envelope-back cushion cover.
For each option, rate the learner's skill stage and supervision needs separately. A confident hand embroiderer can still be a complete machine beginner.
Matching a Kit to Your Teen's Skill Level
Readiness stages and the kit to start with
| Skill stage | Typical signals | Start with |
|---|---|---|
| Starter | Threads a needle with help, enjoys handwork and makes short running stitches | Hand-sewing starter kit |
| Developing | Handles fabric calmly, follows a marked line and accepts demonstrations | Supervised machine beginner kit |
| Confident | Sews straight on cotton, reads a simple pattern and presses seams without reminders | Dressmaking all-in-one or intermediate kit |
| Independent | Explains machine safety, cuts accurately and follows a multi-step pattern | Intermediate project or suitable garment kit |
These are capability stages, not age permissions. A box's age label cannot show whether a teen is ready to use a machine. The Health and Safety Executive's work-equipment guidance emphasises appropriate training and supervision. Rate sewing skill and supervision needs separately: confident hand sewing does not automatically mean machine readiness.
Try a short readiness exercise
- Ask the teen to thread a hand needle.
- Let them sew a short row of evenly spaced running stitches.
- Ask them to follow a pencil line on scrap cotton with hand stitches.
Watch for controlled movements, patience and a willingness to stop when something goes wrong. Completing the exercise suggests they're ready for a supervised machine introduction, not unsupervised operation. If they rush or drift away from the line, repeat the practice before introducing a pedal.
Match the first kit to a project they actually want to make. Ask whether they prefer short tasks or sustained projects, too. Their answers help you choose a manageable starting point and a useful next step. If sewing is only one of several interests, the best science kit gifts for teens can also help you consider another kind of hands-on gift.
What to Check Before You Buy a Teen Kit
Look for a useful sequence of materials, not just a crowded box. The Hendon School textiles curriculum moves from equipment knowledge and joining techniques towards decorative and multilayer construction. A beginner kit should make that first step manageable.
Lay out the proposed contents mentally before buying.
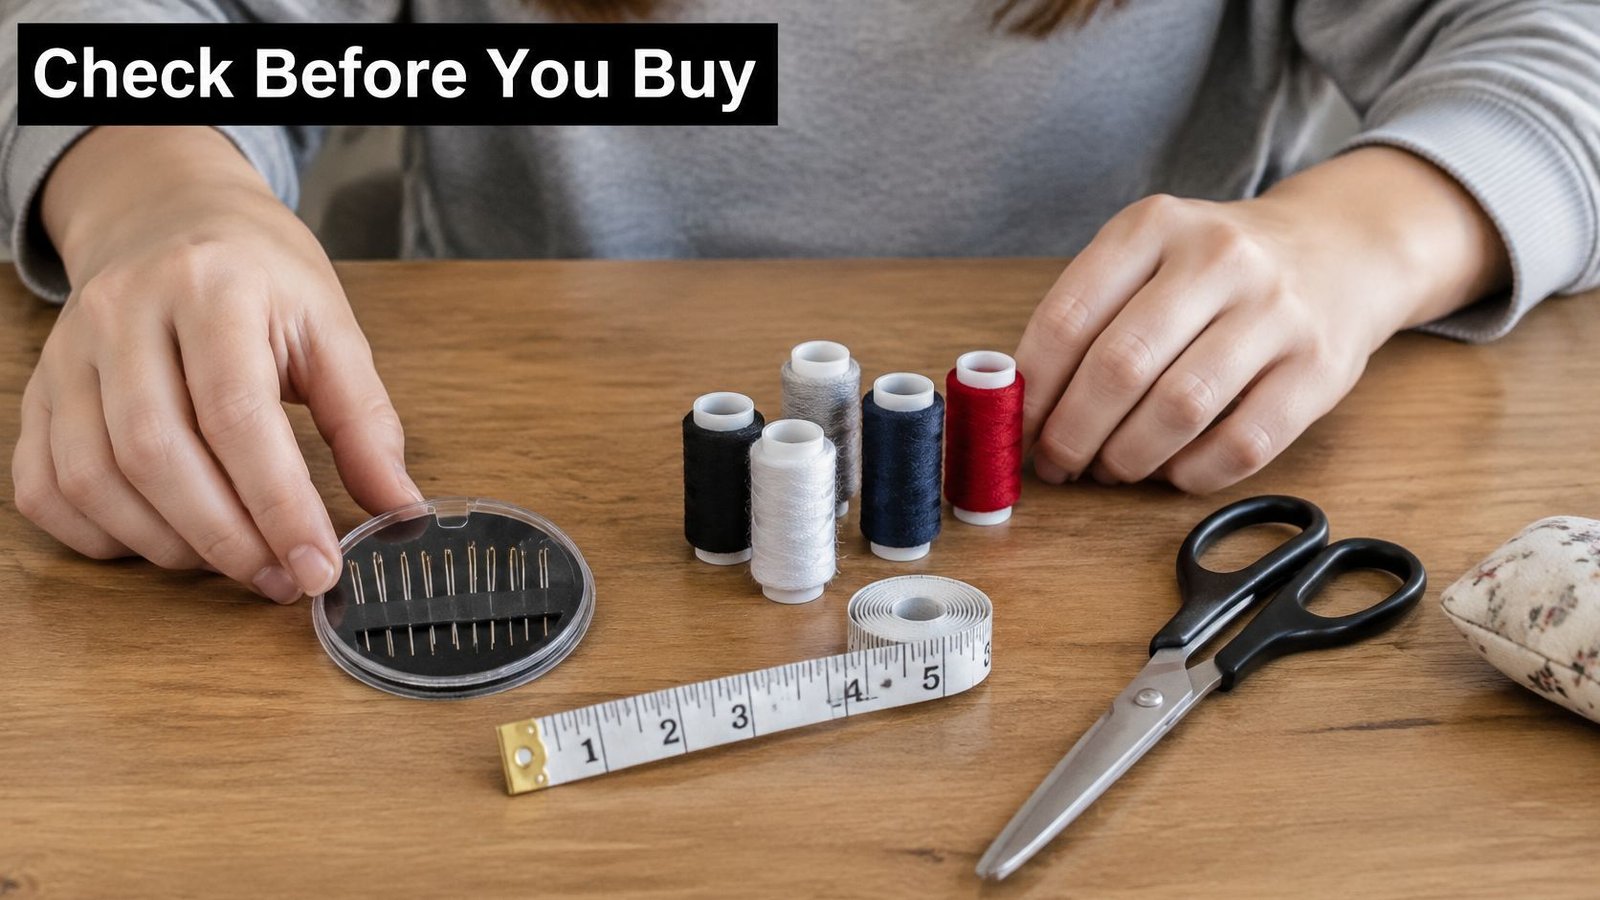
Check the working tools
- Hand needles: Choose sizes suited to the fabric. A blunt tapestry needle suits open-weave practice materials, but won't pass comfortably through tightly woven cotton.
- Thread: All-purpose polyester is useful for ordinary construction. Match its thickness to the fabric rather than using chunky embroidery thread in a machine.
- Fabric scissors: Look for comfortable handles and clean cutting. Keep them for cloth.
- Measuring tools: Include a tape measure and seam gauge for checking hems and allowances.
- Unpicker: A guarded point and comfortable grip make controlled stitch removal easier.
- Pins or clips: Clips avoid pin handling on simple edges. Glass-headed pins are useful where pressing is involved, but should still be removed before machine stitching.
- Marking tool: Test chalk or a removable marker on a scrap first.
- Needle threader: Check that its wire fits the supplied needle.
- Machine extras: Confirm spare compatible needles, the correct bobbin type and a seam guide.
Inspect the fabric and instructions
Plain medium-weight woven cotton is a sensible starting material. It lets the learner see markings and control the edges without also managing stretch, slippery surfaces or bulky layers.
Look for pattern pieces with marked seam allowances, clear diagrams and an explanation of any cutting still required. Pre-cut fabric isn't the same as fabric supplied in a length, and neither guarantees that the learner can skip checking grain direction.
Check the return policy before opening or cutting anything. For value, count the usable projects and reusable tools rather than treating a large accessory count as proof of quality.
A sewing demonstration can help you assess whether the written instructions give enough guidance.
For lower-waste practice, consider sound end-of-roll fabric and reusable notions. A serviced secondhand machine can also be worth considering, provided its operation and condition suit the learner.
Before paying, compare the contents list against the checklist. Mark every missing item, including thread, fastenings and practice scraps, so the first session doesn't stop halfway through.
Supervision and Safety Levels for Machine Kits
An age label doesn't establish that a teen can operate a machine safely. A compact craft machine still needs instruction, a suitable workstation and an adult who understands its controls.
Who supervises which sewing task
| Task | Hand sewing | Machine, first sessions | Machine, once trained |
|---|---|---|---|
| Threading and changing needles | Independent after demonstration and assessment | Adult demonstrates with power off and unplugged | Teen follows the same isolation routine |
| Straight stitching on scrap fabric | Independent when competent | Adult present, one operator | Independent only after assessed readiness, with periodic checks |
| Winding bobbins and changing thread | Bobbins not applicable; hand threading after instruction | Adult present; follow the machine's winding procedure | Wind bobbins as instructed; isolate power for needle threading |
| Cutting with a rotary cutter | Adult present throughout | Adult present throughout | Adult present; cover blade immediately after cutting |
| Clearing jams and lint | Unpick carefully after instruction | Power off, unplugged, adult present | Routine cleaning only after training; stop for unfamiliar faults |
| Leaving the machine | Store needles safely | Never leave running; switch off and unplug | Never leave running; switch off and unplug |
Bobbin winding requires machine power on many models. It mustn't be confused with threading the needle, changing a needle or reaching into the mechanism.
Establish a repeatable safety routine
The Health and Safety Executive's sewing-machine guidance identifies strong needle guards, guarded drives, adequate lighting and switching off before adjustments as important controls. Treat those as practical purchasing and setup considerations, not optional extras.
- Isolate power: Switch off and unplug before needle threading, needle changes, cleaning or clearing a jam.
- Clear the needle area: Keep fingers away from the moving needle. Stop before repositioning awkward fabric.
- Secure hair and clothing: Tie back long hair and remove dangling accessories.
- Check guarding and lighting: Fit a compatible needle guard. Provide separate task lighting if unplugging extinguishes the machine light.
- Organise cables: Keep leads away from feet and walkways.
- Set the seat correctly: Sit facing the machine at a stable table, with comfortable access to the pedal.
- Start slowly: Use scrap fabric to check speed control and hand position.
- Assess extra tools: Use eye protection where the task assessment warrants it. Keep rotary cutter blades covered when idle and supervise cutter and iron use.
Use this visual reminder alongside the task-specific rules.
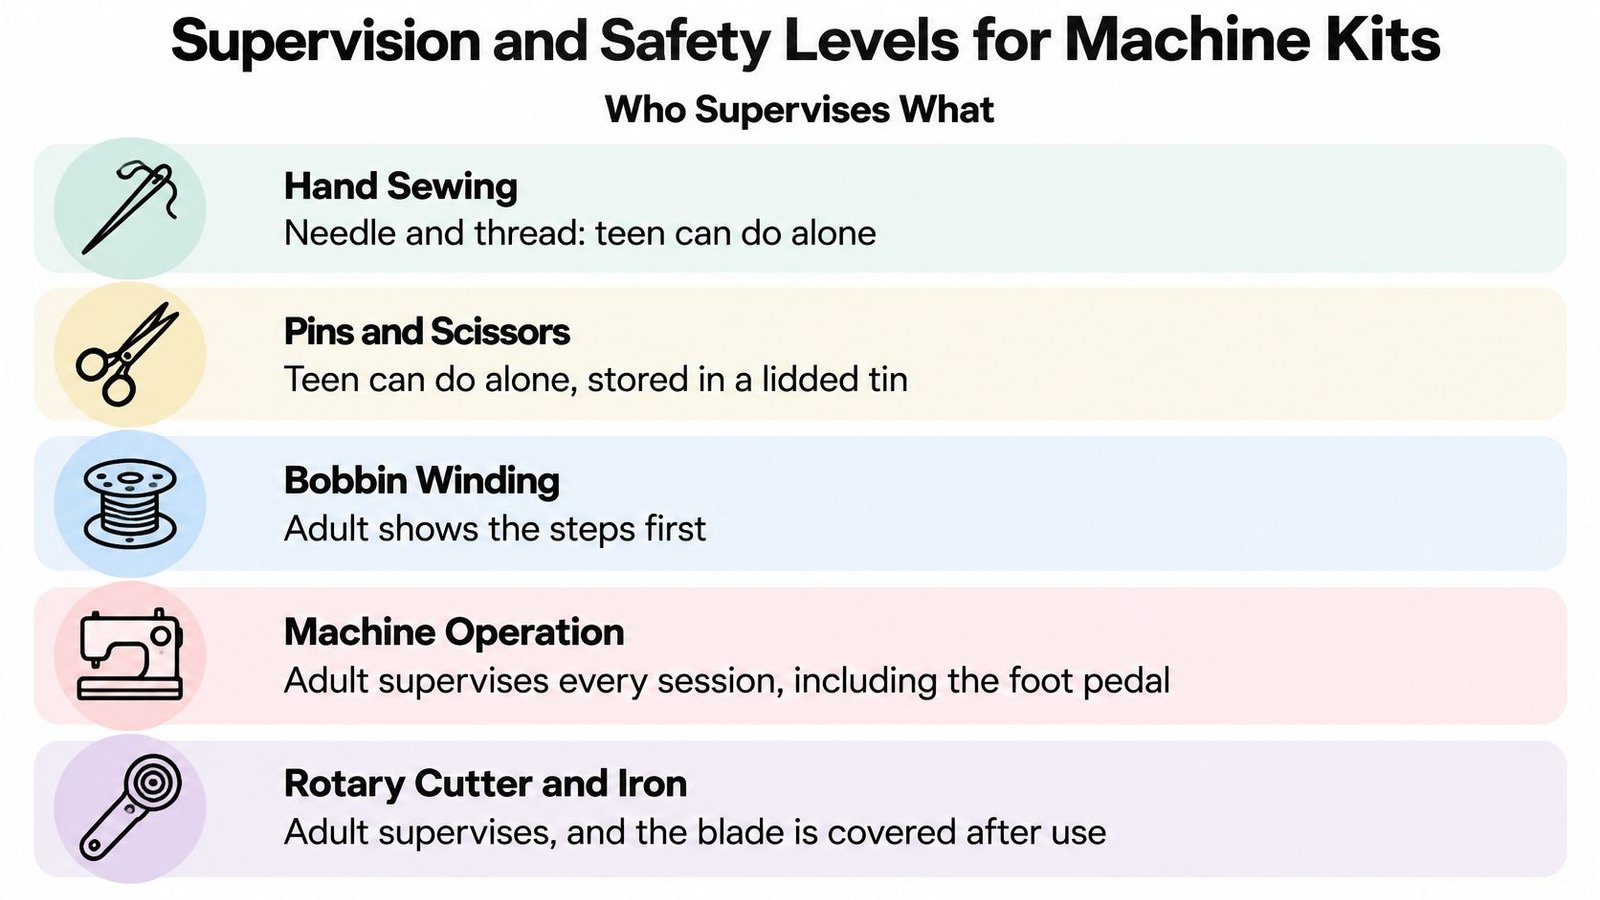
Supervision should change because the learner has demonstrated competence, not because the project looks easy.
Allow only one operator at a time. Before any independent session, ask the teen to demonstrate setup, controlled stitching, stopping and safe shutdown to an adult. Continue direct supervision whenever the task, machine or material is unfamiliar.
Project Ladder and Progression Path
Sample projects by skill, working pace and difficulty
| Project | Skills practised | Approx. time | Stage |
|---|---|---|---|
| Running-stitch name patch | Threading, knots, running stitch | Short practice project; split if concentration fades | Starter |
| Blanket-stitch pouch on scrap | Blanket stitch, finished edges, cutting shapes | Allow separate cutting and stitching sessions | Starter |
| Drawstring bag | Straight seams, casing, turning, pressing | Plan practice before final assembly | Developing |
| Zipped pencil case | Zip insertion, seam allowance, basting | Allow a dedicated zip practice session | Developing |
| Envelope-back cushion cover | Hems, pressing, corners; optional lining | Work through cutting, hemming and assembly separately | Developing |
| Tote bag from an old shirt | Planning around seams, reinforcement, edge finishes | Allow preparation before construction | Confident |
| Elasticated-waist skirt | Measuring, casing, elastic, fitting checks | Reserve time for fitting before finishing | Confident |
These are planning guides rather than completion promises. Let the learner stop at a useful checkpoint, such as finishing the cutting or pressing a seam.
The University of the Arts London beginner sewing course introduces tools and machine types before pattern placement, cutting, textured stitching, seams and hems. Follow that logic instead of asking a novice to manage every technique at once.
The early projects build towards more useful construction.
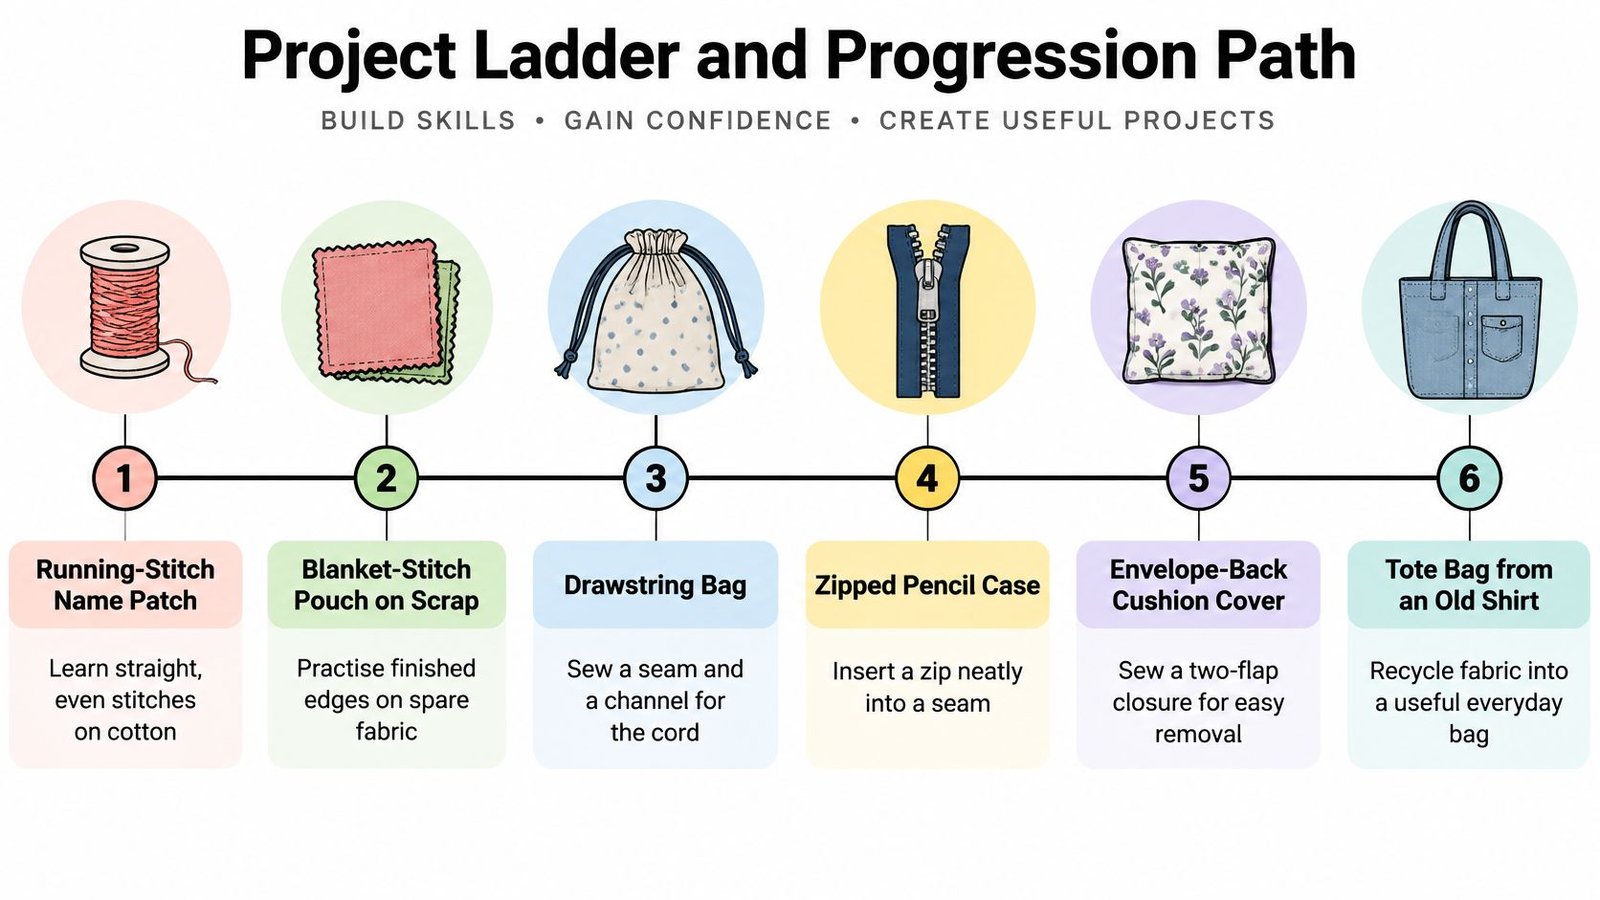
Work through a drawstring bag
Choose a pattern with a clearly marked casing and cord openings.
- Lay out the pieces with the grain direction indicated by the pattern. Mark the stated seam allowance.
- Practise a straight seam on scraps of the same fabric.
- Place the bag panels right sides together. Sew the side and base seams, leaving the required casing openings.
- Finish exposed seam allowances, then press.
- Turn and press the top casing as instructed. Stitch its lower edge without closing the cord channel.
- Thread the cord through, secure its ends and test the opening.
A plain seam joins panels with right sides together. A turned hem encloses an open edge. A French seam encloses raw edges inside a second seam, useful when the pattern and fabric suit that finish.
Make a zipped pencil case
First practise with an unlined pattern so the zip isn't competing with lining construction. Position the zip, baste it in place with long removable stitches, then fit the appropriate zip foot under adult guidance.
Machine-stitch beside the teeth without striking them. Remove the basting, test the opening and leave the zip partly open before sewing the case together, otherwise turning it becomes difficult.
Buy for the next technique
- Hand stitching: Add repair needles, embroidery thread, cotton scraps and old denim.
- Machine straight stitching: Replenish compatible needles and bobbins; add a seam gauge and plain cotton.
- Simple construction: Choose a beginner pattern, unpicker and suitable cotton or manageable canvas.
- Wearable projects: Add tracing paper, fabric shears and stable fabric specified by the garment pattern.
Match notches, mark accurately, press as you work and inspect stitching before trimming threads. In structured learning settings, Design and Technology Association practical-unit guidance calls for training, competence assessment and trained supervision around sewing and finishing machines.
Finishing an accessory builds craft confidence, not automatic dressmaking readiness. Garments introduce body measurements, ease and fitting, so practise those before cutting treasured fabric.
Repairs and Upcycling Teens Can Learn First
ReLondon reports that 335 million repairable items are discarded in the UK each year, while clothing and textile repairs account for 47% of all repairs recorded in its research. A repair kit gives a teenager something useful to do with their stitches before they attempt a whole garment.
Replace a button
Start with a plain shirt button rather than a heavy coat fastening.
- Choose strong thread suited to the garment and a needle that passes through the buttonholes.
- Position the button over the original marks, checking it lines up with the buttonhole.
- Make several evenly spaced passes through the holes without pulling the button hard against the cloth.
- Wind the thread beneath the button to form a short thread shank, leaving room for the fastening fabric.
- Secure the thread on the wrong side with small stitches.
Don't add a thread shank beneath a button that already has a built-in shank. Test the fastening before trimming the final thread.
A visible repair can become part of the garment's appearance.
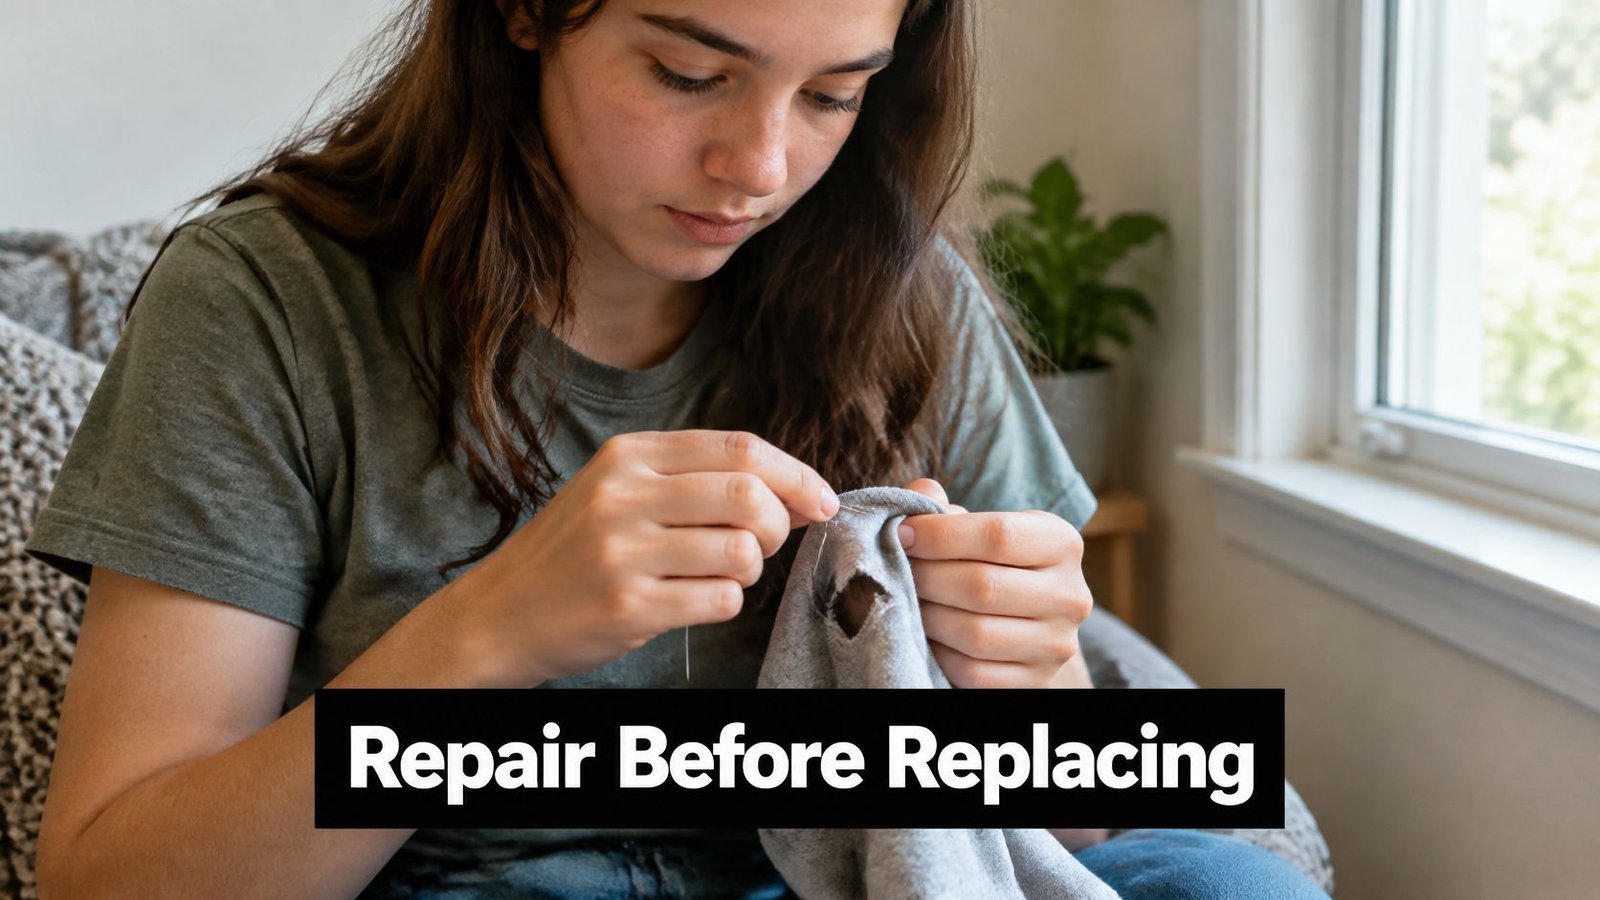
Repair a split seam
- Turn the garment inside out and inspect whether the stitching has broken or the fabric has torn.
- Align intact edges and pin or clip them.
- Follow the original seam position with small backstitches, extending into sound stitching at each end.
- Press the repaired seam flat.
If the cloth itself has torn, resewing the old line may not hold. Support the damaged area with a patch instead.
Patch and darn worn fabric
For a hole, place a patch behind or over the damage, extending onto sound cloth. Secure it with running stitch, whip stitch or blanket stitch, then add decorative stitching if you want the patch to show.
For a small worn area, lay parallel darning stitches across it, then weave perpendicular stitches over and under them. Keep the tension relaxed so the fabric doesn't pucker.
Practice first: Use cotton or denim scraps to learn how firmly to pull the thread before repairing a favourite item.
For a first alteration, baste a new line along a loose side seam. Remove all pins before trying the garment on, check movement and balance, then sew permanently. Trim and finish the allowance only after the fit is confirmed.
Frequently Asked Questions
Can a teenager use a machine alone?
Only after an adult has assessed their operation of that particular machine and task. Independent work still needs agreed limits, periodic checks and a clear rule to stop when something unfamiliar happens.
Is a cheap kit worth buying?
It can be, especially when the household already owns the tools. Count usable fabric, suitable needles and complete project instructions rather than assuming either a low or high price proves quality.
Is deadstock fabric good for beginners?
Yes, when its fibre content, condition and handling suit the project. Avoid starting with unidentified slippery or stretchy fabric just because it's inexpensive.
Should a teen start with a machine kit or hand kit?
Choose according to the learning goal and available support. Hand sewing suits mending and embroidery in its own right, so it needn't be treated merely as preparation for a machine.
Do kits include everything needed?
Not necessarily. Check for thread, fastenings, elastic and interfacing, plus any tools shown in the instructions but excluded from the box.
A rotary cutter and mat aren't essential for every project. Scissors may be the more appropriate starting option.
How long should the first project take?
Use the project table's checkpoints to organise sessions rather than setting a deadline. Unpicking, rethreading and practising are part of learning, not evidence that the teen chose badly.
Choose Your First Kit and the Path After It
Make the choice by answering these questions in order:
- Is a suitable machine available? If not, choose a hand-sewing starter or repair kit rather than buying a machine bundle on impulse.
- Which readiness stage fits? Judge demonstrated skills, including patience and safe stopping, rather than school year.
- What does the teen want to achieve? Separate decorative craft, practical repair and dressmaking.
Those answers should point towards a specific purchase. A new hand stitcher who wants personalised accessories needs a starter kit with a patch or pouch project. A developing machine learner needs straightforward cotton construction and an adult-led introduction. A confident learner interested in clothes needs a simple garment kit with clear sizing and fitting instructions.
For a teen who wants to keep favourite clothes wearable, choose the repair kit without adding unnecessary machinery.
Prepare the first session
Check the selected box against the buying checklist and gather anything missing before opening the fabric. Choose the named next project at the same time, so you can keep useful scraps and avoid buying tools with no immediate purpose.
Book a calm first session with the adult who'll supervise. Start with a demonstration and scrap practice, then stop at a successful checkpoint rather than rushing to finish the entire make.
More Sewing offers ready-to-sew kits, fabrics, deadstock and haberdashery, alongside sewing machine servicing and repairs in Worthing. Visit More Sewing to choose materials for your teen's current skill stage and gather the practical supplies for their next project.
