
Guides
Trim for Fabric: A Practical Guide to Choosing and Sewing It
You're halfway through a project, the bodice fits, the hem looks right, and then a strip of trim lands on the table and changes the whole decision. That's usually the moment when dressmakers realise trim for fabric isn't a finishing flourish, it's part of the garment's construction, the visual line, and the way the piece will wear.
A good trim can make a plain shell look intentional. A poor one can drag on the fabric, pucker a seam, or look heavy in the wrong place. The trick is to treat trim as a design material in its own right, then match it to the cloth, the garment, and the stage of construction where it belongs.
What Trim for Fabric Really Means in a Dressmaking Project
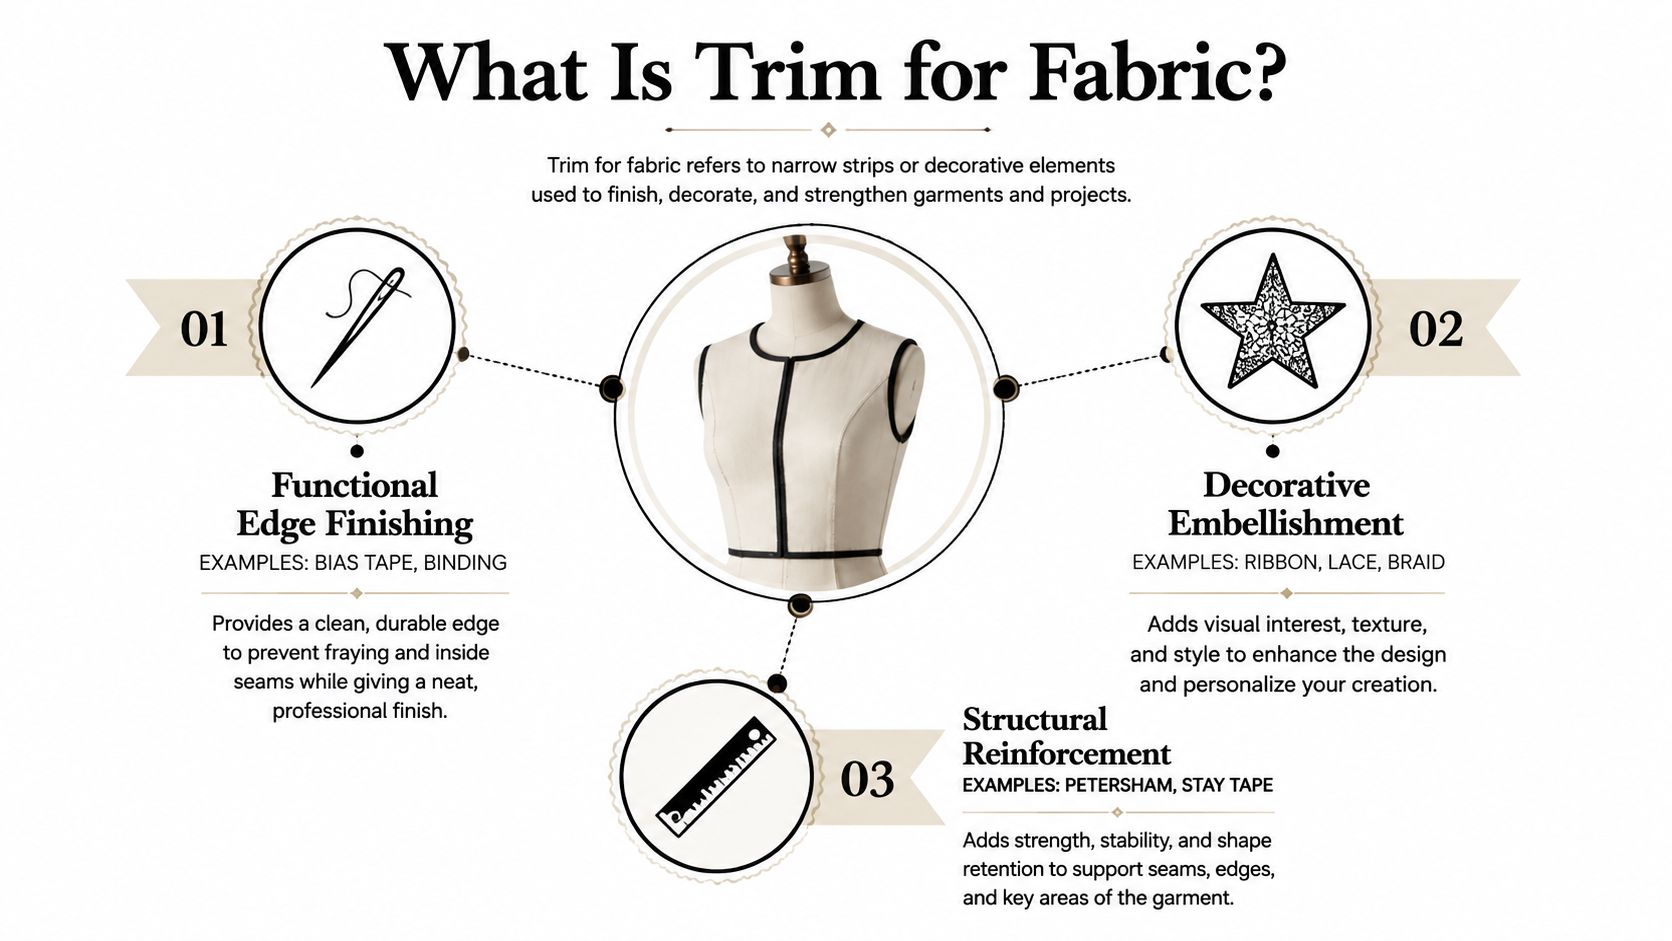
A dressmaker at the cutting table often holds the same question in both hands, the half-finished bodice in one and a strip of braid, binding, or lace in the other. That strip might finish an edge, reinforce a seam, or change the way the garment reads on the body. In practice, trim for fabric covers all of that, not just decoration.
UK teaching materials treat trimming as a garment component, not an optional extra. They classify fabric and stitchery trims as part of apparel production, and they place items such as braid, cord, piping, lace, and fringe along sleeves, hems, collars, and bodices as part of both finish and styling, according to UK fashion and textile teaching materials. That matters because trim changes how a garment is made. If the trim runs from hem to waist, the main panels usually need to be sewn first, then the trim mounted afterwards. If the design hides trim ends in seams, the trim has to go on before seam construction.
Functional trim and decorative trim are not the same job
Binding and piping do not behave like lace or fringe. Functional trim finishes an edge, controls bulk, or strengthens a raw line. Decorative trim shifts the look of the piece, and sometimes the balance of the whole silhouette.
That distinction is easier to see on a jacket or dress than on a sample card. A narrow piping on a princess seam can sharpen the seam line. A soft lace insertion on a blouse yoke can do the opposite, it softens the edge and changes the garment's mood. One is doing construction work, the other is doing visual work, and some trims do both.
The best habit is simple, decide where the trim sits before you cut. A trim placed after seam assembly will read differently from one trapped in the seam itself, and that affects everything from fit to alteration. If you start thinking of trim as part of the pattern rather than as a last-minute add-on, the garment becomes easier to sew and much easier to finish cleanly.
Practical rule: if the trim changes the seam line, it belongs in the construction plan, not in the “I'll add that later” pile.
The Main Trim Families Every Dressmaker Should Know
Trim is easier to choose when you sort it by what it does on the finished garment. The shelf in a haberdashery can look chaotic, but the categories are straightforward once you know the job each family performs. That's how you stop buying ribbon because it's pretty and start buying ribbon because it solves a specific problem on a specific fabric.
Edge-finishing trims
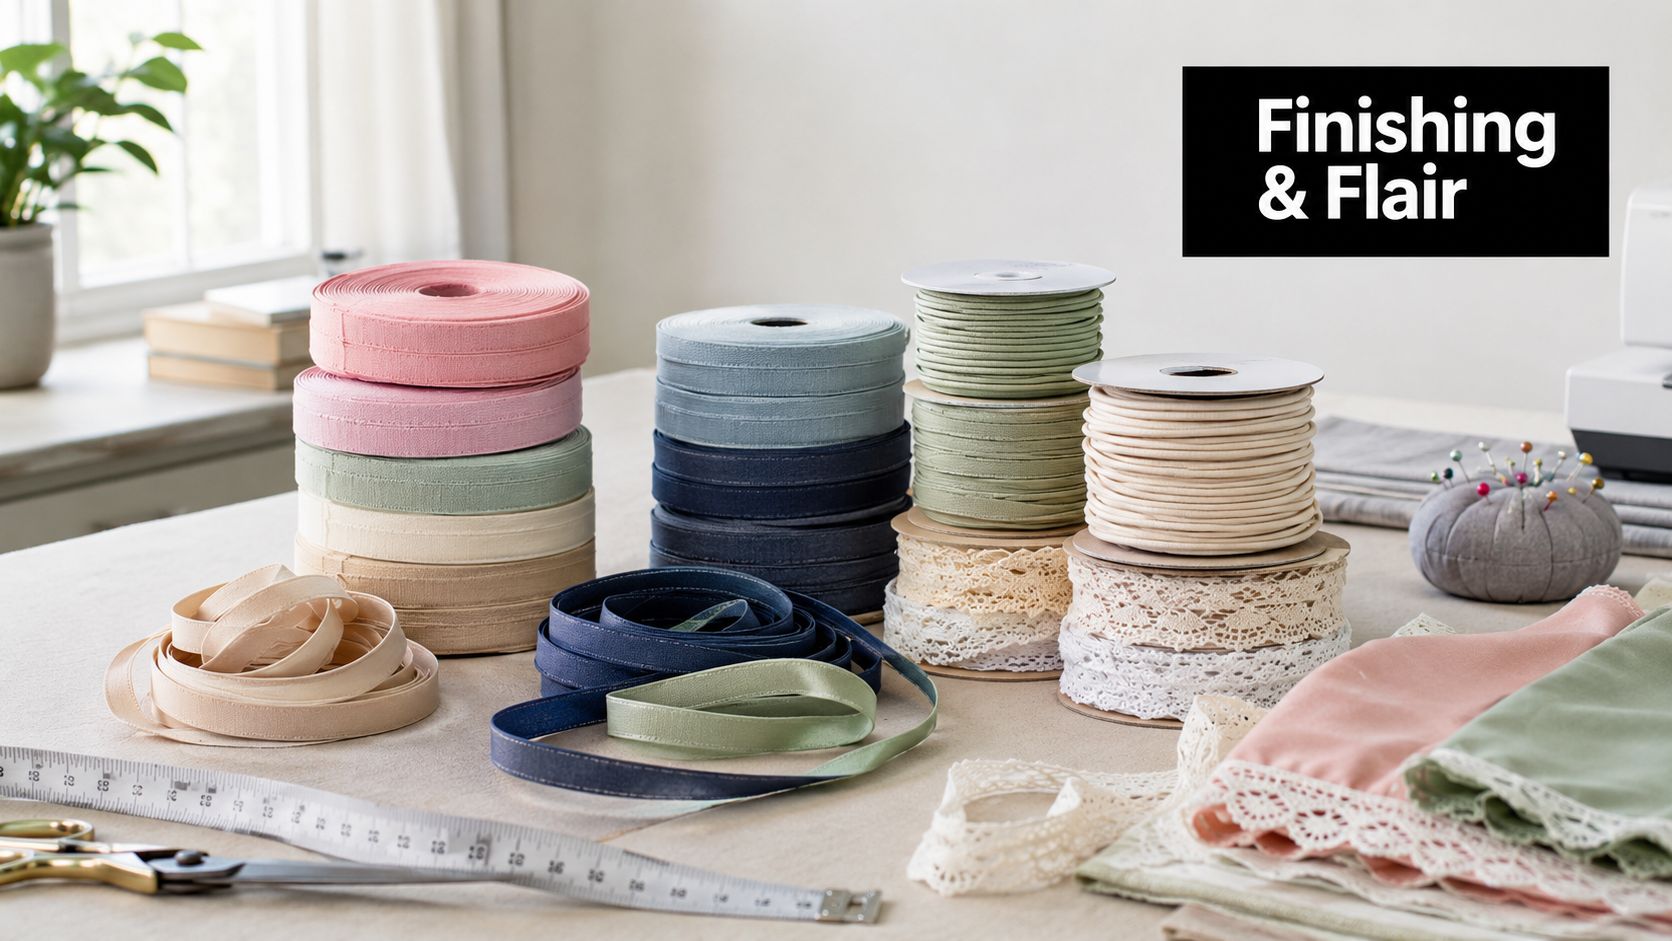
Binding, bias tape, and piping sit at the edge of a garment and give it a controlled finish. Bias tape is the one you reach for on curved armholes, necklines, or a quilted jacket edge. Piping gives a sharper line, which is why it reads well on a precisely cut waistband or between a collar and stand.
A grosgrain ribbon used as a waistband finish on a structured skirt is still basically an edge treatment, even if it looks decorative. The cleanest looks usually come from trims that sit close to the seam and do not fight the fabric's drape.
Decorative trims
Lace, ribbon, braid, and appliqué change the surface of the garment. Cotton lace on a broderie anglaise summer dress is a classic example because the trim feels related to the cloth rather than pasted on top of it. A flat braid on a coat front reads quite differently from soutache, even when the width is similar, because the stitch line and texture are different.
Many sewists get caught out here. Two trims can look alike on the reel and behave differently under the needle. A ribbon that topstitches neatly on cotton may look stiff on viscose. A braid that looks delicate can still add surprising weight along a hem.
Textural trims
Fringe, pom-poms, and tassels are for movement and a bit of attitude. Twisted cord fringe on a 1970s-inspired jacket works because the garment already wants texture. On a crisp shirt, the same fringe can look like it's fighting the cloth.
If you can name the family, you can shop more confidently. You're not asking for “that bit along the edge”, you're asking for the right trim for the right fabric and the right finish.
Matching Trim Weight to Your Fabric and Garment
The most reliable rule in trim selection is still the blunt one, match trim weight and strength to the fabric. Heavy denim needs something strong enough to sit flat and keep its shape, while chiffon needs a trim that won't overwhelm its drape. If the trim feels bossy in your hand before you sew it, it will probably look bossy on the garment too.
A denim jacket can take twill tape, firm piping, or a chunkier zip detail because the cloth has enough body to support it. A viscose blouse needs a lighter touch, so narrow binding or fine lace makes more sense. A cotton lawn dress sits somewhere in the middle, it can handle crisp finishing, but it still benefits from trim that doesn't drag the neckline or hem out of shape.
Use the fabric, not the notion, as the deciding factor
A good buying habit is to check the fibre type, then test how the trim behaves against the cloth. Natural, synthetic, and blended fibres all react differently, and that matters when you're stitching, pressing, and washing the finished piece. For a sampler, sew the trim to a small fabric panel and check feel, stretch, and end use before you cut the full length, which is the kind of workflow recommended in a practical garment-trim brief from smart apparel picks for marketing teams.
A trim can look right on the reel and still be wrong on the garment. The sample tells the truth.
That point becomes obvious on a quilted jacket. If the piping is too soft, it disappears into the loft. If it's too hard, the seam looks lumpy instead of crisp. On a child's cotton pinafore, ribbon has a different job again, it needs to survive washing and repeated use without twisting out of place.
Compliance is part of good judgment too. If you're working on garments for children, or anything sold beyond your own wardrobe, it's sensible to check local rules such as REACH and CPSIA before buying trim. Trim is small, but it's still a material choice, and material choices have consequences.
Step-by-Step Techniques for Attaching Trim by Hand or Machine
The best attachment method depends on the trim, the fabric, and how visible you want the finish to be. Some trims want to disappear into the seam line. Others need to sit proudly on top of the cloth. The machine doesn't care which one you choose, but the garment absolutely does.
Double-fold bias binding on curves
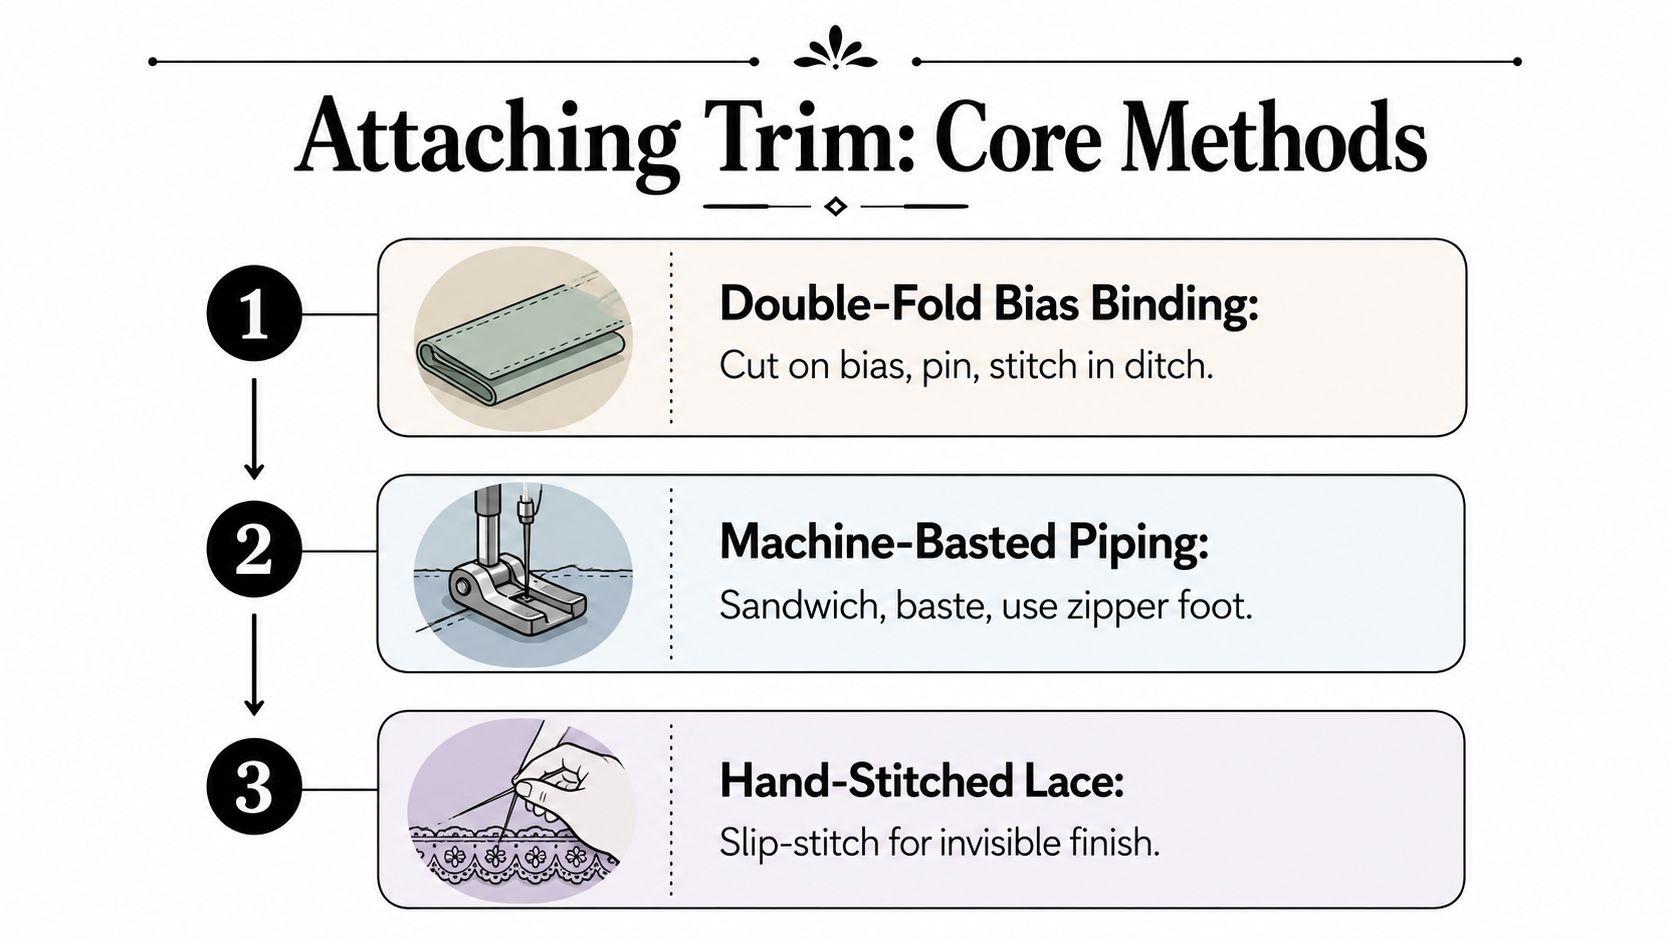
Cut the binding on the bias if the edge curves, then pin it along the seam line and stitch in the fold with a 5mm seam allowance. Fold it over the edge and edge-stitch from the right side. A standard presser foot usually works for this, but if the fabric is slippery, a walking foot helps keep the layers aligned.
This method is excellent on armholes, necklines, and curved hems. The bias gives just enough give to sit smoothly without puckering. If the curve starts to ripple, the issue is usually stretch from handling, not the binding itself.
Topstitched ribbon on straight seams
A grosgrain ribbon stripe down the centre-front of a denim skirt looks clean when it's placed exactly where you want it, secured with water-soluble tape or careful pinning inside the seam allowance, and topstitched in matching or contrasting thread. A stitch length around 3 mm keeps the line clear on denim, and a walking foot makes the feed more even across thicker layers.
This is the method for visible, graphic trim. It's quick, but only if the ribbon stays straight. The common slip-up is letting the cloth shift while you pivot, which leaves the ribbon looking slightly wavy even when the stitching itself is neat.
Slip-stitched lace for an invisible edge
On a cotton lawn blouse, machine baste the lace to the right side first, then turn under the raw edge and hand-stitch it with a small hemming stitch. A narrow hand needle and good lighting matter more here than force. The point is not speed, it's a finish that disappears into the garment.
Use the machine to hold the trim, then use the hand stitch to make it look intentional.
Piping is the one place where the zipper foot earns its keep, especially around seams where the cord needs to sit close to the edge. That foot makes it easier to stitch right beside the cord without flattening it under the presser foot.
When to Trim and Grade Seams Without Weakening the Fabric
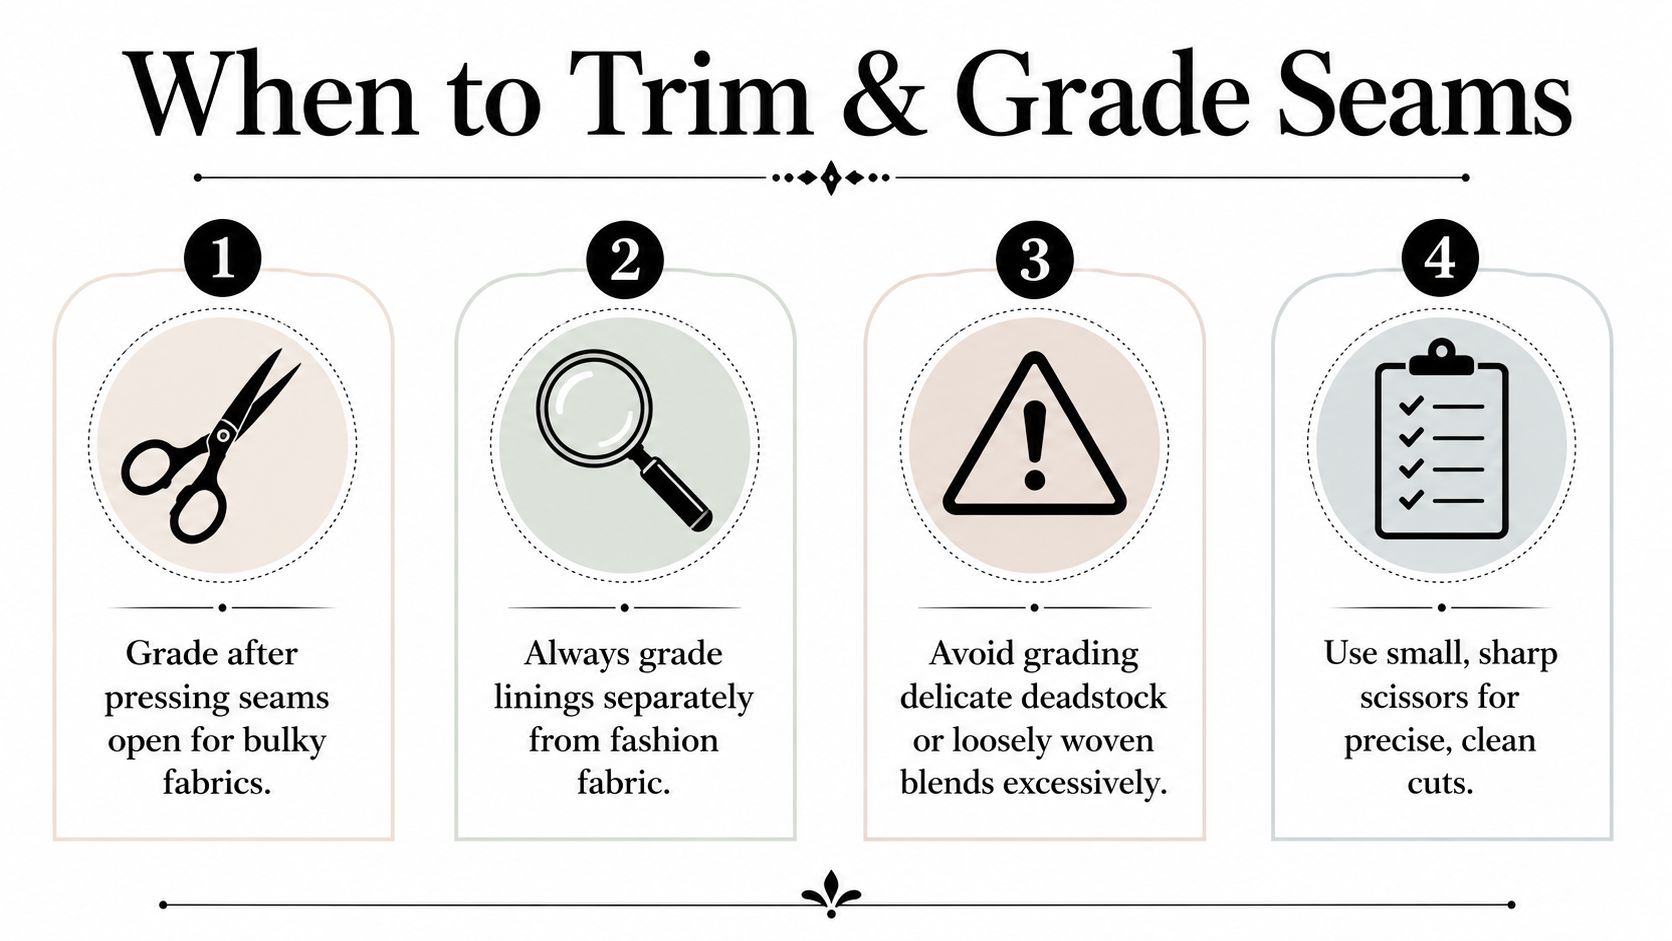
Most sewists are taught to trim seams because bulk looks messy, but bulk is not the only risk. On fraying, loosely woven, or unstable cloth, over-trimming can leave the edge too weak to survive wear. The better question is not “how much can I cut off”, it's “how much can this fabric safely lose”.
The general rule from practical sewing guidance is to trim seams to about 1/4 inch, or around 3/8 inch for loosely woven fabrics, and to finish first if the cloth frays easily, as noted in Sew Essential's seam trimming guidance. That rule works because it respects the cloth instead of forcing every fabric into the same treatment. Deadstock, viscose, and Tencel blends often need more caution than stable cottons.
Read the fabric before you reach for the scissors
| Fabric behaviour | Trim strategy | Why it works |
|---|---|---|
| Frays heavily | Finish first, trim lightly | Protects the edge from breaking down |
| Loosely woven | Leave a little more allowance | Reduces distortion and seam failure |
| Stable woven | Trim and grade normally | Keeps bulk down without losing strength |
| Stretchy | Trim only after testing | Prevents wavy seams and weak recovery |
Curves need restraint too. Clip into the seam allowance, but only halfway, so the fabric can spread without cutting into the stitching line. Corners need diagonal trimming to remove bulk, but they also need durability, so a few reinforcement stitches at stress points can help. Darts should be pressed flat before any trimming happens, and the dart point should stay intact.
A useful habit is to grade from heavy to light, rather than hacking all layers to the same width. That keeps the seam from telegraphing through the right side. On premium one-off garments, the difference between careful grading and aggressive trimming is often the difference between something that looks handmade and something that looks finished.
Starter Projects That Put Trim for Fabric into Practice
The easiest way to learn trim is to use it where mistakes won't wreck the whole garment. Small projects teach the same hands-on lessons as a dress, only with less pressure and fewer metres of fabric on the floor. Pick one trim family, one fabric, and one finishing challenge, then make the trim earn its place.
Pyjama cuffs and hems
Cotton bias binding on stable cotton pyjamas is ideal for learning fold-over finishing. Buy binding that matches the garment weight, then sew it on with a straight stitch and press the fold carefully before edge-stitching. The fabric can be lightweight woven cotton, because you want the trim to behave predictably while you learn to keep the seam line straight.
This is the best first project for practising even stitching and crisp corners. The trim is visible enough to teach good habits, but forgiving enough that small wobbles won't ruin the garment.
Tote bag with ribbon detail
A tote bag is the right place for a ribbon stripe down the front because the panel is flat, the seam allowances are generous, and you can practice topstitching through multiple layers. Use webbing handles if you want the bag to hold shape, and choose a ribbon width that sits comfortably on the face of the bag without crowding the seams.
The construction order matters here. Attach the ribbon before the side seams are closed if you want the ends hidden neatly, or topstitch it after assembly if you want the placement to stay flexible. Either way, the bag teaches you how trim behaves at corners and intersections.
Prairie collar or yoke
A cotton lace collar or yoke with a narrow ribbon insertion teaches curves, hand finishing, and trim placement between pattern pieces. Choose a lightweight woven cloth, something like cotton lawn, so the lace can sit lightly rather than dragging the edge down. The trim should be narrow enough that the collar still rolls and drapes naturally.
That project also teaches patience. Lace insertion looks simple from the front, but it only works when the seam lines are pressed, the lace is anchored evenly, and the raw edges are handled cleanly. Once you can do that, you can handle a wedding blouse or a dress bodice with much more confidence.
Sourcing, Sampling, and Caring for Trim for Fabric
Buying trim without testing it is how perfectly good garments end up in the scrap pile. The sensible approach looks more like a production Bill of Materials than an impulse purchase. Record the trim's fibre, width, and colour against the fabric, sew a sample panel, and then wash and wear it before you commit to the full length.
That sample-first habit is especially useful when the trim has been dyed or finished separately from the base cloth. Wash-testing for shrinkage and colour bleed protects the shell fabric, which matters just as much for a delicate blouse as it does for a structured garment. If you're trying to judge whether a finished garment can tolerate regular cleaning, a practical care reference like our practical suit care guide can help you think about upkeep before you choose the trim.
Trim Sampling Checklist Before You Cut
| Step | What to record or test | Why it matters |
|---|---|---|
| Spec the trim | Fibre, width, colour, finish | Keeps the choice matched to the cloth |
| Sew a sample | Trim on the actual fabric | Shows drape, weight, and appearance |
| Wash test | Shrinkage and colour bleeding | Prevents distortion and staining |
| Wear test | Movement and edge recovery | Reveals twisting, fraying, or stiffness |
| Approve or swap | Confirm compatibility before bulk cutting | Avoids wasted fabric and rework |
A Victorian-inspired trimming method is still useful for gathered or ruched trim. Make a sample at least 50 cm (20 in) long, then use the formula total finished trim × original sample length ÷ finished sample length to scale up the full requirement. That works because trim length changes with ruffling, pleating, and puffing, and the ratio tells you how much cloth the effect consumes. Historical guidance also notes that trim strips are often cut 3–5 times longer than the finished length, which is exactly why sample-based planning saves so much guesswork.
If you're sourcing cloth and notions together, keep the trim decision close to the fabric decision. That's where a curated haberdashery range, dressmaking fabrics, and sample swatches are worth using, because the right trim for one cloth can look completely wrong on another. A little testing now saves you from sewing a beautiful neckline with the wrong edge finish, and that's the sort of mistake no one wants to unpick twice.
If you're planning a blouse, skirt, jacket, or occasion piece, choose the fabric first, sample the trim against it, and only then cut the full garment. For fabric, notions, and swatches that make that process easier, take a look at More Sewing.
