
Dressmaking, Guides
Zip Installation Guide for Home Sewists
You know the feeling. A fresh zip is sitting on the table, the dress front is cut, the cushion cover is nearly done, and the whole project pauses because the teeth won't lie flat or the tape keeps wandering to one side. That's the moment when a zip installation guide stops being background reading and becomes the difference between finishing tonight and unpicking for the third time.
The good news is that zips are less mysterious once you stop treating every one as the same job. An invisible zip in a viscose dress needs a very different hand from a centred zip in a cushion cover, or a separating zip in a jersey hoodie. Get the foot, needle, stitch length, and fabric handling right, and the work starts to behave. Get them wrong, and even a decent machine will fight you.

The Zip Every Sewist Wishes They Could Install First Time
The first time a zip goes badly, it usually looks like a small problem. The tape slips a few millimetres, the top-stitching tilts, and by the time you notice, the opening no longer sits square. I've seen that turn a tidy skirt back into a seam ripper job, and once you've had to redo a line of stitches because the teeth sat proud on one side, you start respecting zip prep in a way no tutorial can force.
Four zip families, four different jobs
The four types home sewists meet most often are invisible, centred, lapped, and separating. They're not interchangeable, and that's where many first attempts go sideways. A cushion cover can forgive a little wobble, but a fitted dress or trouser fly will broadcast every mistake.
Practical rule: choose the zip for the opening, not the other way round. The seam line, fabric weight, and finish you want decide the method.
Hemming a sleeve versus hemming denim jeans is a useful comparison. The tools may look similar on the workbench, but the handling isn't. A cotton poplin cushion cover can take a straightforward centred zip, while jersey usually needs a separating zip with stretch-friendly handling, and a viscose lawn dress wants a lighter touch so the seam doesn't ripple.
The win is learning to read the project before you cut anything. If the garment needs the opening to disappear, reach for an invisible zip. If the zip needs to show in a neat, practical way, a centred or lapped finish is usually the better fit. If the piece needs to come fully apart, such as a hoodie or jacket, separating hardware saves a lot of grief later.
Why one-size-fits-all fails
Zip work looks simple from a distance because the hardware itself is small. Up close, the fabric behaves differently depending on whether it stretches, frays, holds press marks, or carries bulk. That's why a method that works beautifully on a firm denim waistband can look clumsy on a drapey dress.
The safest mindset is to treat each zip as a small construction project. Mark carefully, baste before committing, and check that the project still lies flat before you press anything permanent. That habit pays off faster than any fancy notion drawer ever will.
Tools, Notions and Zip Types Worth Knowing
A tidy zip starts before the needle even goes down. The right kit makes the difference between fighting the seam and guiding it. A dedicated zip foot is the main thing, because the generic foot that came with the machine often sits too wide to stitch close enough to the teeth. For invisible zips, a narrow zipper foot helps you run right alongside the coil without crushing it.
A good bench setup matters too. Keep sharp fabric scissors, fine pins or clips, wash-away wonder tape, and a stiletto or seam ripper close by. The stitcher's habit that saves the most time is using the right needle for the fabric before anything else starts to fray, snag, or pucker.
Needle and zip pairings that actually work
For denim, use a size 14 needle so the machine can push through the heavier layers without struggling. For cottons and lawns, size 11 is a sensible everyday choice. For jersey, switch to a ballpoint needle, because a sharp point is more likely to pierce and damage the knit than part it cleanly.
The zip construction matters too. Coil zips are the most flexible and are a good match for lighter fabrics like viscose lawn, cotton poplin, and many dresses. Moulded plastic zips suit casual wear and home projects where the zip needs to be practical and easy to handle. Metal zips are the sturdier choice for items like medium-weight denim skirts, jeans-style makes, or anywhere you want the zip to feel durable rather than delicate.
A zip can only behave as well as the fabric around it allows. If the opening is drapey, stabilise it. If it's bulky, trim and grade before you stitch.
Length matters as much as type. For cushions, skirts, and dresses, the easy buying rule is to choose a zip about 2 inches longer than the opening, then trim once it's sewn in. That gives you working room, especially when the top edge has a waistband, facing, or seam allowance to contend with. A zip that's too short forces awkward end finishes, and that's where many home projects start looking homemade in the wrong way.
| Zip type | Best for | Needle | Foot |
|---|---|---|---|
| Invisible | Dresses, skirts | Size 11 for cottons and lawns, ballpoint for jersey | Narrow zipper foot or invisible zip foot |
| Centred | Cushions, homeware | Size 11 for cottons | Standard zip foot |
| Lapped | Skirts, dresses, tailored openings | Size 11 for cottons, size 14 for denim | Standard zip foot |
| Separating | Hoodies, jackets, some cushion covers | Ballpoint for jersey, size 14 for denim | Narrow zip foot |
Before you start, pin this checklist to the wall:
- Foot check: Fit the zip foot before the fabric goes under the needle.
- Needle check: Match the needle to the cloth, not to habit.
- Tape check: Keep wonder tape or pins ready for slippery fabrics.
- Length check: Buy longer than the opening, then trim after sewing.
- Pressing check: Have the iron warm before the zip goes in, not after it's shifted.
Installing an Invisible Zip in a Viscose Dress
An invisible zip in a dress is the one often pictured when a “proper” finish is the goal. The tape disappears into the seam, the back looks clean, and the whole thing feels far more polished than the first few attempts usually suggest. On viscose or cotton lawn, the fabric's light hand is lovely, but it also means the seam can sag if you don't stabilise it first.
Before sewing, interface the seam allowance with a light fusible strip where the zip will sit. That gives the opening enough structure to hold its shape while the zip is stitched in. If the fabric is already slippery, a strip of wash-away wonder tape can help keep the zip from wandering while you set the first side.
Stitch close, then press flat
Use a standard zipper foot, flipped for each side so the needle can track close to the coil. Start with a 2.5 to 3 mm straight stitch if you want to baste first, then move to a regular 2.5 mm stitch for the final seam. On a dress, that extra basting line is often the difference between a smooth back and a twisted one.
Keep the seam allowance flat and press it over a tailor's ham before you commit to the top-stitching. That shape helps the curve settle without forcing a crease where you don't want one. I've had a silk-look dress go crooked at the lower stop because I rushed the pressing, and the fix was not more pins. It was unpicking, pressing properly, and sewing the lower end again with the fabric supported.
Finish the bottom cleanly
At the bottom stopper, undersew by hand so the tape doesn't flip out when the dress moves. That tiny bit of hand work looks invisible from the outside and saves you from a zip edge that keeps peeking through after a few wears. Once the zip itself is in place, finish the seam below it with the regular machine foot and close the remainder of the centre back seam as usual.
The dress will forgive a lot if the zip opening is stabilised and the seam is pressed before the machine starts chasing the tape.
A neat invisible zip doesn't come from forcing the coil flat. It comes from guiding the needle close, letting the press do part of the shaping, and respecting the fabric's drape instead of trying to bully it into behaving like denim.
Centred and Lapped Zips for Cushions and Skirts
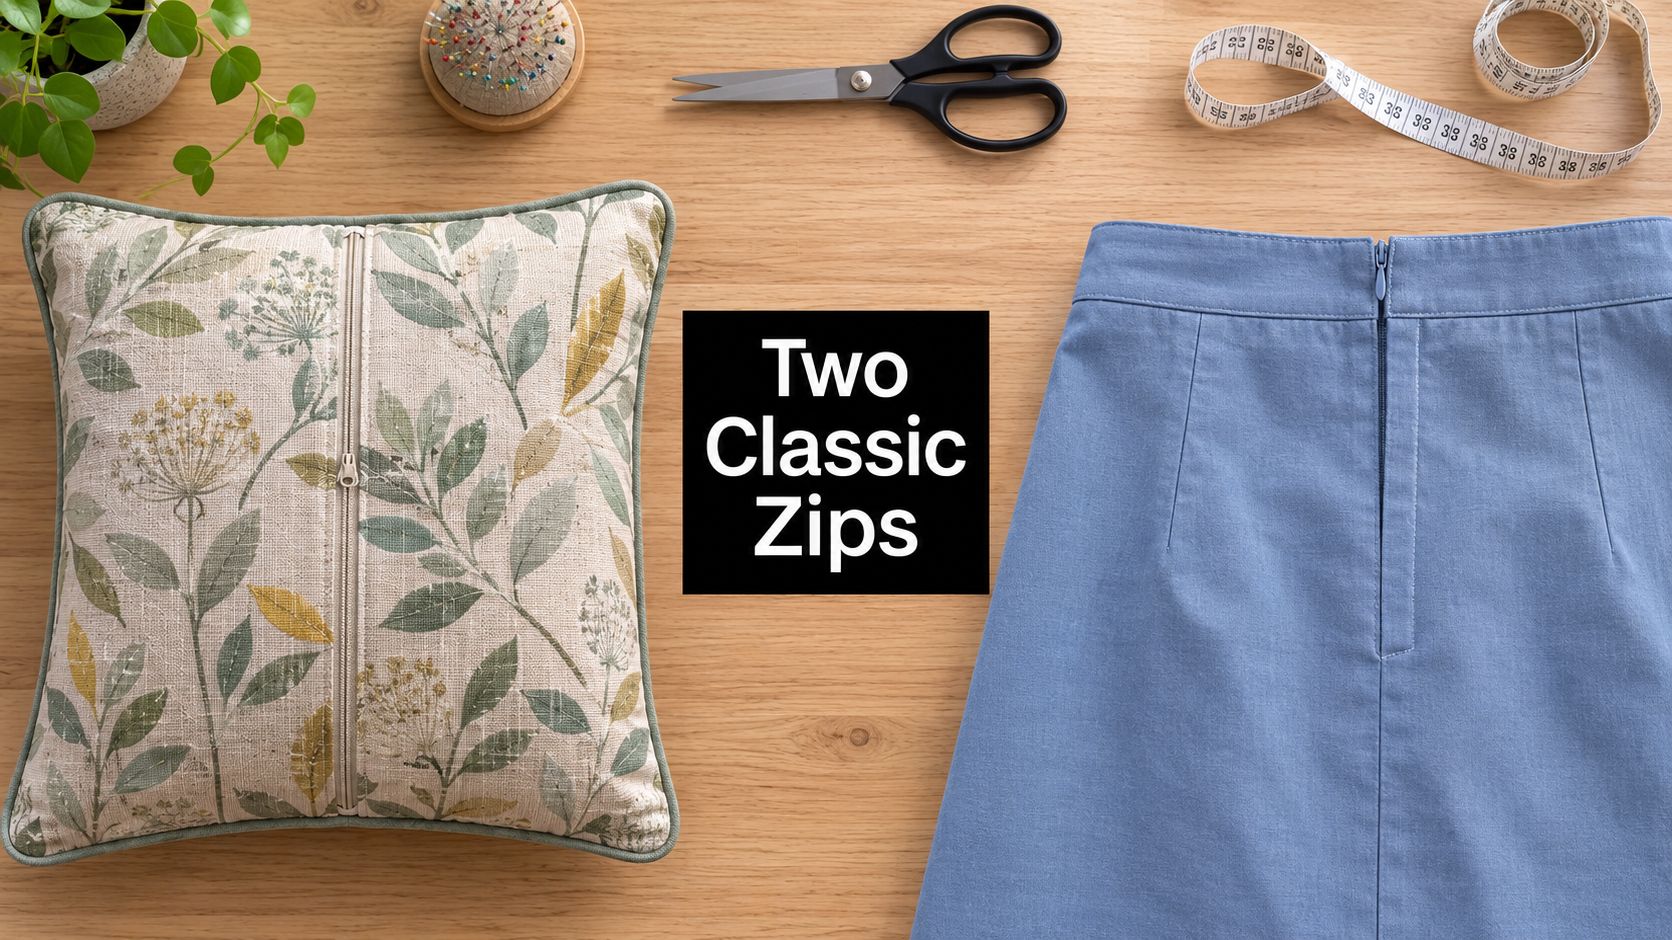
Centred and lapped zips are the workhorses of home sewing. They show up in cushion covers, straightforward cotton skirts, and plenty of practical makes where the zip should be neat but not invisible. The good part is that both styles reward careful marking and basting more than heroic machine control.
Baste first, then decide if the placement is right
A long machine stitch used as basting lets you check the zip on the right side before you commit to top-stitching. That's especially useful on a piped cushion cover, where the zip line needs to sit straight against a border or seam junction. If the placement looks off, basting lets you shift it without fighting hard stitches.
For a centred zip, aim to top-stitch about 5 mm from the teeth. For a lapped zip, go wider, about 7 to 8 mm from the teeth. A strip of masking tape on the machine bed works as a quick guide when you don't want to keep measuring every line by eye.
On a skirt back, the lapped side sits on top and hides the zip more cleanly. Under-stitch the lap so it rolls away from the right side instead of curling towards it. At the bottom of the lap, a hand-stitched slip stitch is worth the extra few minutes, because it holds the overlap neatly without adding a visible clump of machine stitches.
Matching prints and keeping the tape hidden
Plaids and directional prints need a little shifting before you baste. Move the lower layer slightly so stripes or motifs cross the zip line where you want them to, then secure the tape and check again from the right side. That small adjustment is often the difference between a skirt that looks considered and one that looks almost right.
A centred zip is usually the cleaner choice for cushions because it keeps the opening straightforward and easy to press. A lapped zip makes more sense when you want the opening protected or less obvious, which is why it gets used so often on skirts. Both finishes depend on the same thing, though. If the tape is not basted square, the final stitching will show it immediately.
If the zip shows on the right side, don't blame the machine first. Check the basting line, then the seam width, then the pressing.
Separating and Fly Zips for Jersey Hoodies and Trousers
Separating zips look intimidating because there's a lot happening at the bottom end, but the basic sewing is familiar once you split it into manageable parts. A jersey hoodie is a friendly place to start, because the zip opens fully and the fit is usually forgiving compared with trousers. The trick is to stop the knit from stretching out of shape while you sew.
Use a ballpoint needle and a narrow zip foot so the fabric doesn't get chewed or pushed away from the teeth. After the zip is in, twin-needle top-stitching along either side gives a more ready-to-wear finish, especially on fleece-backed jersey or sweatshirt fabric. Where the zip meets the stress points at the waist or hip, add bar tacks or short reverse stitches so repeated wear doesn't pull the tape loose.
Hoodie handling that keeps the knit honest
Keep the garment zipped fully before washing so the teeth stay aligned and the fabric doesn't twist around the opening. Turn knits inside out as well, because the teeth and top-stitching hold up better when they're not scraping against the drum or other items. That simple habit saves a surprising amount of wear over time.
For trousers, the fly-front zip is the one to practise on a toile first. The underlap, curved stitching line, and small triangular bar tack at the base all need to sit in the right place, or the fly looks lopsided. A calico test gives you room to learn the curve before you commit to the fabric.
A useful mental check is this. If the project needs stretch, keep the handling light and stabilise only where the zip sits. If it needs structure, like a trouser fly, give the seam allowance more attention and be ready to unpick a test version rather than wrestle the final garment into shape.
Five Common Zip Problems and How to Fix Them
Most zip disasters come from a small number of predictable causes. That's useful, because it means you can diagnose the problem instead of just staring at the seam and hoping it behaves next time. The fix is usually a single adjustment, not a full restart.
The seam tells you what went wrong
Puckering along the top-stitching usually means the stitch was too long or the presser foot was too heavy for the fabric. Shorten the stitch, switch to a lighter foot if you have one, and press with steam before you sew the final line. On lightweight cottons and viscose, that often flattens the area enough to stop the ripples.
Zip tape showing on the right side means the zip sat too close to the seam. Unpick one side, shift it by about 2 mm, and baste again before top-stitching. That tiny change is enough to hide the tape on many skirts and cushion covers.
Quick fix: if the teeth split or the needle fights the zip, stop and check the foot width first. The fabric should glide beside the teeth, not ride over them.
Split teeth usually happen when the foot is the wrong width or the zip was stitched over instead of beside the teeth. Switch to a narrower foot and use a hand needle to ease the fabric away from the coils where needed. The zipper should never feel like it's being flattened under the stitch line.
Skipped stitches are nearly always a needle issue. Replace the needle with a fresh one matched to the fabric, sharp for woven cloth, ballpoint for jersey. If the stitches start looking patchy after a needle change, recheck the thread path before blaming the zip itself.
Bulk at a waistband seam calls for seam grading, pressing allowances in opposite directions, and trimming the zip tape below the waistband by 5 mm. That cuts the lump that often makes the waistband stand away from the body or sit awkwardly under a top. On denim and heavier cotton, this one fix can make the whole finish feel more professional.
Quick Reference, Prep Checklist and the Confidence to Try Again
The easiest way to choose a zip is to match it to the project you're already holding. Invisible zips suit dresses and skirts where you want the fastening to disappear. Centred zips work well in cushions and homeware. Lapped zips are useful in skirts and trousers. Separating zips belong on hoodies and jackets, or anywhere the garment needs to open fully.
A simple prep routine before every zip
- Interface drapey fabric: Stabilise the opening so it doesn't stretch while you sew.
- Mark both ends: Mark the top and bottom of the opening before the zip goes near the machine.
- Baste first: Hold the zip in place with a long stitch before top-stitching.
- Test on a scrap: Check stitch length and foot choice on fabric offcuts before the main seam.
- Zip and inspect: Close the garment, check the alignment, then press it once you're happy.
The right zip is often the one you already have on hand, provided it suits the opening and the fabric can support it. That said, working the other way round, choosing the zip after the pattern is cut, is where sewists start losing time. Plan the fastening with the fabric in mind and the rest gets easier.
The first zip is slow because every step feels important. The second one is quicker because your hands remember the order. By the third, you'll pick the zip for the project instead of trying to force the project around the zip, and that's when sewing starts to feel properly under control.
If you want better zips, better fabric, and haberdashery that doesn't fight you at the machine, visit More Sewing for quality supplies that suit real projects. Their fabric selection and sewing essentials make it easier to match the right zip, needle, and finish to the make you're starting now.
