
You're halfway through a seam when the machine changes character. The fabric is feeding normally, then a sharp click arrives with every stitch, or a deeper knock starts beneath the needle plate. You stop, look at the machine, and wonder whether you've just turned a small problem into an expensive repair.
A sewing machine making clicking or knocking noise is giving you useful information. In the workshop, unusual sound is treated as an early fault indicator, not a harmless quirk. The cause is often a needle, lint, thread, or loose part, but continuing to sew can allow the needle to damage the plate, bobbin case, or hook assembly.
When the Machine Starts Talking Back
A customer once described the sound as “a tiny hammer under the fabric”. That description is common because the noise often follows the rhythm of the stitch. The machine may appear to sew correctly, but something is making contact where it shouldn't.
The first reaction is often to slow the pedal, change the thread, or carry on carefully. That rarely helps. A rhythmic click usually remains rhythmic at a slower speed, while the extra time under load gives a bent needle or trapped thread more opportunity to catch.
Treat sound as evidence
On a UK service bench, the sound is the starting clue. A high, regular tick points us towards the needle, needle plate, bobbin case, or hook. A heavier knock suggests resistance or contact around the bobbin and hook assembly. Grinding, loud humming, or a knock that changes with motor speed raises more serious concerns involving gears, bearings, or dust build-up.
A UK sewing-machine service guide says unusual knocking or clicking is linked to a blunt or incorrect needle 90% of the time in its troubleshooting advice, as explained in this UK needle and noise guide. That doesn't mean every noise is solved by changing the needle, but it does make the needle the sensible first suspect.
Workshop rule: A new noise deserves a pause, not a test run at full speed.
Most cases have a discoverable cause, and many begin with low-cost checks. The useful sequence is simple: stop the machine, replace the needle, clear debris, inspect the contact points, then test on scrap fabric. That order prevents a small fault from becoming a timing or component repair.
Stop, Switch Off, and Look Before You Listen
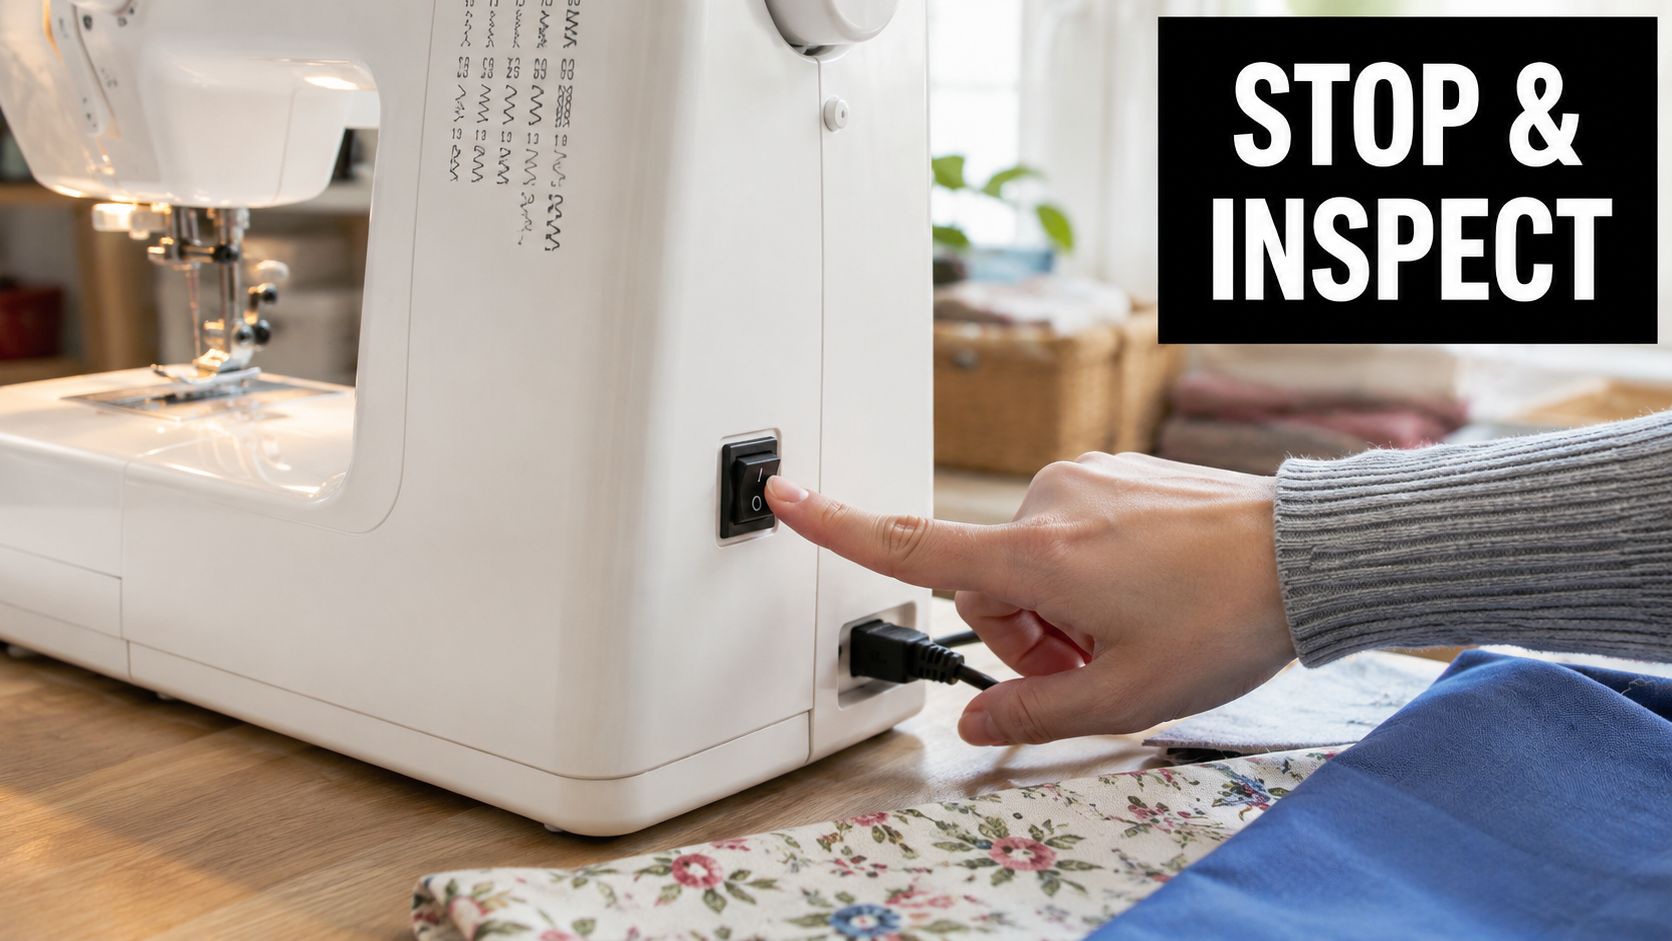
The moment an unfamiliar click or knock appears, take your foot off the pedal. Turn the machine off at its switch, switch it off at the wall, and unplug it if you can. Don't reach beneath the presser foot or pull at a jam while the machine is connected to power.
Remove the needle before investigating further. Snip the upper thread and bobbin thread rather than dragging a tangled thread through the mechanism. If the machine has jammed, the UK troubleshooting advice is to power off, remove the needle, cut the thread, and inspect the bobbin case for damage, following this UK jam and knocking-noise guidance.
Use a visual check before tools
With the power isolated, raise the presser foot and turn the handwheel towards you gently. Don't force it. You're checking whether the needle bar moves freely and whether a thread nest, fabric scrap, or bobbin component is stopping the mechanism.
Look closely at these points:
- Needle: Check for a bend, blunt tip, or shiny impact mark.
- Needle plate: Look for a fresh scratch, indentation, or loose screw.
- Bobbin area: Check for trapped thread, lint, a displaced bobbin case, or tiny impact marks.
- Feed dogs: Look for lint packed between the teeth.
- Presser foot: Confirm it hasn't shifted or come loose.
If the handwheel feels locked, stop there. A jammed machine shouldn't be forced by the motor or handwheel, because resistance can turn a simple obstruction into damaged timing or internal parts.
Matching the Noise to the Likely Cause
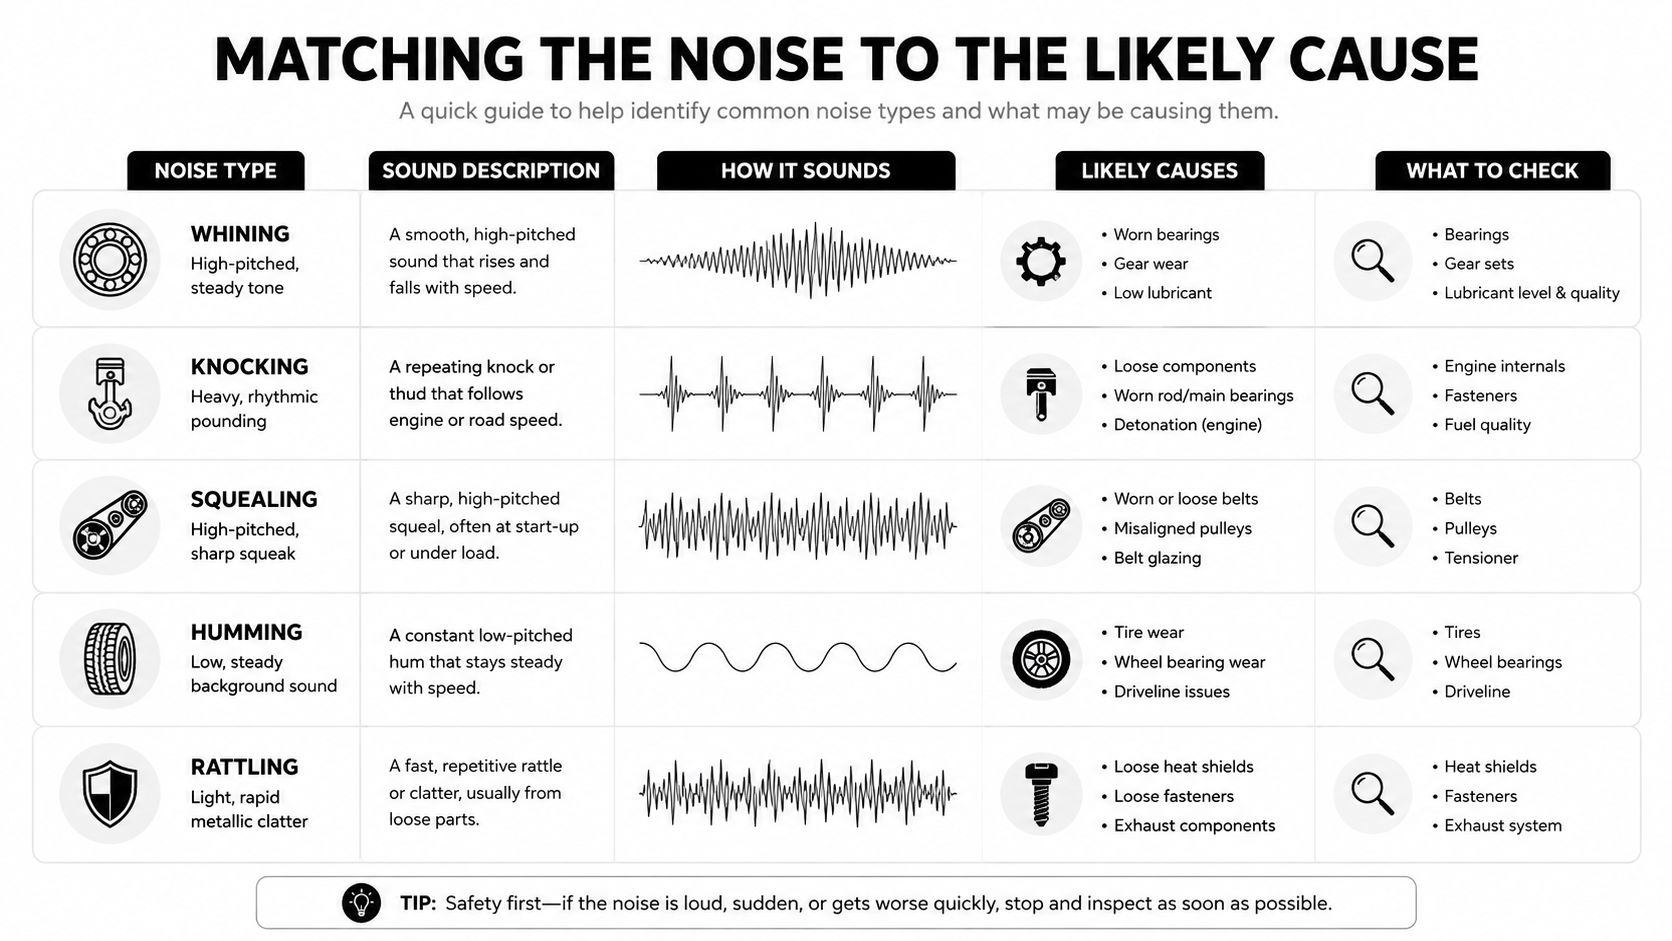
The sound's rhythm helps narrow the search. A light tick that repeats once per stitch usually means the needle is contacting the needle plate, bobbin case, or hook. A deeper knock that becomes faster as you press the pedal suggests a rotating part, thread nest, or component moving under load.
A UK sewing specialist recommends stopping immediately, powering off, removing the needle, and checking the hook assembly, bobbin area, feed dogs, and needle plate screws before testing again. That order focuses on common contact points such as bent needles, loose parts, trapped lint, and thread nests, as set out in this UK unusual-noise troubleshooting sequence.
What different sounds suggest
A sharp, repetitive click is most often associated with the needle. It may be bent from sewing over a pin, forcing thick fabric, or hitting a hard seam. The impact can be subtle, but the sound repeats because the needle makes the same journey on every stitch.
A knock that speeds up with the pedal may come from the hook race, bobbin case, or another rotating area. Lint under the feed dogs, a snapped pin, or debris in the hook path can make the needle strike the plate or hook while sewing. The practical response is to clean and inspect before assuming timing has failed.
A rattle during thick seams can point towards movement in the needle plate, presser foot, bobbin case, or another loose fitting. Thick fabric can also deflect a marginal needle, so compare the sound on a flat piece of scrap before blaming the motor.
Grinding, knocking, or loud humming deserves more caution. Those sounds can indicate gear, bearing, or heavy dust-build-up problems rather than a quick needle replacement. If the noise remains after basic cleaning and a fresh needle, stop testing and arrange professional inspection.
The wrong bobbin can also create a knock. Even when two bobbins look alike, a poor fit can allow movement in the case or interfere with the hook. Use the bobbin specified for the machine model, not just one that appears to fit.
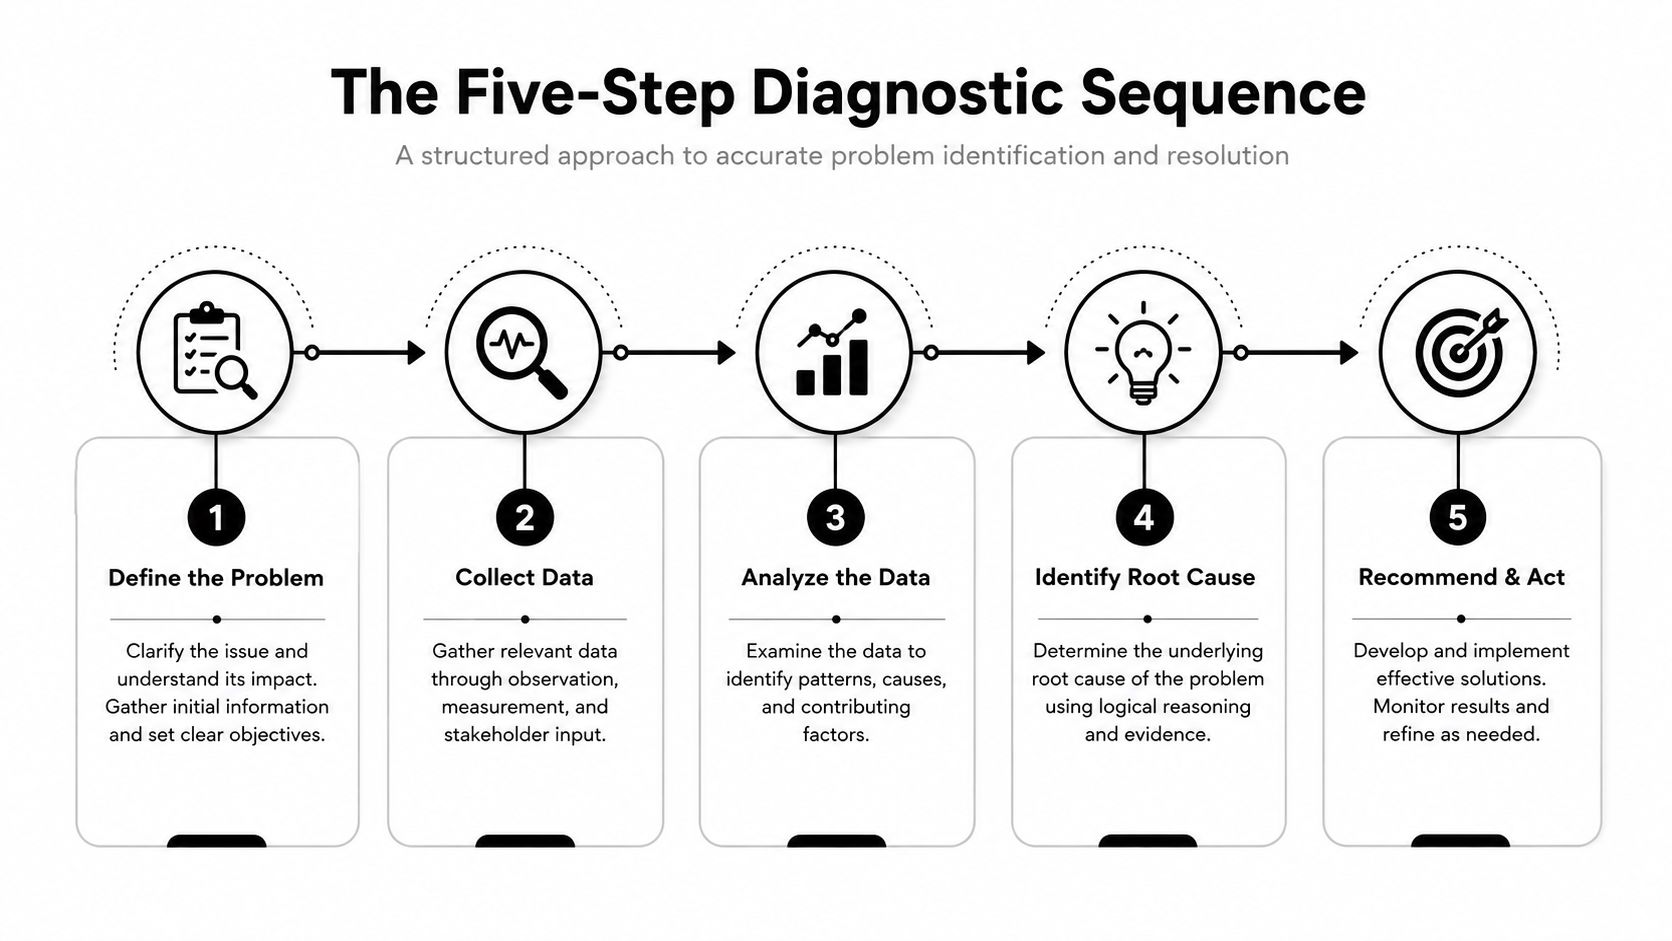
The Five-Step Diagnostic Sequence
A technician doesn't start by removing every cover. The efficient approach is to rule out the common, accessible causes first, then move towards areas that require adjustment or specialist tools.
Step one, examine the needle
Fit a fresh needle of the correct type and size for the fabric. Insert it fully, with the flat side positioned as the manual specifies, then tighten the clamp securely. A needle can look straight on the machine and still have a damaged tip, so replacement is more reliable than visual inspection alone.
If the sound disappears when you turn the handwheel, you've likely found the cause. Don't save a suspect needle for another project.
Step two, clear the bobbin area
Remove the bobbin and bobbin case if your model allows it. Brush lint from the case, hook race, and surrounding surfaces. Cut trapped thread with small scissors or lift it with tweezers, but don't yank a tight nest, because aggressive pulling can disturb the assembly.
Check a plastic bobbin case for tiny indentations or edge marks. If the needle has struck it, replacement is safer than continuing with a damaged case.
Step three, check the feed dogs and needle plate
Remove the needle plate only when the machine is unplugged and you have the correct screwdriver. Clear lint from beneath the plate and between the feed dogs, then check the plate for scratches, burrs, or a damaged needle hole.
Run a fingertip carefully around the opening, without pressing hard. A rough edge can catch thread or make a scraping sound. Check every plate screw and tighten it firmly, but don't overtighten.
Step four, inspect the hook race
With the bobbin area open, rotate the handwheel towards you and watch the hook move. It should travel smoothly, without catching or visibly striking the needle. Don't adjust timing screws at home based on a quick visual check. Hook timing depends on precise needle and hook movement, and an incorrect adjustment can create a larger fault.
A jammed machine should remain unplugged. If the handwheel won't move smoothly after thread and lint have been removed, the bench is the right place for it.
Step five, test on scrap fabric
Reassemble the bobbin area, fit the presser foot, thread the machine correctly, and place a piece of scrap fabric beneath it. Sew a few lines slowly, listening for the original sound. The same practical test is recommended in UK service guidance, because a machine that returns to smooth, quiet operation on scrap has passed a useful maintenance milestone.
Here's a visual demonstration of the inspection approach:
Fixes You Can Do at Home in Under an Hour
Most home repairs should begin with the machine unplugged and the needle removed. Work over a clear table, keep the screws together, and take a quick photograph before removing any part whose position you may need to remember.
Replace the needle
Choose a needle suited to the fabric and thread, then insert it as far as it will go. Hold the needle with one hand while tightening the clamp with the other. A fresh, correctly seated needle is the quickest way to rule out the common striking noise.
Clean the hook race
Remove the bobbin and case, then use a soft machine brush to lift lint from the hook race and feed-dog area. Avoid blowing into the machine, because compressed air can push debris deeper into the mechanism. Use a small piece of lint-free cloth only where the manual permits it.
Check the bobbin case
A damaged plastic bobbin case may show small dents or marks along its edge. Replace it with the correct model-specific part rather than sanding it heavily or continuing to sew. A poor replacement fit can create new noise, so compare the old and new cases before installation.
Secure the plate and re-thread
Tighten the needle plate screws until secure, then check that the presser foot and bobbin case are seated correctly. Re-thread with the presser foot raised so the thread can settle properly into the tension discs. For broader, transferable household problem solving skills guide, use the same principle here: isolate the problem, change one variable, and test the result.
The More Sewing shop in Worthing also offers sewing-machine servicing and repairs for machines that need more than cleaning or a replacement needle. Once the fix is complete, test on scrap fabric before returning to your garment.
When to Stop DIY and Book a Service
A sensible stopping point is reached when the machine still needs diagnosis rather than another home adjustment. Before booking, write down the machine model, the type of noise, when it began, and what you were sewing when it appeared. Note whether it happens only while stitching or also when the handwheel is turned by hand.
Bring the needle, thread, bobbin, and bobbin case used when the problem started, if they are still available. A short recording of the sound can help, but do not keep running the machine to capture it. Tell the technician what you have already cleaned, changed, or adjusted, including any replacement parts fitted.
The technician's first job is to reproduce the complaint safely. They will establish whether the sound comes from the needle area, hook, feed mechanism, motor, or drive system, then inspect the related parts rather than replacing components at random. The machine may need partial disassembly before the source is clear.
A workshop assessment should also separate a repair from routine service work. A clean and adjustment is different from timing correction, gear replacement, or bearing work, and parts availability can affect the practical choice. A reputable shop should inspect the machine before promising a final figure and explain which work is recommended.
At More Sewing in Worthing, expect the technician to ask what fabric, needle, thread, and stitch settings were in use. That information can reveal a pattern the machine cannot show on the bench alone. If the repair is declined, ask for the reason and any parts identified, so you can make an informed decision about returning the machine to service or replacing it.
Keeping the Noise From Coming Back
Quiet running comes from small habits rather than heroic cleaning sessions. Brush lint from the needle plate and bobbin area after each project, especially when sewing fluffy fleece, brushed fabrics, or fabrics that shed heavily.
Start each new project with a suitable needle and check the thread for fraying before you load it. A needle that has worked through a demanding fabric can look acceptable but still cause trouble on the next seam.
A simple maintenance rhythm
- After sewing: Remove lint with a soft brush and leave the bobbin area clear.
- Before a project: Fit a suitable needle and confirm that the bobbin matches the machine.
- During storage: Lower the presser foot, remove loose threads, and cover the machine to keep dust out.
- According to the manual: Lubricate only if the manufacturer specifies it, using sewing-machine oil at the stated points.
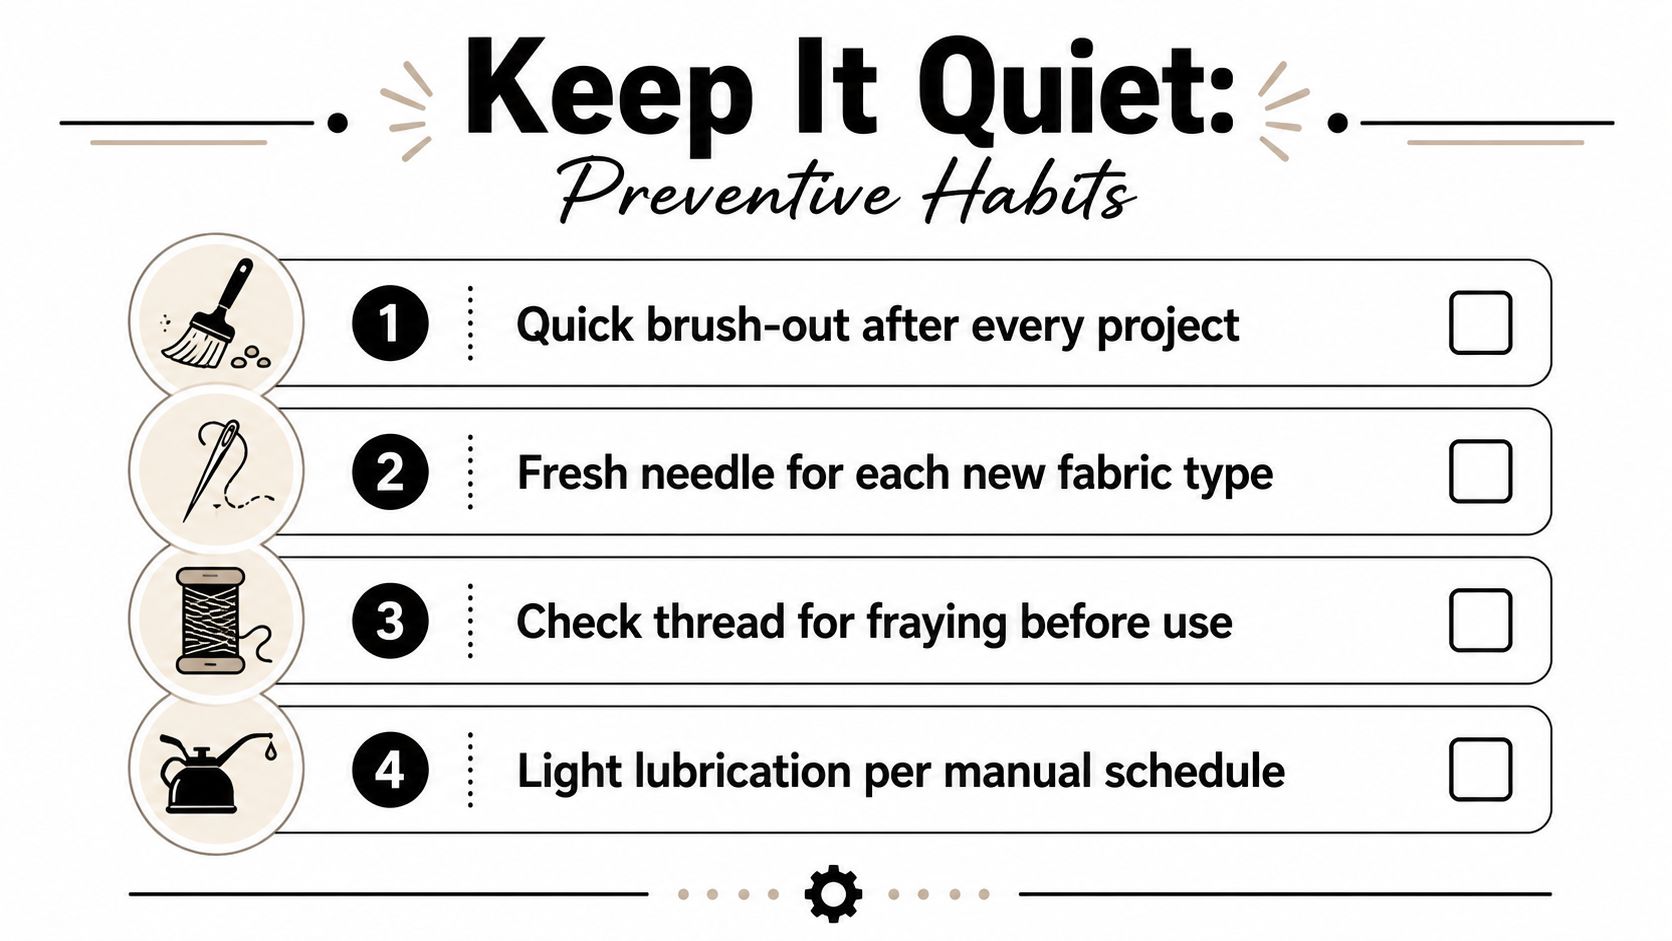
Don't oil a modern machine blindly. Some models are sealed or designed for professional lubrication, and applying oil in the wrong place can attract lint or create a different fault. If you sew weekly, an annual service is a practical way to have timing, tension, hook movement, and internal cleanliness checked before a small noise becomes a breakdown.
If your machine is still making a clicking or knocking noise after the needle, bobbin area, feed dogs, and needle plate checks, book a sewing-machine assessment with More Sewing in Worthing. Bring the machine in for servicing or repair, and let the workshop identify the fault before it damages more expensive components.
