Guides
The 7 Most Common Mistakes People Make Using Their Sewing Machine And How To Avoid Them
Mr More Sewing – our resident sewing machine engineer and all-round font of knowledge about sewing machines; pointed out to me a while back how many times he sees the same issues with sewing machines that could be easily be fixed.
That got me thinking and I thought it would be a good idea to share with you the 7 most common issues that we see and how easy it is to resolve them.
1 – Sewing With A Blunt Needle
How often should you change your sewing machine needle? You should change your sewing machine needle every seven hours of sewing; or every time you start a new sewing project (particularly a large sewing project). It can be surprising how quickly a needle can start to go blunt, particularly if you are sewing through man made fibres, or through thicker fabrics.
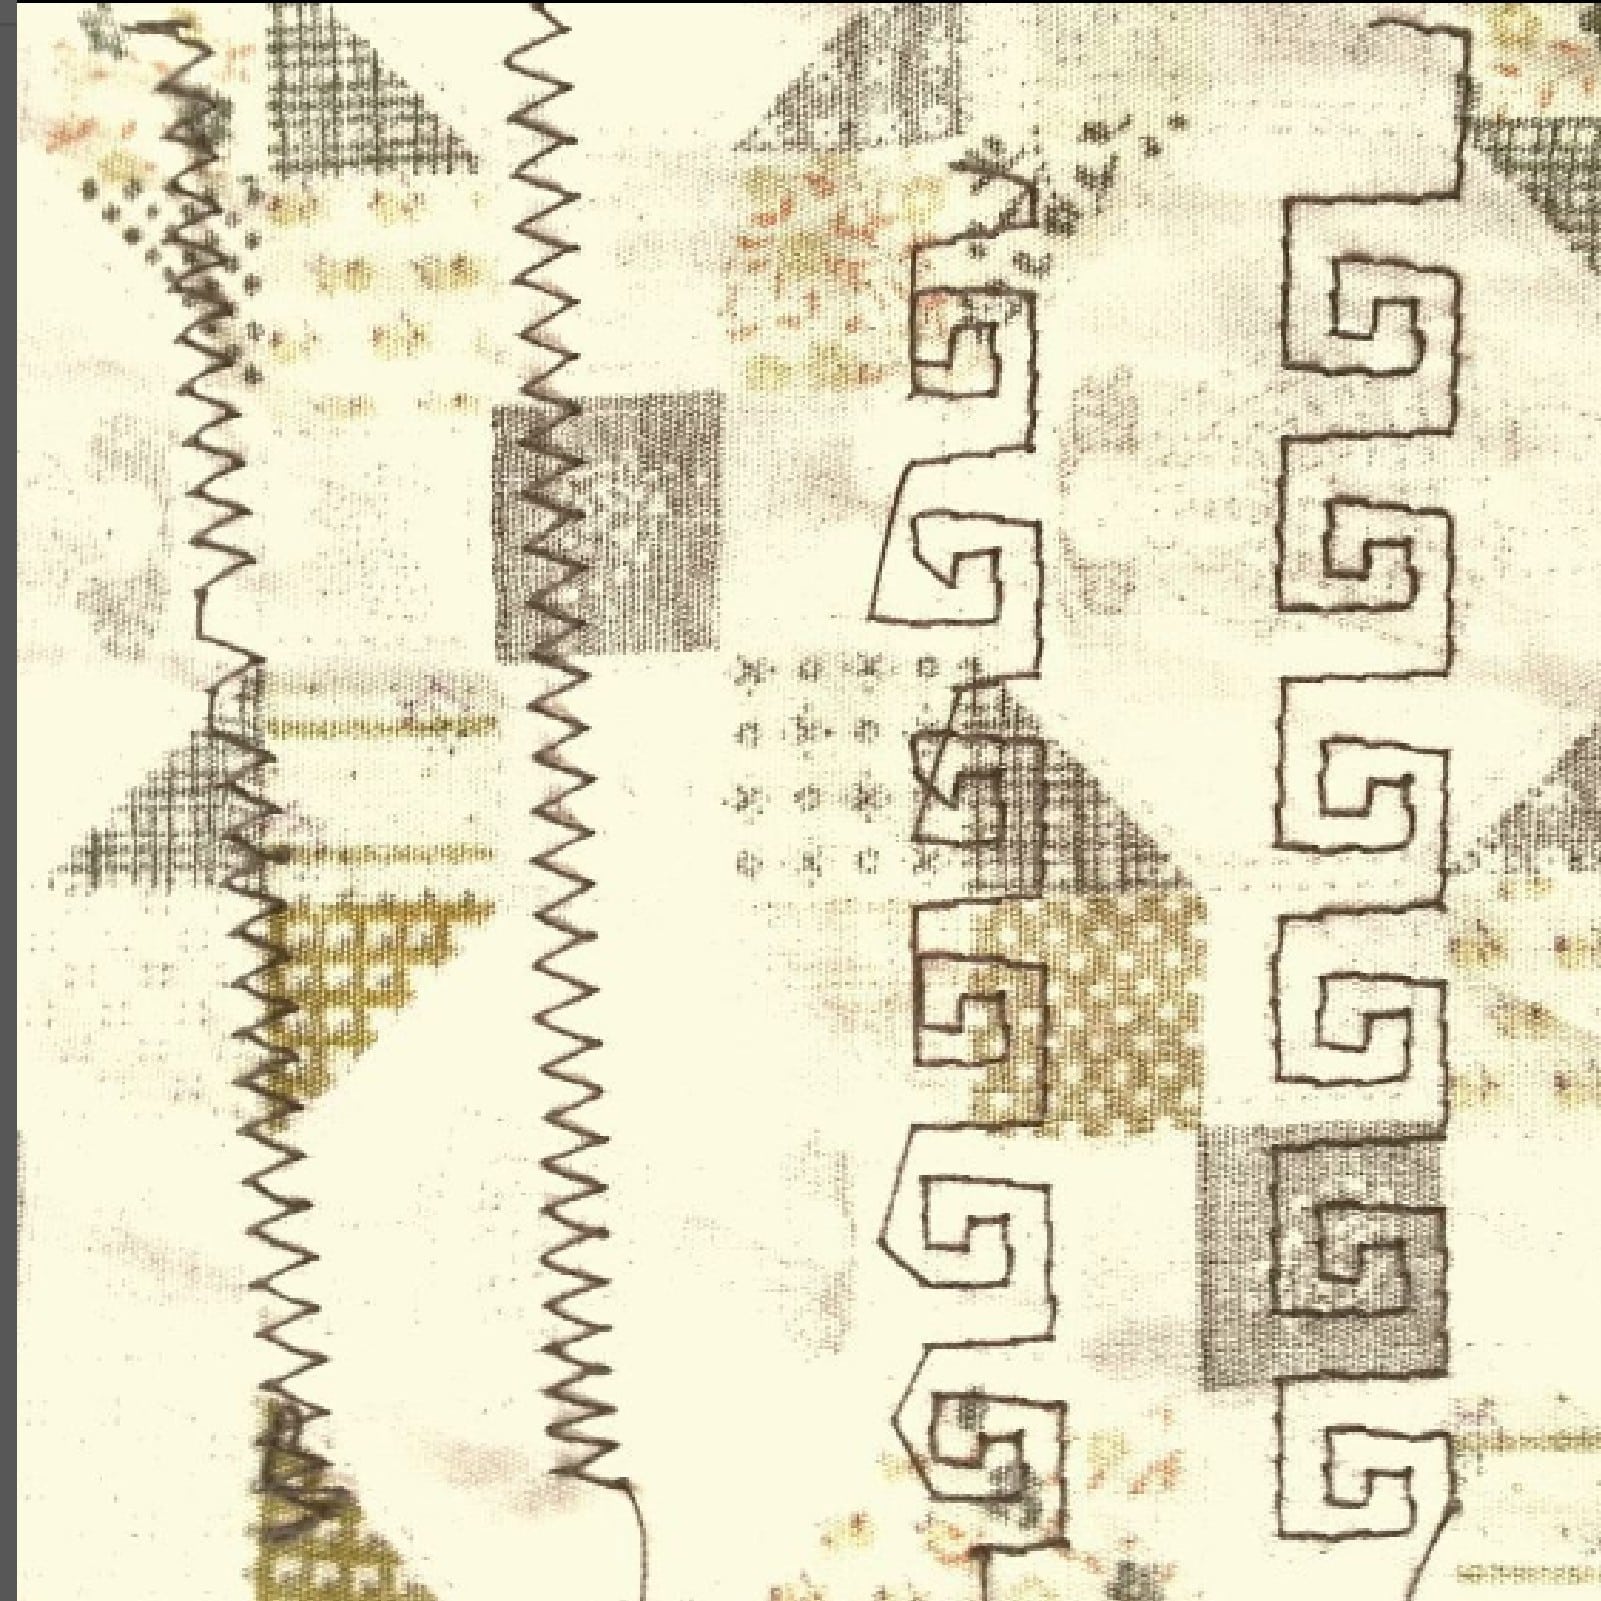
Listen to the sound of the machine sewing – when the needle passes through the fabric – can you hear a popping noise or a clicking noise? This means the needle is struggling to pass through the fabric and is becoming blunt. Time for a new sewing machine needle!
What is the oldest needle Mr More Sewing has come across that was still being used? Well, he did have a 40 year old sewing machine – bought from new and with one careful owner (actually a birthday present for a 20th birthday – the lady wanted to do more sewing as she was about to retire at the age of 60). When the machine was bought in, the lady was asked when she last changed the needle – the answer was ‘can you change the needle’?! Mr More Sewing was amazed actually that such a blunt needle could still form a stitch but he did make a point of giving the lady her sewing machine needle back – it was an old friend after all!
How to avoid this? Get into the habit of checking and changing your needle regularly. You spend a lot of money and time on dressmaking – it would be a shame to have an issue because of a blunt needle.
2 – Sewing With The Wrong Needle
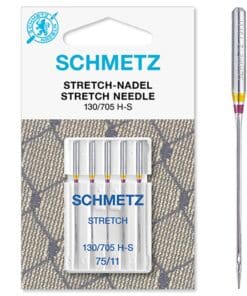
Similar to the first point, it is very easy to use the wrong needle when you are sewing. Sewing machine needles come with a variety of thicknesses and tips. The most common issue we see is using too fine a needle for thicker fabrics (this can result in bent or broken needles or skipped stitches). The next most common issue is using a standard needle when sewing jersey or stretch fabrics. Again this can result in skipped stitches or a run on the jersey fabric.
How to avoid this? Keep a selection of needles types in your sewing box and check that you are using the right needle for your fabric. If in doubt ask?
3 – Using The Wrong Bobbin
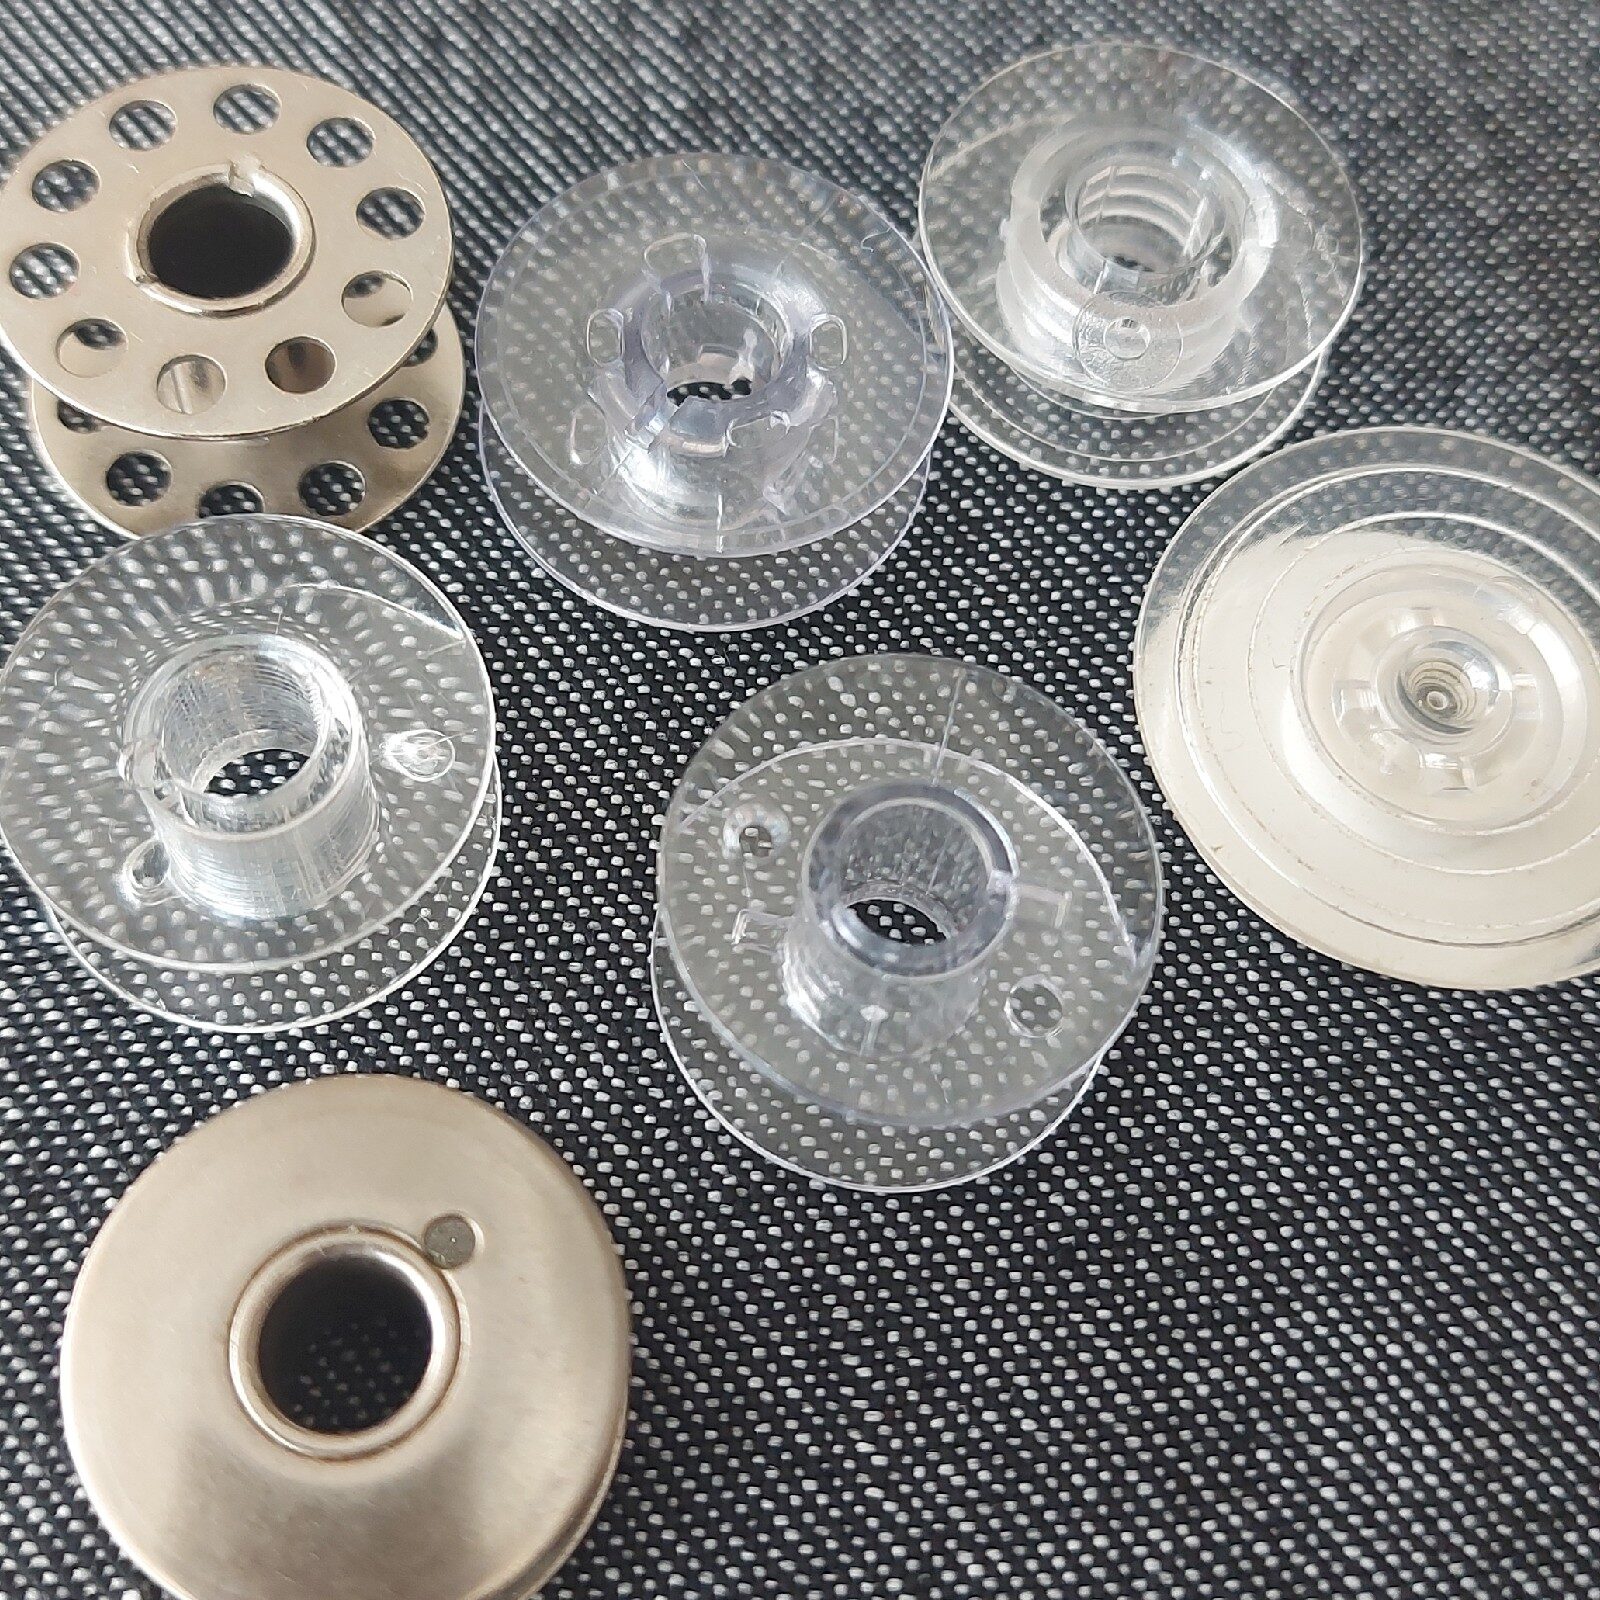
Mr More Sewing sees two main issues:
Using a bobbin that is too small – nearly always using an old singer bobbin in a new machine. Older singer bobbins (metal or plastic) can jump around in the bobbin case and use tension problems.
Using a metal bobbin is a machine that should be using a plastic bobbin. Metal bobbins can scratch bobbin cases if they are the wrong size. Old metal bobbins can be rusty or dented, either of these issues can catch the thread and cause a problem with sewing.
How to avoid this? Check the user manual to see which bobbin you should be using and don’t use old bobbins from other machines or that well meaning friends give you – there is a good chance they won’t be the right bobbin
4 – Adjusting The Tension
When people have an issue with the machine sewing they can sometimes panic and start adjusting the dials on the machine – one of which is the top tension dial. What you need to realise is that the tension on a sewing machine is set in two places, one on the top of the machine and is set by adjusting the dial and the second is in the bobbin case and is set by adjusting a screw. These two tensions need to be in balance, if you change one without adjusting the other, this will cause a problem with the stitch quality.
To get the stitch quality back again can be an issue but you can try the following:
First of all take the top and bottom threads out of the machine and re-thread from scratch. There is a good chance one of your threads is not sitting properly in the thread guides and this should fix this.
If you still have a problem, set the top tension to 4 – try stitching a straight stitch and check the finished stitch. If there is a problem, turn the dial one number up to 5 and try again. If there is still an issue repeat increasing the number by one all the way to 9, checking as you go. If there is still an issue, put the tension to 3 and try again but moving the dial down.
If doing this does not solve the issue – then you will need to get the sewing machine checked by whoever locally services your machine as the balance will need to be set top and bottom (or there might be another problem).
How to avoid this? If you have a problem with the stitch finish when sewing always un-thread the machine top and bottom, put in a fresh needle and thread up from scratch. This will nearly always sort the issue out. If is does not and trying the tension adjustment above does not fix it – then I’m afraid it is time to visit your local sewing machine mechanic.
5 – Sewing With The Wrong Thread
Most commonly the issue we see is using an old thread (it is amazing how much Sylko thread is still in use today – it has not been made for well over 30 years!). Older thread can start to degrade and becomes weaker – not a great idea when you are working on your next dressmaking project!
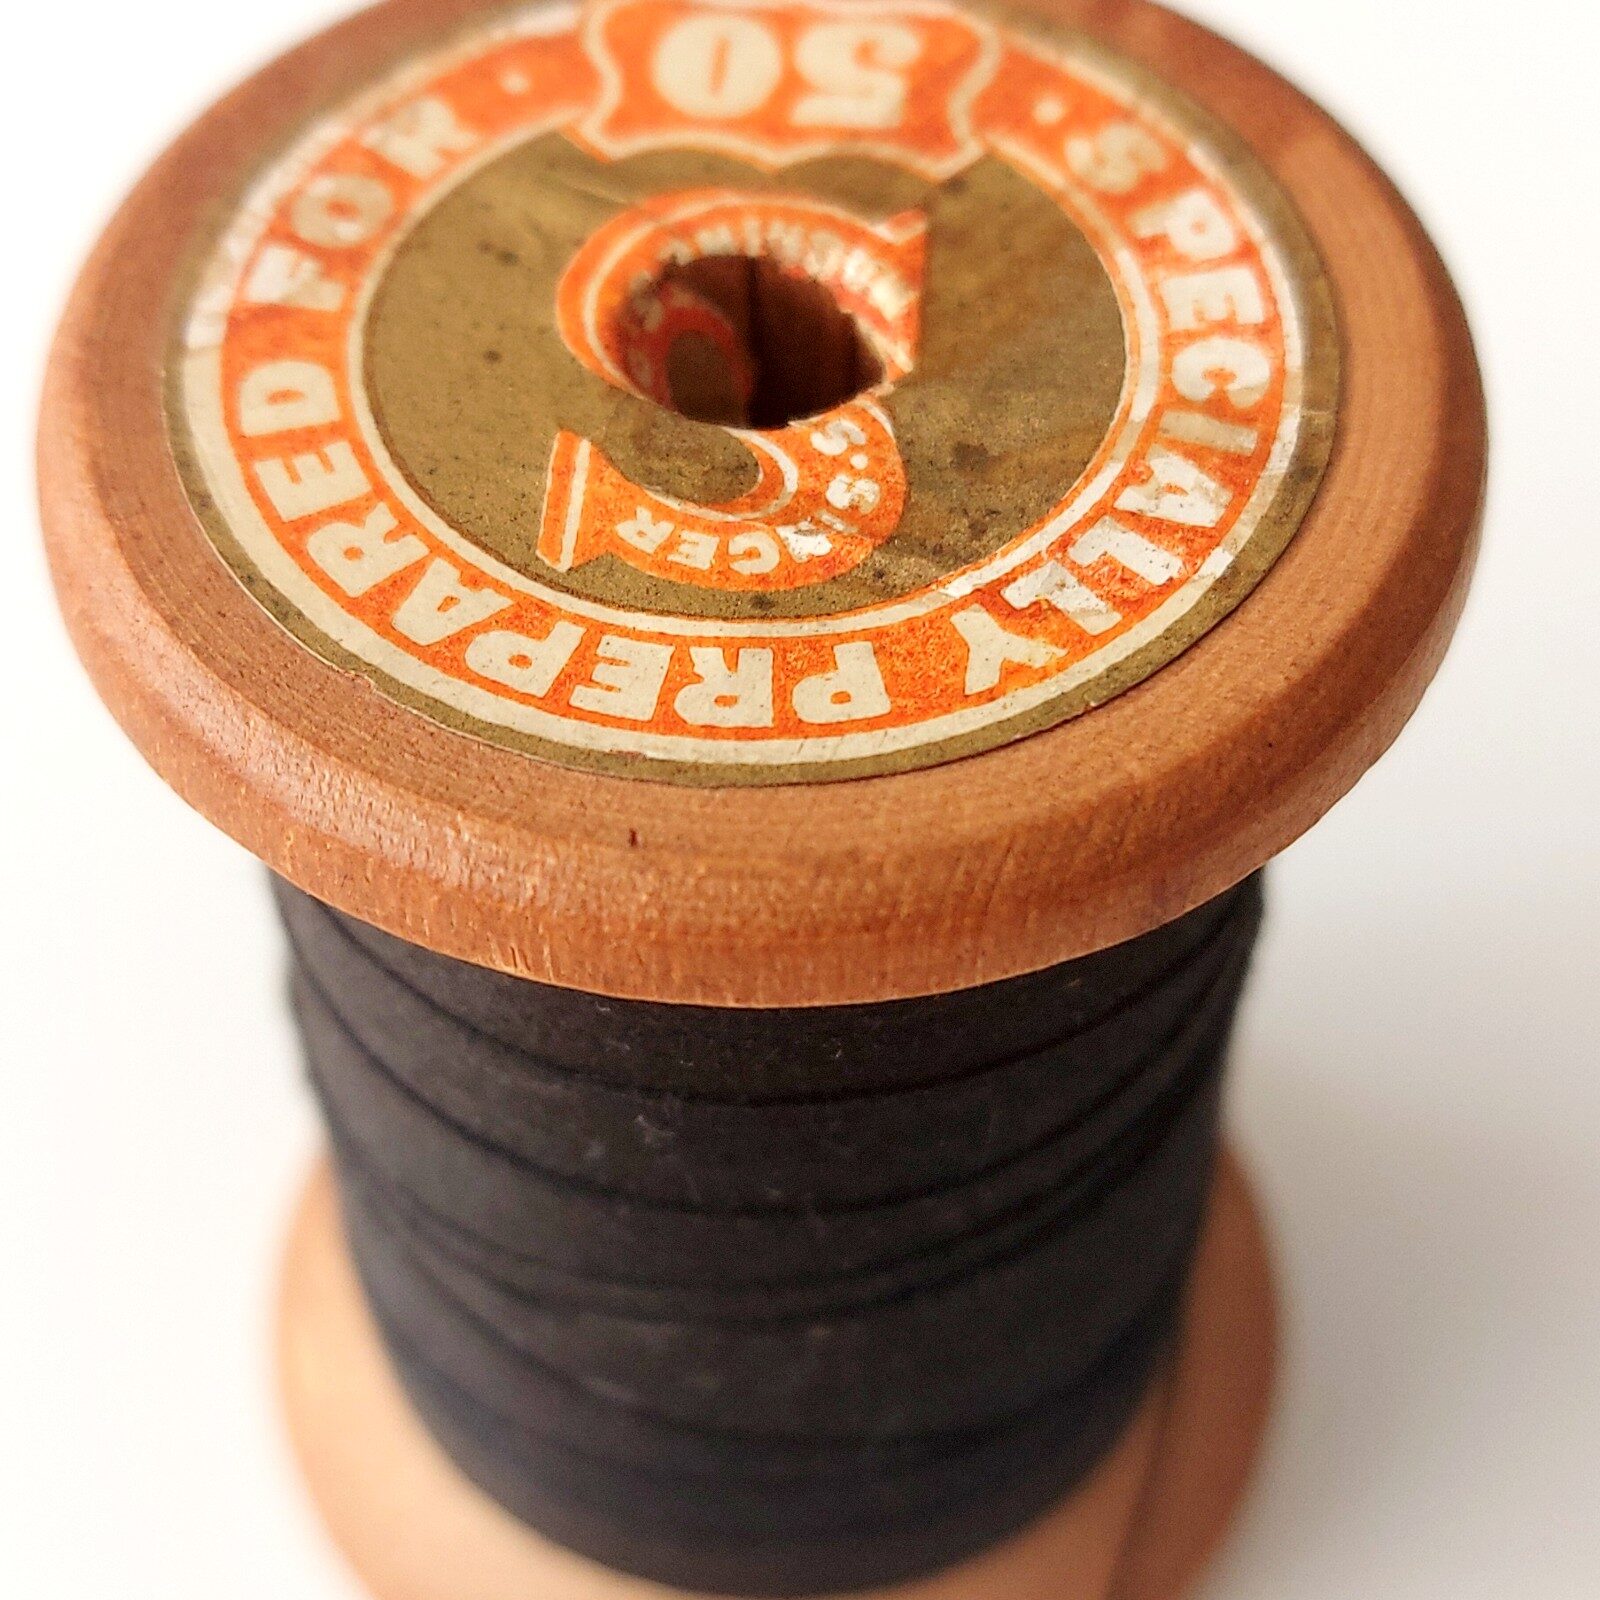
Modern polyester thread such as Gutermann thread is really great quality and perfect for modern dressmaking. We do advise using threads like this for your dressmaking. You get what you pay for with thread – it can be tempting to buy cheap reels of thread from the supermarket or discount stores but nearly always this thread is just not great quality.
How to avoid this? As much as possible use a good quality modern thread and use the same thread on the top and in the bobbin. If you are using an older thread try snapping the thread with your fingers. If the thread breaks easily don’t use it in your machine as it is getting too weak. You can still use it as a basting thread so all is not lost.
6 – Using The Wrong Presser Foot
The most common issue that Mr More Sewing sees is people using their fancy stitch foot instead of the standard presser foot. The fancy stitch foot on most sewing machines is made of clear plastic. People find it makes it easier to see the fabric being sewn using a clear plastic foot. However a fancy stitch foot is designed to pass over raised (fancy) stitches and has a wide groove on the bottom of the foot. If you are sewing a normal stitch this will leave a gap under the foot and the fabric can move – causing a problem with the quality of the stitching.
How to avoid this? Only use a fancy stitch foot when you are sewing built up stitches, otherwise use a standard presser foot.
7 – Turning The Hand Wheel The Wrong Way
Always turn the hand wheel toward you. You can rock the sewing machine needle back the other way if you are adjusting the needle placement but you should never turn the hand wheel away from you in normal sewing. You cannot ‘unsew’ and doing this will just increase the chance of jamming the thread. It is surprising how many people we see doing this – even people who have been sewing for some time.
How to avoid this? Quite easy – don’t turn the handwheel the wrong way!
I wonder how many of these sound familiar to you? Hopefully not all seven! Avoiding these issues will help you to get more enjoyment out of your sewing machine and avoid having to take your machine in for a service or repair.
Happy Sewing!
