
Dressmaking, Guides
Sewing Success: Choosing Trims for Fabric in 2026
You've finished the skirt, pressed the seams, tried it on, and something still feels flat. The fit is right. The fabric is lovely. But it doesn't yet have that finished look you had in mind. That's often the moment trims make sense.
A good trim can sharpen an edge, soften a neckline, reinforce a seam, or turn a simple project into something that looks considered rather than merely completed. The tricky part is that trims don't behave the same on every fabric. A cotton tape that sits neatly on denim can ripple badly on viscose jersey. A delicate lace that looks beautiful on the card can feel heavy and awkward once it's stitched to a fine blouse.
That's where many home sewists get frustrated. Most advice lumps all trims together, when the essential difference comes from matching the trim to the fabric and then attaching it in a way that respects how that fabric moves. If you sew jerseys, lawns, denims, linens or sheers at home, that detail matters.
What Are Trims and Why They Matter in Sewing
Trims are the finishing materials you add to fabric to improve function, appearance, or both. That includes lace, piping, bias binding, braid, ribbon, fringe, elastic, buttons, appliqué, and decorative tapes. Some trims solve a practical problem. Bias binding cleans up a raw curved edge. Elastic helps a garment hold shape. Piping gives structure to seams that might otherwise disappear.
Other trims change the mood of a project. A plain linen cushion looks crisp with contrast piping. A child's dress feels softer with narrow broderie anglaise at the hem. A cardigan in stable ponte can look much more polished with grosgrain along the button stand.
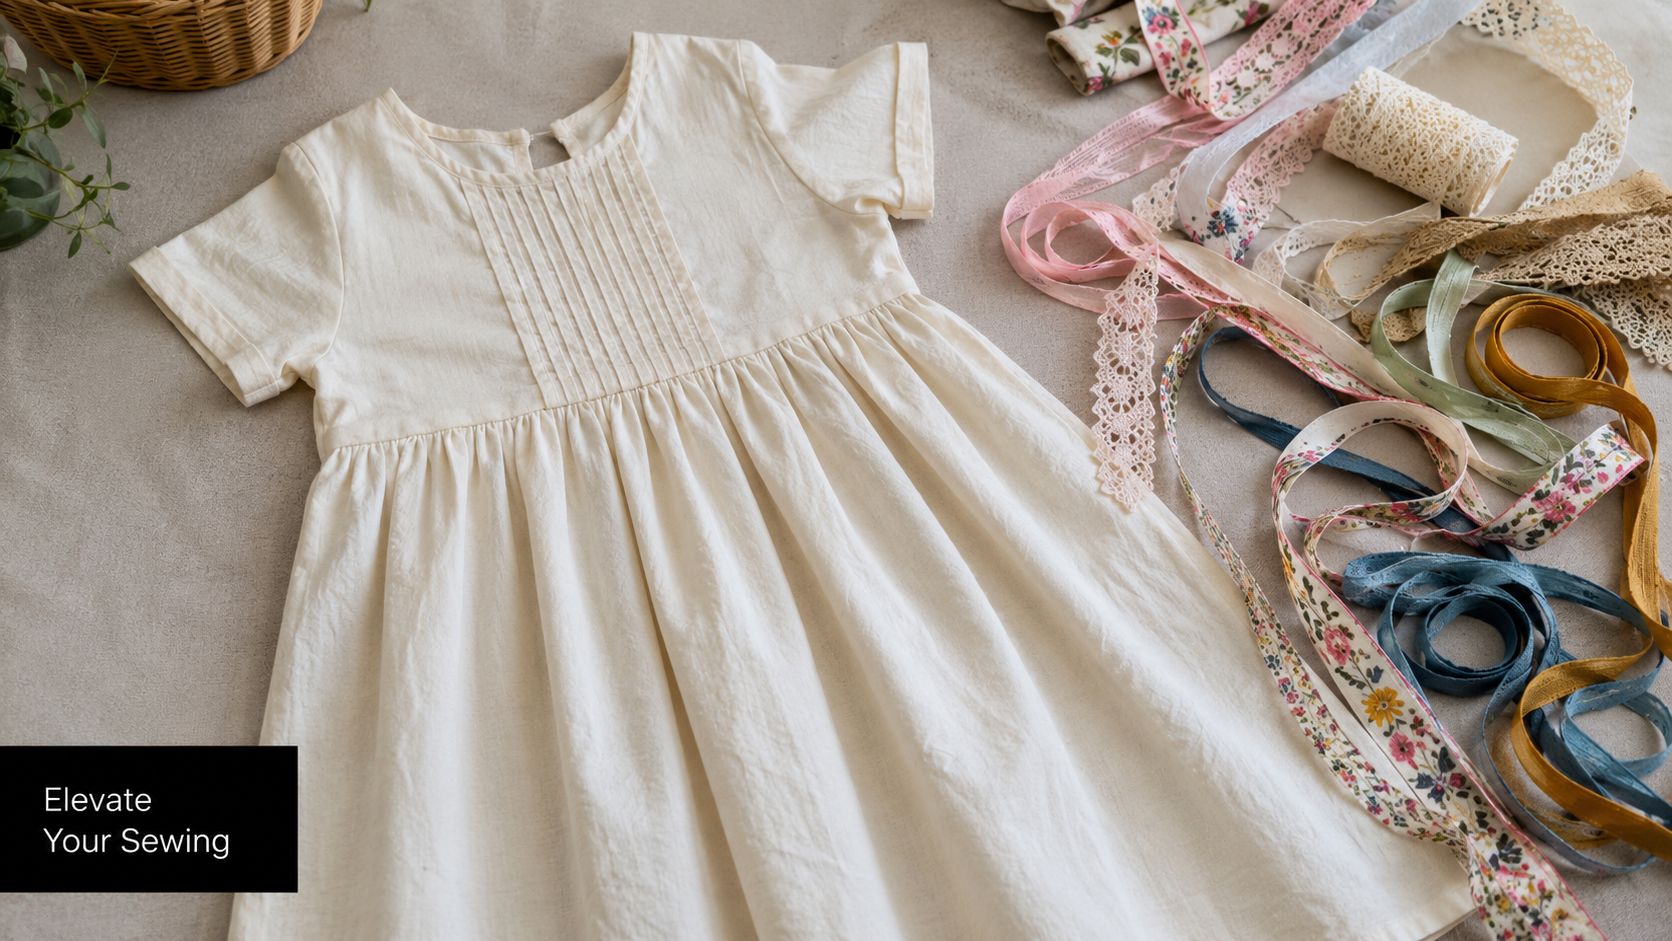
In the UK, trims sit inside a much bigger making culture than many people realise. The UK Other Textile Product Manufacturing industry, which includes fabric trims, haberdashery, and sewing accessories, is projected to reach a market size of £38.1 billion in 2026, with annual revenue growth of 4.7% according to IBISWorld's industry data. That scale tells you something useful. Haberdashery isn't an afterthought. It's part of how garments, home furnishings, costumes and craft projects come together.
What trims do that fabric alone can't
A trim can:
- Define an edge by outlining collars, cuffs, pockets or plackets
- Add stability where fabric stretches, curls or frays
- Introduce contrast in colour, texture or sheen
- Hide construction such as seam allowances or joining lines
- Make a simple pattern feel individual without changing the core garment
A project can be technically well sewn and still look unfinished if the edge treatment isn't right.
If you've ever looked at a handmade top and thought, “The sewing is fine, but it doesn't look quite shop-bought,” the answer is often in the finishing. Trims are part of that finish.
The Essential Guide to Fabric Trim Types
Walking through trims in a good haberdashery is a bit like standing in front of a paint chart. The choice is exciting, but it helps to sort them by job rather than by colour.
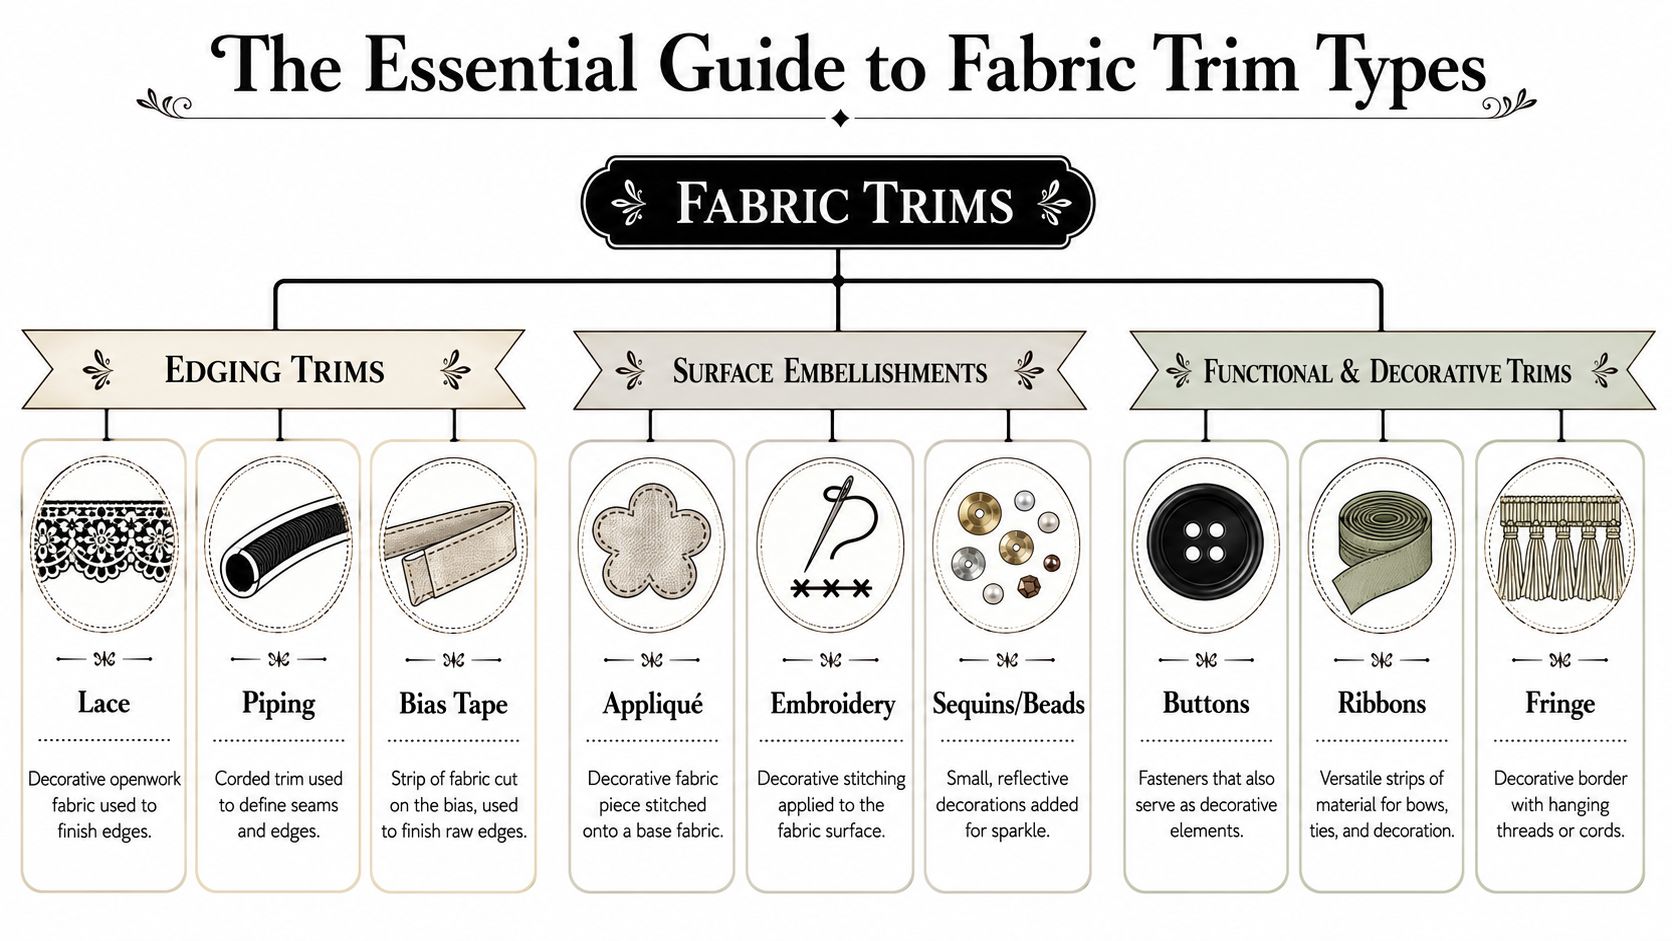
Edging trims
These work best when the trim follows a hem, neckline, armhole, seam or opening.
Bias tape
Bias tape is a strip cut on the bias so it curves more easily than straight-grain fabric. Use it to finish armholes, Hong Kong seam allowances, curved hems, and inside necklines.
A reliable example is binding the raw armholes on a sleeveless cotton lawn blouse.Piping
Piping is cord covered in fabric and stitched into a seam. It gives a clean, raised outline.
It suits cushion covers, pyjama collars, princess seams on sturdier dresses, and pocket edges on jackets.Lace edging
Lace can soften a hard edge or add decorative detail where a plain hem feels abrupt.
Try narrow lace at the sleeve edge of a nightdress or along the neckline of a camisole.Rickrack
Rickrack is cheerful and graphic. It works especially well on children's clothes, aprons and retro-inspired projects.
Stitch it flat on a skirt hem or along patch pocket edges.
Surface embellishments
These sit on top of the fabric rather than replacing the edge finish.
Appliqué
Appliqué adds shape and contrast. It can be bold, like a floral motif on a tote bag, or subtle, like a tonal patch on a quilt block.Embroidery trims and motifs
These can come as pre-made borders or individual motifs. They're handy when you want detail without doing the embroidery yourself.
A floral border looks lovely running vertically beside a shirt placket.Sequins and beads
Best used selectively. They add movement and shine, but they also add weight and affect washing.
They work well on costume pieces, clutches and occasionwear details rather than everyday seams that get hard wear.
Practical rule: If the fabric is soft and fluid, keep the surface embellishment light and flexible.
Functional and decorative trims
These do a job but still contribute to the design.
Elastic
Elastic belongs here because it shapes cuffs, waistlines and necklines, yet it can also be visible and decorative. Fold-over elastic, picot elastic, and knitted elastic all behave differently.Ribbon
Ribbon can tie, hang, stabilise or decorate. Grosgrain is firm and ribbed, satin is smoother and more formal, velvet ribbon adds depth.
Grosgrain is useful on waistbands and button stands. Satin is better for bows, loops and special-occasion detail.Fringe and tassel trims
These add movement and are excellent on interiors, dancewear and statement garments.
They can overwhelm light garments, so they're usually better on hems, shawls and cushion edges than on very fine blouses.Buttons and toggles
Fasteners count as trims too. A simple dress can change character completely with covered buttons, corozo-style buttons, or knotted frog closures.
Matching trim type to project mood
Sometimes the easiest route is to start with the finished look you want.
| Project mood | Trim that fits | Example |
|---|---|---|
| Clean and tailored | Piping, grosgrain, neat bias binding | A denim overshirt with contrast piping |
| Soft and romantic | Lace edging, velvet ribbon, scalloped trim | A cotton voile blouse with lace at the cuff |
| Playful and bold | Rickrack, pom-pom braid, contrast ribbon | Nursery curtains or a festival bag |
| Traditional and detailed | Braid, covered buttons, passementerie | A waistcoat or decorative cushion |
If you sew for the home as well as for dressmaking, trim choices cross over beautifully. Curtain tie-backs, cushion edging and pelmet details all use the same judgement about scale and drape. For interiors inspiration that helps with proportion and decorative balance, The Drapery Company's guide is a useful reference.
Identifying High-Quality Sewing Trims
A trim can look lovely on the reel and still sew badly. Quality shows up when you handle it, stitch it, press it, and wash it. That's why I always judge trims the same way I judge fabric. I look at drape, recovery, surface finish, and whether the material behaves consistently across its full length.
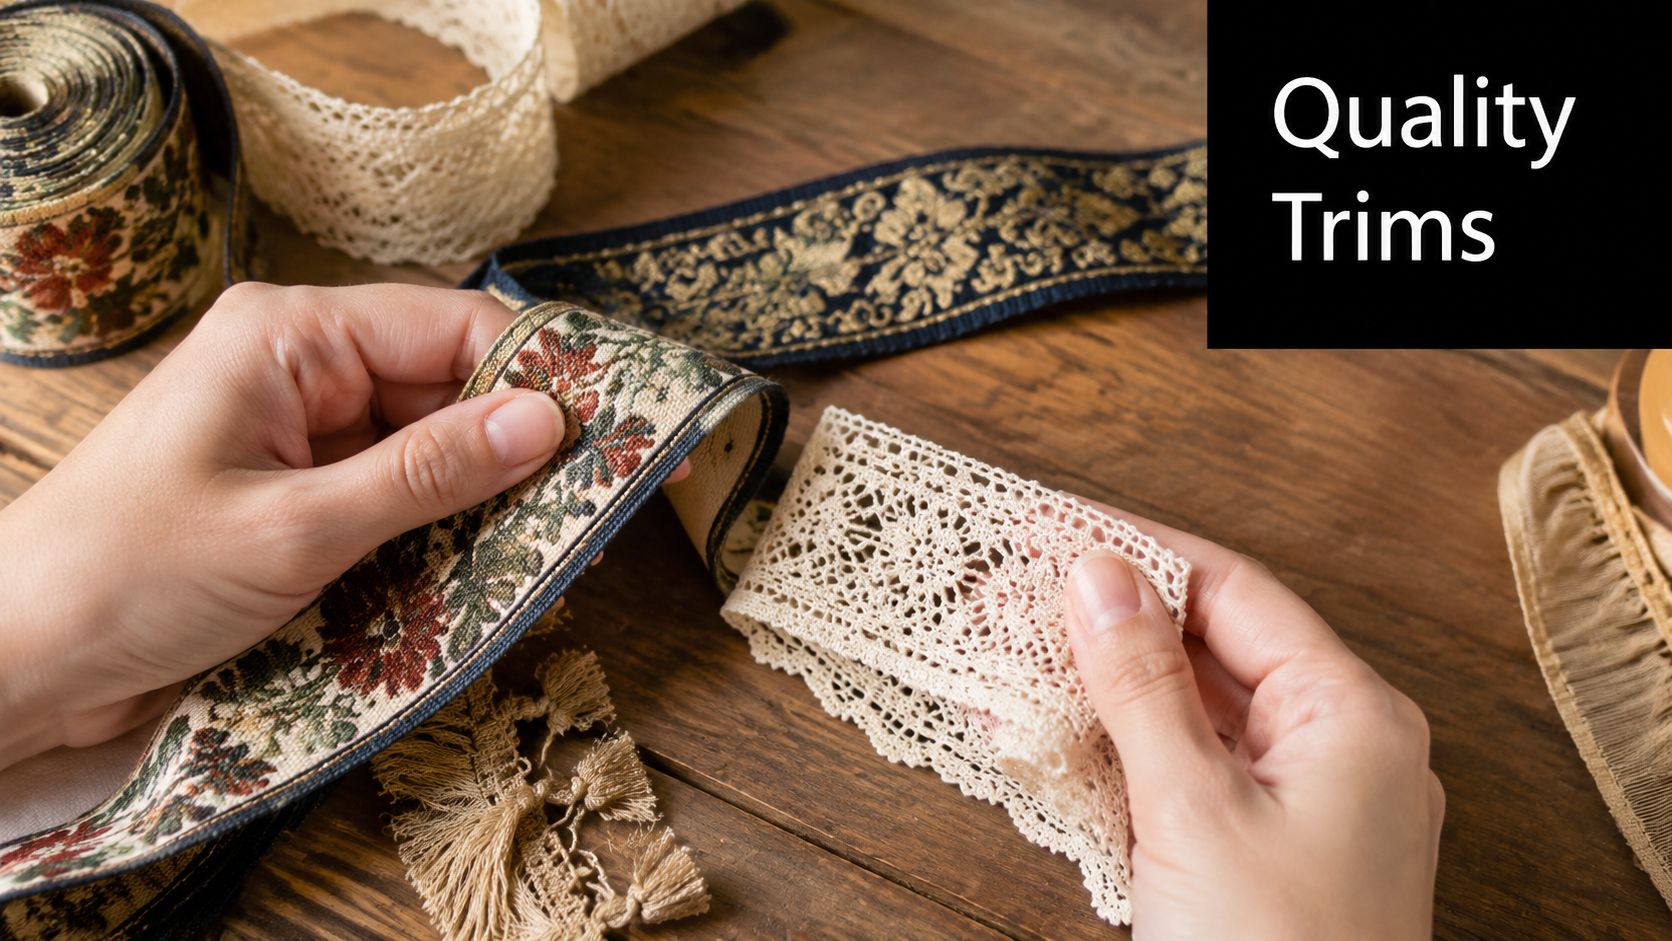
A useful benchmark comes from lace. Technical fabric trims like lace must be engineered with specific material compositions, for example 60% Nylon, 30% Polyester, 10% Spandex, to ensure stretch recovery and washability, as explained in Sewport's fabric and trims guide. That matters at home because decorative doesn't mean carefree. If stretch lace doesn't recover well, it bags out at cuffs, necklines, and lingerie edges.
What to check in your hands
Before buying, run through a quick inspection.
Width consistency
Unroll a section and check whether the trim stays even. A braid that varies in width is awkward to apply accurately, especially on visible edges.Edge finish
Look for loose threads, rough cutting, or fuzzy edges. Good trim shouldn't shed excessively before you've even sewn it.Recovery
Gently stretch elastic trims and stretch lace. They should return neatly rather than staying pulled out.Surface quality
Check for missing beads, uneven dye, flattened pile on velvet ribbon, or lace motifs that look distorted.
Match quality to the job
The best trim isn't always the fanciest one. It's the one that suits the garment's wear and care.
| If you're making | Look for | Avoid |
|---|---|---|
| Everyday children's wear | Washable, soft, securely woven trims | Beads, scratchy metallic edges |
| Jersey tops | Stretch trims with smooth recovery | Rigid braid that fights the fabric |
| Cushions or bags | Firm piping, sturdy braid, dense ribbon | Flimsy satin that snags easily |
| Occasionwear | Fine lace, neat embroidery, elegant sheen | Thick trims that overpower the base fabric |
Small tests save disappointment
At home, a few checks tell you plenty.
- Fold test. Bend the trim around your finger. If it cracks, buckles or sticks out sharply, it may not sit nicely on curves.
- Rub test. Rub a white scrap of cotton against dark trim. If colour transfers, be cautious.
- Pin and drape test. Pin the trim to the actual fabric and hang it. This shows whether the combination feels balanced.
If the trim feels heavier than the part of the garment you're attaching it to, stop and test before committing.
A pretty trim that twists, shrinks oddly or loses shape after one wash is never a bargain.
How to Match Trims with Fabrics and Projects
The easiest way to choose trims for fabric is to think in three layers. First, weight. Second, movement. Third, purpose. If one of those is wrong, the whole pairing looks off.
A trim should neither dominate the fabric nor disappear into it. Fine cotton lawn doesn't need thick upholstery braid. Heavy denim doesn't benefit from flimsy lingerie lace unless you're using it in a very deliberate contrast. The best pairings feel balanced the moment you pin them in place.
Start with fabric behaviour
Stable woven fabrics are forgiving. They let you use crisp trims, defined piping, and straight ribbons without much drama. Challenging fabrics need more care.
- Jersey and ponte prefer trims with some give, or at least trims applied to areas that don't need to stretch.
- Chiffon and voile need lightweight trims with low bulk.
- Denim and canvas can carry structured braid, topstitched ribbon, and chunky piping.
- Linen and cotton poplin are adaptable, but the finish should still match the garment's style.
A good visual shortcut is to look at finished garments that already use the effect you like. If you're considering lace panel details on dresses, it helps to shop blue lace dresses and study where the lace sits, how dense it is, and whether it acts as an insert, overlay or edge finish.
Fabric and Trim Pairing Guide
| Fabric Type | Recommended Trims | Project Ideas | Avoid |
|---|---|---|---|
| Denim | Piping, grosgrain ribbon, sturdy braid, metal-look buttons | Overshirts, skirts, aprons, bags | Delicate lace edging that gets lost or snags |
| Cotton lawn | Bias binding, narrow lace, broderie trim, satin ribbon | Blouses, children's dresses, pyjamas | Heavy beaded trims |
| Jersey | Stretch lace, fold-over elastic, soft knit binding | T-shirts, dresses, loungewear, underwear details | Rigid ribbon on necklines or hems that need stretch |
| Chiffon | Fine rolled-edge trims, delicate lace, lightweight ribbon | Scarves, overlays, occasion blouses | Thick piping or dense fringe |
| Linen | Cotton tape, contrast piping, natural fibre braid | Tunics, cushions, table linen, summer dresses | Glossy trims that fight the relaxed handle |
| Velvet | Satin piping, fine braid, decorative buttons | Evening tops, jackets, festive accessories | Bulky trims that crush the pile |
Ask what the trim has to do
Sometimes a trim is there to be admired. Other times it needs to survive hard wear.
A waistband trim has to cope with movement and pressing. A neckline trim must sit smoothly against skin. A cushion trim must handle abrasion. Once you decide the job, the right material usually becomes clearer.
Decorative is only half the story. A trim also has to behave properly in the exact place you put it.
If you're ever torn between two options, choose the one that matches the garment's care routine. A washable day dress needs a washable trim. That simple choice saves a lot of regret later.
Professional Techniques for Attaching Trims
The biggest disappointment with trims usually happens after stitching, not before. Everything looks promising while pinned, then the seam comes off the machine with ripples, drag lines or a trim that won't lie flat. Stretch fabrics are the main culprit, especially jersey and viscose knits.
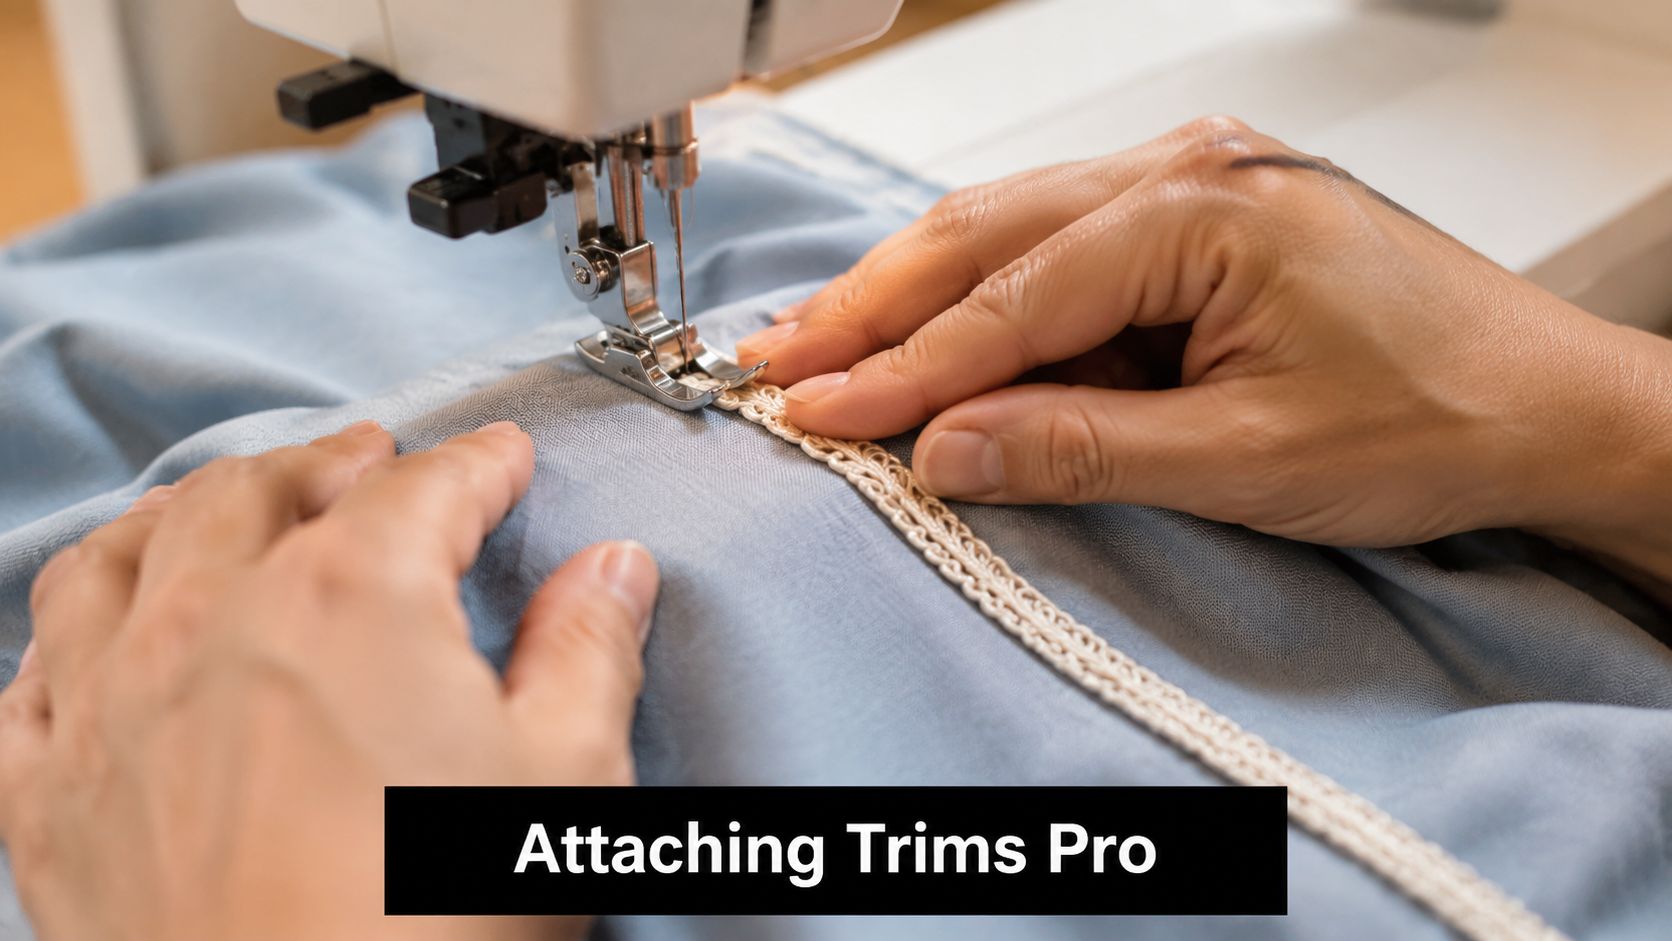
Data from textile education studies shows that improper stitch tension or lack of backstitching on stretch fabrics leads to 40% higher garment failure rates in DIY projects, cited in this stretch-trim sewing video resource. That rings true in practical sewing. Most failed trim applications on knits come down to tension, feed, and forcing a stable trim onto a fabric that wants to move.
Mastering trims on stretch knits
If you want lace, elastic or decorative tape on jersey without puckering, use this method.
Stabilise the area first
Don't start stitching on a curling edge. Press the edge flat and, if needed, use a washable stabiliser or a narrow strip of lightweight interfacing in seam allowance areas that won't need full stretch.Test the stretch relationship
Stretch the fabric. Then stretch the trim. If the fabric stretches much more than the trim, don't apply that trim to a part of the garment that must stretch over the body, such as a tight hem or neckline opening.Reduce pressure and tension if your machine allows
Too much presser foot pressure can stretch the knit as it feeds. Slightly lower thread tension if your test sample shows tunnelling or puckering.Use the right stitch
A narrow zigzag, lightning stitch, or a twin needle finish often works better than a straight stitch on jerseys. The exact choice depends on whether the area still needs to stretch.Support the fabric as you sew
Guide it. Don't pull from front or back. Pulling is what creates waves.
What works on sleeves, cuffs and hems
For narrow stretch lace on a jersey sleeve hem, I'd overlap the lace slightly onto the fabric edge, baste it first, then stitch with a narrow zigzag. After stitching, steam lightly and let it cool flat. That last cooling stage often makes a visible difference.
For elastic trims on underwear or close-fitting knitwear, quarter-mark both the garment edge and the trim before sewing. That keeps the stretch evenly distributed instead of concentrated in one area.
A visual demonstration can help if you're learning how knit edges behave under the presser foot:
Sewing tape trims accurately
Tape trims seem simple, but they often shrink or stretch slightly during application. When sewing with tape trims, add an extra two inches of tape to the measured length so you've got enough to accommodate that movement, as explained in Kovi Fabrics' trim sewing guide. It's a small adjustment, but it prevents the trim from coming up short or pulling the edge out of shape.
This is especially useful on:
- Curtain edges
- Apron ties
- Bag straps with decorative tape overlays
- Straight skirt hems with woven tape trim
Securing wide trims so they don't roll
A common mistake with wider decorative trims is stitching down the centre and hoping the edges behave. They usually don't. The trim cups, rolls, or lifts after washing.
For wider trims, sew along both long edges rather than the centre. That keeps the trim flat and is particularly important when you're creating an inset look or using an openwork trim with no fabric directly behind all sections. This method is demonstrated in this video on attaching decorative trim neatly.
Tools that make the work easier
- Edgestitch foot for piping and narrow braid
- Walking foot for sticky, layered or shifting combinations
- Fine glass-head pins or fabric clips depending on the trim
- Wash-away tape for temporary placement on tricky edges
- A pressing cloth for delicate synthetics, lace and velvet ribbon
Sew a full sample with the actual fabric, trim, thread and stitch before touching the garment. A ten-minute test is quicker than unpicking a neckline.
Press every stage gently. Don't flatten trims with heavy pressure unless the finish calls for it. Some trims need steam and hover pressing, not a firm iron parked directly on top.
Sourcing and Caring for Your Trims
A trim can be perfectly chosen and still disappoint if it isn't cared for the same way as the fabric. Before sewing, treat the trim as part of the whole garment rather than as a separate extra. If the dress will be machine washed, the trim must tolerate that routine too. If the cushion cover will be pressed hot, make sure the ribbon or braid can handle the heat.
Care first, then style
Use the gentlest care method required by any part of the finished item.
- Cotton tapes and stable woven trims are usually straightforward, but pre-testing is still wise.
- Lace, velvet ribbon and beaded trims often prefer gentler washing and lower heat.
- Stretch trims should be dried and pressed with care so they keep their recovery.
- Decorative trims with pile or texture are often best protected with a wash bag if machine washed.
Pre-washing is often sensible for washable cotton trims and some tapes, especially if they feel crisp from finishing. For delicate trims, a test swatch is safer than soaking the full length and hoping for the best.
Smarter sourcing for sustainable choices
There's a clear interest in more responsible materials. 72% of UK consumers report wanting to buy more sustainable fashion products, yet few UK sewing resources explain how home sewists can assess claims around eco-trims like recyclable polyester and organic cotton, according to this review of sustainable trimmings for clothing.
That gap matters when you're buying ribbon, lace, tape, fringe or elastic online. Instead of relying on vague green wording, look for specific fibre information, clear care guidance, and plain descriptions of what the trim is made from. If a supplier talks about recycled or organic content, they should also help you understand what that means in practical terms for use and laundering.
For sewists who like to understand the wider textiles supply chain before buying, TradeAventus textiles and apparel gives helpful industry context around how textile materials move through sourcing and production.
What a good supplier helps you do
A good trim supplier makes decision-making easier by offering:
- Clear fibre content so you can judge compatibility
- Good close-up images that show weave, shine and edge finish
- Consistent colour naming for matching across fabrics and notions
- Sample options where colour and handle really matter
If you can't tell whether a trim is soft, crisp, heavy or scratchy from the listing, pause before buying a large amount.
Frequently Asked Questions About Fabric Trims
Should I pre-wash trims before sewing them on
Sometimes, yes. Pre-wash cotton tapes, braids and washable trims if the finished garment will be laundered and the trim seems likely to shrink or soften. Don't automatically pre-wash delicate lace, velvet ribbon or heavily embellished trims. Test a small cut piece first so you can see what water and heat do to it.
Can I use fabric glue instead of sewing
For permanent garment construction, stitching is usually the better choice. Fabric glue can help with placement, costume work, or no-sew craft projects, but it can stiffen edges and may not survive repeated washing or pressing. On clothing that bends and stretches, glue alone rarely gives the neatest long-term result.
How do I get neat corners with binding or piping
Slow down and prepare the corner before you stitch. For binding, leave enough length to fold cleanly and mitre the turn rather than forcing it around the angle in one go. For piping, clip the seam allowance of the piping tape, not the visible corded edge, so it bends smoothly. Always baste a sample corner first if the fabric is bulky or slippery.
If you're ready to put these ideas into practice, More Sewing is a solid place to start. Their range covers quality fabrics, haberdashery, sewing kits and practical essentials for everyday dressmaking, and they're especially helpful when you want materials that feel good in the hand rather than just looking nice on a screen.
