Dressmaking, Guides
Ladies Trousers Pattern: A Complete Sewing Guide
You know the feeling. You try on three pairs of trousers in a changing room, one pulls across the front, one bags at the back, and one almost fits until you sit down. Shop sizing isn’t built around your waist, your hip, your rise, and your leg length all at once, so even a decent pair can still feel wrong by lunchtime.
That’s why sewing your own trousers is such a satisfying shift. A good ladies trousers pattern gives you control over the parts that matter most: rise, hip shape, leg width, waistband style, and fabric behaviour. Once you understand those pieces, trousers stop feeling like the “difficult” project and start feeling like one of the most useful things you can make.
There’s also something grounding about sewing them. Trousers became part of everyday women’s dress in Britain through practicality as much as style. During the Second World War, women’s trouser sales in the UK were reported to be five times higher by summer 1944 than the previous year, driven by workforce needs and rationing, with over 7.5 million British women in the workforce by 1943. That shift helped establish trousers as a normal part of home sewing and daily dress, as outlined in this history of trousers as women’s clothing.
That history still shows up at the cutting table today. We want clothes that move, work hard, and feel like us. A handmade pair of trousers can do all three.
Your Journey to Perfectly Fitted Trousers Starts Here
A lot of people come to trouser sewing after a run of disappointments with ready-to-wear. The waistband sits too low. The thigh is too snug. The back waist gapes. Or the fabric looks smart on the hanger and feels miserable after an hour of wear. Trousers make fit issues obvious because they have to work in motion, not just when you’re standing still.
The upside is that sewing gives you answers, not guesswork. If you need more room at the hip but not at the waist, you can blend sizes. If you like a clean front, you can choose a side zip instead of a front fly. If you spend most of your day sitting, you can focus on rise and crotch depth before you ever cut into your good fabric.
A handmade trouser isn’t only about fit. It’s about getting the right fit for the life you actually lead.
I’ve found that beginners often do better with trousers than they expect. A skirt can forgive a poor fabric choice. Trousers won’t. That sounds harsh, but it’s helpful. The project teaches you to notice structure, drape, strain, and ease very quickly, and those skills carry into every other garment you sew.
A well-chosen ladies trousers pattern also gives you room to build confidence in stages.
- Start simple with an elastic waist and straight leg if you’re new to dressmaking.
- Step up gradually to a flat-front style with darts or pleats once you trust your measurements.
- Leave fly fronts for later if zips and topstitching still feel stressful.
- Use a toile first when the fit matters more than speed, which is nearly always with trousers.
If you’ve been putting them off, don’t. Trousers reward careful sewing in a very immediate way. When they fit, you reach for them again and again.
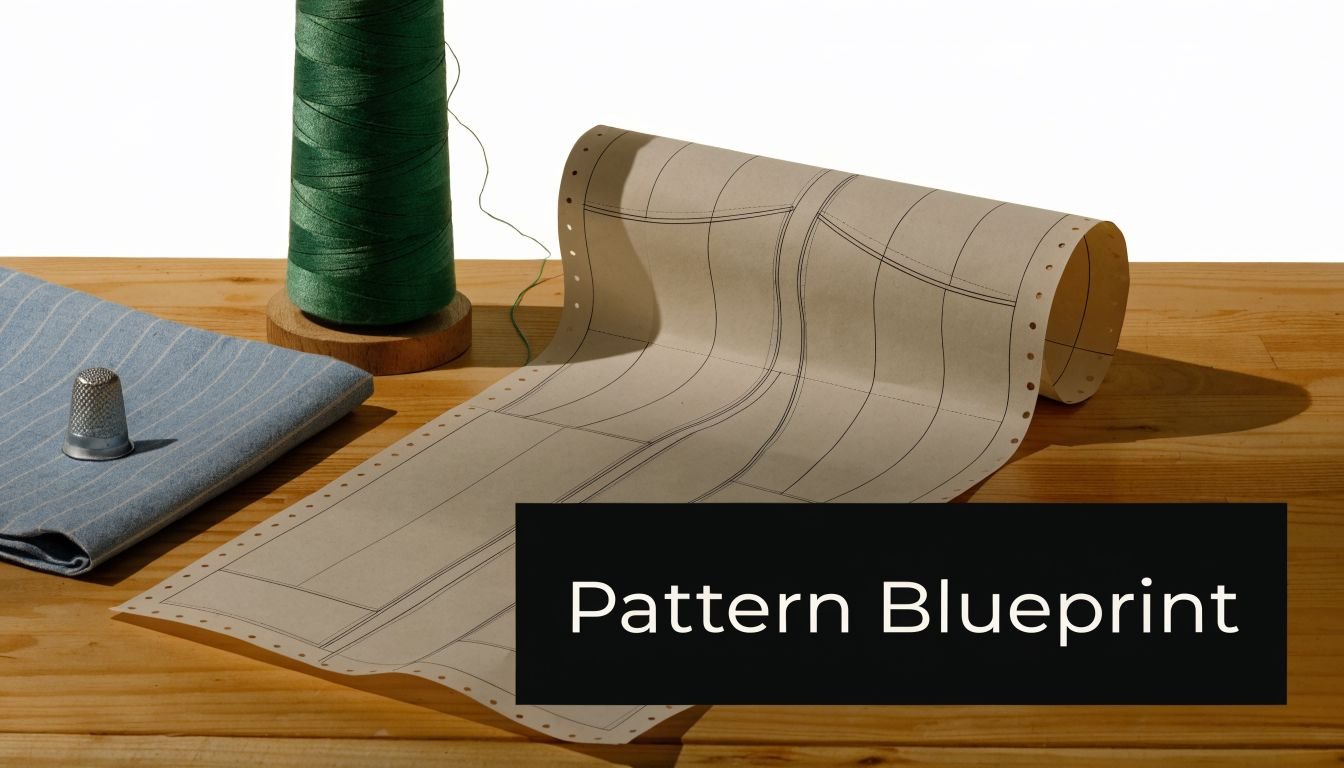
Deconstructing the Ladies Trousers Pattern
A trouser pattern is best thought of as a blueprint. Not a promise that everything will fit straight from the packet, but a clear map of what the designer intended. Once you know how to read that map, pattern shopping gets much easier.
What the packet is really telling you
The envelope is the quick summary. It shows the silhouette, the main views, and usually the skill level. For trousers, look past the styling first and scan for the construction clues. Is it pull-on or zipped? Is the waistband separate or faced? Are there pleats, darts, pockets, cuffs, or a fly?
The instruction sheet is your sewing order. That matters more than many beginners realise. Trousers are one of those garments where sequence keeps the whole project calm. You want to know when the pockets are attached, when the inner leg seams are joined, and whether the waistband is stabilised before the zip goes in.
The pattern pieces are the working parts. Typical trouser pieces include:
- Front leg with notches, grainline, and markings for pockets, pleats, or darts
- Back leg with shaping for the seat and often darts at the waist
- Waistband or facing depending on the finish
- Pocket pieces if the style includes slant, in-seam, or patch pockets
- Fly shield or zip extension for structured styles
If a pattern has multiple views, don’t assume they fit the same way. A cropped tapered leg and a full-length wide leg can use the same base block but behave very differently once sewn.
Body measurements versus finished measurements
This is the part that catches people out. The size chart usually refers to your body measurements, not the garment once sewn. Finished garment measurements tell you how much extra room is built in. That extra room is ease.
Ease is what lets you walk, bend, sit, and breathe. In trousers, it also changes the look. A slim cigarette trouser needs less ease than a relaxed wide leg. Too little ease gives you drag lines and strain. Too much can leave the hips baggy and the back leg shapeless.
Practical rule: Choose for the hip first on trousers. It’s much easier to alter the waist than to fake room through the seat and thigh after cutting.
Markings worth paying attention to
Some markings are easy to ignore until they create trouble. Don’t skip these:
- Grainline. If the leg isn’t cut on grain, it can twist on the body.
- Lengthen or shorten lines. Use these rather than chopping off the hem, especially on tapered or flared legs.
- Notches. They help match front to back and keep pocket placement accurate.
- Dart points and pleat folds. Mark them clearly. A dart sewn even slightly off can change waist fit.
A ladies trousers pattern also tells you what kind of fabric the designer expected. This matters. A pattern drafted for fluid viscose won’t behave the same in rigid denim, even if you technically can get it on.
The trade-off between simplicity and polish
Simple pull-on patterns are brilliant for learning fit. They let you focus on the crotch curve, rise, and leg shape without the complication of a fly front. But they can look casual unless the fabric has enough body or the waistband is well finished.
More precisely fitted patterns look sharper and often sit better at the waist, but they ask more from your sewing. You’ll need cleaner pressing, more accurate topstitching, and usually better fabric handling. Neither option is “better”. It depends on whether your goal is skill-building, comfort, or a polished everyday trouser.
Key Trouser Styles and Their Features
Once you can read the packet, the next question is style. Most trouser designs come down to four choices: leg shape, waist finish, front shaping, and closure. These choices affect both how the garment looks and how hard it is to sew.
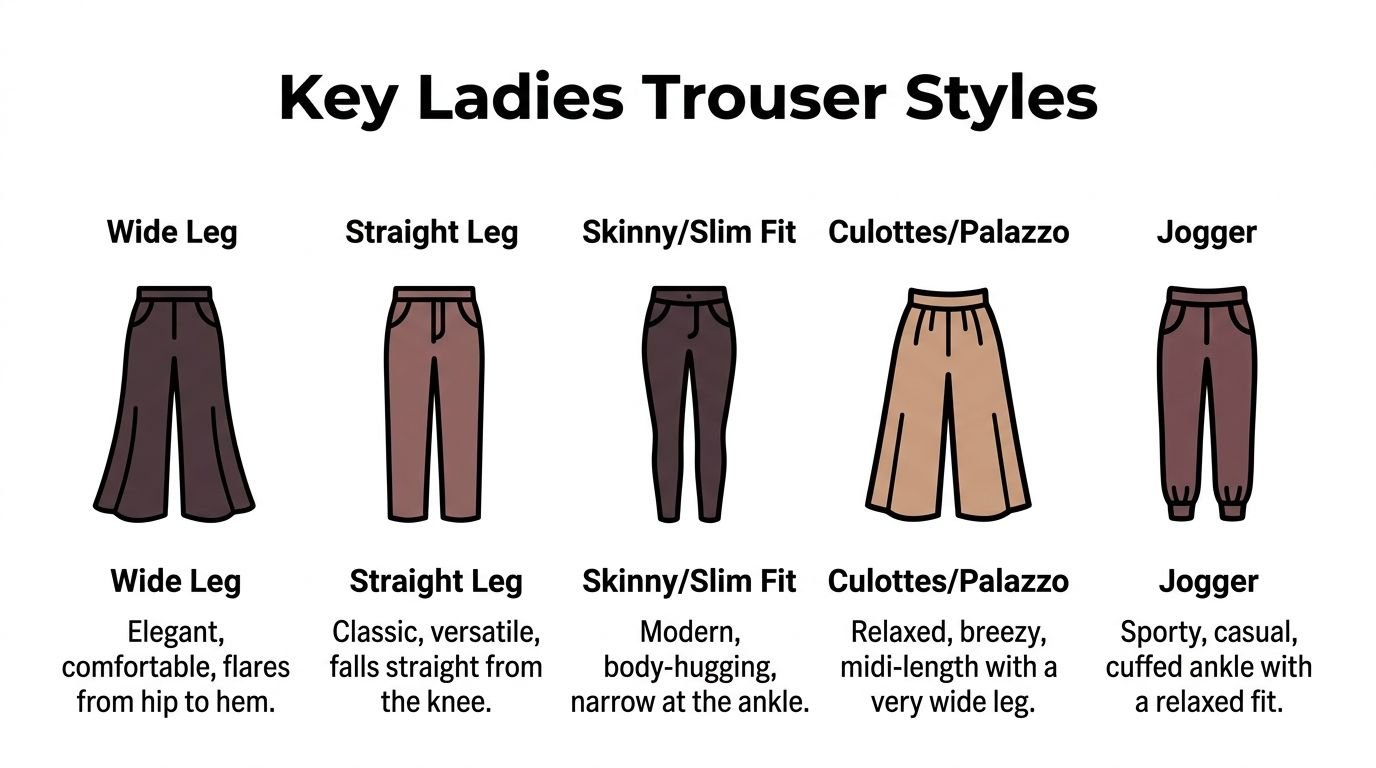
Leg shape changes everything
Wide-leg trousers suit fabrics with drape. Viscose, Tencel, and lighter wool blends can make them look elegant instead of bulky. They’re comfortable to wear and forgiving through the thigh, but they need careful hemming and a fabric that hangs well.
Straight-leg trousers are the reliable middle ground. They work in cotton twill, linen blends, ponte, and softer denims. If you’re unsure what shape suits you, a straight leg is usually the easiest place to begin because it doesn’t exaggerate fit issues.
Slim or tapered styles look crisp, but they’re less forgiving. The fit through the calf, knee, and thigh matters much more. I’d only recommend a very slim leg once you’ve already made a trouser toile and know your preferred adjustments.
Culottes and palazzo styles can be lovely in warm weather or for softer dressing. The challenge is proportion. If the fabric is too stiff, they can stand away from the body and look boxy.
Joggers are practical and approachable. They’re ideal in stable knits, ponte, French terry, or soft twill with a bit of give. They sew quickly and are excellent for learning waistbands, pockets, and elastic insertion.
Waist finish decides comfort
A waistband has more influence than people expect.
- Elasticated waist gives comfort and speed. It’s ideal for sleepwear, casual trousers, and first projects.
- Flat-front with elastic back is one of the most wearable compromises. You get a cleaner front with comfort where you need it.
- Contoured waistband usually sits better on a shaped body than a straight rectangle band.
- Faced waist can look very clean, especially on side-zip trousers, but it needs stabilising and good pressing.
If you dislike bulk at the middle, avoid very gathered elastic waists in thick fabric. They can add fullness exactly where you don’t want it.
Front shaping affects fit and style
Darts and pleats aren’t just decorative.
Darts create a smoother line from waist to hip. They’re often the best choice for a clean everyday trouser, especially in medium-weight fabrics.
Pleats add room and movement. They can feel more comfortable when sitting and can suit fuller hips or a fuller tummy because they release extra space from the waist downward. But in a thick cloth they can become puffy rather than elegant.
Some patterns use a completely plain front. That can look modern and minimal, but it puts more pressure on the side seams and darts at the back to do all the shaping.
Pleats are useful when you need room. They’re not useful if the fabric is already bulky.
Closures change the sewing experience
The closure often decides whether a project feels calm or fiddly.
| Trouser Style | Best For (Body Shape) | Recommended Fabrics | Typical Skill Level |
|---|---|---|---|
| Wide Leg | Fuller hip, long line dressing, anyone wanting ease through the leg | Viscose, Tencel, lightweight suiting, linen blends | Beginner to intermediate |
| Straight Leg | Most body shapes, everyday wardrobe building | Cotton twill, soft denim, ponte, linen blend | Beginner |
| Skinny or Slim Fit | Those comfortable with close fit through thigh and calf | Stretch denim, ponte, stretch twill | Intermediate |
| Culottes or Palazzo | Anyone wanting ease and movement, especially in warm weather | Fluid viscose, Tencel, lightweight crepe | Beginner to intermediate |
| Jogger | Casual dressing, active wear, relaxed fit preference | Ponte, French terry, stable jersey, soft twill | Beginner |
Pull-on styles are the easiest. They’re ideal when fit is your main concern because you can test rise and leg balance without a zip getting in the way.
Side zip trousers give a very clean front. They can be especially flattering when you don’t want centre-front bulk. The trade-off is precision. The side seam must be neat and stable, and invisible zips reward patience.
Front fly trousers give the most classic polished outcome. They’re worth learning, but I’d never suggest them as your first ladies trousers pattern unless you enjoy slow, technical sewing.
What works and what doesn’t
Some pairings behave beautifully. Others fight you all the way.
What usually works well:
- Wide leg plus fluid fabric for movement and soft drape
- Straight leg plus cotton twill for daily wear and easy pressing
- Jogger plus ponte or stable knit for comfort with structure
- Side zip plus smooth front style for a cleaner line under tops and knitwear
What often disappoints:
- Very wide leg plus stiff fabric unless you want a sculptural look
- Pleats in heavy denim when you’re hoping for softness
- Slim fit in rigid cloth if the pattern expects stretch
- Elastic waist in bulky suiting because the gathers become thick and awkward
The best style is the one that matches both your wardrobe and your sewing temperament. There’s no point making a sharply fitted trouser if you really live in relaxed pull-ons, and there’s no point choosing a loose shape if what you want is a crisp ankle-length trouser for work.
Your Essential Guide to Measurement and Adjustments
Most trouser problems start before sewing begins. Not at the machine, but with measuring. If your starting measurements are off, every later decision gets harder.
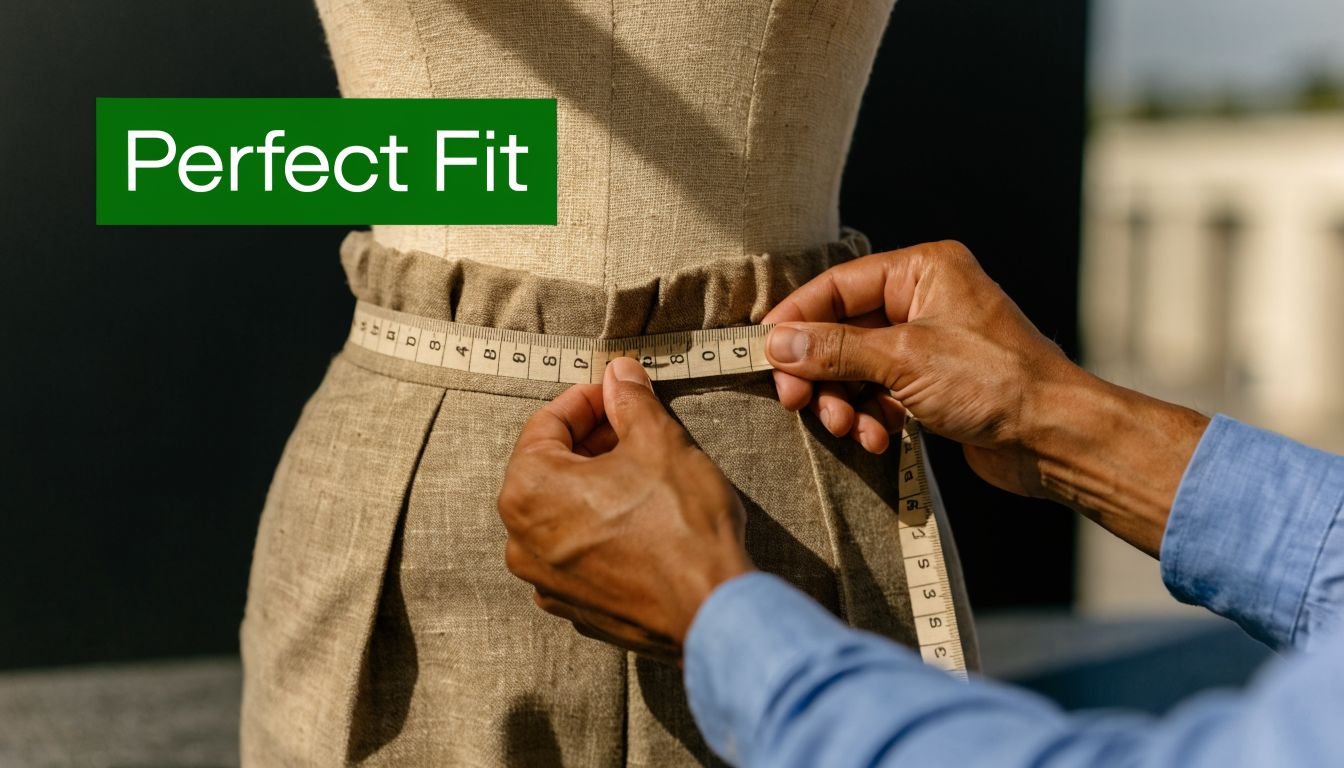
Ready-to-wear size is mostly useless here. Go by the pattern chart and a tape measure, not the number printed in your shop-bought jeans. For trousers, the most important starting points are waist, full hip, crotch depth, and inside leg.
Take the measurements that matter
Use a flexible tape measure and wear close-fitting clothes.
- Waist. Measure at your natural waist or wherever the pattern is designed to sit. Tie elastic around that point first if it helps you keep level.
- Full hip. Measure around the fullest part of the hip and seat. Keep the tape parallel to the floor.
- Inside leg. Measure from crotch to desired hem while wearing the shoes you’re likely to pair with the trousers.
- Crotch depth. Sit on a hard chair and measure from the side waist down to the chair seat.
That last one matters enormously. According to this guide to pants construction and crotch depth, crotch depth is typically 25 to 30cm for UK sizes 10 to 14, an error of 1 to 2cm can increase seam strain by up to 20%, and adding 1.5cm of ease is recommended for a more comfortable fit.
If your trousers feel as though they’re being pulled upward when you move, crotch depth is one of the first things to check.
Make the toile do the hard work
A toile saves disappointment. It doesn’t need pockets, fancy topstitching, or a perfect waistband finish. It only needs to tell you where the fit is right and where it’s fighting you.
I like to mark the centre front, centre back, hip line, and knee line on the toile before trying it on. Those lines show whether the leg is hanging straight and whether the rise is sitting where the pattern intended.
If the side seam swings to the front or back when you wear the toile, don’t ignore it. The pattern is telling you where the balance is off.
Here’s a useful fitting walkthrough to watch while you pin and assess your test pair:
Simple adjustments that solve common issues
You do not need to redraft the whole pattern. Most fit improvements come from small, deliberate changes.
Lengthen or shorten the leg properly
Use the printed adjustment lines if the pattern includes them. That keeps the hem shape and knee placement more accurate than trimming only at the bottom. This matters even more on tapered, flared, or cropped styles.
Add room for a fuller tummy
A full tummy adjustment usually needs both width and a bit of length at the front. Slash vertically through the front piece, spread slightly where the abdomen needs room, and true the waist and side seam. If the front is pulling and the side seam swings forward, this is often the right adjustment.
Improve a gaping back waist
If the waist fits elsewhere but stands away at the back, pin out the excess evenly and transfer that amount to the pattern. Sometimes a deeper dart is enough. Sometimes the waistband needs more curve.
Refine the crotch curve carefully
Small changes make a big difference. If the front crotch is too long, you may see excess folds. If it’s too short, the garment can feel tight and pull upward. Work in very small adjustments and retest.
Fitting mature figures with more comfort
Body shape changes over time, and trouser patterns don’t always reflect that well. A 2023 UK sewing survey noted that 42% of respondents over 50 struggled with trouser fit, which is one reason flat-front, side-zip, and more thoughtfully shaped waist treatments are so helpful, as discussed in this piece on favourite trouser patterns for sewists over 50.
For mature figures, I often suggest:
- Flat-front waistlines for a smoother silhouette under tops
- Side zips when centre-front bulk feels uncomfortable
- Slightly shorter rise adjustments if the pattern sits too high for your proportions
- Contoured waistbands when a straight band cuts in or gaps
The aim isn’t to force your body into the pattern. It’s to shape the pattern around the body you have.
Choosing the Perfect Fabric for Your Trousers
Fabric choice can rescue an ordinary pattern or ruin a good one. With trousers, this isn’t a minor detail. The cloth controls drape, crease, bulk, and how the garment behaves when you sit and walk.
If you want fluid movement, choose fabrics that fall rather than stand. Viscose, Tencel, and softer blends suit wide-leg trousers, culottes, and relaxed pull-on styles. They skim the body well and create a cleaner line in looser cuts.
If you want structure, move toward denim, cotton twill, drill, or firmer suiting. These fabrics hold pleats, pockets, waistbands, and pressed creases much better. They’re especially useful for straight-leg and more structured trousers, where shape needs support.
Pair fabric to the style, not only the season
A common mistake is choosing fabric by feel alone. Soft doesn’t always mean suitable. A very soft cloth can collapse if the pattern relies on shape. A very stiff cloth can make a casual style look awkward.
These pairings usually make sense:
- Wide-leg trousers with viscose, Tencel, crepe, or soft suiting
- Straight-leg everyday trousers with twill, brushed cotton, linen blend, or softer denim
- Slim trousers with ponte, stretch twill, or stretch denim
- Joggers or casual pull-ons with stable jersey, ponte, French terry, or soft utility cotton
Deadstock is worth serious consideration
There’s also the sustainability question. UK textile waste reached 1.2 million tonnes, with 28% coming from home sewing scraps, according to the cited discussion around sustainable sewing and deadstock fabrics in this YouTube reference on trouser drafting and fabric use. That makes fabric planning more important than many of us were taught.
Deadstock can be an excellent choice for trousers. It often gives you better quality for the money, and the handle can be far more interesting than standard chain-store dressmaking cloth. I’ve had especially good results with deadstock Tencel for wide-leg trousers and ex-designer denim for workwear-inspired straight legs.
Buy fabric for the trouser you’re actually making, not the one you hope the fabric will become.
Practical buying tips
Before you cut, think through these details:
- Pre-wash if the fabric requires it. Trousers are too fitted to risk surprise shrinkage.
- Check opacity in daylight, especially with pale viscose and linen blends.
- Order extra for nap, one-way prints, or matching checks.
- Test the drape by hanging a folded length over your hand. If it sticks out sharply, it may not suit a flowing style.
If you want a hard-working wardrobe, don’t save your best fabric only for dresses. A well-matched trouser fabric earns its keep quickly.
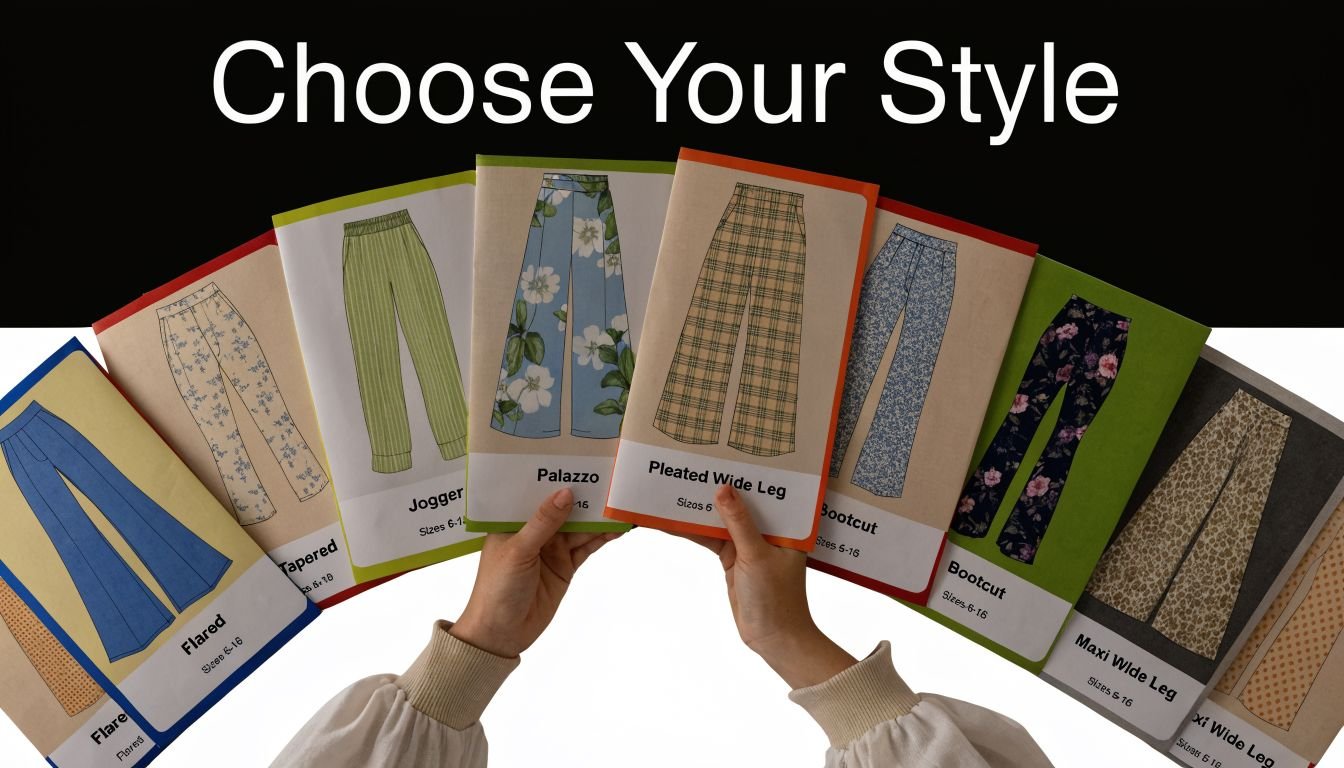
Finding the Right Pattern For Your Style and Shape
Choosing the right ladies trousers pattern is less about trends and more about honesty. How do you like to dress? How patient are you at the machine? Which fit issue bothers you most in ready-to-wear? Those answers matter more than whether a style looks fashionable on the envelope.
Match the pattern to your sewing stage
If you’re a beginner, choose a pattern with fewer stress points. Pull-on trousers, elastic waists, simple pockets, and a straight or gently tapered leg are much easier to fit and finish neatly. You’ll learn more from one successful basic pair than from abandoning a complicated fly-front halfway through.
If you’re more confident, side-zip styles are a smart next step. They look polished but avoid the complexity of a full fly. Once your fit is stable, then a structured trouser with waistband, darts, pockets, and fly becomes much more enjoyable.
Dress for your real wardrobe
Patterns should fit your life as well as your body.
- Minimal wardrobe. Clean fronts, straight legs, cropped ankle lengths, plain waistbands
- Relaxed wardrobe. Soft pull-ons, jogger shapes, pleats, elastic backs
- Smarter wardrobe. Side zips, creases, welt-look details, suiting fabrics
- Creative wardrobe. Wide legs, culottes, bold deadstock prints, unusual pocket shapes
You’ll wear your handmade trousers more often if they belong with the clothes already in your cupboard.
Shape matters, but rules should stay flexible
The most useful fit advice is specific, not prescriptive. If you carry fullness through the hip and seat, start with styles that give room there rather than trying to force a very slim cut. If you prefer a smoother front, side-zip and flat-front patterns are often more comfortable.
That matters especially for older sewists. As noted earlier in the cited sewing survey, many sewists over 50 struggle with trouser fit, so patterns that offer flat fronts or side zips can be a better starting point than highly trended wide legs or low-rise shapes.
A good pattern doesn’t tell you what body it’s “for”. It gives you enough structure to adapt it well.
Your Journey to Perfect Trousers
Trouser sewing gets easier the moment you stop expecting the first pair to be flawless. Fit improves through observation. You measure carefully, choose a sensible style, make a toile, adjust what matters, and carry that knowledge into the next pair.
That’s why a well-chosen ladies trousers pattern is so useful. It teaches more than one garment. It shows you how rise affects comfort, how fabric changes silhouette, and how a few careful alterations can turn “nearly right” into “worn every week”.
If there’s one thing worth remembering, it’s this: trousers are practical sewing. They don’t need to be precious, but they do need thought. Choose a style you’ll wear, use fabric that supports it, and give yourself permission to test the fit before committing.
The reward is hard to beat. A handmade pair of trousers that fits your body properly doesn’t just look better. It feels calmer, works harder, and makes getting dressed simpler.
Frequently Asked Questions About Sewing Trousers
Should I pre-wash trouser fabric first
Yes, in most cases you should. If the fabric is washable, pre-wash it the way you plan to wash the finished garment. Trousers rely on accurate fit, so any shrinkage after sewing can spoil the rise, leg length, or waist.
I also press the fabric after washing and before laying out the pattern. Wrinkled cloth can throw off cutting accuracy more than people think.
Why does the crotch area feel wrong even when the waist fits
Because waist fit and crotch fit are different problems. You can have a waistband that feels fine and still have a rise that’s too short, too long, too shallow at the front, or too tight through the seat.
Start by checking crotch depth, then look at the shape of the crotch curve, and only then decide whether you need more width through the thigh or hip. Don’t keep adjusting the side seams if the discomfort is really coming from the rise.
Do I need an overlocker to sew trousers neatly
No. An ordinary sewing machine is enough. You can finish seams with a zigzag stitch, an overcast stitch if your machine has one, pinking in some fabrics, or even binding on more special projects.
A regular machine with a sharp needle, good thread, and proper pressing will take you surprisingly far. An overlocker is useful, but it’s not the difference between homemade-looking trousers and polished ones.
Good pressing improves trousers as much as good stitching.
Which trouser pattern is easiest for a beginner
A pull-on trouser with an elastic or partly elasticated waist is usually the best place to start. Look for a pattern with a straight leg or relaxed tapered leg, minimal pieces, and simple patch or in-seam pockets.
Avoid your first project being a close-fitting trouser in slippery fabric with an invisible zip and lots of topstitching. That combination asks for too many skills at once.
What’s the best fabric for a first pair
Choose something stable and cooperative. Cotton twill, soft denim, brushed cotton, stable ponte, or a linen blend with a bit of body are all sensible options. They’re easier to cut, easier to press, and more forgiving at the machine than very slippery fabrics.
For a first pair, I’d avoid anything too drapey unless the pattern is very simple. Fluid fabric can magnify small cutting and sewing inaccuracies.
How do I stop the waistband gaping at the back
First, check whether the waist is too large overall. If the front and sides feel right but the back stands away, you likely need more shaping rather than a smaller size.
Try pinning out the excess evenly at the back waist on your toile. Then transfer that change to the pattern with a deeper dart, a curved waistband, or a small centre-back adjustment, depending on the style.
Can plus-size sewists get a good trouser fit from home sewing patterns
Yes, absolutely, but it helps to choose patterns drafted with enough shaping and to expect some fitting work. Sewing your own trousers can be especially useful when ready-to-wear proportions don’t match your body.
Look for clear measurement charts, finished garment information, and styles that let you control the waist and hip separately. Flat-front trousers, elastic-back waistbands, and side-zip styles can all be good options depending on your preferred fit.
Is a toile always necessary
For trousers, I’d say nearly always. If you’ve made the same pattern before and already adjusted it, you may not need a full toile every time. But for a new pattern, a new trouser style, or precious fabric, testing first is worth it.
A toile doesn’t have to be beautiful. It has to answer practical questions: Is the rise comfortable? Do the legs hang straight? Does the hip have enough room? Once you know those answers, sewing the final pair becomes far less stressful.
If you’re ready to make a pair you’ll want to wear, More Sewing is a lovely place to start. We stock dressmaking fabrics including viscose, Tencel blends, denims, jerseys, and ex-designer deadstock, along with haberdashery, beginner-friendly kits, and the practical extras that save a project. If you’re local, our Worthing shop is part of that support too, with a friendly sewing community and sewing machine servicing and repairs when your equipment needs attention.