You’ve found a striped cotton fabric you love. The colours are right, the pattern is classic, and you can already see it as a shirt, dress or summer pyjama set. Then the doubts start. Will the stripes match at the side seams? Will the fabric twist after washing? Is this the sort of stripe that behaves well under the needle, or the sort that shows every tiny wobble?
That hesitation is completely normal. Stripes look clean and simple, but they ask a bit more of the sewist. The good news is that striped cotton fabric is one of the most rewarding materials to work with once you understand what you’re looking at and how to handle it.
I’m going to treat this the same way I would in a sewing shop chat. We’ll keep it practical. You’ll learn how to tell printed from yarn-dyed stripes, how fabric weight changes the sewing experience, how stripe width affects the finished look, and how to cut and sew with much better accuracy. If you’ve ever put a striped fabric back on the shelf because it felt intimidating, this is the guide that helps you bring it home and use it properly.
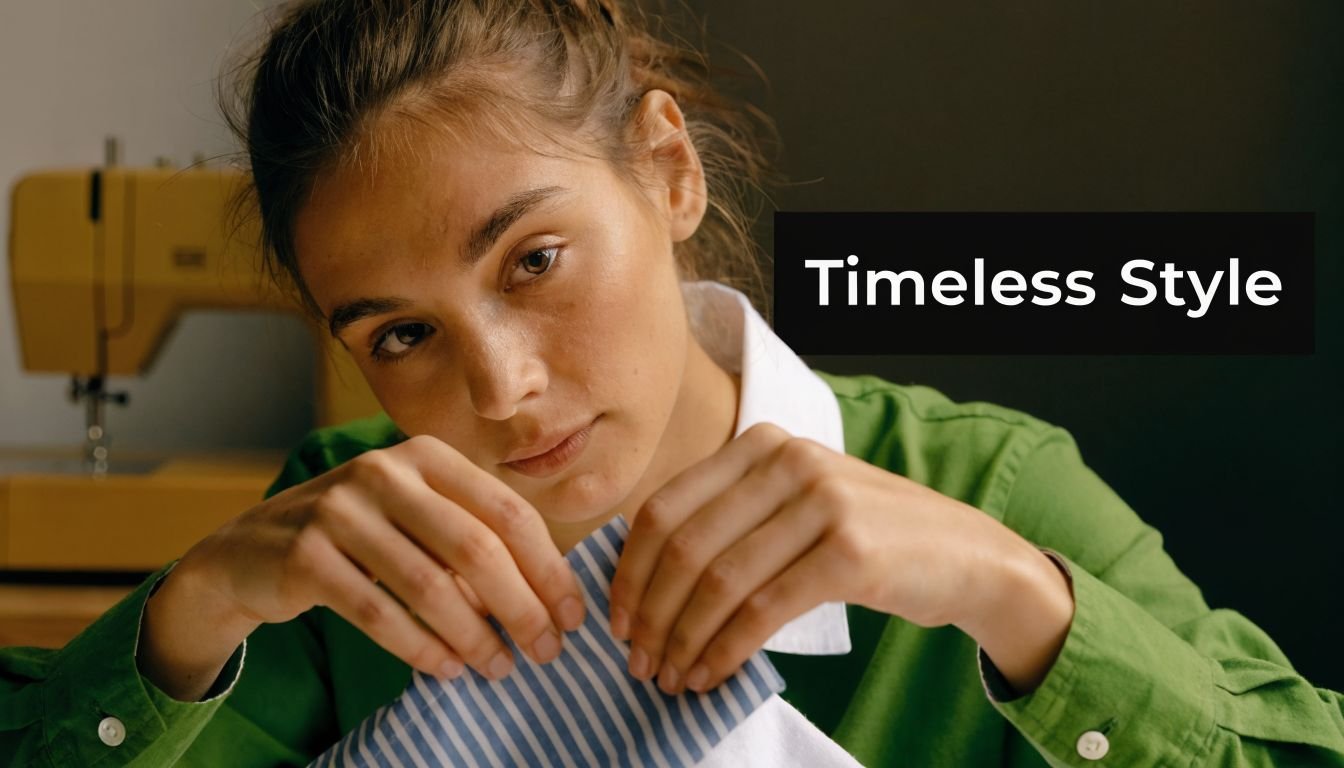
Why Striped Cotton Fabric is a Timeless Choice
A lot of sewists start with stripes because they look organised. A plain fabric can feel safe, and a floral can feel playful, but stripes have that neat, confident look that makes even a simple shape feel intentional. A basic shell top in striped cotton fabric can look sharper than the very same pattern in a plain solid.
They’ve also got real history behind them. In the 19th century, the UK played a major role in producing striped cotton fabric during the Industrial Revolution, and by 1850, Lancashire mills were producing over 1.2 billion yards of cotton fabric annually, with striped cottons making up an estimated 15 to 20% according to this historical overview of stripes in textile production. That long history is part of why stripes never quite disappear. They move from workwear to resort wear to children’s clothes to crisp shirts without ever looking out of place.
If you enjoy learning about cotton quality more broadly, the ultimate guide to Egyptian cotton is also a useful companion read. It helps explain why fibre quality affects softness, durability and the finished feel of a garment, which matters just as much with stripes as with any other cotton.
Why sewists keep coming back to stripes
Some fabrics rely on trend. Stripes rely on structure.
- They suit simple patterns: A boxy top, elastic-waist skirt or shirt dress can look polished without extra design fuss.
- They help you see grain: If the stripes run straight, you can spot distortion quickly while cutting and sewing.
- They invite design play: Turn the stripe direction on a cuff, pocket or yoke and the whole garment looks more considered.
Practical rule: Striped cotton fabric rewards careful sewing, but it doesn’t demand complicated sewing.
That’s why beginners can use it, and experienced makers keep choosing it. The trick isn’t bravery. The trick is knowing what kind of stripe you’ve bought and what it wants from you.
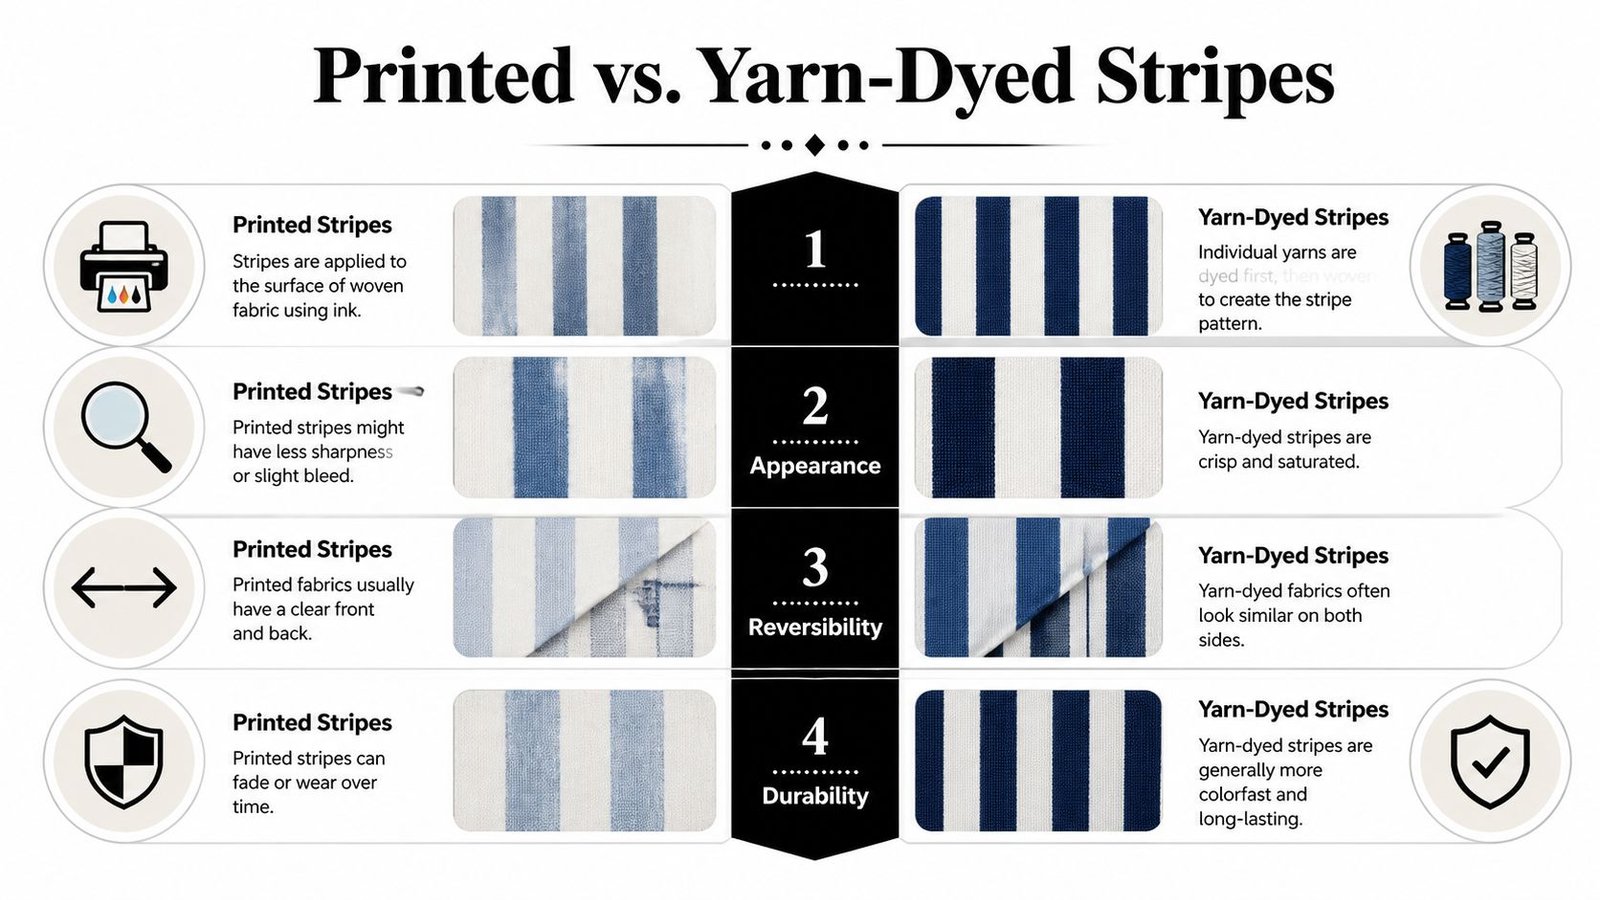
Understanding Printed vs Yarn-Dyed Stripes
The first question to ask isn’t about colour. It’s about construction. Two striped cotton fabrics can look almost identical on the bolt and behave quite differently once you start sewing.
Think of it like bricks and paint
Yarn-dyed stripes are made by dyeing the threads first, then weaving those coloured threads into stripes. Think of that like building a wall from blue and white bricks. The pattern is part of the structure.
Printed stripes are made by weaving the cloth first, then applying the stripe design to the surface. That’s more like painting blue lines onto a finished white wall.
That one difference changes a lot.
How to tell them apart in your hands
The easiest check is to flip the fabric over.
- Printed stripes: the back often looks paler, blurrier or obviously different from the front.
- Yarn-dyed stripes: both sides usually look very similar, and sometimes nearly identical.
- Look closely at the edges: on printed fabric, you may spot tiny signs of ink sitting on the surface. On yarn-dyed fabric, the colour is built into the weave.
If you shop online, zoom right in on the product photos if you can. If you’re in person, pull a little fold of fabric over your hand and compare front to back.
If the reverse side looks washed-out and the face looks much stronger, you’re probably holding a printed stripe.
What this means when you sew
Printed and yarn-dyed stripes don’t just look different under a magnifying glass. They change your sewing experience.
Printed stripes feel simpler at first
Printed striped cotton fabric can be a good choice when you want a playful stripe, a lower-cost option, or a design that doesn’t need to be reversible. It often works well for casual tops, children’s clothes, linings and simple dresses.
A few things to watch:
- The front and back matter more: if a cuff flips or a collar edge rolls, the wrong side may show clearly.
- Surface colour needs gentler handling: pressing and washing matter because the pattern sits on the fabric surface.
- Very fine printed lines can reveal distortion fast: if your seam stretches, the stripe can look slightly wavy.
Yarn-dyed stripes give a cleaner finish
Yarn-dyed stripes usually feel more integrated and often look crisper. They’re especially satisfying for shirts, pyjamas, shirtdresses and garments with visible details like patch pockets or button bands.
They’re useful when you want:
- A fabric that looks good on both sides
- Crisp stripe definition for matching seams
- A more classic, woven look
Because the stripe is part of the weave, seam allowances, turned hems and facings often look tidier.
Which should you choose
There isn’t a universal winner. Choose by project.
| Stripe type | Usually best for | Main watch-out |
|---|---|---|
| Printed | Easy dresses, casual tops, simple projects | Wrong side may show |
| Yarn-dyed | Shirts, pyjamas, pocket details, stripe play | Often worth extra care when cutting |
If you’re making a garment where the inside may peek out, such as rolled sleeves, open collars or tie belts, yarn-dyed is often the easier option. If you want a fun stripe and a straightforward sew, printed can still be lovely. The key is knowing which one you have before you cut.
Choosing the Right Weight of Striped Cotton
Weight changes everything. Two striped cotton fabrics can have the same stripe width and colour, but one makes a crisp shirt while the other makes a soft blouse. When a project goes wrong, the issue often isn’t the pattern. It’s that the fabric weight and the garment style were never suited to one another.
A very useful benchmark for UK dressmaking is this: premium 100% cotton striped weaves are commonly sold at 130 GSM and a width of 140 cm, and this weight offers good drape, breathability and shrinkage under 3% after a 40°C machine cycle according to this striped cotton product specification. That kind of fabric often sits in the sweet spot between too crisp and too flimsy.
What different weights feel like in practice
Don’t worry if GSM sounds technical. In the shop, it often translates to a simple question. Does this fabric stand up a bit on its own, or does it fall softly through your fingers?
Here’s a practical comparison.
| Fabric Type | Typical Weight | Feel & Drape | Best For |
|---|---|---|---|
| Quilting cotton | Light to medium, but usually firmer in handle | Crisp, holds shape, can feel boxy in garments | Structured tops, simple skirts, craft projects |
| Poplin | Often around the midweight shirting range | Smooth, stable, lightly crisp | Shirt dresses, button-up shirts, neat blouses |
| Shirting | Light to medium with softer movement | Smooth to airy, more fluid than quilting cotton | Blouses, pyjamas, relaxed shirts |
How to choose by project, not by label
A label like “poplin” helps, but your hands tell you more. One poplin can feel compact and snappy, another can feel much softer. That’s why I always suggest matching the weight to the job the garment has to do.
For a shirt or button-front blouse
Look for a striped cotton fabric that presses well and doesn’t collapse at the collar and placket. A stable poplin or classic shirting is often the safest choice. It helps with buttonholes, topstitching and getting a sharp front band.
For a gathered dress or loose summer top
You usually want movement. If the cotton is too crisp, the gathers can puff outward instead of falling softly. A lighter shirting often behaves better here.
For a beginner project
Choose a stripe with a stable weave and moderate weight. Fabric around that 130 GSM mark is often comfortable to handle because it doesn’t slide like silk or fight like canvas. It feeds well, presses cleanly and forgives small inaccuracies.
Fabric weight is a bit like paper weight. Thin paper flutters and shifts. Card can be too stiff. The middle weight is often easiest to cut neatly and fold accurately.
Quick shop-floor checks
When you’re deciding between bolts or online descriptions, use these tests:
- Scrunch test: squeeze a section in your hand, then let it go. Does it spring into a crisp lump or relax quickly?
- Drape test: hold one cut edge up and let the rest hang. A shirt fabric should fall with some ease, not jut outward.
- Placket test: fold a small section over twice with your fingers. If it becomes very bulky straight away, it may suit a more structured project.
A striped cotton fabric can be beautiful and still be the wrong choice for your pattern. When the weight matches the garment, the sewing gets easier and the finished piece looks far more intentional.
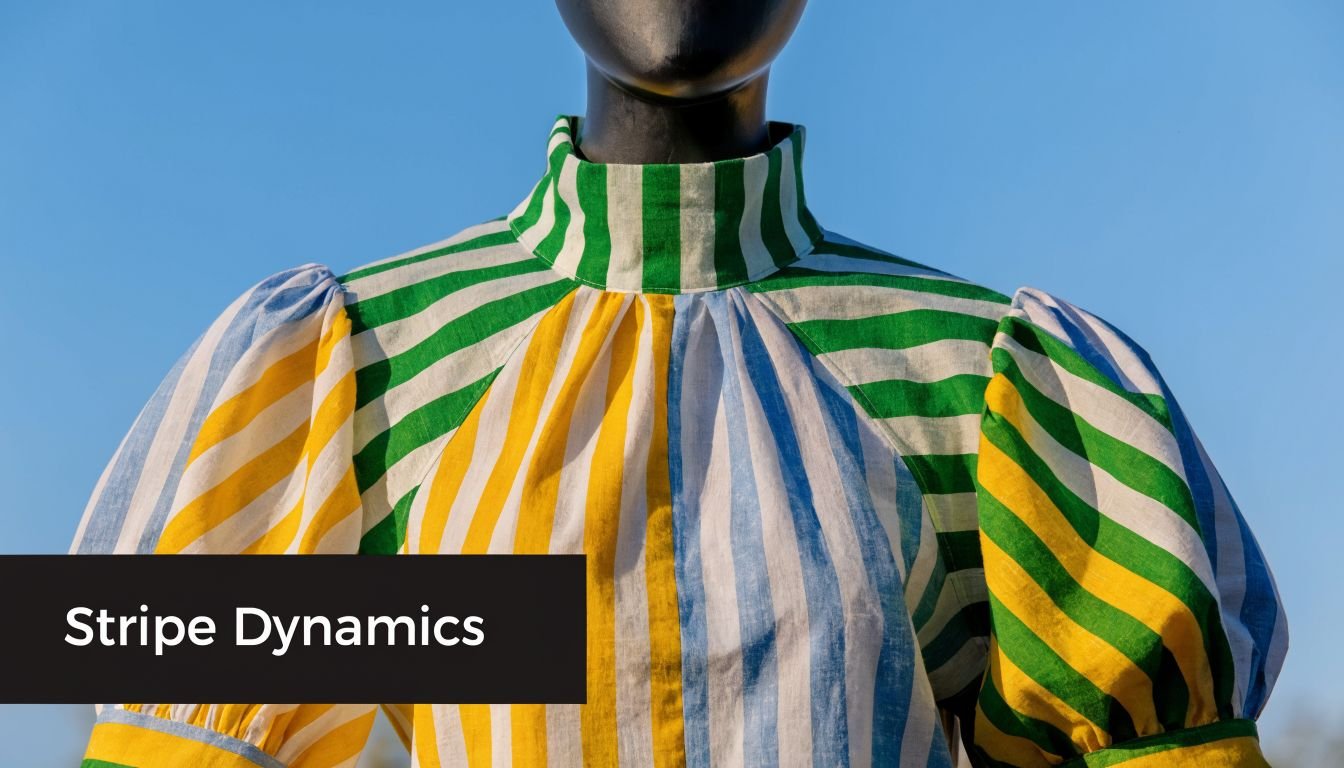
How Stripe Width and Direction Shape Your Project
Stripe width changes the personality of a garment before you’ve sewn a single seam. Fine stripes can feel tidy and understated. Broad stripes can look bold, relaxed or seaside-inspired. Direction matters too. The same fabric can look completely different depending on whether the stripes run vertically, horizontally or on the bias.
The classic example is the Breton stripe. The French navy formalised it in 1858 with 21 white stripes at 20mm wide and 20 to 21 navy stripes at 10mm wide, and Coco Chanel helped bring it into fashion in 1917, as noted in this history of the marinière stripe. Those exact proportions are part of why Breton stripes feel so balanced. They aren’t random. The white bands dominate, and the dark lines keep the rhythm sharp.
What narrow, medium and wide stripes tend to do
You don’t need strict rules, but some stripe widths are easier to place on certain garments.
- Pinstripes or very narrow stripes: good for shirts, pyjamas and styles where you want texture from a distance rather than strong visual contrast.
- Medium stripes: often the easiest all-rounders for dresses, tops and children’s wear.
- Wide stripes: strong on simple shapes, beachwear, oversized shirts and statement details.
A narrow stripe can hide slightly imperfect seam matching better than a very broad one. A wide stripe, on the other hand, makes design features more dramatic.
Direction changes the whole mood
Vertical stripes often read as tidy and elongated. Horizontal stripes feel more classic and relaxed. Diagonal stripes bring motion.
Here are a few useful ways to use direction deliberately:
Turn details for contrast
Cut a pocket, cuff, collar stand or yoke on the opposite stripe direction from the main body. The garment still looks cohesive because the colours match, but the contrast makes those details stand out.
Create a chevron at seams
If you cut mirrored pieces on the bias, the stripes meet in a V shape. This works beautifully on yokes, skirt panels and patch pockets. It takes extra cutting care, but it looks bespoke.
Break up a boxy shape
If a straight tunic or shirt feels plain, use horizontal stripes on the body and vertical stripes on the sleeve, or the reverse. That small design choice can make a basic pattern look far more thoughtful.
A stripe is doing two jobs at once. It’s a fabric pattern, and it’s a built-in design line.
One place readers often get stuck
People sometimes think stripe direction must always flatter in the same way. In reality, shape, fit and scale all matter. A very wide horizontal stripe on an oversized top gives a very different result from a neat Breton on a fitted tee. Rather than following a rigid rule, stand in front of a mirror with the fabric draped around you. Move it. Turn it. Fold it into likely seam placements. You’ll learn more in two minutes of looking than from any blanket styling advice.
Your Guide to Flawless Stripe Matching
Nothing makes striped cotton fabric look homemade faster than accidental near-misses. A stripe that’s almost matched at the side seam can stand out more than one that’s been intentionally offset. The good news is that stripe matching is a method, not a mystery.
Start before you cut
Good matching begins on the table, not at the machine. If you rush the cutting layout, you’ll spend the whole sew trying to rescue it.
Use a single layer when accuracy matters
Cutting on the fold is fast, but stripes often behave better when you cut one layer at a time. It lets you place each pattern piece exactly where you want it in relation to a stripe. This is especially helpful for fronts, backs, sleeves and pockets.
Choose a reference stripe
Pick one stripe to act as your anchor. On some fabrics it will be the centre of a coloured stripe. On others it may be the edge where colour changes to white. Use the same reference point throughout.
- Side seams: align the same stripe level on front and back.
- Centre front on button-ups: decide whether a stripe should run straight down the opening or be mirrored.
- Patch pockets: match the pocket to the garment by cutting it from the exact area where it will sit.
Mark more than the notches
Commercial pattern notches are helpful, but stripes need more information than that. Add your own marks.
A simple method works well:
- Lay the pattern piece on the fabric.
- Find the stripe line you want crossing the bust, waist or hip.
- Mark that stripe position on the pattern tissue or tracing.
- Transfer those marks to the matching pattern piece.
This gives you visual checkpoints beyond the standard seam markers.
Worth remembering: matching stripes is less about pinning more and more, and more about pinning in the right places.
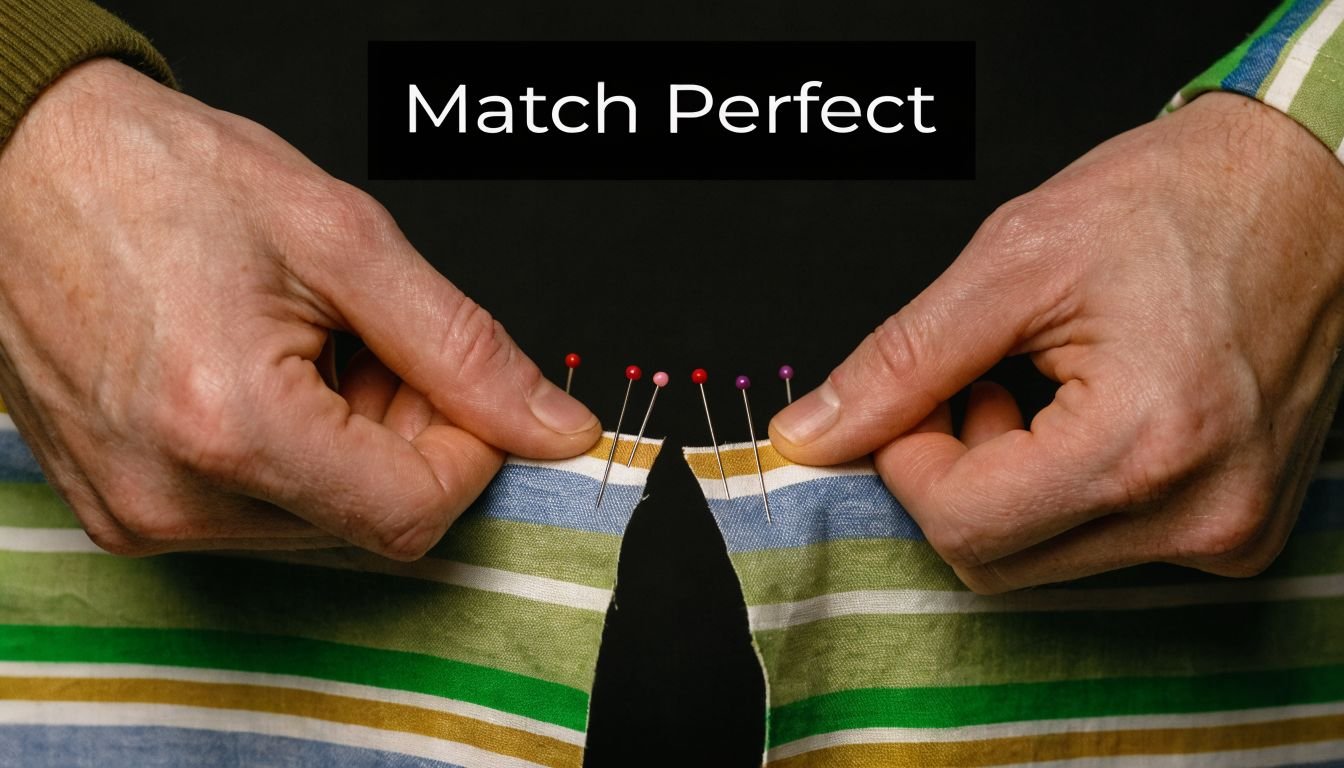
Pin, baste and walk the seam
Once your pieces are cut, match them on a flat surface before sewing. Don’t hold them in the air and hope for the best.
Pin perpendicular at stripe intersections
Place a pin directly through the same stripe on both layers, then add pins between those points. You’re securing the pattern lines, not just the fabric edges.
Walk one seam against the other
Lay the seam lines together and move along them bit by bit. This is called walking the seam. It helps you catch small shifts before you stitch.
Baste if the fabric wants to drift
Some striped cottons are obedient. Others slide just enough to annoy you. In those cases, hand basting or machine basting can save a lot of unpicking.
Here’s a helpful visual demonstration of matching and controlling striped fabric while sewing:
Trickier areas and how to handle them
Curved seams
Curves rarely allow perfect stripe continuation. Aim to match the most visible area, usually near the outer edge or centre view. On an armhole or princess seam, prioritise the section people will notice first.
Set-in sleeves
You usually can’t match every stripe all the way around the armhole. Focus on the sleeve front and back notches and the point where the sleeve joins most visibly near the side of the body.
Button bands and collars
On shirts, a slightly off-grain band or collar can make the whole garment look wonky. Interface carefully, press thoroughly and baste before topstitching.
Tools that make life easier
- Fine glass-head pins: easier to place precisely on narrow stripes
- Tailor’s chalk or washable marker: useful for marking key stripe lines
- Walking foot: helps layers feed more evenly
- Seam gauge: handy for checking stripe repeat and placement
- Pressing ham: useful when pressing curved striped seams without flattening shape
If one seam ends up a thread off, don’t panic. Step back and look at the garment from normal viewing distance. Perfection under your nose isn’t always necessary. Consistency and intention matter more.
Inspiring Projects for Your Striped Cotton Fabric
Once you understand how striped cotton fabric behaves, project ideas come much faster. You stop asking, “Can I sew stripes?” and start asking, “What kind of stripe effect do I want?”
One of my favourite starting points is a simple shirt. Not because it’s the easiest project, but because stripes make every classic shirt detail look better. A neat button band, a matched pocket and a contrast-direction yoke can turn a straightforward pattern into something that looks custom-made.
Projects that let stripes do the work
A striped fabric doesn’t always need a complicated silhouette. Often the best projects are the ones that leave space for the stripe pattern to shine.
- Pyjama sets: a brilliant way to enjoy yarn-dyed stripes, especially with piping, patch pockets and cuffs.
- Shift dresses: clean lines show off the stripe direction beautifully.
- Relaxed pull-on tops: ideal if you want to practise matching just a few main seams.
- Gathered skirts: vertical stripes can look lovely as they fall into soft folds.
- Tote bags and storage baskets: great for bolder stripes and more structured cottons.
For heavier makes, upholstery-weight stripes can open up a different category of project. Heavy-duty striped cotton upholstery fabrics rated at 30,000 Martindale cycles are used for reinforced tote bags and structured jackets because their tight weave gives greater abrasion resistance than standard apparel cottons, as described in this upholstery fabric specification. That sort of fabric can be excellent for bags, overshirts, apron-style garments or sturdy home accessories.
Mixing stripes with other materials
Striped cotton also pairs well with leftovers and upcycled pieces. A tote bag with striped cotton outer panels and repurposed knit pockets can look charming, and it’s a sensible way to use your stash. If you enjoy combining fabrics creatively, these Creative ways to upcycle sweaters offer useful inspiration for mixing soft reclaimed materials with woven fabrics in practical projects.
Sometimes the best striped project isn’t the one with the most matching. It’s the one that uses the stripe placement as a design feature.
A good first stripe project is one where a little imperfection won’t spoil the result. A sleeveless top, elastic-waist shorts, a beach bag or a child’s dress can all teach you a lot without demanding shirtmaker-level precision.
Caring for Your Striped Cotton Garments
Pre-washing isn’t optional with striped cotton fabric. In the UK’s humid climate, which averages 65% RH, untreated cottons can shrink 4 to 7%, and wider stripes can pucker up to 10% more than narrow ones because of tension differences in the weave, according to this guidance on striped cotton shrinkage and care.
A simple care routine that protects your work
Wash the fabric before cutting in the same way you expect to wash the finished garment. If it’s going to live as an everyday shirt, don’t baby the fabric during prep and then wash the garment more firmly later.
A safe routine is:
- Pre-wash first: finish the raw edges if they fray badly, then wash before cutting
- Dry gently: air drying helps reduce distortion, though some sewists prefer a brief tumble to remove the “surprise shrinkage” early
- Press flat before cutting: twisted or crumpled fabric throws stripe alignment off
For finished garments, turn them inside out, use a moderate wash setting, and reshape them while damp. Press with steam along the grain rather than dragging the iron sideways across the stripes.
If you’d like another practical reference for shrinkage-safe washing habits, The Sofa Cover Crafter's washing guide is useful for understanding how washing choices affect cotton items that need to keep their shape.
How to Choose the Best Striped Fabric from More Sewing
When you’re shopping for striped cotton fabric, narrow your choice by asking three things. Is the stripe printed or yarn-dyed? Does the weight suit the garment you want to make? Do you want the stripes to be quiet, classic or bold once worn?
If sustainability matters to you, it’s worth paying attention to deadstock options as well. UK searches for “sustainable sewing fabric” are up 28% year-on-year, and ex-designer deadstock striped cottons can reduce textile waste by an estimated 20 to 30%, according to this overview of sustainable striped fabric sourcing. That makes deadstock a practical choice as well as an interesting one, especially when you want something less common than a standard blue-and-white shirting.
Order swatches when you can. A stripe that looks soft on screen may feel crisp in the hand, and a fine stripe can read very differently at full scale. Swatches let you test drape, check the reverse side and decide whether the stripe spacing works for your pattern pieces.
If you’re ready to choose striped cotton fabric with more confidence, have a look at More Sewing. Their range includes quality dressmaking fabrics, ex-designer deadstock, useful haberdashery and swatch options, which makes it much easier to judge stripe scale, weight and finish before committing to a project.