Guides
How to Read a Sewing Pattern: A Beginner’s Guide
You’ve bought the fabric. You’ve picked the pattern. You open the packet, lift out the tissue, and suddenly it feels less like a creative project and more like paperwork.
That feeling is normal.
Most beginners don’t struggle because sewing is beyond them. They struggle because patterns are written in a shorthand that nobody has explained properly yet. Once you understand what the symbols are for, the whole thing becomes far less mysterious. A pattern stops being a pile of lines and starts acting like a map.
Your Guide to Sewing Pattern Confidence
The first time someone opens a dressmaking pattern, they usually look for the “real” instructions and assume the tissue markings are secondary. In practice, both matter. The envelope helps you choose wisely. The tissue tells you how the garment takes shape.
That skill has deep roots in home sewing. In the UK, the commercial sewing pattern industry took a major step in 1910, when Butterick patterns were launched through W.H. Smith stores, and pattern sales grew by over 300% between 1910 and 1925 as home sewists learned to read symbols like grainlines and notches, according to this history of Butterick paper patterns. Reading patterns has been part of dressmaking confidence for generations.
What matters today is the same thing that mattered then. You’re not just copying steps. You’re learning why the pattern asks for them.
A grainline isn’t a random arrow. It tells you how the fabric should hang on the body. A notch isn’t decorative. It keeps two pieces from drifting out of alignment while you sew. A dart isn’t just a line to stitch. It’s what turns flat cloth into shape at the bust, waist, shoulder, or hip.
A confident sewist isn’t the one who never makes mistakes. It’s the one who can look at a pattern piece and understand what job it’s doing.
That’s the difference between sewing by guesswork and sewing with control.
If you’re learning how to read a sewing pattern for the first time, don’t rush to the cutting stage. Slow down at the start. The few minutes you spend decoding the envelope, checking measurements, and reading markings will save you far more time than any hurried shortcut.
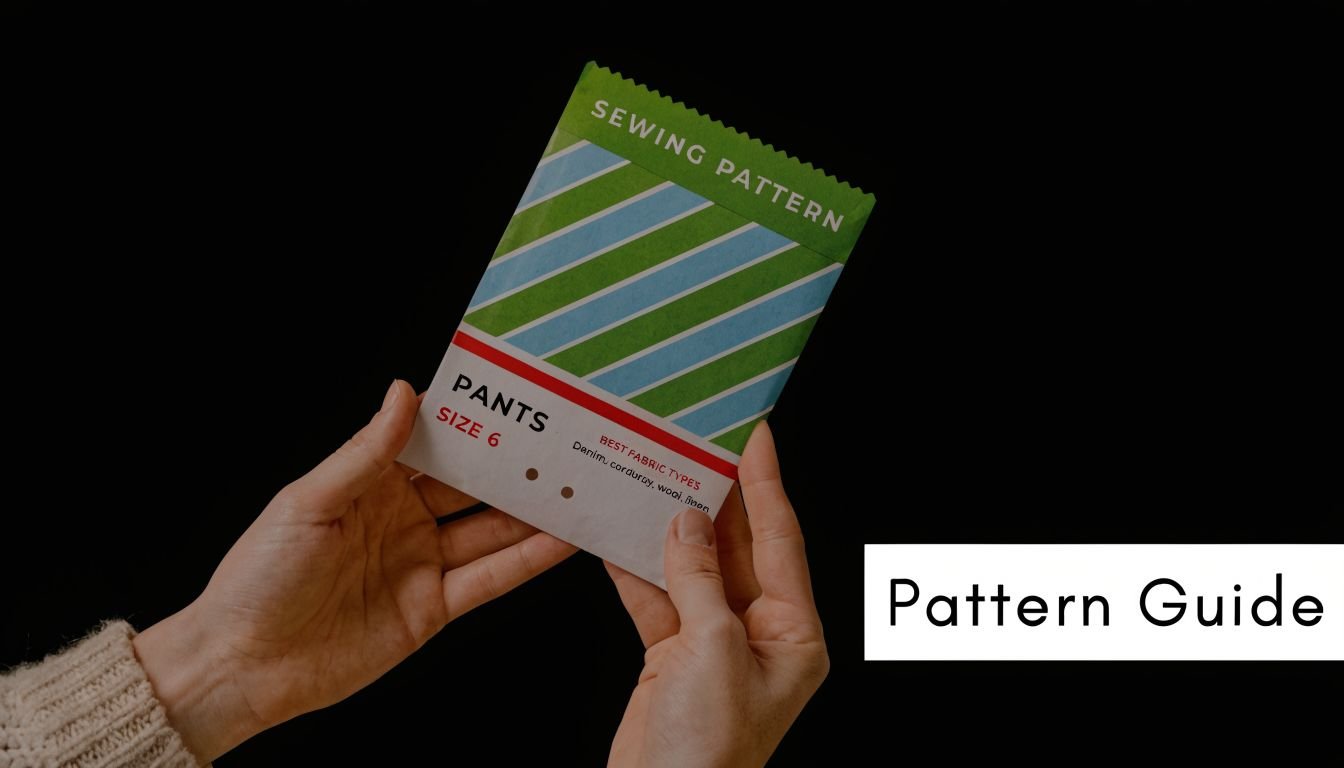
Decoding the Pattern Envelope Before You Unfold
The envelope is where good projects begin. Before the tissue comes out, the packet already tells you most of what you need to know about fit, fabric, and difficulty.
Read the front like a preview, not a promise
The front image is useful, but it can mislead beginners if they rely on it too heavily. Styled photography can make one version of the garment look softer, sharper, shorter, or more fitted than it really is.
What helps more is the technical drawing or line drawing. That’s where you see the actual shape.
Look for these details first:
- Views. One envelope may include several versions, such as a sleeved dress, a sleeveless top, or a longer skirt.
- Core design. Different views often share the same bodice, skirt, collar, or trouser block.
- Construction clues. Seams, darts, button stands, gathers, and closures tell you how advanced the project will feel.
A blouse with a simple front and back is very different from one with cuffs, collar stands, and a concealed placket, even if both look “beginner friendly” in a photo.
The back is where the decisions happen
Turn the envelope over and take your time. This is the working side.
A lot of first-time fitting problems start here. A 2023 UK Sewing Federation survey of 1,200 hobbyists found that 42% of novice fit failures came from ignoring details such as the standard 1.5 cm seam allowance or misunderstanding fabric yardage charts, as noted in Sew Essential’s guide to reading and understanding sewing patterns.
That’s why I always suggest reading the back in this order:
- Size chart
- Finished garment measurements
- Suggested fabrics
- Fabric requirements
- Notions
If you jump straight to the size line and ignore the rest, you’re guessing.
What each envelope panel is really telling you
Here’s the practical version of what to check.
| Envelope section | What it tells you | Why it matters |
|---|---|---|
| Size chart | Body measurements linked to pattern sizes | Pattern sizes don’t match high street sizing reliably |
| Finished measurements | The actual garment size after sewing | Helps you judge how fitted or loose it will be |
| Suggested fabrics | Fabrics the design was drafted for | Affects drape, structure, and whether details behave properly |
| Fabric requirements | How much fabric to buy for size and width | Prevents underbuying or buying the wrong width |
| Notions | Extra items such as zips, buttons, elastic, interfacing | Saves the irritating mid-project supply run |
Fabric requirements are more specific than they look
Many beginners see the yardage table and treat it as a rough guide. It isn’t. It’s based on the layout, size, width, and often whether the fabric has nap or direction.
For example, a pattern may need more fabric if your print has to run one way, or if the cutting layout can’t flip pieces around. That matters with striped cotton, brushed fabrics, velvet, corduroy, and many deadstock prints.
Practical rule: If the envelope lists fabric widths separately, check the width of the exact fabric bolt before you buy. “Dress fabric” is not a measurement.
The notions list tells you how the garment is built
Beginners often skip notions because they seem obvious. They aren’t.
A zip length changes how an opening sits. The wrong interfacing can make a collar limp or a facing stiff as cardboard. Button count affects spacing, and spacing affects gaping.
If the envelope calls for interfacing, assume the garment needs support somewhere important. That usually means collar, cuffs, waistband, placket, facings, or pocket areas.
A good envelope check takes pressure off later
If I’m helping someone choose their first project, I’m not asking whether they like the photo. I’m asking whether they’ve read the back and still like the project.
That’s the better test.
A pattern envelope doesn’t just sell the design. It warns you about the work involved, the fabric behaviour required, and the exact supplies needed. Read it properly, and the tissue inside becomes much easier to trust.
Choosing Your Size and Perfect Fabric
Sizing is where a lot of people lose confidence, usually because they assume pattern sizing works like shop sizing. It doesn’t.
If the size on the envelope feels unfamiliar, that’s normal. What matters is the measurement chart and the finished garment information, not the number printed beside it.
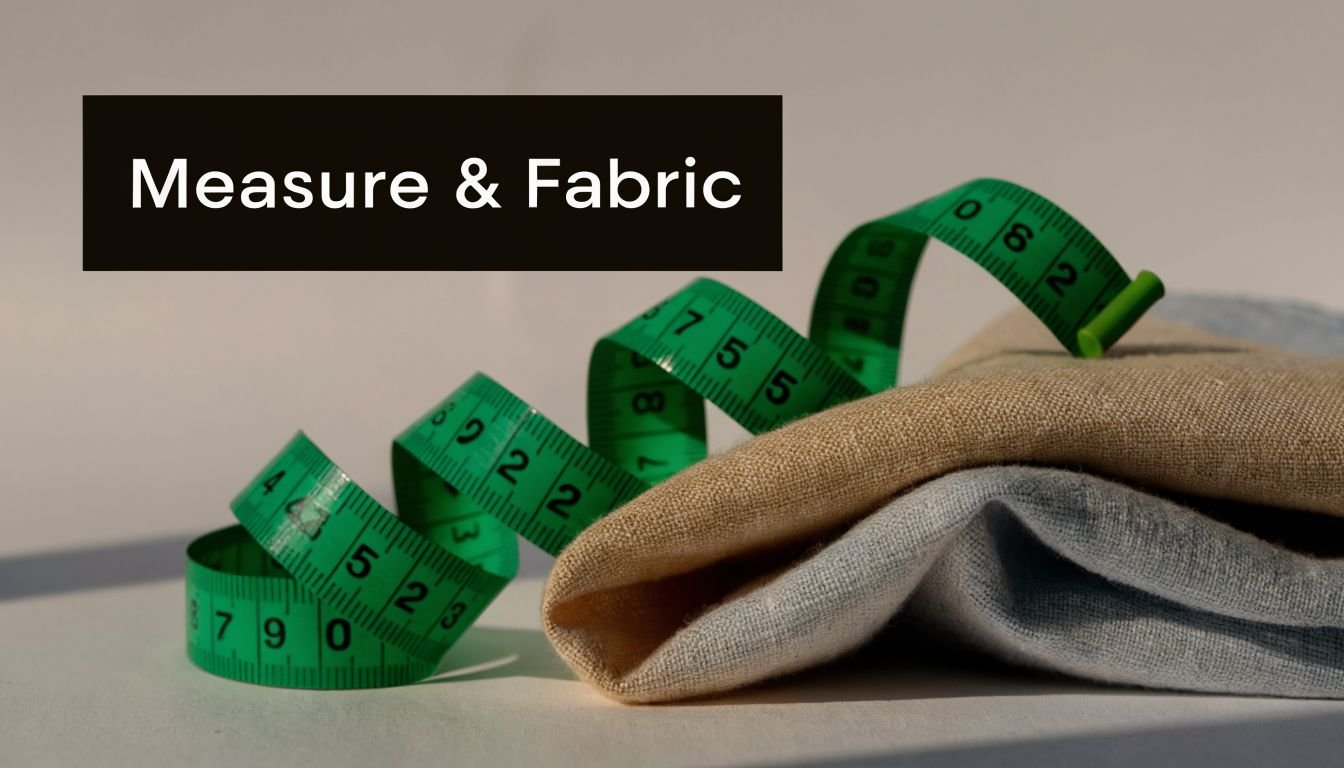
Start with body measurements, not assumptions
Use a flexible tape measure and measure over the undergarments you’re likely to wear with the garment. For most dressmaking patterns, that means checking your bust, waist, and hip.
Take the measurement the pattern prioritises most seriously:
- Tops and dresses usually hinge on the bust
- Skirts and trousers usually hinge on the hip or waist
- Fitted bodices often need careful bust and upper body checking
- Loose styles still need measurement checks, even if fit looks forgiving
Don’t pull the tape tight. Don’t hold your breath. Don’t round down because you’d prefer a smaller number.
Why pattern size often surprises people
UK sewing patterns commonly use a 1.5 cm seam allowance, and understanding that, along with ease, is central to accurate sizing. Ease is the difference between body measurements and finished garment measurements, and it’s typically 5 cm. A UK Craft Council report also noted that 62% of home dressmakers initially struggled with pattern sizing but improved after tutorials, as summarised in The Creative Curator’s guide to reading sewing patterns.
That matters because the envelope size is only a starting point. The finished garment measurement tells you what you’ll wear.
A close-fitting woven blouse and an oversized shirt dress can both match your bust size on paper, but they won’t feel remotely the same once sewn.
Body measurements versus finished measurements
This is the distinction that changes everything.
| Measurement type | What it means | What to use it for |
|---|---|---|
| Body measurement | Your actual bust, waist, or hip | Picking a starting size |
| Finished garment measurement | The garment after construction | Judging roominess and style |
| Ease | The difference between the two | Understanding comfort and silhouette |
If your bust matches one size but your hips match another, that doesn’t mean you’ve failed to find your size. It means you need to blend sizes.
That’s standard dressmaking.
For a dress, you might trace one size at the bust, then smoothly curve to another at the waist or hip. For trousers, you may keep the waistline from one size and blend to a fuller hip. A pattern is a template, not a verdict.
Fabric choice changes the result more than beginners expect
A pattern may “work” in many fabrics, but not all fabrics will give the same garment.
Here’s a practical way to approach it:
- Crisp cotton poplin gives collars, cuffs, and pleats clean definition
- Viscose hangs softly and suits gathers, swish, and drape
- Linen blends can look relaxed and structured at the same time
- Denim and twill hold shape and show seam details well
- Jersey behaves very differently from woven fabric and usually needs a pattern designed for stretch
If a pattern suggests lightweight woven fabrics and you choose a heavy cloth, facings may bulk up, sleeves may feel tight, and gathers may become stiff rather than soft.
Here’s a helpful visual explainer before you commit to a size and cloth:
What works and what doesn’t
What works
- Measuring carefully and checking twice
- Looking at finished garment measurements before cutting
- Choosing fabric with similar behaviour to the envelope suggestions
- Accepting that you may need one size at the bust and another at the hip
What doesn’t
- Picking your usual shop size without measuring
- Assuming a looser photo means a larger pattern piece
- Ignoring the difference between woven and stretch fabrics
- Choosing fabric only by print, with no thought for drape or weight
If you’re stuck between two sizes, the better question isn’t “Which number am I?” It’s “How do I want this garment to sit on my body?”
That shift helps beginners stop treating sizing as a personal judgement and start treating it as a fitting decision. That’s a much more useful mindset.
The Language of Pattern Markings and Symbols
When you unfold the tissue, you’re looking at instructions embedded directly into the shape of the garment. Every line and symbol is there to help you cut, match, shape, or alter something accurately.
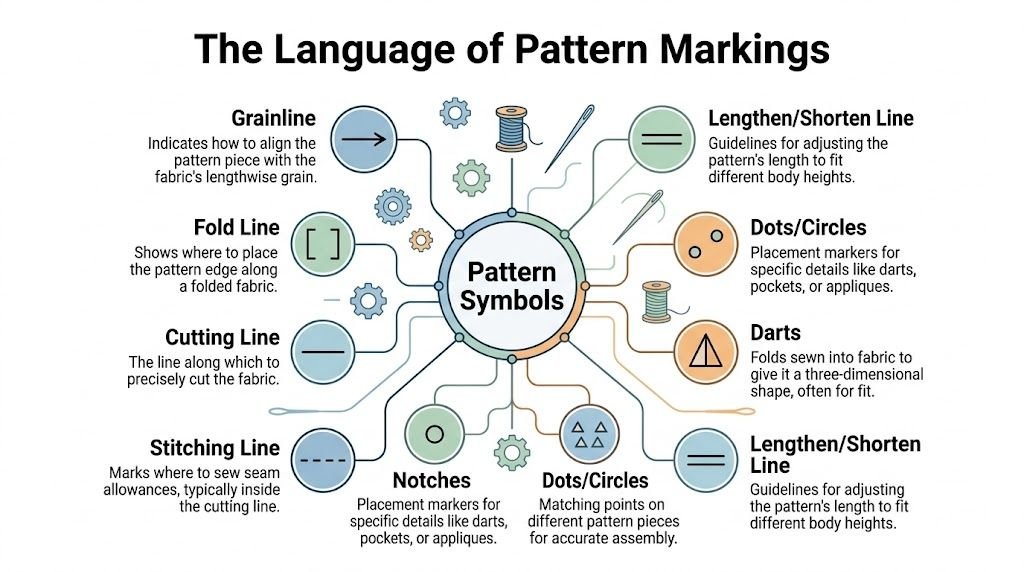
Grainline and fold markings
If there’s one marking I’d never ignore, it’s the grainline arrow.
That arrow shows how the pattern piece should sit in relation to the fabric grain. If it’s off, the garment can twist, drop strangely, or pull in wear. According to this beginner guide to reading a sewing pattern, neglecting the grainline arrow can cause 37% of twist and fit issues, while proper notch matching boosts seam accuracy to 95%. The same source notes that major UK patterns often standardise a 1.5 cm seam allowance, but indie patterns may differ, so it’s worth checking.
A grainline matters because woven fabric doesn’t behave the same in every direction. Lengthwise grain is typically more stable. Cross grain can have a little more give. Bias can stretch and drape dramatically.
The place on fold marking is just as important. It means that edge is not cut as two separate pieces. It sits directly on the fold so the full piece opens out symmetrically.
If you move a fold piece away from the fold because it “looks close enough”, you usually end up with a front or back that’s the wrong width or shape.
Cutting lines, stitching lines, and multi-size patterns
Many beginners are startled by how many nested lines appear on one tissue sheet. That’s because modern patterns often include several sizes printed together.
You need to identify:
- Cutting line for your chosen size
- View-specific pieces if the pattern includes multiple garment versions
- Lengthen or shorten lines if adjustment is needed
- Any internal markings such as dots, pleat lines, pocket placement, or dart legs
A common mistake is cutting the wrong size line in one section and then switching to another line without noticing. This happens often around curves, especially armholes and hips.
Keep a highlighter, coloured pencil, or fine felt-tip beside you and trace your chosen size before cutting. Tissue is much easier to read when your path is obvious.
Some patterns also print a stitching line inside the cut line. If they do, that line shows where the seam is sewn. On other patterns, the seam line is implied by the listed seam allowance rather than printed.
Notches, dots, and matching points
Notches are the little marks that help pieces meet correctly. Think of them as signposts for assembly.
A single notch might mark the front of a sleeve. A double notch often marks the back. Side seams, skirt panels, collars, facings, cuffs, and waistbands all rely on notches to match shape to shape.
Dots or circles often indicate:
- Dart points
- Pocket placement
- End points for stitching
- Gather start and stop points
- Button or pleat positions
If you skip these markings because they seem minor, the garment usually tells on you later. One side won’t match the other. A dart will land too high. A pocket will sit unevenly. A collar stand may feel off-centre.
Darts, pleats, gathers, and shaping marks
Now, the pattern stops being flat.
A dart removes excess fabric to create shape. Bust darts, waist darts, shoulder darts, and back darts all do slightly different jobs, but the principle is the same. You fold fabric along one line and stitch toward a point to create contour.
A pleat controls fullness in a more structured way. Pleats are often marked with lines and arrows showing what folds where.
Gathering marks tell you where to distribute extra fullness between two points. If a sleeve head is gathered, for instance, the pattern marks where the easing or gathering begins and ends.
Here’s a quick glossary you can keep in mind:
| Marking | What it is | Why it matters |
|---|---|---|
| Grainline arrow | Direction guide | Controls hang and stability |
| Place on fold | Edge placed on fabric fold | Creates one symmetrical piece |
| Notch | Small matching mark | Keeps pieces aligned during sewing |
| Dot or circle | Placement point | Locates shaping or details precisely |
| Dart lines | Shaping wedge | Forms the garment around the body |
| Pleat lines | Fold guides | Add controlled fullness or structure |
| Lengthen or shorten line | Adjustment zone | Lets you alter length without distorting shape |
Why understanding the symbol changes the result
Beginners often memorise symbols but still feel unsure. The confidence comes when you connect each symbol to a visible result.
If the grainline is wrong, the garment hangs badly.
If notches don’t match, seams fight each other.
If darts aren’t transferred accurately, fit shifts.
If fold lines are ignored, symmetry disappears.
That’s why learning how to read a sewing pattern properly matters. You aren’t collecting definitions. You’re learning how the garment is engineered.
From Paper to Fabric Cutting and Marking
This is the stage where accuracy pays off immediately. Good cutting feels calm. Bad cutting creates little problems that multiply all the way through the project.
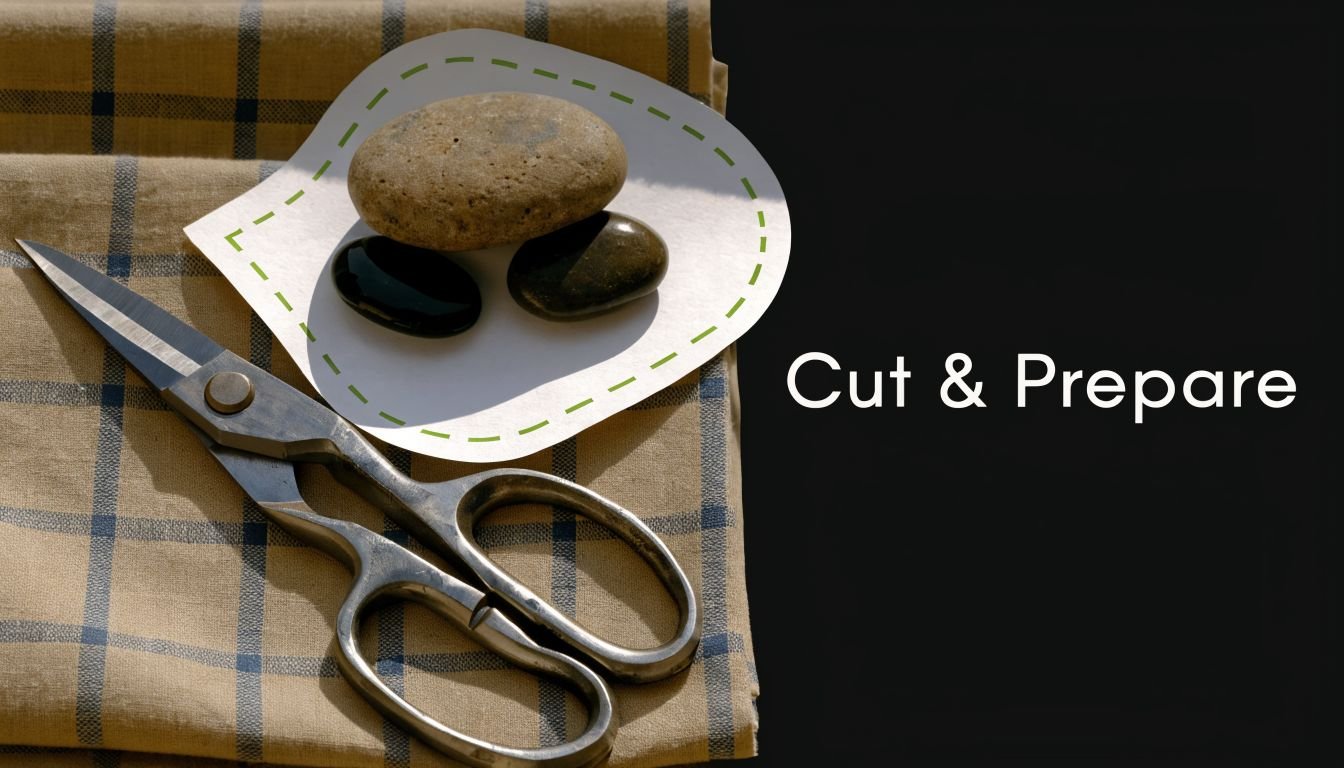
Prepare the fabric before the pattern goes near it
Pre-wash if the fabric type calls for it. Press it properly. Square it up if the cut edge is skewed.
Don’t cut from crumpled cloth. Don’t lay tissue over fabric that’s still rippled from being folded in the post. Pressing first sounds boring, but it gives you a stable starting point.
The cutting layout in the instruction sheet is your map. It shows where the designer intends each piece to go, based on width, direction, and grain.
Follow the layout, then adapt carefully if needed
Lay out the biggest pieces first. Bodices, skirts, sleeves, trouser legs, and facings usually determine whether the rest fits neatly.
Then check a few things before pinning or weighting:
- Grainline alignment with the selvedge
- Fold placement if the layout uses folded fabric
- Directional print or nap
- Whether a left and right pair is needed
- Whether “cut 1”, “cut 2”, or “cut 2 mirrored” applies
I prefer pattern weights and a rotary cutter on smooth cottons and stable linen blends. For finer tissue or trickier fabrics, fine pins may still be the better option.
Cutting methods and marking methods
Different tools suit different fabrics.
| Job | Good options | Best for |
|---|---|---|
| Cutting stable woven fabric | Dressmaking shears or rotary cutter | Cotton poplin, linen, denim, lawn |
| Holding tissue in place | Fine pins or pattern weights | Most woven dress fabrics |
| Marking darts and dots | Tailor’s chalk, washable marker, tailor’s tacks | Depends on fabric surface and visibility |
| Transferring internal lines | Tracing wheel and paper, hand tacks | Fabrics that can handle handling or need precision |
For slippery viscose or fine deadstock, I often suggest cutting in a single layer rather than on the fold if accuracy matters more than speed. It takes longer, but the fabric behaves better and the pieces are less likely to creep.
Cut with the fabric fully supported on the table. If part of the cloth hangs off the edge, the weight can drag the grain out of true while you cut.
Transfer every mark you’ll need later
A lot of beginners cut beautifully and then lose their advantage by ignoring marking transfer.
Don’t rely on memory for:
- Dart legs and dart points
- Pocket placement
- Button and buttonhole positions
- Pleat folds
- Gathering sections
- Match points on long seams
The best transfer method depends on the cloth. Chalk can brush off. Heat-erasable pens can be useful, but always test first. Tailor’s tacks are slow, though they’re still one of the safest options for delicate or textured fabrics where surface marking is risky.
What clean cutting looks like in practice
A good cutting session usually has a few simple traits. The fabric is flat, the tissue is secure, the chosen size is clear, and all critical marks are transferred before pieces are separated and shuffled.
What doesn’t work is rushing through with blunt scissors, skipping grainline checks, or assuming tiny markings can be added later from memory.
If cutting feels slow, that’s often a sign you’re doing it properly.
Common Adjustments and Special Fabric Tips
Patterns are drafted for a standard shape. Bodies aren’t standard. Fabric stock isn’t standard either.
That’s not a problem. It just means a good sewist learns when to follow the pattern exactly and when to adapt it with intention.
Simple adjustments that make a big difference
The easiest alteration for many beginners is length.
If your pattern has lengthen or shorten lines, use them. They’re placed where the designer expects you to adjust without distorting the garment shape. That’s far better than cutting length directly from the hem, especially on trousers, sleeves, and fitted tops.
Typical adjustments include:
- Shortening a bodice if the waistline sits too low
- Lengthening sleeves if cuffs land above the wrist
- Adjusting skirt length without changing hip shape
- Blending between sizes if your measurements span more than one size
If you need more room at the hip but the bust fits well, blend from one size to another rather than sizing up the entire garment. If shoulders fit but the sleeve length is off, change the length rather than recutting the whole armhole.
That’s the trade-off worth understanding. A broad size change fixes some problems by creating others. A targeted adjustment keeps what already works.
Deadstock needs a different mindset
In this regard, standard pattern advice often falls short.
An emerging trend among UK sewists is working with deadstock fabrics, yet many guides don’t show how to adapt layouts for their irregularities. The same discussion notes UK textile waste at 300,000 tonnes annually, and a Reddit UKSewing analysis found 74% of queries about adapting patterns for deadstock went unanswered, according to The Flora Modiste’s discussion of pattern reading and deadstock.
Deadstock can be wonderful to sew with. It can also be awkward.
You may find:
- An uneven cut edge
- Limited length
- A partial width
- One-way print
- Small flaws or fade lines
- No second chance to buy more
That changes how you read the pattern. The layout becomes less about following the printed diagram exactly and more about preserving the grain while making the fabric work.
What works with unusual or limited cloth
If I’m cutting from deadstock, I treat the fabric as a puzzle before I touch scissors.
Try this approach:
- Identify the critical elements. Grainline, fold needs, directional print, and mirrored pieces.
- Place the largest pieces first. Bodice fronts, skirt panels, sleeves, trouser legs.
- Check whether single-layer cutting makes more sense. This often helps with awkward remnants.
- Use tracing paper or a traced copy if you need to shift pieces repeatedly. Tissue tears quickly.
- Separate facings or smaller parts onto contrast fabric if needed. This can save a project neatly.
For one-way prints, don’t flip pieces to squeeze them in unless the design allows it. For brushed fabrics or velvet, all pieces need the same nap direction or the colour will look different across the garment.
Deadstock rewards patience. It rarely rewards “close enough”.
Know when to bend the rules and when not to
Some pattern choices are flexible. Others aren’t.
You can often:
- Shorten hems
- Blend sizes
- Rearrange smaller pieces
- Cut some details from lining or contrast fabric
You usually shouldn’t:
- Ignore grainline to save space
- Rotate major pieces randomly
- Drop required interfacing because the fabric feels “fine”
- Force a directional print into a non-directional layout
That’s the part many beginners need to hear. Sustainable sewing isn’t about using every scrap at any cost. It’s about making careful decisions so the finished garment is wearable, durable, and worth the effort.
Your Sewing Journey Starts Now
A sewing pattern only looks complicated before you know its language. Once you understand the envelope, the sizing, the markings, and the cutting logic, it becomes much easier to trust the process.
You don’t need to memorise everything at once. You only need to slow down enough to ask the right questions. What size is my starting point? What does this symbol control? What is this fabric likely to do? Why is the pattern asking me to cut this piece this way?
That’s how confidence builds. Not from rushing into harder projects, but from understanding the reason behind each step.
If you’d like extra inspiration before choosing your next make, a well-organised Pattern Gallery can help you compare styles and spot the construction details that suit your current skill level. Sometimes seeing a range of pattern types side by side makes the envelope language click faster.
Start with something manageable. A simple skirt, an easy top, loose trousers, or a pull-on dress can teach you a tremendous amount. Keep your tape measure nearby. Mark clearly. Press often. Don’t judge your first few projects by perfection.
Judge them by what they teach you.
A pattern is not there to catch you out. It’s there to guide you. Once you know how to read a sewing pattern, you can approach the next packet with far more calm, and a lot more curiosity.
If you’re ready to put this into practice, More Sewing is a reliable place to find quality dressmaking fabrics, haberdashery, sewing kits, and those useful extras that make a project run more smoothly from cutting table to final press.