Guides
How to Repair Torn Jeans: A Practical Mending Guide
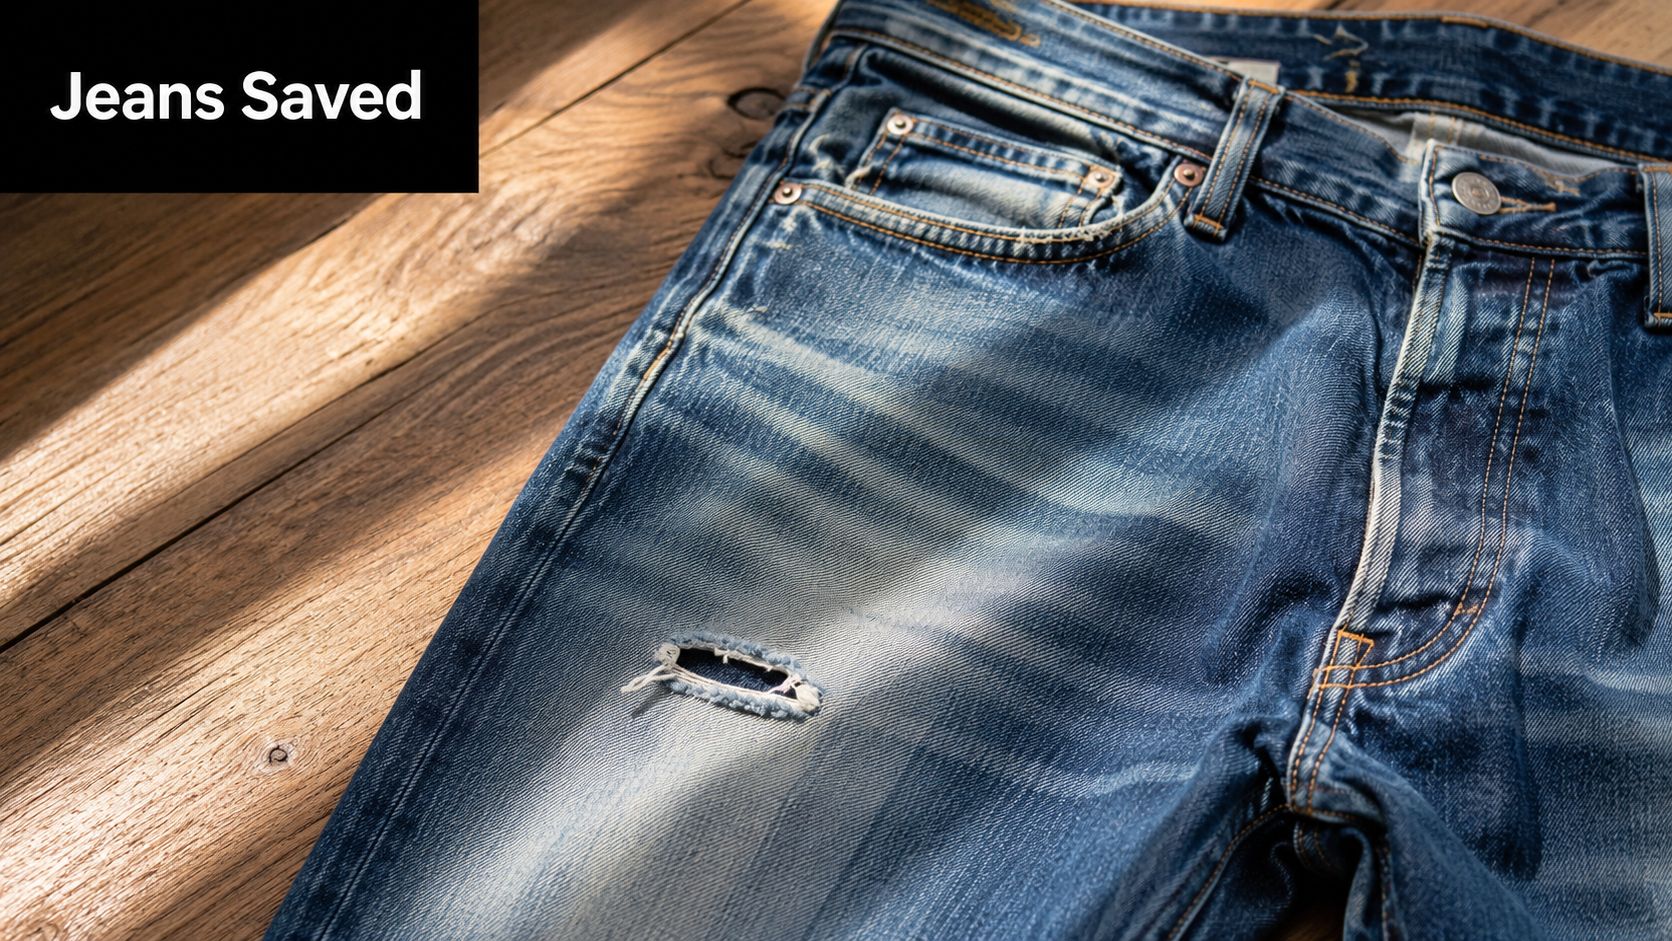
You pull on your favourite jeans, catch a finger in a rip at the knee, and feel that little drop in your stomach. The pair that fits just right suddenly looks finished.
It usually isn't.
Most torn jeans can be repaired at home with simple tools, a bit of patience, and the right method for the type of damage. If you're learning how to repair torn jeans, the biggest shift is this: don't treat every hole the same. A tiny split seam, a frayed hem, a knee blowout, and thinning denim at the thigh all need different handling if you want the repair to last.
Your Favourite Jeans Are Not Lost Forever
A tear doesn't always mean replacement. In many cases, it means the jeans have reached the point where they need reinforcement, not retirement. Denim is one of the easiest everyday fabrics to mend because it responds well to patching, darning, and restitching.
In the UK, clothing guidance highlighted by Fashion Revolution's beginner's guide to mending jeans identifies repair and reuse as the highest-impact choices for extending a garment's life. The same guidance recommends mending worn clothing and notes that a durable patch should extend about 2 cm beyond the hole, plus a 1 cm seam allowance.
That practical standard matters. A good mend isn't just about covering the visible damage. It's about supporting the worn area around it so the fabric doesn't split again beside your neat new stitches.
Why jeans are worth repairing
A pair of jeans often wears unevenly. One spot goes first, while the rest of the garment is still perfectly wearable. That's why mending makes so much sense for denim.
A few common examples:
- Knee tears often start as abrasion and then open suddenly.
- Inner thigh wear looks small at first, but the surrounding fabric is usually thinner than it appears.
- Pocket corners and belt loops fail because they carry strain, not because the fabric is old.
- Hems fray from rubbing on shoes and the ground.
Practical rule: Repair the weak area around the hole, not just the hole you can see.
What a good repair should do
A lasting jean repair does at least two jobs.
- Stabilise the fabric so the rip stops growing.
- Spread strain over a wider area.
- Match the use of the jeans so school, work, gardening, cycling, or weekend wear all get the right sort of mend.
- Suit your taste, whether you want the repair to blend in or stand out.
Some repairs are almost invisible. Some become a feature. Both are valid. The trick is choosing on purpose instead of grabbing the first iron-on patch and hoping for the best.
Gathering Your Essential Mending Toolkit
You don't need a sewing room full of equipment to mend jeans well. A small, sensible kit will handle most repairs. Start with the basics, then add a few useful extras as you get more confident.
The absolute essentials
If I were helping someone at the cutting table choose the minimum needed for denim repairs, this is what I'd put in their hands first:
- Sharp fabric scissors. These are for trimming loose threads and cutting patches cleanly. Blunt scissors chew at denim and leave fuzzy edges.
- Hand-sewing needles. Keep a few sizes. A finer needle helps with lighter patching, and a sturdier one helps when denim gets thick near seams.
- Strong sewing thread. Polyester thread is a practical choice for repairs because it has enough strength for everyday wear. Matching thread helps subtle repairs. Contrasting thread makes visible mending look intentional.
- Pins or clips. These hold the patch where you want it while you stitch.
- An iron and ironing board. Pressing flattens the area, helps patches sit properly, and makes the repair much easier to control.
- A scrap of denim or sturdy woven cotton. Old jeans are excellent for donor fabric, especially if you want the repair to blend in.
Helpful extras that make life easier
These aren't strictly necessary, but they make tougher jobs neater and more durable.
- Fusible interfacing for stabilising worn fabric before stitching.
- Ready-made denim patches if you don't have a good scrap to hand.
- A thimble for pushing the needle through thicker layers.
- Tailor's chalk or a washable fabric marker to mark stitch lines.
- Embroidery floss or sashiko-style thread if you want decorative visible mending.
- A sewing machine for long reinforcement lines and larger patches.
A small scrap from the hem of old jeans can be worth more than a packet of flimsy repair patches. The weight and colour are often a much better match.
A little setup trick
Wash and dry the jeans before you mend them if they need laundering. Dirt and body oils make handling less pleasant, and a clean, pressed leg is far easier to patch neatly than a crumpled one. If the fabric won't lie flat, the mend usually won't either.
Quick Fixes for Small Tears and Fraying Hems
Not every repair needs a big patch and a full evening at the machine. Small tears, split seams, loose belt loops, and fraying hems can often be sorted in a short sitting.
A simple inside patch for a small tear
This works well for a small snag, a short straight rip, or a worn spot that hasn't opened too far.
- Trim only what is loose. Don't cut away solid fabric. If some threads still bridge the tear neatly, leave them.
- Press the area flat. Bring the torn edges back into place as neatly as you can.
- Cut a patch bigger than the damage. Give yourself room beyond the weak area, not just the visible tear.
- Place the patch on the inside. Pin it so it covers the whole worn section.
- Secure it. You can use a light iron-on hold, a few hand stitches, or go straight to stitching if the patch stays put.
- Stitch over the tear and beyond it. Use small straight rows by machine or close hand stitches if you're sewing manually.
If you only stitch right along the split, the stress stays concentrated on that line. If you stitch into the sound fabric around it, the mend behaves more like part of the jeans.
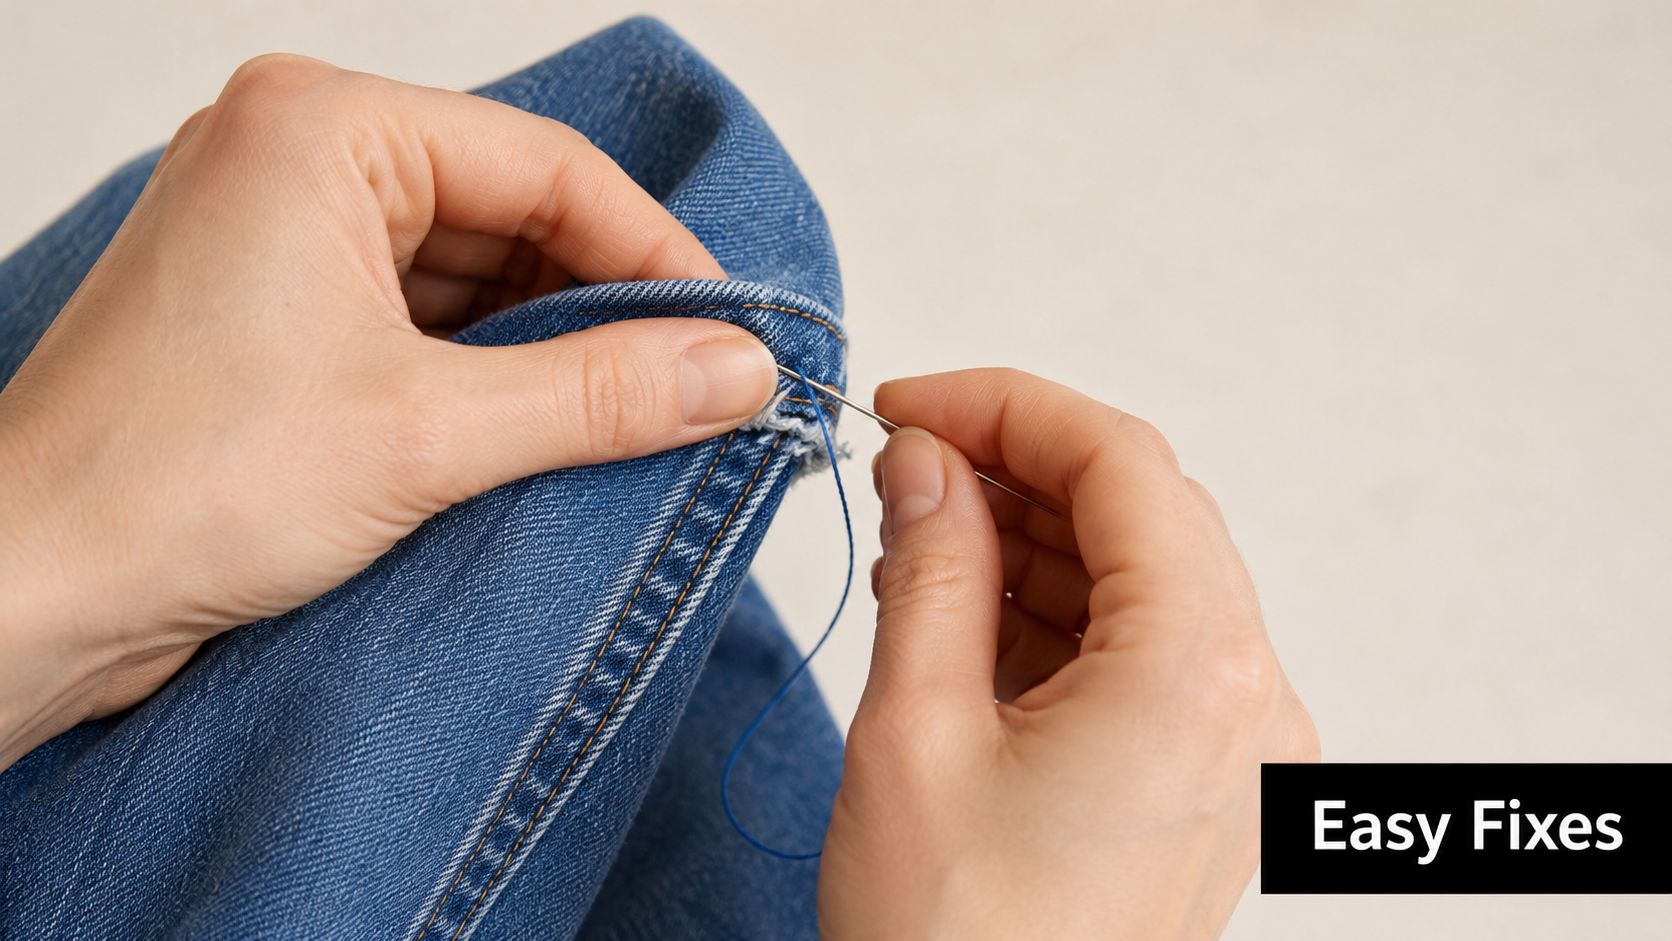
Repairing a split seam by hand
A seam opening near the pocket, side seam, or crotch seam often looks dramatic, but it's one of the most straightforward fixes if the fabric itself isn't shredded.
Use backstitch for this. It's one of the strongest hand stitches for repairs.
- Thread a needle with a manageable length. Too long and it tangles.
- Knot the end.
- Start a little before the split, inside the existing seam allowance.
- Work small backstitches along the original seam line.
- Finish a little past the end of the split so the repair is anchored into intact stitching.
A pulled belt loop is much the same. Stitch it back through the original attachment area several times, then add a few extra stitches just beside the old holes if that section looks strained.
Fraying hems that need attention
A hem wears because it rubs constantly. If you catch it early, you can stop it turning into a ragged edge.
Try one of these approaches:
- Turn and restitch the hem if there's enough length to spare.
- Apply a narrow facing or hem tape inside if the edge is thinning.
- Patch from the inside at the back hem if one section is worn through but the rest is fine.
If a hem has worn away at the back, check the opposite leg too. The second side often isn't far behind.
Reinforcing Knees and Large Holes with Patches
Big holes at the knee or thigh look daunting, but the method is very manageable when you break it into stages. The strongest repairs start by stabilising the surrounding cloth first, because that faded ring around the hole is often weaker than the hole itself.
A commonly recommended denim-repair method, described in Madam Sew's guide to mending jeans with your sewing machine, is to trim loose threads, add fusible interfacing or a jean-fabric backing cut slightly larger than the repair zone, then iron it on with a hot, no-steam iron for at least 20 seconds. The key point is to reinforce the weakened fabric around the hole, not just the hole itself.
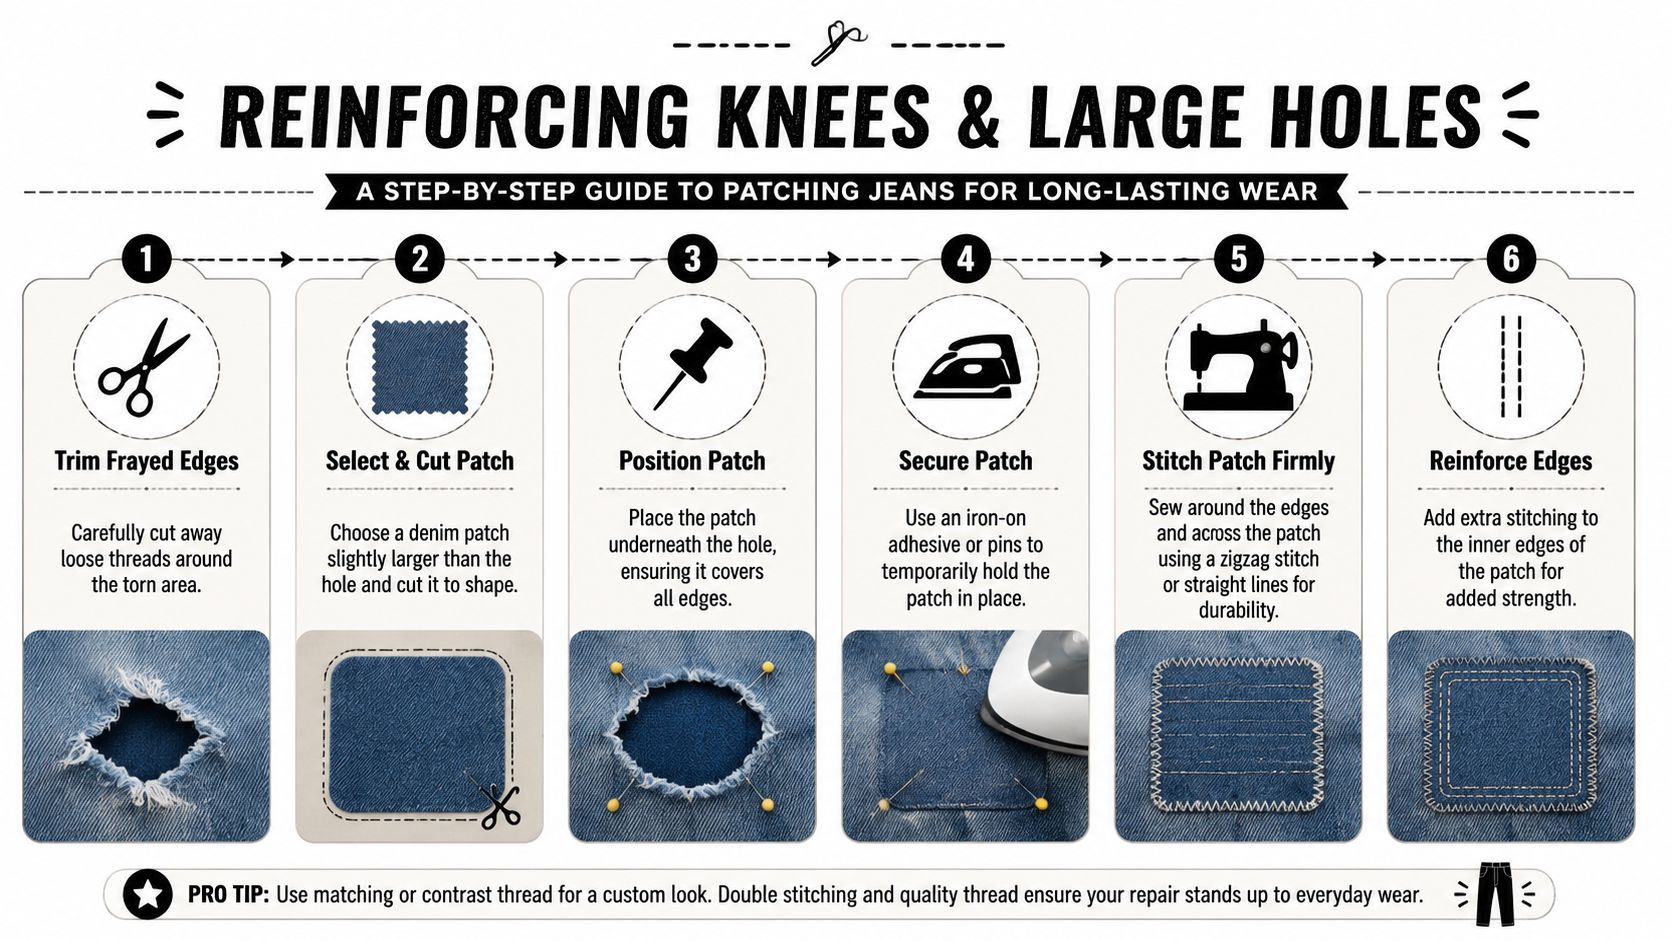
The repair sequence that works
For knees and larger rips, I like this order:
Trim frayed threads
Clean away the strands that are fully detached and messy. Leave any that still help hold the shape unless they're badly distorted.Flatten and inspect
Press the area and look beyond the hole. If the denim nearby looks shiny, thin, or pale from wear, include that area in the repair.Add a backing
Cut fusible interfacing or backing fabric slightly larger than the weakened zone, place it inside, and bond it with the iron.Add the patch
Choose whether it goes inside or outside.Stitch across the whole repair area
Work in lines that support the grain of the denim rather than circling only the hole.
This visual can help if you'd like to see the order laid out clearly.
Inside patch or outside patch
Both approaches are useful. The better choice depends on where the tear is and how you wear the jeans.
| Patch style | Best use | Look | Practical note |
|---|---|---|---|
| Inside patch | Knees, thighs, places where you want a subtler finish | More discreet | Good for everyday jeans, especially with matching denim |
| Outside patch | Larger holes, repeated wear spots, jeans you want to personalise | Clearly visible | Easier to build strength and easier to re-repair later |
An inside patch is often the neatest answer for school jeans, workaday pairs, or dark denim where you don't want the mend shouting. Use a donor patch cut from old jeans in a similar wash if possible.
An outside patch is excellent when the area is badly frayed or the hole shape is awkward. A bold patch can look deliberate rather than apologetic. Dark indigo on faded blue, striped cotton on pale denim, or even a contrast denim can all work beautifully if the fabric isn't too heavy.
What usually fails
The repair that fails fastest is the one stitched only around the edge of the visible hole. That leaves the weakened cloth doing all the work. Another common problem is choosing a patch fabric that's too stiff. If the patch is much heavier than the jeans, the repair can feel bulky and the fabric beside it takes the strain.
The Art of Visible Mending and Sashiko Darning
Some jeans don't need a hidden fix. They need a repair that looks honest, solid, and a bit beautiful. That's where visible mending comes into its own.
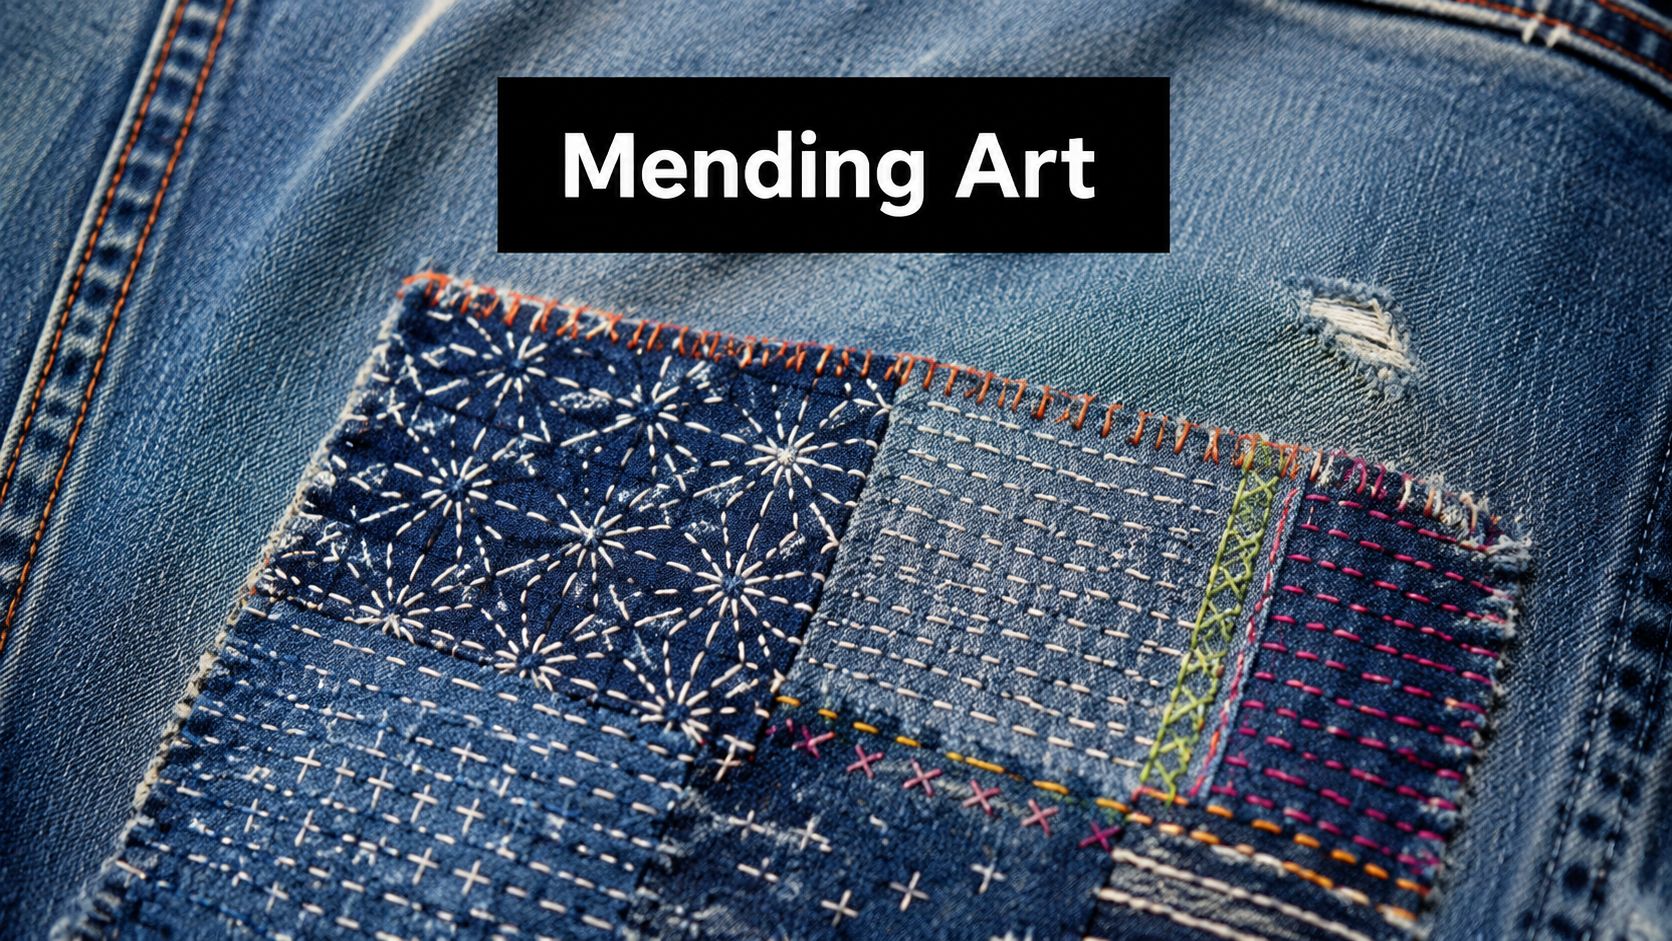
Visible mending works especially well on denim because the cloth can carry rows of stitching without looking fussy. A patch and repeated stitches don't just decorate the jeans. They spread tension across a wider section of fabric, which is exactly what a tired knee or thigh needs.
Why sashiko-style repair suits denim
The recent revival of visible mending has encouraged sewists to treat repair as a structural job rather than a cover-up. In a UK-facing tutorial from The Chalkboard Mag on repairing ripped jeans, a sashiko-style patch is placed on the inside, then marked with vertical lines about 1/8 inch apart and horizontal lines about 1/4 inch apart before stitching. That spacing helps distribute stress beyond the original tear.
Those measurements are useful because they stop visible mending becoming random decoration. The grid gives the stitches a job to do.
Visible mending looks charming, but it shouldn't be flimsy. The prettiest repair is still a repair.
A good first visible mend
A worn knee is a lovely place to start. It sits flat enough to handle, and the repair can be as subtle or playful as you like.
Try this approach:
- Choose a backing fabric and place it inside the jeans.
- Mark a simple grid over the worn area.
- Use strong thread in cream, indigo, red, mustard, or whatever suits the jeans.
- Stitch evenly across the full patch area, not just over the centre of the hole.
- Keep the stitches consistent enough to hold, but don't chase machine-like perfection.
The result can be geometric and tidy, or softer and more organic. Both can work well if the patch is secure and the stitching reaches into stable fabric.
Decorative ideas that still earn their keep
Visible mending doesn't have to mean one style only. A few shop-floor favourites:
- Contrast denim patch with pale thread for a classic workwear look.
- Printed cotton under a ripped knee so glimpses of the fabric show through.
- Rows of hand stitching in a rectangle around a thinning thigh area.
- Small repeated patches on children's jeans where one big patch would feel stiff.
- Reinforced pocket corners with contrasting thread so the repair looks intentional.
A cosmetic fashion rip also changes the decision. If the rip was part of the original style and you want to keep that look, use backing fabric and supportive stitches that preserve the opening rather than closing it entirely.
When visible is better than hidden
If the denim around the hole is thin, a visible mend is often the safer bet because you can spread stitching farther and add strength without pretending the cloth is still pristine. It also makes future repairs simpler. You can add another line of stitching or another patch later without unpicking a fussy concealed finish.
Choosing Your Method and Making It Last
The best repair depends on where the jeans are torn, how worn the surrounding denim is, and how the jeans are used. A discreet inside patch may be ideal for one pair and completely wrong for another.
A useful trade-off noted in Closet Core Patterns' discussion of visible mending and denim patches is that visible reinforcement can distribute strain better and be easier to re-repair later, while invisible mending may fail sooner on thin denim. That's why high-wear areas often benefit from a mend you can see.
Which Jean Repair Method Is Right for You?
| Repair Method | Best For | Appearance | Durability | Difficulty |
|---|---|---|---|---|
| Hand-sewn backstitch on a split seam | Open seams, loose belt loops, pocket corners | Neat and subtle | Good if the fabric itself is sound | Easy |
| Inside patch with stitching | Small tears, knees, thighs, discreet everyday repairs | Low-profile | Good to very good when stitched beyond the weak area | Easy to moderate |
| Patch with interfacing or backing | Larger holes and frayed tears | Can be subtle or visible | Strong for high-stress spots | Moderate |
| Visible mending or sashiko-style stitching | Worn knees, fashion rips, thin areas needing broad reinforcement | Decorative and deliberate | Very good when stitched across a wide area | Moderate |
| Professional repair | Crotch tears near major seams, awkward heavy layers, valuable jeans | Usually tidy and controlled | Depends on damage and method | Best outsourced |
A few care habits that help repairs last
- Wash less often if the jeans aren't dirty. Frequent laundering is hard on repairs.
- Turn them inside out before washing to reduce surface abrasion.
- Skip very harsh drying if you can. Heat and friction are rough on patched areas.
- Check repairs early. If one line of stitching loosens, restitch it before the patch starts pulling away.
If the tear sits right beside a bulky seam, especially in the crotch, it's often worth taking the jeans to a tailor or repair specialist. That's not admitting defeat. It's good judgement.
A solid mend keeps a favourite pair in rotation. A thoughtful mend can also make them better looking than they were before.
If you're ready to mend a pair or start building a proper repair kit, More Sewing is a useful place to find denim-friendly fabrics, haberdashery, threads, needles, patches, and sewing essentials. It's especially handy if you want quality materials for repairs that are meant to last, not just get you through one wash.