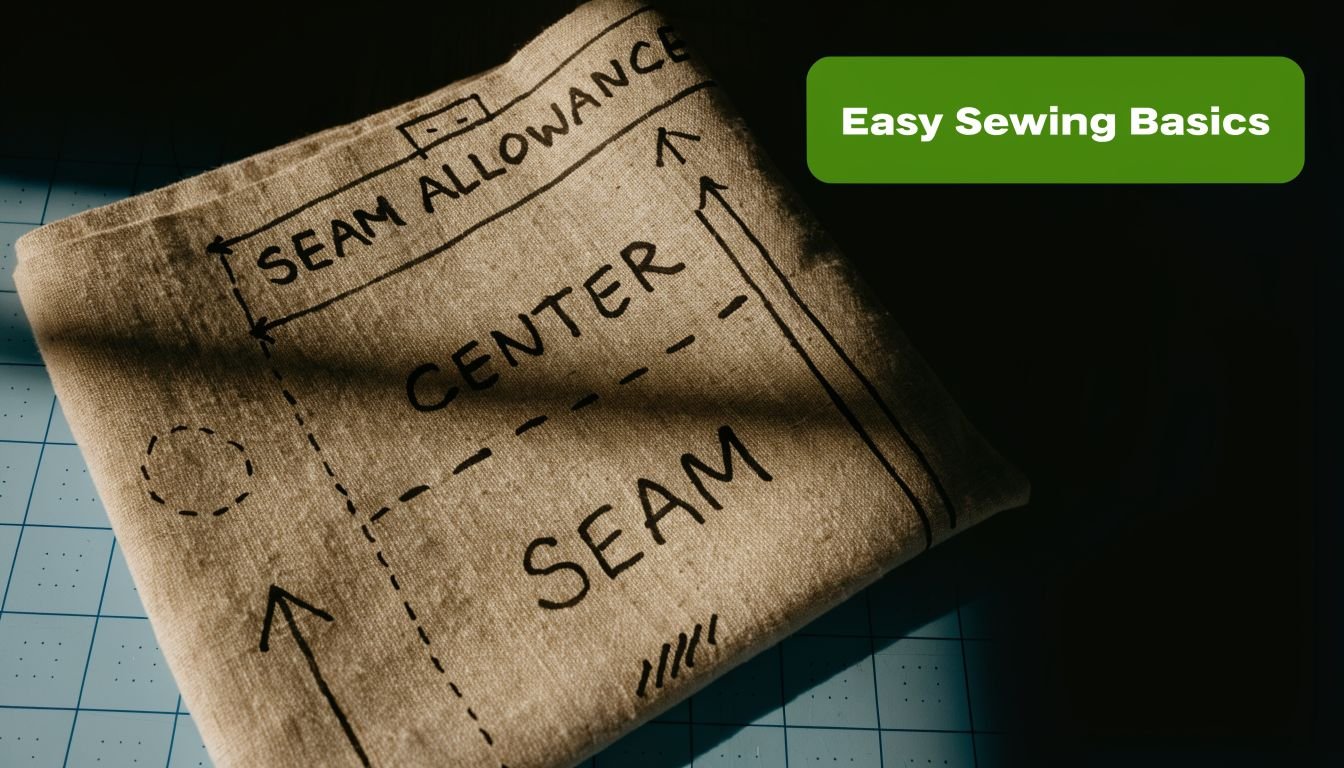
Guides
Easy Dress Sewing Patterns: Start Your Project Today
You’ve probably done it already. You spot a dress you love, then immediately start editing it in your head. If only the neckline were a bit higher. If only the sleeves were looser. If only it came in a print you’d wear.
That’s usually the moment dressmaking starts to make sense.
Sewing your own clothes isn’t only about saving a style you couldn’t quite find in the shops. It’s about getting control over the details that matter to you. Hem length. Fabric feel. Neckline shape. How much room you want through the waist after lunch. A handmade dress can be simple, practical, and very wearable. It doesn’t need to be a dramatic couture project to feel satisfying.
The part that often stops beginners is the pattern itself. Not the sewing machine. Not even the fabric. It’s choosing from pages of “easy”, “simple”, and “great for beginners” labels without knowing what those words really mean. Some patterns are beginner-friendly. Others are only easy if you already understand facings, fitting, slippery fabric, or awkward closures.
A good first pattern should feel like a clear set of stepping stones, not a puzzle. You want a project that teaches useful skills while still giving you a real dress at the end, not something that sits half-finished over the back of a chair because one instruction turned cryptic.
Your Journey to a Hand-Made Wardrobe Starts Here
A handmade wardrobe rarely begins with a perfect capsule plan and a stack of neatly traced patterns. More often, it begins with one dress. One pattern that looks manageable. One weekend when you decide you’re finally going to try.
For many beginners, the first win comes from choosing a dress that doesn’t ask too much all at once. A loose summer shift in cotton poplin. A pull-on jersey dress with no zip to wrestle with. A relaxed A-line that gives you a bit of fitting forgiveness. Those projects teach the habits that matter most, including cutting accurately, matching notches, pressing as you go, and checking fit before the final hem.
Why dresses make such a good starting point
A dress gives you more reward for your effort than many smaller projects. You practise several core skills in one garment, but the finished result feels complete and useful. You’re not making a sampler. You’re making something you can wear.
That said, not every dress pattern deserves the word easy. Some beginner dress patterns still include fiddly bindings, shaped facings that need careful pressing, or close-fitting bodices that demand more fitting knowledge than a new sewist is likely to have. The trick is learning how to spot the patterns that are easy because of their construction, not because the cover art says so.
Practical rule: If a pattern asks you to manage a close fit, a tricky fabric, and a complex closure in the same project, it’s not a kind first dress.
What confidence actually looks like
Confidence in sewing doesn’t mean knowing every technique. It means being able to look at a pattern and think, yes, I understand what this project is asking me to do.
That’s where easy dress sewing patterns become useful. They aren’t just simplified clothes. They’re training grounds for good judgement. Once you know what makes one pattern approachable, you can assess almost any dress pattern with much more clarity.
A beginner who understands pattern shape, seam types, closures, and fabric behaviour usually makes better choices than someone who only shops by the word “easy” on the envelope.
What Makes a Sewing Pattern Genuinely Easy
An easy pattern is a bit like a sensible recipe. It doesn’t use twenty ingredients when six will do, and it doesn’t expect you to caramelise, poach, and laminate pastry all in the same afternoon. In sewing terms, that means fewer moving parts, simpler shaping, and construction steps that are easy to understand and recover from if you make a mistake.
Start with the silhouette
Loose and semi-fitted styles are usually easier than close-fitting ones. A shift dress, trapeze dress, or simple A-line gives you room to sew and room to fit. If your stitching line wobbles slightly or your side seams don’t land absolutely perfectly, the dress will often still look good.
A fitted sheath is less forgiving. The closer a garment sits to the body, the more every seam, dart, and curve matters. That doesn’t make fitted dresses bad. It just makes them a less gentle place to begin.
Look for simple shaping
Shaping is what turns flat fabric into something that sits around a body. The easiest patterns use only a little of it. You might see bust darts, a gentle waist shape, or gathered sections that create room without demanding precision.
More advanced patterns often add several shaping features at once:
- Multiple darts that need accurate placement
- Princess seams that must be sewn smoothly on curves
- Set-in sleeves that require easing one shape into another
- Fitted waist seams where bodice and skirt must align neatly
None of these techniques are impossible. They just raise the stakes.
A pattern is beginner-friendly when the construction helps you hide small inaccuracies, not when it exposes every one of them.
Count the decisions
Some patterns are hard because they require constant judgement. Which interfacing suits the facing. How to finish a curved edge cleanly. Whether the neckline needs staystitching before handling. An easy dress pattern reduces those decisions.
Good signs include:
- Fewer pattern pieces so there’s less to cut, label, and confuse
- Straight seams instead of lots of intersecting curves
- Pull-on or elasticated designs rather than installed zips or button plackets
- Clear edge finishes such as turned hems or simple facings
- Stable fabrics listed on the envelope
What often sounds easy but isn’t
A wrap dress can look simple on the hanger, but many wrap styles involve long ties, multiple finished edges, neckline stabilising, and careful fit around the bust. Slips can also be deceptive. Narrow straps, drapey fabric, and fine hems don’t leave much room for rough handling.
If you’re unsure, ask one question. Does this pattern rely on precision for the final result to look polished, or is the design forgiving by nature? Forgiving designs are where most successful first dresses begin.
A Guide to Common Easy Dress Styles
Style matters, but so does construction. Two dresses can look equally simple in a line drawing and feel completely different once you’re at the machine. Some are straightforward from the first cut. Others seem easy until you’re turning skinny straps or trying to stop a neckline from stretching out.
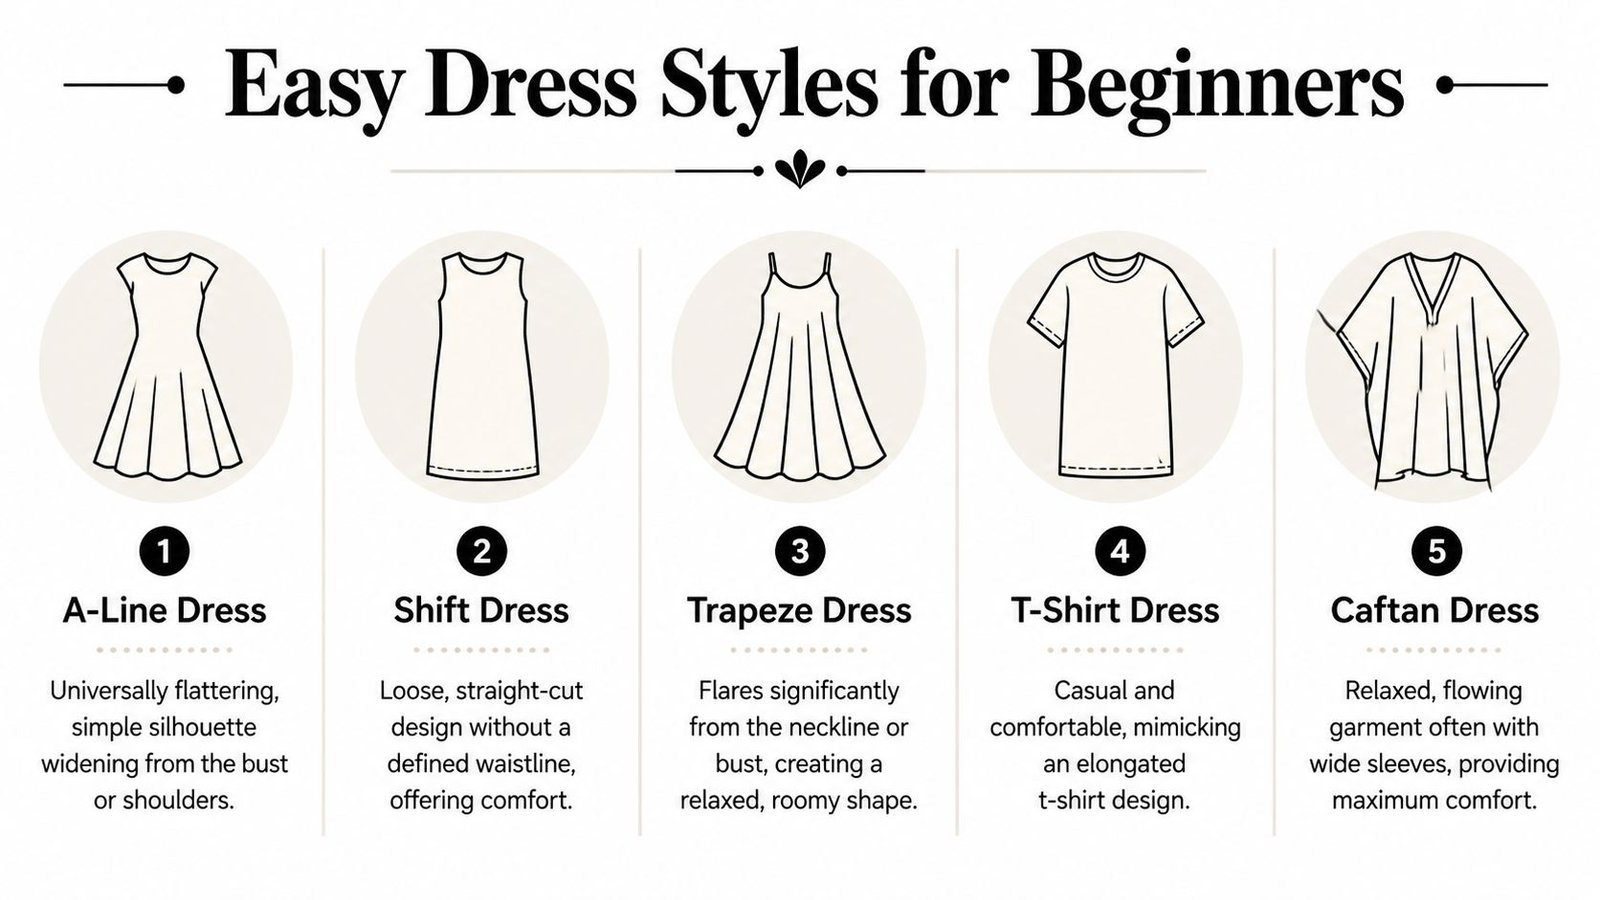
Shift dress
A shift dress is one of the best places to start. It hangs fairly straight from the shoulders and doesn’t depend on a tightly fitted waist. That makes fitting less stressful and sewing more predictable.
Common steps are simple shoulder seams, side seams, neckline finishing, and hemming. The main thing to watch is neckline neatness. A shift looks clean and minimal, so a wonky facing or stretched edge is more noticeable than it would be on a gathered style.
A-line dress
An A-line has a bit more shape than a shift, but it’s still very manageable. It skims the body and gently widens towards the hem, which gives a flattering look without requiring exact waist fitting.
This style works well in stable woven fabrics. If you want a dress that feels handmade but still polished enough for everyday wear, A-line patterns often strike that balance nicely.
Simple wrap dress
Wrap dresses need more caution than many beginners expect. A true wrap often has ties to construct, several edges to finish cleanly, and a neckline that can shift while sewing. If the pattern includes a lot of drape, you may also be managing fabric that wants to move around on the table.
That doesn’t mean avoid them forever. It means choose a simplified version if you love the look. Faux-wrap or wrap-effect styles often give the same feel with much less fuss.
Worth knowing: If a dress style depends on hanging, draping, and tying correctly, the sewing may be more advanced than the silhouette suggests.
Slip dress
A slip dress sounds minimal because there isn’t much of it, but that’s exactly why it can be fiddly. Fine straps, narrow seam allowances, and soft fabrics all ask for steady handling. Bias-cut versions are especially slippery and can grow while you sew.
A beginner-friendly slip works best if it’s cut without complexity and made in a fabric that behaves. If the pattern also includes facings, rouleau straps, or delicate finishing, it’s better kept for a second or third dress.
T-shirt dress
This is often the easiest route if you’re comfortable with jersey or willing to learn on a forgiving knit. A T-shirt dress usually has familiar shapes, relaxed fit, and practical everyday appeal.
The challenge is fabric control rather than pattern complexity. Knits can stretch while cutting and stitching, but the payoff is comfort and a dress that doesn’t need a lot of closure work. If you like covered-up everyday styles, looking at how different lengths and silhouettes work in modest maxi dresses can help you decide whether you want your first make to be short, midi, or full length.
Beginner Dress Style Comparison
| Style | Silhouette | Key Challenge | Best For |
|---|---|---|---|
| Shift | Straight, loose | Clean neckline finish | First woven dress |
| A-line | Gently flared | Keeping side seams even | Beginners who want shape without close fit |
| Simple wrap | Adjustable, feminine | Ties, edge finishing, neckline control | Confident beginners |
| Slip | Slim, minimal | Straps, drapey fabric, neat hems | Second project rather than first |
| T-shirt dress | Relaxed knit shape | Handling stretch fabric | Casual everyday sewing |
Which one gives the best first result
If your priority is a calm sewing experience, choose a shift or easy A-line in a stable woven fabric. If your priority is comfort and speed, a simple T-shirt dress can be a strong choice. If your priority is a more styled look, keep the construction as plain as possible and let the fabric do the work.
The easiest dress isn’t always the simplest-looking one. It’s the one with the fewest opportunities to go wrong.
How to Decode a Pattern Envelope
A pattern envelope tells you far more than the front illustration. If you learn to read the back properly, you can spot problems before you buy fabric, cut anything out, or lose a weekend to a project that was never going to feel easy.
First check the closure
The fastest clue is how the dress gets on and off. According to Seamwork’s guide to sewing pattern anatomy, 70% of top-rated easy patterns use elasticated waists or pull-on designs, and that correlates with a 50% reduction in sewing time, from 6-8 hours to 3-4 hours, because it avoids 45-60 minutes of precise zip topstitching. For a beginner, that matters.
A zip isn’t evil. It’s just one more place where accuracy counts. If your first goal is to finish a dress you’re proud of, pull-on styles stack the odds in your favour.
Then count the pieces
Fewer pieces usually means fewer chances to mix up markings, sew the wrong edges together, or forget a step. A basic dress with front, back, sleeve, facing, or simple neckband is usually more manageable than one with separate bodice panels, waistband pieces, pockets, collar sections, and multiple sleeve options all on the same sheet.
A big pattern piece count doesn’t always mean difficulty, but it usually means complexity.
Look closely at these envelope clues:
- Main garment pieces that form the dress itself
- Facings or bindings for neckline and armholes
- Sleeves if included, especially if they’re gathered or set in
- Optional extras such as pockets, ruffles, belts, or cuffs
Read the fabric suggestions with care
If the envelope recommends crisp cottons, stable linens, ponte, or easy jerseys, that’s often a friendly sign. If it leans heavily on slippery satin, rayon challis, or anything cut on the bias, the pattern may require more handling skill than the line drawing suggests.
Buy the pattern for the version you can sew now, not the romantic version you hope will work in a difficult fabric.
Use finished garment measurements
This is the part many new sewists skip, and it causes a lot of disappointment. Body measurements tell you which size the pattern company places you in. Finished garment measurements tell you how much room the actual dress will have.
That difference is significant. A loose style with generous ease may feel too baggy if you choose by body size alone. A more fitted style may need extra checking through the bust, waist, or hip before you cut.
Don’t ignore the notions list
The notions list tells you how much hidden effort the project contains. If it asks for a zip, hooks, multiple widths of elastic, special interfacing, or lots of buttons, that’s not automatically advanced, but it does mean more preparation and more technique.
The easiest first dress often has a short notions list. Thread, basic interfacing, elastic if needed, and perhaps a button or two. Clean, manageable, and easy to shop for.
Choosing the Perfect Fabric and Notions
Fabric can turn a simple pattern into a pleasure or a battle. If you choose a stable cloth for your first dress, you’ll spend more time sewing and less time trying to stop the fabric from sliding off the table, twisting under the presser foot, or wrinkling into odd shapes every time you press it.
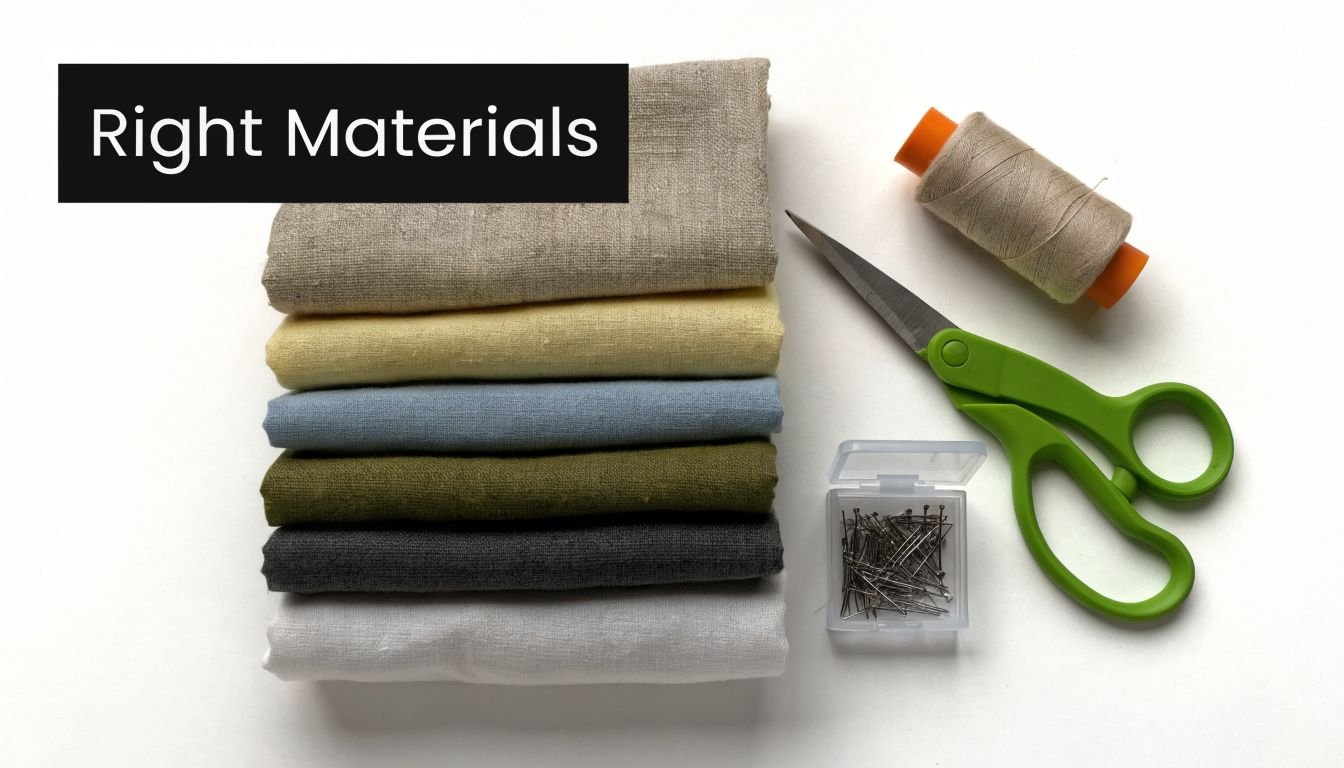
Start with fabrics that behave
For woven dresses, cotton poplin, cotton lawn, chambray, and stable linen blends are all sensible choices. They press well, hold a crease, and don’t usually slither away while you’re trying to pin or stitch. When you unpick, they’re also easier to rescue than delicate or textured fabrics.
If you’re tempted by drape, try it in moderation. Viscose challis and Tencel blends can make beautiful dresses, but they need calmer handling. Cut on a flat surface, use plenty of pins or pattern weights, and let the fabric rest before hemming if it seems to drop unevenly.
Match the fabric to the style
Some pairings do the hard work for you. A shift dress in poplin feels crisp and easy to sew. An A-line in chambray has enough body to show the shape clearly. A T-shirt dress in a soft jersey gains comfort from the fabric itself.
Some pairings create avoidable headaches:
- Slip dress plus slippery satin often means constant shifting
- Wrap dress plus very drapey viscose can pull and sag at the neckline
- Close-fitting woven dress plus stiff fabric may feel restrictive even if it looks nice on the hanger
The notions worth buying properly
Cheap notions can spoil a decent project. Thread that sheds, elastic that twists, or interfacing that bubbles under heat creates frustration that isn’t your fault.
A reliable beginner kit usually includes:
- Good polyester thread such as Gutermann Sew-All for general dressmaking
- Appropriate interfacing chosen by weight, not guesswork. Light for fine fabrics, firmer for facings that need support
- Decent elastic that springs back well and doesn’t feel papery
- Sharp machine needles matched to fabric type
- Pins or clips that hold securely without distorting the cloth
If a fabric won’t lie flat on your cutting table and won’t press cleanly under the iron, it probably isn’t the kindest choice for a first dress.
Pre-wash and press before cutting
This part feels boring until you skip it once. Pre-washing removes surprises. Pressing flattens fold lines and helps your pattern pieces sit properly before you cut. That one small bit of preparation can make the whole project feel more controlled.
For beginners, success often comes from making the sewing as predictable as possible. Fabric choice is a big part of that.
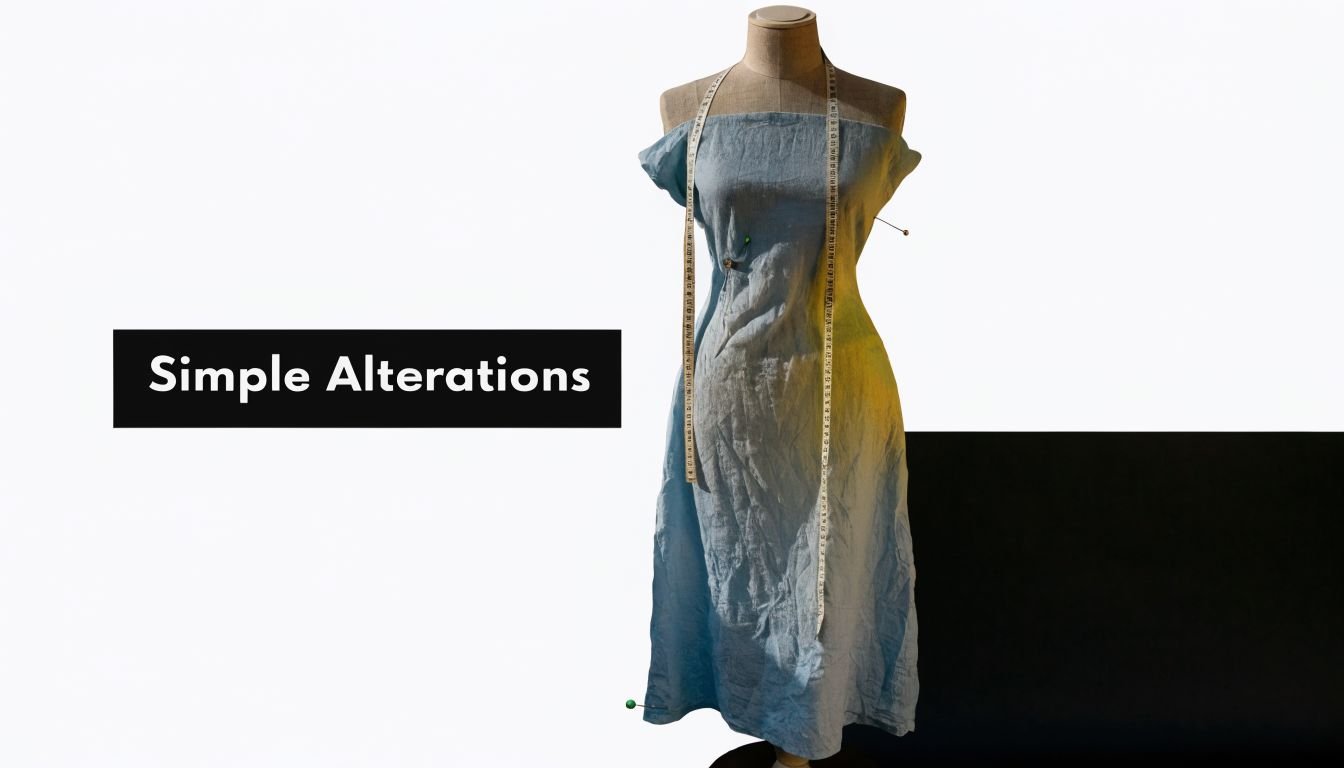
Getting the Right Fit with Simple Alterations
Fit sounds technical, but the first steps are straightforward. You don’t need to master full bust adjustments or redraft a bodice from scratch to make an easy dress sewing pattern work well. Most beginners get a much better result by choosing size carefully, checking finished measurements, and making one or two simple alterations before cutting fabric.
Start with three measurements
Take your bust, waist, and hip measurements while standing naturally. Don’t pull the tape tight. Don’t add extra room either. You’re measuring your body, not the dress.
If your measurements fall across more than one size, that’s normal. Measurements often don't match a chart perfectly. For an easy dress, choose the size that suits the part of the garment that matters most. On a pull-on dress, hip room may matter more. On a dress with a shaped bodice, bust may lead the decision.
According to Tammy Handmade’s guide to easy dress sewing patterns, easy dress patterns are often drafted in inclusive sizing from UK 6-24, aligned with British Standard BS EN 13402, and include 2-3 inches of built-in ease at the bust and hips. That extra room is helpful for beginners because it supports a good fit without advanced adjustments.
Use the lengthen and shorten lines
The easiest alteration is usually length. If the waist sits too high, the hem hits the wrong spot, or the bodice feels too long in the torso, you can often fix it before sewing a single seam.
Most patterns include marked lines for this purpose. You cut across the line, spread or overlap the pattern piece evenly, then tape it back together. It’s much easier than trying to fix a finished dress after the fact.
Simple first alterations include:
- Shortening the skirt if you want a more wearable everyday length
- Lengthening the bodice if the waist seam sits too high
- Adjusting sleeve length for comfort and proportion
- Adding a little width at the hip on looser shapes if you want more movement
Make a quick test where it matters
You don’t always need a full toile for an easy dress, but you do need to check risky areas. On a woven dress, that might be the bodice or neckline. On a sleeve pattern, it might be the armhole and upper arm.
A quick test in spare fabric can save a lot of disappointment. Even pinning tissue pieces together and holding them against the body can tell you whether proportions look sensible.
This short video gives a useful visual guide if you’re learning how to approach fit more confidently:
Check fit before you chase finish. A beautifully sewn dress that pinches at the bust or twists at the waist won’t get worn.
A note on plus-size sewing
Plus-size beginners are often asked to compromise too early. Too many patterns assume you’ll grade between sizes, reshape the bust, or redraft proportions without much guidance. A better approach is to start with styles that already allow room, use simple seams, and don’t rely on very fitted shaping.
Loose A-line dresses, trapeze dresses, and elasticated styles can be especially good starting points because they leave space to personalise fit without forcing complex alterations from day one.
Your First Project Checklist and Next Steps
A first dress goes better when you make a few calm decisions before you thread the machine. Most sewing frustration comes from stacking too many challenges together. A simple pattern, a cooperative fabric, and a short notions list will teach you far more than a complicated project that never gets finished.
A practical checklist before you cut
- Choose a forgiving style such as a shift, A-line, or simple T-shirt dress.
- Check the closure and favour pull-on or elasticated designs for your first project.
- Read the whole envelope so you know the fabric type, notions, and piece count.
- Compare body measurements and finished measurements before selecting size.
- Pick stable fabric that presses well and doesn’t slide around.
- Buy matching essentials including quality thread, the right needle, and any interfacing or elastic listed.
- Pre-wash and press the fabric so nothing shrinks or warps after sewing.
- Mark notches and key points clearly because accurate marking saves confusion later.
- Test stitch on a scrap before sewing the actual garment.
- Leave the hem until last and try the dress on before finalising length.
What helps most on the first dress
Good scissors help. So does a reliable seam ripper, a clear ruler, and an iron you use during construction rather than only at the end. Pressing each seam as you go makes homemade clothes look more polished than many beginners expect.
If your first dress isn’t perfect, that doesn’t mean you chose the wrong hobby. It means you’ve started learning the language of fit, fabric, and construction. Every finished garment teaches something useful. Even the ones with slightly uneven topstitching.
The best next step is a project you’re excited enough to finish and simple enough to enjoy.
If you’re ready to turn all of this into a real project, explore More Sewing for dressmaking fabrics, haberdashery, and beginner-friendly kits that make choosing your first make much less overwhelming.