Dressmaking, Guides
How to Attach Bias Binding: A Professional Sewing Guide
You've sewn the garment. The fit is right, the fabric feels lovely, and then the final edge lets the whole thing down. A neckline ripples. An armhole stands away from the body. A hem looks thick and homemade when you wanted crisp and deliberate.
That's usually the moment sewists decide they either love or hate bias binding.
The good news is that bias binding isn't difficult once you understand why each step matters. It has a long practical history in UK sewing. Its use goes back to the early 20th century, with a significant milestone in 1927, and The Sewing Directory notes that UK production surged by 45% during the 1940s rationing period because bias-cut strips could stretch 30 to 50% more than straight-grain equivalents, making them useful for curved edges while helping home sewists save fabric. The same source cites a 1943 UK Board of Trade report in which 68% of surveyed households used bias binding techniques, reducing fabric waste by 15% per project on average.
That history still matters because it explains why the method works. Bias binding bends where flat facings fight. It encloses raw edges without fuss. And once you get comfortable with it, it becomes one of the cleanest ways to finish everything from a cotton poplin neckline to a denim apron edge.
The Secret to a Professional Finish Bias Binding
Bias binding looks polished because it solves two problems at once. It finishes the raw edge, and it shapes itself to the garment. A straight strip of woven fabric resists curves. A strip cut on the bias relaxes around them.
That's why this finish shows up again and again in dressmaking. It's practical, but it also gives you control. A facing can feel bulky in a light blouse. An overlocked edge can look too casual inside a carefully made dress. Bias binding sits neatly between those two.
Why the bias cut changes everything
Fabric cut on the bias has give. Not stretch in the knitted sense, but movement. That movement is what lets you guide binding around a scoop neck, armhole, or curved hem without getting sharp little tucks.
If you skip the “why”, the steps feel fussy. If you understand the “why”, the steps become logical:
Stitch on the first fold because that fold gives you a clean guide and keeps the width consistent.
Press after the first seam because heat sets the shape before you wrap the binding around.
Wrap to cover the stitch line fully because any exposed seam line weakens the finish and spoils the clean edge.
Practical rule: Bias binding should shape the edge, not wrestle it into place. If you're forcing it, something is off with your handling, pressing, or fabric choice.
Where it works best
I reach for bias binding when I want a soft edge with less bulk than a facing. It's especially good for:
Necklines on lightweight wovens like viscose, lawn, or Tencel blends
Armholes on sleeveless tops and dresses
Curved hems and baby hems
Aprons, quilted pieces, and bag tops when I want a tidy enclosed edge
Inside seam finishes on unlined garments where the inside needs to look as good as the outside
It isn't always the best answer. On very thick fabrics, a full wrap-around binding can become clumsy. On very drapey fabrics, poor handling can create ripples quickly. But when the strip, the fabric, and the method match, the result looks calm and deliberate.
That's the essential secret. Professional sewing often looks better not because it's complicated, but because each choice suits the fabric.
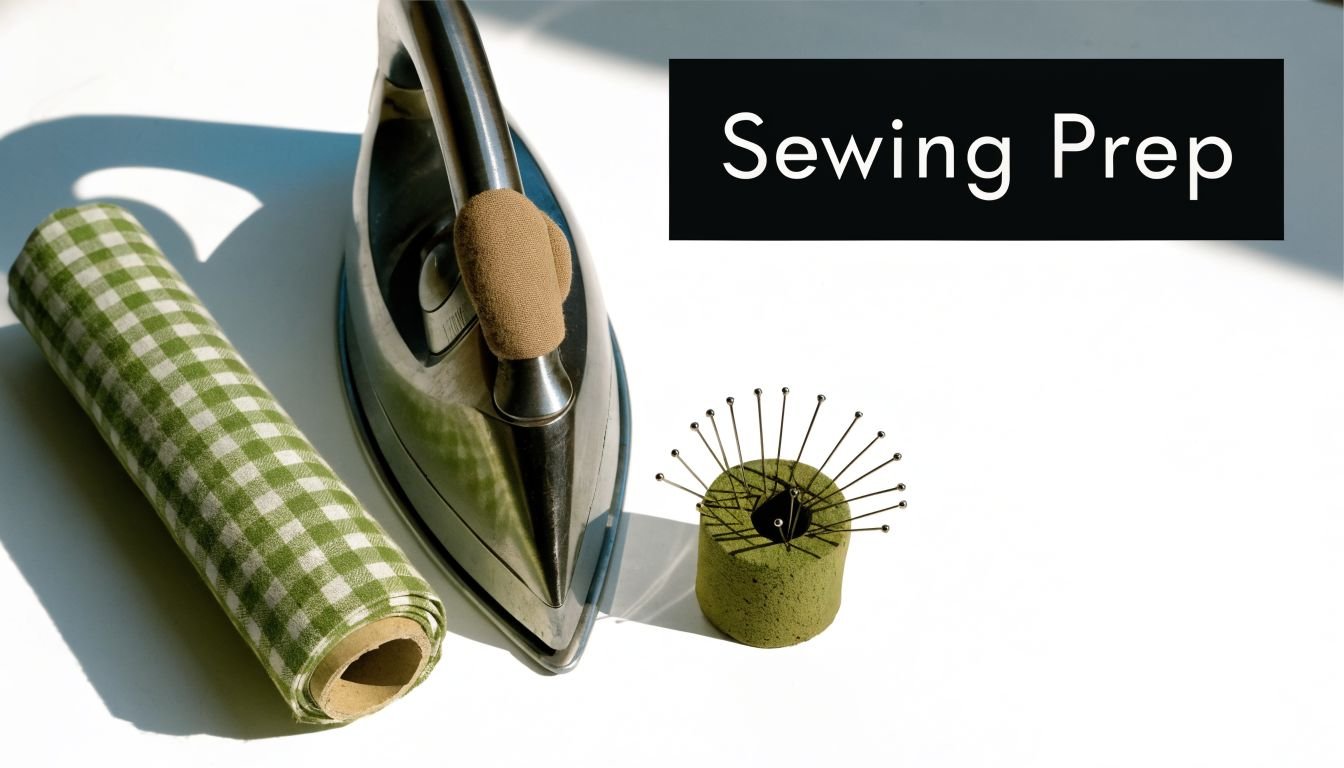
Gathering Your Supplies and Prepping the Tape
A clean binding job starts before the machine is switched on. Most problems blamed on sewing are preparation problems. The tape is too stiff, too heavy, too wide, or entirely wrong for the fabric.
The tools worth having on the table
You don't need specialist kit, but a few basics make a real difference:
A well-heated iron because pressing sets the fold and prevents a spongy, rounded edge
Fine pins or clips for holding the tape without distorting delicate fabric
Sharp fabric scissors or a rotary cutter if you're making your own binding
A point turner or stiletto for corners and narrow edges
Matching thread when you want the binding to disappear, or contrast thread if the stitching is part of the look
A standard machine foot is fine. An edge-stitch foot helps if you want very neat topstitching close to the fold.
Single fold and double fold
The choice between single fold and double fold changes the finish more than most beginners expect.
| Feature | Single Fold Binding | Double Fold Binding |
|---|---|---|
| Best use | Necklines, armholes, light garments | Hard-wearing edges, craft projects, visible finishes |
| Bulk level | Lower | Higher |
| Look from the right side | Subtle and flatter | More defined edge |
| Ease for beginners | Slightly fussier to wrap neatly | Often easier to apply straight from the packet |
| Good fabric match | Viscose, lawn, voile, light cotton | Denim, cotton drill, quilting cotton, towelling |
Single fold is the better choice when you want the edge to sit flat. Double fold earns its keep when durability matters or when the binding is meant to show.
If the fabric is soft and fluid, choose a lighter binding than you think you need. Heavy tape on drapey cloth almost always looks clumsy.
Shop-bought or homemade
Shop-bought binding is convenient and consistent. It's useful when you want to get sewing quickly, especially on practical projects. Homemade binding gives you better colour matching and often a nicer hand, because you control the fabric.
If you're making your own, cut strips on the true bias and join them with diagonal seams so the joins don't stack up in one bulky line. Press those seams open if the fabric allows. Then press the strip into the fold style you need.
For fabric choice, match the binding to the project's behaviour:
Stable cotton poplin likes crisp cotton binding
Jersey usually behaves better with a knit band than woven bias, though a very soft woven binding can work if handled gently
Viscose challis or Tencel needs light, supple binding
Denim or cotton drill can take a firmer double fold binding
Deadstock fabrics vary wildly, so test a short sample before committing
Prepping the tape may feel slow. It isn't wasted time. It's the part that prevents the rest of the job from turning into unpicking.
Attaching Bias Binding to Straight Edges
Straight edges are where to learn the rhythm. If you can bind the top edge of a tote bag neatly, you can apply the same sequence almost anywhere.
The basic wrap-around method
Take your binding and unfold one side. Place that unfolded edge against the wrong side of the fabric, with right sides together on the seam line you're about to sew. Pin or clip lightly.
Sew along the fold line of the binding. On many bindings, that's the first crease in from the raw edge. Keep the seam steady rather than fast. The point is consistency, not speed.
Now press the binding away from the fabric. That first press gives you a sharp turning line. Then wrap the binding over the raw edge to the right side, or to the inside if you want the binding hidden, and make sure the folded edge covers your first line of stitching.
Two ways to finish the second side
You can secure that wrapped edge in two main ways:
Topstitch close to the fold
This is the easiest and most reliable method. It suits utility sewing, bags, aprons, children's clothes, and any project where a visible stitched line looks right.Stitch in the ditch
Sew from the first side, directly in the original seam line, catching the folded edge underneath. This gives a more discreet finish on the visible side, but it needs careful pinning and checking from the back.
What helps the edge look crisp
Small habits make a straight edge look much better:
Don't pull the binding as you sew, even on a straight edge
Press before the final stitch rather than relying on fingers alone
Check the underside often if you're stitching in the ditch
Trim any fraying threads early because they love to poke out from light-coloured binding
A sturdy denim tote is a good practice piece because the fabric doesn't wriggle much. Once your hands learn the sequence of stitch, press, wrap, and secure, how to attach bias binding starts to feel much less mysterious.
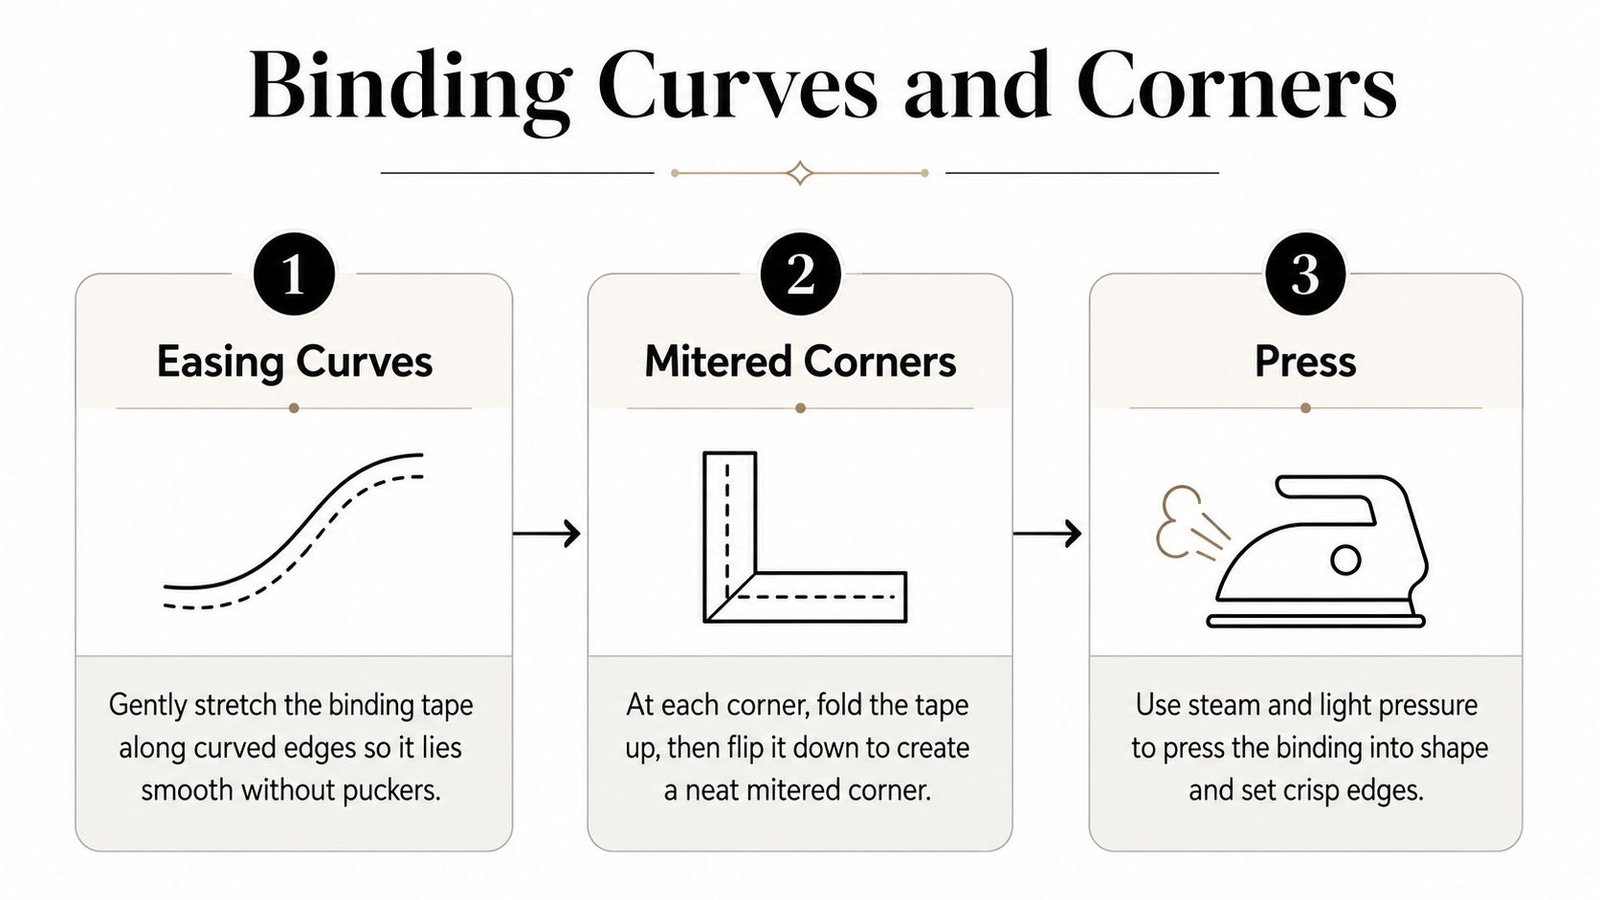
Mastering Curves and Corners with Bias Binding
Curves and corners are where bias binding proves why it exists. On these shapes, the cut of the strip matters more than the stitching itself.
A modern reason it remains popular is simple. A 2023 UK Crafts Council survey of 5,000 home dressmakers found that 58% preferred bias binding for armholes and necklines because of its 40% superior stretch on curves versus straight binding, and the same verified data notes that machine-stitching bias binding can reduce finishing time by 35% compared with creating and attaching a facing, as cited in Nina Lee's bias binding guide.
Sewing inward and outward curves
An inward curve, such as a scoop neckline, behaves differently from an outward curve, such as a rounded collar edge.
For an inward curve, let the binding do a little more work. As you pin and stitch, gently encourage the binding to shape around the curve. Don't stretch the garment edge itself. If you do, you'll get that annoying flared neckline that never quite presses flat again.
For an outward curve, ease the fabric and keep the binding calm. You're asking the tape to travel around a longer outer edge, so it needs space to spread smoothly. Slowing down helps more than extra pins.
On curves, the iron is doing half the sewing. Steam the shape in after the first seam and the second pass becomes much easier.
Here's a useful fabric-specific guide:
Viscose challis needs a light touch. Too much handling can ripple the edge before you even stitch.
Cotton poplin is forgiving and ideal for practising curved binding.
Linen presses beautifully but can show every wobble in your stitching.
Jersey is tricky with woven bias because the garment stretches more readily than the tape. Staystitch first if the pattern allows, and test on scraps.
Later in the process, this video is handy for seeing the movement of the folds in real time.
Getting corners sharp instead of bulky
External corners need a miter. Sew to the corner point, stop, and fold the binding up at an angle so it forms a diagonal line. Then fold it back down in line with the next edge and continue sewing. When you wrap the binding around, that folded excess becomes the neat diagonal miter.
Internal corners need the opposite mindset. You must let the binding spread open at the point, or it will bunch. Clip the garment seam allowance carefully into the corner before wrapping the binding. Then fold each side into place so the corner can sit flat.
A few corner habits save frustration:
Mark the turning point on the fabric if the corner must be exact
Reduce bulk early by trimming seam allowances where needed
Finger-press the miter before machine stitching
Use a point turner gently rather than jabbing at the fabric
Corners reward patience. Rush them, and they look handmade in the wrong way. Slow down, and they look professional.
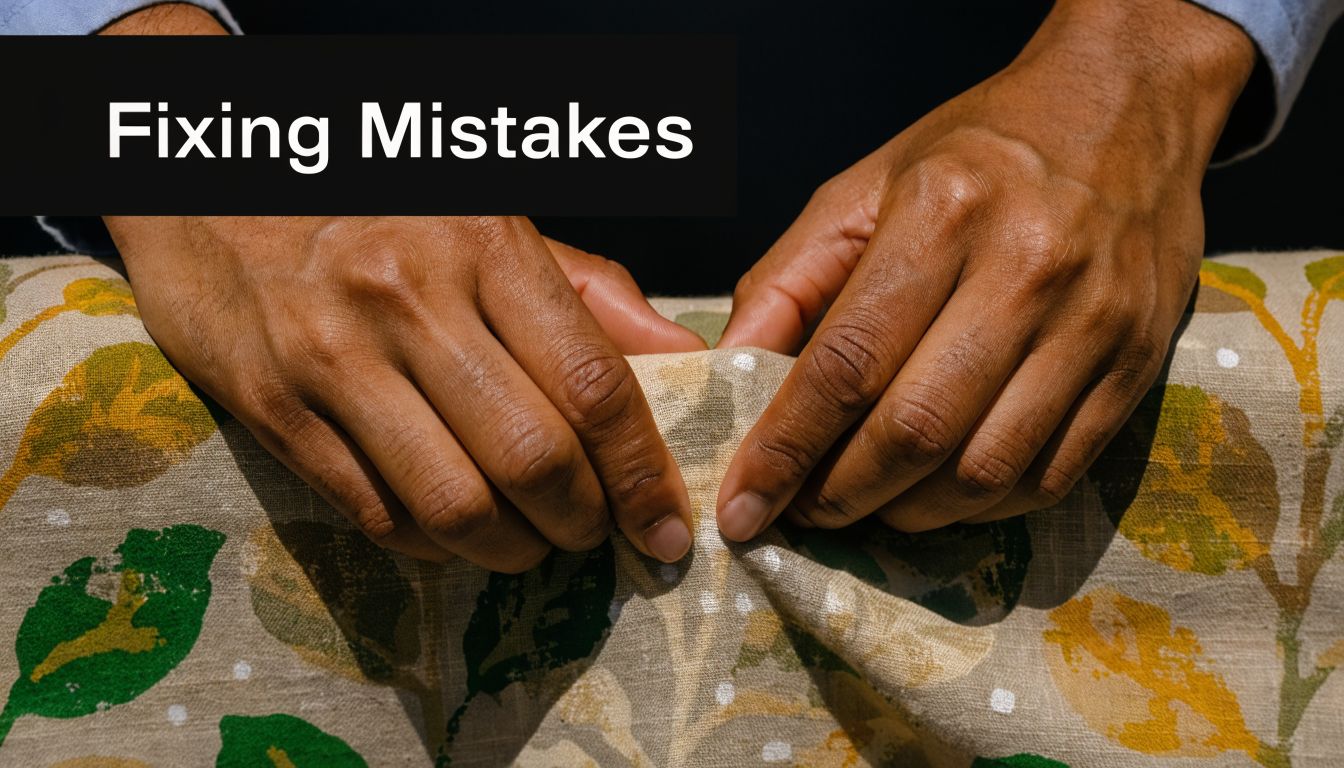
Troubleshooting Common Bias Binding Problems
Most bias binding problems come from three things: stretching the edge, building too much bulk, or forcing the final join. Straight stitching helps, but handling makes the bigger difference.
You usually see it at the end of the job. The binding looked fine around most of the edge, then the last few inches turned wavy, thick, or slightly twisted.
In classes, this often comes down to matching the binding method to the fabric. A stable cotton lawn or poplin will usually forgive a standard double-fold binding. Jersey, viscose, and other softer fabrics need a lighter hand and often a lighter binding too. If the binding is firmer than the garment, it can drag the edge out of shape. If it is too soft for a heavier fabric, it can collapse and look messy.
If the binding ripples or puckers
First, work out which layer moved.
If the garment edge stretched, the binding will sit on a shape that has already changed. This is common on necklines, armholes, and any curve cut partly on the bias. On woven fabrics, staystitching before you apply the binding helps hold the original shape. On jersey, a line of stabilising stitches or a strip of lightweight fusible can make the edge far easier to control.
If the binding stretched, it was usually pulled as it went under the foot. Bias has give. That flexibility is useful on curves, but it also means it lengthens easily if you tug it. Guide it into place and let the machine feed it through.
Check these points if you see puckers:
Presser foot pressure is too high for a soft or delicate fabric
The edge was not pressed flat after the first seam
The binding is too heavy for the fabric underneath
Pins or clips are too far apart on tight curves
The curve was sewn in one pass without shaping the tape first
A quick test helps. Lay the bound edge flat on the ironing board without stretching it. If the garment edge looks fluted, the fabric stretched. If the binding looks narrower and tighter than it should, the tape stretched.
If the edge feels thick and clumsy
Bulk nearly always has a physical cause. Too many layers, a binding that is too wide, or a fabric that does not want to fold neatly at that thickness.
Denim, needlecord, towelling, and quilted fabrics often need trimming before the binding wraps around. On lighter cottons, you can often leave the seam allowance alone. On heavier cloth, trimming and grading the seam allowance gives the binding less to climb over, so the edge rolls more cleanly. This is one of those small steps that changes the finish from homemade to tidy.
If the project still feels stiff, change the method rather than fighting it. A narrower self-made bias strip often behaves better than a standard packet binding on bulky fabric. For very thick edges, a Hong Kong finish can be the cleaner choice because it avoids wrapping quite so much thickness to the underside.
Workshop fix: If a bound edge refuses to sit flat, open a few inches and reduce the bulk first. The machine usually is not the real problem.
A cleaner way to join the ends
The final join causes trouble because all the little decisions show up there at once. If the tails are cut too short, the binding pulls. If they overlap too much, you get a lump. If the fabric is bulky, the join can jam under the foot.
A diagonal join usually gives the flattest result. Leave the beginning and ending tails unsewn for the last stretch. Overlap them to find the right finished length, then open both tails. Place them right sides together at right angles, as you would when joining two bias strips. Stitch diagonally, trim the excess, press the seam open if the fabric allows, then sew the remaining gap.
Benefits of a Diagonal Join
Bulk is spread across the seam instead of stacked in one spot
Stripes, prints, and weave direction look less abrupt
The finished loop bends more easily around necklines and curved hems
If your machine struggles at the join, check the basics in this order: needle condition, thread path, thickness under the foot, and whether the seam allowance at the join has been trimmed enough. I see this a lot with cotton binding on jersey tops. The machine is trying to punch through a firm woven strip plus a stretchy knit edge, and the answer is usually less bulk and better support, not a dramatic tension change.
Creative Applications and Final Touches
Once you're comfortable with the mechanics, bias binding stops being just a finish and becomes a design choice. That's when it gets fun.
A plain navy linen top changes character with a mustard binding peeking inside the neckline. A denim apron looks more considered with a floral cotton edge. A child's dress in simple poplin can carry a small contrast binding at the armholes that ties the whole piece together.
When to let the binding show
Visible binding works best when it looks intentional. Choose it when you want definition at the edge, not when you're trying to hide a wobbly seam.
Some combinations that work well:
Dark denim with Liberty print binding for aprons, pinafores, and bag linings
Plain cotton poplin with contrast neckline binding for simple summer tops
Quilted or padded pieces with sturdy double fold binding where the edge needs protection
Ex-designer deadstock with self-made binding when matching colour and texture matters
Hand finishing for a quieter result
Machine finishing is practical, but hand sewing the final fold can be lovely on special garments. A slip stitch or ladder stitch secures the inside edge without obvious stitching on the outside. It takes longer, but the result is soft and discreet.
This is especially nice on:
Sleeveless dresses
Special occasion blouses
Heirloom sewing
Any garment where the inside finish matters to you as much as the outside
The important part is choosing the finish that suits the garment. Bias binding isn't automatically better because it's more technical. It's better when it gives the right mix of comfort, durability, and appearance.
Once you know how to attach bias binding with confidence, edges stop feeling like the difficult final chore. They become one of the places where your sewing starts to look most considered.
If you're ready to practise with good fabrics, reliable haberdashery, or a beginner-friendly kit, More Sewing is a solid place to start. Their range includes dressmaking fabrics like cottons, viscose and jersey, plus the practical notions that make binding easier to sew well. If you're local to Worthing, they also offer sewing machine servicing and repairs, which can be a real help when tension issues or skipped stitches start getting in the way of a clean finish.