Dressmaking, Guides
Tape Measure for Sewing: A UK Guide to Perfect Fits
You sew the last button on, press the seams, try the garment on, and something's off. The shoulders sit too wide. The waist feels tight. The hips pull, even though you were careful and followed the pattern. I've seen this happen countless times, and very often the problem starts long before the first cut. It starts with measuring.
A good tape measure for sewing looks humble, but it does one very important job. It translates a flat paper pattern into clothes that need to fit a moving, breathing, very human body. If your measurements are rushed, inconsistent, or taken with a worn-out tape, everything that follows gets harder.
For UK sewists, there's another layer of confusion. One pattern uses centimetres, another uses inches, and your seam allowance might still be in fractions even when the envelope is metric. That mix catches beginners out all the time, and it still trips up experienced sewists on tired evenings.
The Unsung Hero of Your Sewing Box
The tape measure has been part of British sewing life for a very long time. Its rise in the UK dates back to the 1860s, alongside the sewing machine boom, and an early example from The Mount in Reading, Berkshire, now held by the Museum of English Rural Life, shows how important it already was for precise haberdashery work in Victorian Britain, as noted by the Museum of English Rural Life tape measure record.
That bit of history matters because the same thing is still true now. Sewing rewards accuracy at the start. If your bust, waist or hip measurement is off, even by a little, the finished garment can feel strangely wrong in a way that's hard to fix later. People often blame the pattern, the fabric, or their machine. Quite often, it's the measuring.
I always tell beginners that a tape measure isn't just another notion tossed in the box with pins and chalk. It's one of the first tools to get right. If you're still building your kit, this guide for new sewers to start today is a sensible place to check what belongs in a practical beginner setup.
A lovely fabric can't rescue a bad measurement. Good sewing starts before the scissors come out.
Think of your tape measure as your translator. It helps you compare your body to a pattern size chart, check the finished garment size, mark seam allowances, measure hems, and even keep your fabric cutting straight. When it's accurate and easy to read, sewing feels calmer. When it isn't, small frustrations pile up very quickly.
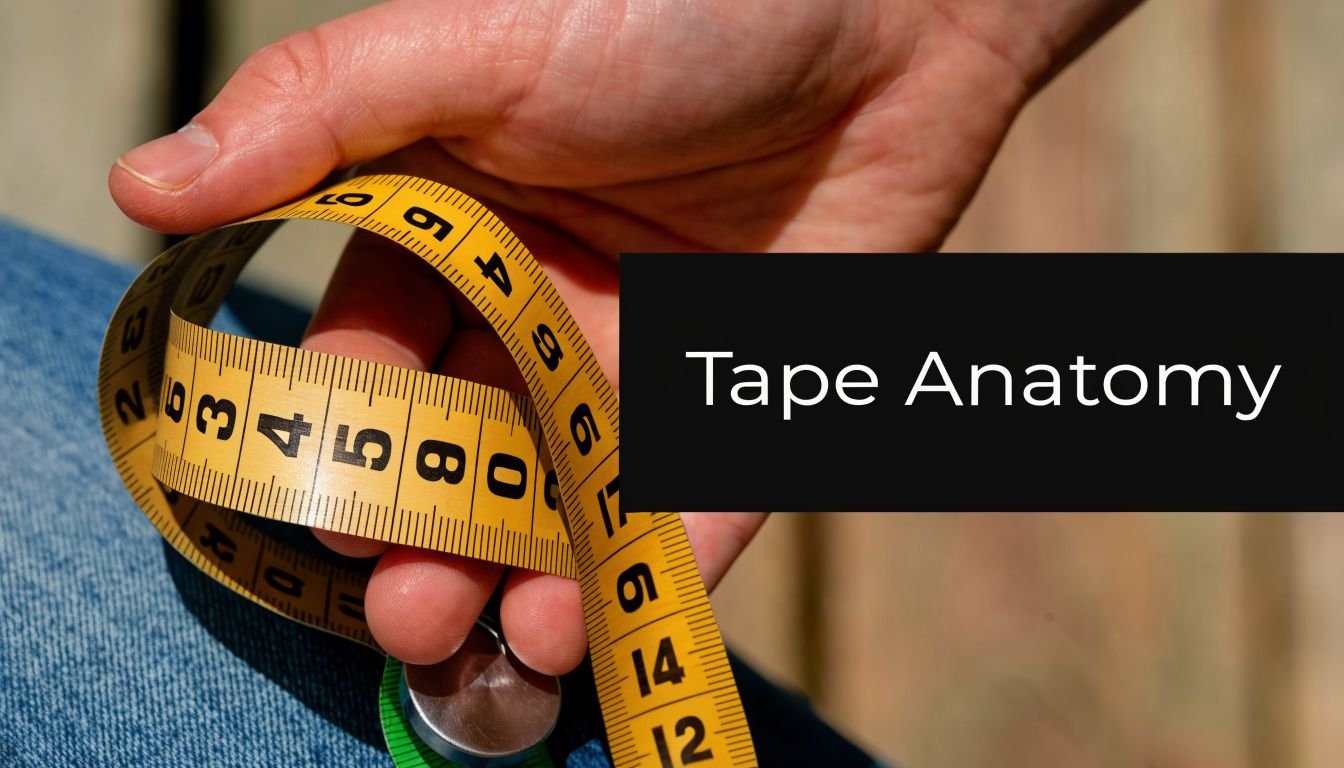
Anatomy of a Sewing Tape Measure
A sewing tape measure is simple, but the details matter. Two tapes can look nearly the same at a glance and behave very differently in use. One stays true and readable. The other twists, stretches, fades, and starts arguments with every pattern envelope.
What it's usually made from
Most sewists do best with a tape made from fibreglass or reinforced polyester rather than a flimsy plastic strip. The big reason is stretch. A tape that lengthens over time becomes unreliable, and the most dangerous part is that you may not notice until a garment comes out too large or too small.
Good tapes also tend to have:
- Clear printed markings that don't rub off quickly
- A smooth finish that slides easily over fabric and clothing
- Metal end tabs that help stop fraying at the ends
- Enough firmness to lie flat, without being so stiff that it fights curves
If you handle a tape and it already feels wavy, sticky, or thin enough to crease sharply, put it back.
Ribbon tape or retractable tape
There are two main styles you'll see in sewing rooms.
| Type | Best for | Watch out for |
|---|---|---|
| Classic ribbon tape | Body measurements, pattern work, general sewing | Can tangle in the box if not rolled neatly |
| Retractable tape | Quick measuring, easy storage, travel kits | Some retractables can snap back too fast or twist near the opening |
The classic ribbon tape is what most dressmakers reach for first. It wraps smoothly around bust, waist and hips, and it's easy to lay along a curved seam or pattern edge.
A retractable tape can be very handy if you like tidy storage or carry tools to classes. Just make sure the tape feeds in and out smoothly. If the mechanism jerks, it can make accurate measuring fiddly.
What I check first in the shop: the first few inches or centimetres. If the start is bent, frayed, or hard to read, I won't trust the rest of the tape either.
The little details that save annoyance
A sewing tape measure for sewing should feel boring in the best possible way. It should work every time, without drama.
Look closely at these features:
- Start point. The zero mark should be clear and easy to find.
- Dual scale layout. In the UK, having both cm and inches is a real help.
- Print contrast. Dark numbers on a light background are easiest to read under ordinary room light.
- Width. A tape with a bit of width sits flatter and is easier to control than a very narrow one.
If you've ever had to squint at tiny faded fractions while trying to pin a toile, you'll know why this matters.
How to Choose the Right Tape Measure
You are in the haberdashery with two tapes in your hand. One looks tidy but the numbers are tiny. The other has clear markings, but only in inches. That is the sort of choice that causes trouble later at the cutting table, especially in the UK where many of us switch between centimetres and inches from one project to the next.
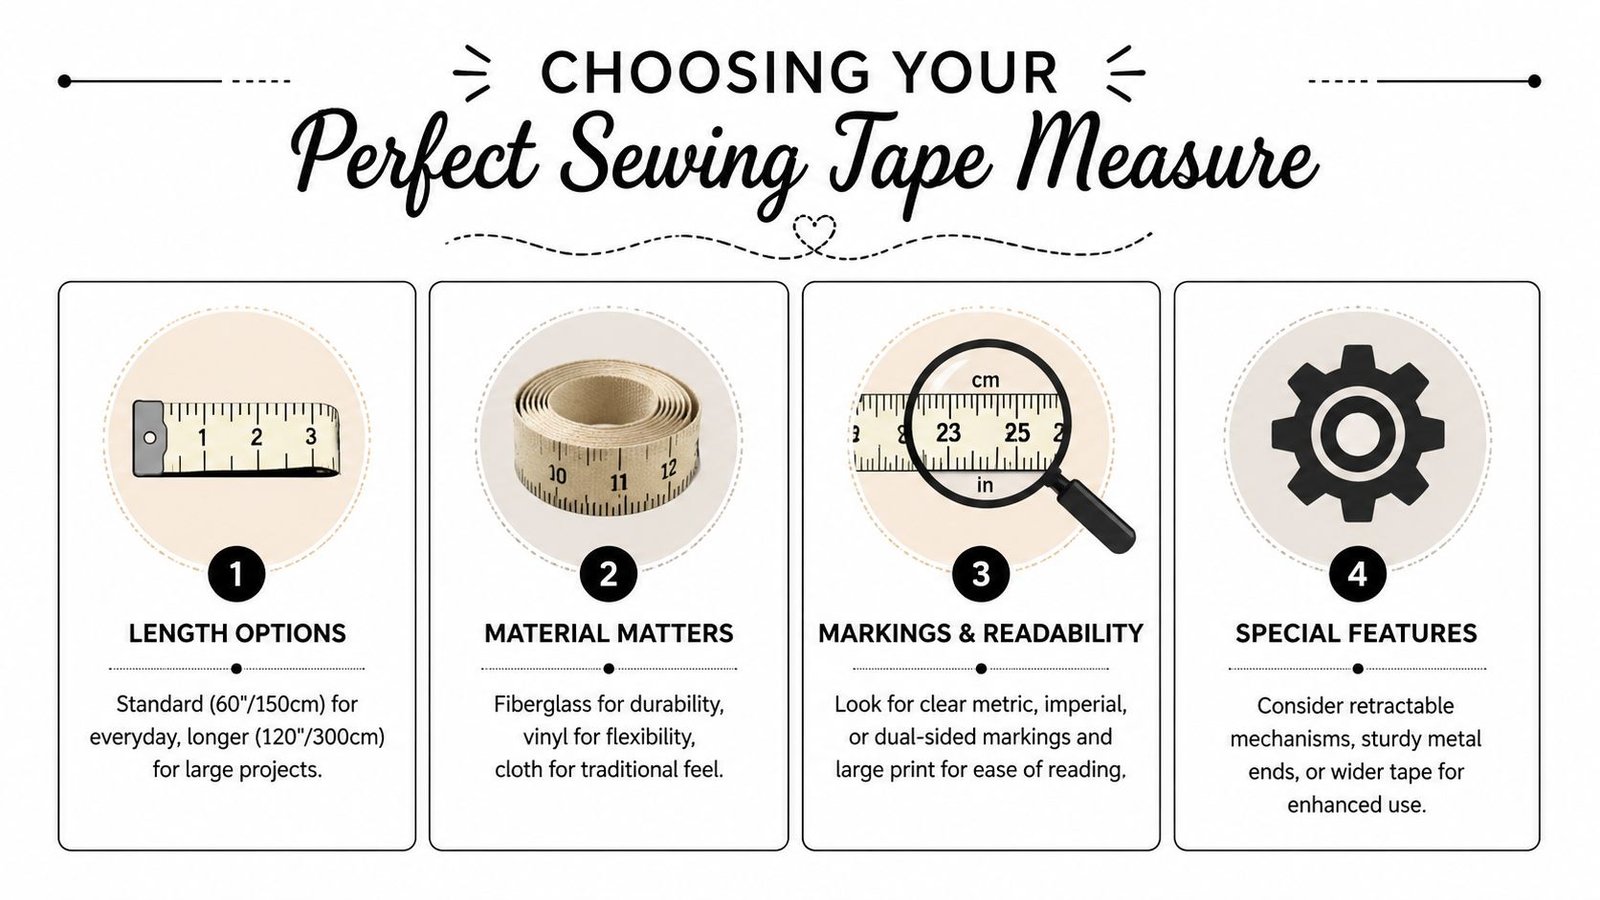
A good sewing tape should save you effort, not create extra decisions. For most dressmaking, the standard 152 cm, or 60 inch, length is enough. You can measure the body, check pattern pieces, and mark hems without running out of tape. If you also sew curtains, quilts, circle skirts, or other larger pieces, a longer tape can spare you from shifting it over and over and losing your place.
For UK sewists, the first choice is usually the easiest one to get wrong. Buy a tape with both centimetres and inches if you use a mix of commercial patterns, indie patterns, older books, or vintage dressmaking methods. A single-scale tape is like trying to cook with only half the markings left on a jug. You can manage, but you will waste time converting and second-guessing.
The layout matters too. Some dual-scale tapes are a pleasure to use, and some are an absolute nuisance. Check whether the cm and inch markings are easy to tell apart at a glance. If the print is cramped, faded, or arranged in a way that makes you keep flipping the tape over, put it back.
Choose one with:
- clear centimetres and inches that are simple to distinguish
- dark, sharp print you can read in ordinary room light
- fractions that are easy to spot if you sew inch-based seam allowances
- a stable feel in the hand so it lies flat instead of curling up
If you draft, alter patterns often, or sew for other people, accuracy on the tape itself becomes more important. The RS guide to tape measure accuracy classes explains why higher-accuracy tapes are useful when small measurement errors can build into fitting problems. Home dressmakers do not always need the most technical option on the shelf, but they do need a tape they can trust to stay consistent.
I usually suggest matching the tape to the way you sew.
| If this sounds like you | Choose this kind of tape |
|---|---|
| You are learning dressmaking at home | A soft, flexible dual-scale tape with large print |
| You sew every week | A tape with stronger construction and markings that stay clear with regular use |
| You fit garments on others or draft patterns | A higher-quality tape with dependable accuracy and tidy, durable ends |
There is also a comfort point that gets overlooked. If the tape feels sticky, stiff, or oddly springy in the shop, it will annoy you even more after an hour of measuring, pinning, and rechecking. A tape should bend around the body or across fabric as easily as ribbon, but without stretching out of shape.
One more practical note. If you rely on online sizing tools for fitted garments, especially corsetry or occasionwear, it helps to compare your measuring method with LUXE NOIR's innovative size guide. The better your tape and the clearer your units, the more useful any size guide becomes.
Before you buy, do a quick hand test:
- pull out a section and see if it lies flat
- check that the zero mark is crisp and easy to find
- bend the first few centimetres around your fingers to spot cracking or kinks
- read both scales without squinting
- inspect the ends for fraying, peeling, or loose metal tabs
That last check saves a lot of grief. A tape measure for sewing does not need bells and whistles. It needs to be readable, accurate, and pleasantly dull in use, the sort of tool you stop noticing because it behaves itself every single time.
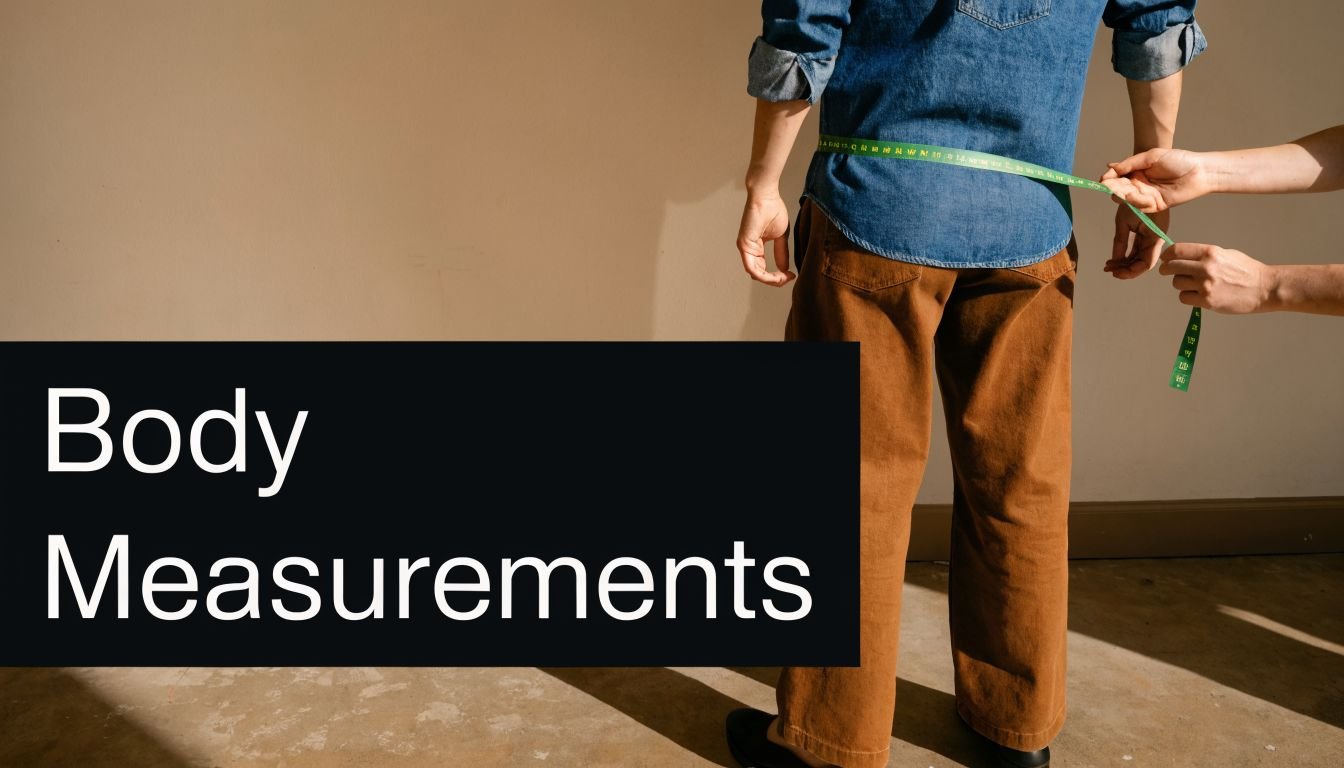
Taking Accurate Body Measurements for a Perfect Fit
You have the pattern cut, the fabric pressed, and a quiet hour to yourself. Then the finished dress pulls across the hips or gapes at the bust, and the trouble started much earlier, with a tape held a bit too tight or a measurement written down in the wrong unit.
That mix-up is especially familiar in UK sewing rooms. One pattern envelope gives everything in centimetres, an older instruction sheet switches to inches, and your tape shows both. It sounds simple until you are halfway through measuring yourself and cannot remember whether the number you just wrote down was 38 cm or 38 in.
Good measuring is less about perfection and more about consistency. If you measure the same way each time, your notes become useful. If the tape sits differently every time, even a well-drafted pattern can lead you astray.
Before you measure
Wear close-fitting clothes, or measure over underwear if that feels comfortable. Avoid jumpers, jeans, thick leggings, and anything with bulky seams.
Stand as you normally stand. Home sewists often try to "stand nicely" for measurements, then wonder why the garment fits the measuring pose rather than real life. Let your shoulders settle, breathe normally, and keep your feet comfortable under you.
If someone can help, use them. Self-measuring is possible, but the tape can twist at the back without you noticing, rather like a crooked hem that only shows itself once you step away from the machine.
Practical rule: the tape should touch the body all the way round without pinching or sagging.
Bust, waist and hips
These three do a lot of the heavy lifting in dressmaking, and each one has its own little trap.
Bust or chest
Measure around the fullest part of the bust and keep the tape level across the back. A mirror helps here because the back edge loves to climb.
Wear the bra you are likely to wear with the finished garment, especially for fitted bodices, dresses, or anything with shaping. Different bras change the bust position more than beginners expect, so measuring in one and sewing for another often causes confusion.
Waist
Your natural waist is the narrowest part of your torso, usually above where many shop-bought waistbands sit. If you are unsure, bend sideways. The crease that forms is usually the right spot.
Set the tape there and let it sit comfortably. I have seen many sewists pull in for a hopeful number, then lose that "saving" the moment the zip goes in.
Hips
Measure the fullest part of the hips and seat. This point is often lower than expected, which is why hip measurements are so often taken too high.
Keep your feet together or only slightly apart, and check that the tape is parallel to the floor. If it slopes up at the back, the measurement will come out smaller than it should.
A mirror is your best helper for hips. Your hands can hold the tape. Your eyes can check whether it is straight.
A simple check for tape tension
Beginners often ask how snug the tape should feel. The easiest guide is the two-finger check.
Slip two fingers under the tape. If there is no room, it is too tight. If the tape falls away from the body, it is too loose.
That small habit helps you repeat the measurement the same way next month, which matters far more than chasing the tiniest possible number.
Record both cm and inches
For UK sewists, this is one of the most useful habits you can build. Write down your measurements in both centimetres and inches, and label which is which clearly. Keep them in a sewing notebook or on your phone, and add the date.
A simple note might look like this:
- Bust 96 cm / 37 3/4 in
- Waist 78 cm / 30 3/4 in
- Hips 104 cm / 41 in
This saves a surprising amount of faffing. If your pattern uses metric, you can stay in metric. If an older pattern or alteration note uses inches, you do not need to stop and convert mid-project.
For close-fitting garments, precise measuring matters even more. LUXE NOIR's innovative size guide is a useful example of the kind of detailed sizing advice that helps when fit is the top priority.
A visual walkthrough can help if you're still unsure about tape placement:
Common body measuring slips
A few mistakes come up again and again at the cutting table:
Measuring over everyday clothes
Hoodies, thick waistbands, and side seams all add bulk and throw the numbers off.Letting the tape tilt
This happens most often at the bust and hips, where the tape can rise at the back without you noticing.Using your shop size instead of your measurements
Ready-to-wear sizing is inconsistent. Pattern sizing is its own system. Your actual measurements are far more reliable.Writing down one number without the unit
"38" is not helpful on its own. In UK sewing, that could mean two very different things.Measuring in a rush
If a number looks odd, measure again straight away. One extra minute here can save hours of alterations later.
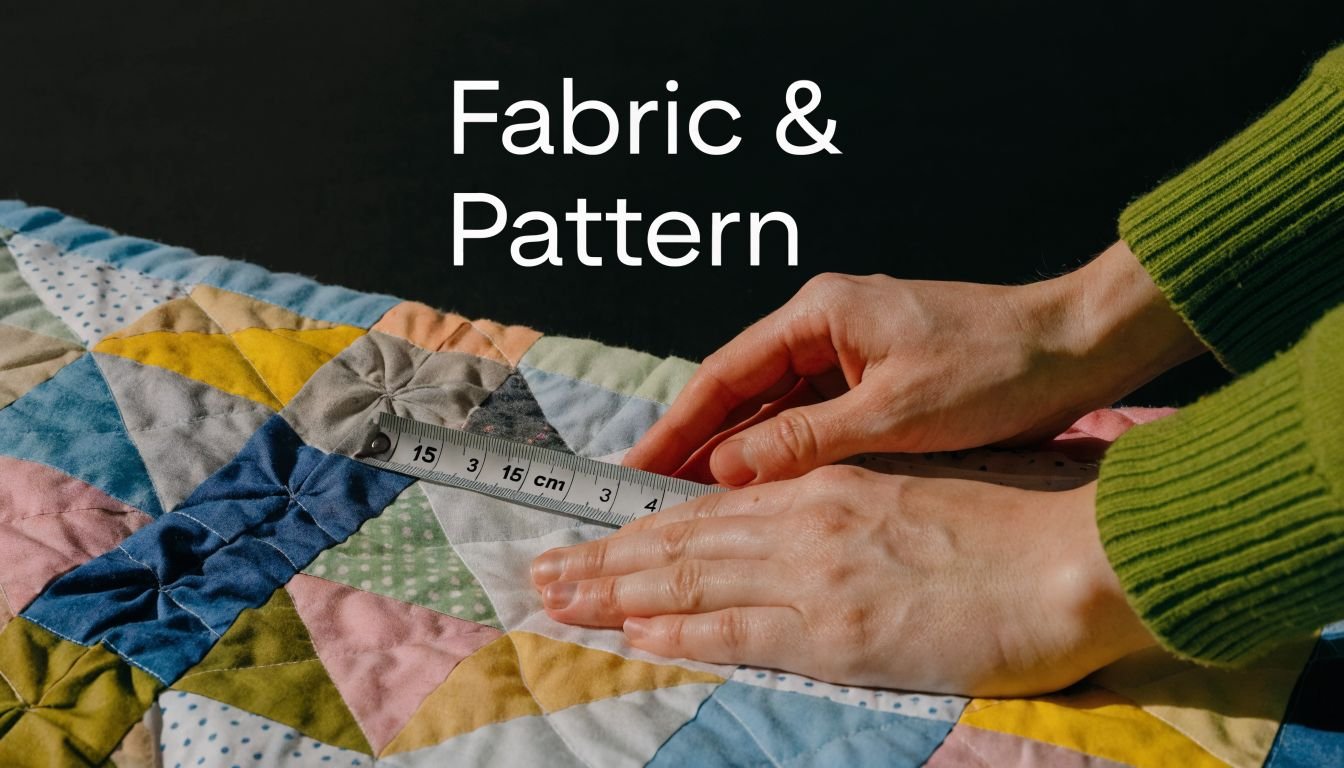
Mastering Pattern and Fabric Measurements
You can measure yourself perfectly and still end up with a skirt that feels tight when you sit down, or a blouse that looks far boxier than the envelope suggested. I see this often with home dressmakers using UK and US patterns side by side. The numbers look familiar, but they are not always describing the same thing.
The key is to separate three measurements in your mind. Your body measurement is one. The pattern size chart is another. The finished garment measurement is the one that tells you how the sewn piece will wear.
Checking pattern ease
Ease is the extra room built into a garment for movement, comfort, or style. A fitted pencil skirt needs a different amount of breathing space from a loose shirt dress. If you skip this step, you can choose the "right" size and still dislike the result.
Start with the finished garment measurement if the pattern gives it. Many do, though the wording varies. Some list inches only, some use centimetres, and some include both. In UK sewing rooms, that mix causes endless little mistakes, so write the unit beside every number as you go.
If the pattern does not provide finished measurements, measure the pattern pieces themselves. Use your tape for curved areas, but keep a ruler nearby for straighter sections. Remember to allow for seam allowances, darts, pleats, and any overlap at buttons or zips. It is a bit like reading a recipe before you start cooking. The ingredients are all there, but you still need to understand how they come together.
Look closely at areas such as:
- Bust width on bodices
- Waist on skirts and trousers
- Hip width on fitted garments
- Hem width on dresses and tops
Fabric changes the answer too. A close hip measurement in firm denim can feel restrictive very quickly. That same measurement in a soft viscose or a knit may feel completely fine.
Using the tape width as a quick guide
Here is a shop-counter tip that saves time on simple jobs. Many sewing tape measures are close in width to a standard ⅝-inch (1.6 cm) seam allowance, which appears often on commercial patterns from brands such as Simplicity and Butterick.
That means the tape itself can act as a quick visual guide. Lay one edge along the cut edge of the fabric or pattern, and the opposite edge gives you a rough seam line. It is handy for:
- marking straightforward seams on tops and shorts
- checking whether a narrow hem stays even
- making quick pattern adjustments on paper
- comparing seam allowances on commercial patterns
Use this for speed, not exact drafting. For tiny corrections, a seam gauge or clear ruler is still the better tool.
Measuring fabric without distorting it
Fabric can mislead you if you handle it the wrong way while measuring. The tape may be accurate, but the cloth can shift, stretch, or drop.
With jersey and other stretch fabrics, let the fabric rest flat on the table before you measure. Do not pull it smooth with tension. If you do, the cut piece may shrink back and end up smaller than planned.
Bias-cut sections need support across their full length. If part of the fabric hangs off the table, gravity can lengthen it enough to affect your measurement. Keep it flat and settled before you trust the number.
For gathers, ruffles, and long skirt panels, measure the flat edge that will be attached first. Then measure the section that will be gathered into it. Write both figures down straight away, with the unit clearly marked. "50" is asking for trouble if half your notes are in inches and the other half are in centimetres.
A flexible tape is also useful for repeated spacing. If you are marking tuck lines or button placements, start from the same end every time. That small habit keeps tiny errors from creeping across the whole front of a garment.
A good habit for pattern work
Before you cut into costly fabric, pause and compare these three things:
- Your body measurement
- The pattern size chart
- The finished garment measurement or pattern piece measurement
That short check catches a surprising number of problems. It is especially helpful in the UK, where one project may use a vintage pattern in inches, your notebook may be in centimetres, and the fabric shop assistant may have measured your cloth in metres. Clear notes and one reliable tape measure keep all of that nicely under control.
Care Storage and Common Measuring Mistakes
Tape measures wear out gradually. They don't usually announce themselves with a dramatic break. They fade, stretch, crack at the folds, or start curling at the ends. Then they feed bad information into an otherwise careful project.
The best habit is simple. Roll your tape rather than folding it sharply. Sharp folds create weak spots, and weak spots become kinks. Store it somewhere dry, especially if your sewing space gets damp or changeable.
A quick clean now and then helps too. Wipe the tape with a soft, barely damp cloth if it gets dusty or picks up chalk, and let it dry flat before putting it away. If the markings are fading, the ends are fraying, or the tape no longer lies smoothly, replace it.
The mistakes I see most often
These three cause the most trouble:
Pulling too tight
This gives an optimistic number and a pessimistic fitting session.Measuring over bulky clothes
It sounds harmless, but layers add enough bulk to change your size choice.Using a damaged tape
A stretched or kinked tape measure for sewing can make every other step less reliable.
Your measuring tool should feel dull and dependable. If you're noticing it while sewing, it may already be causing trouble.
Good measuring isn't about perfection. It's about consistency. Use the same tape, measure carefully, record clearly, and you'll give yourself a much better chance of sewing clothes that fit the way you hoped they would.
If you need a dependable tape measure for sewing, quality haberdashery, or fabrics that are a pleasure to work with, have a look at More Sewing. It's a solid UK source for dressmaking tools, sewing kits, and carefully chosen fabrics, whether you're just starting out or refining your fitting skills.