Dressmaking, Guides
Your Guide to a Sewing Pattern for Coat Success
You've found a coat pattern you love. The line drawing looks polished, the sample version looks expensive, and you can already see yourself wearing it on a cold, damp morning with boots and a jumper underneath. Then you open the envelope and the whole thing suddenly feels much bigger than “just sewing a coat”.
That feeling is normal. A coat is one of the most satisfying things you can make, but it asks for better decisions than a simple top or skirt. Fabric matters more. Fit matters more. Pressing matters more. If your sewing pattern for a coat is even slightly wrong for your fabric or your winter layers, the finished garment will tell on you.
The good news is that coat sewing rewards careful planning. If you choose the right pattern, match it to the right cloth, test the fit before cutting, and stay disciplined during construction, you can make something that looks sharp, wears hard, and earns a permanent place in your wardrobe.
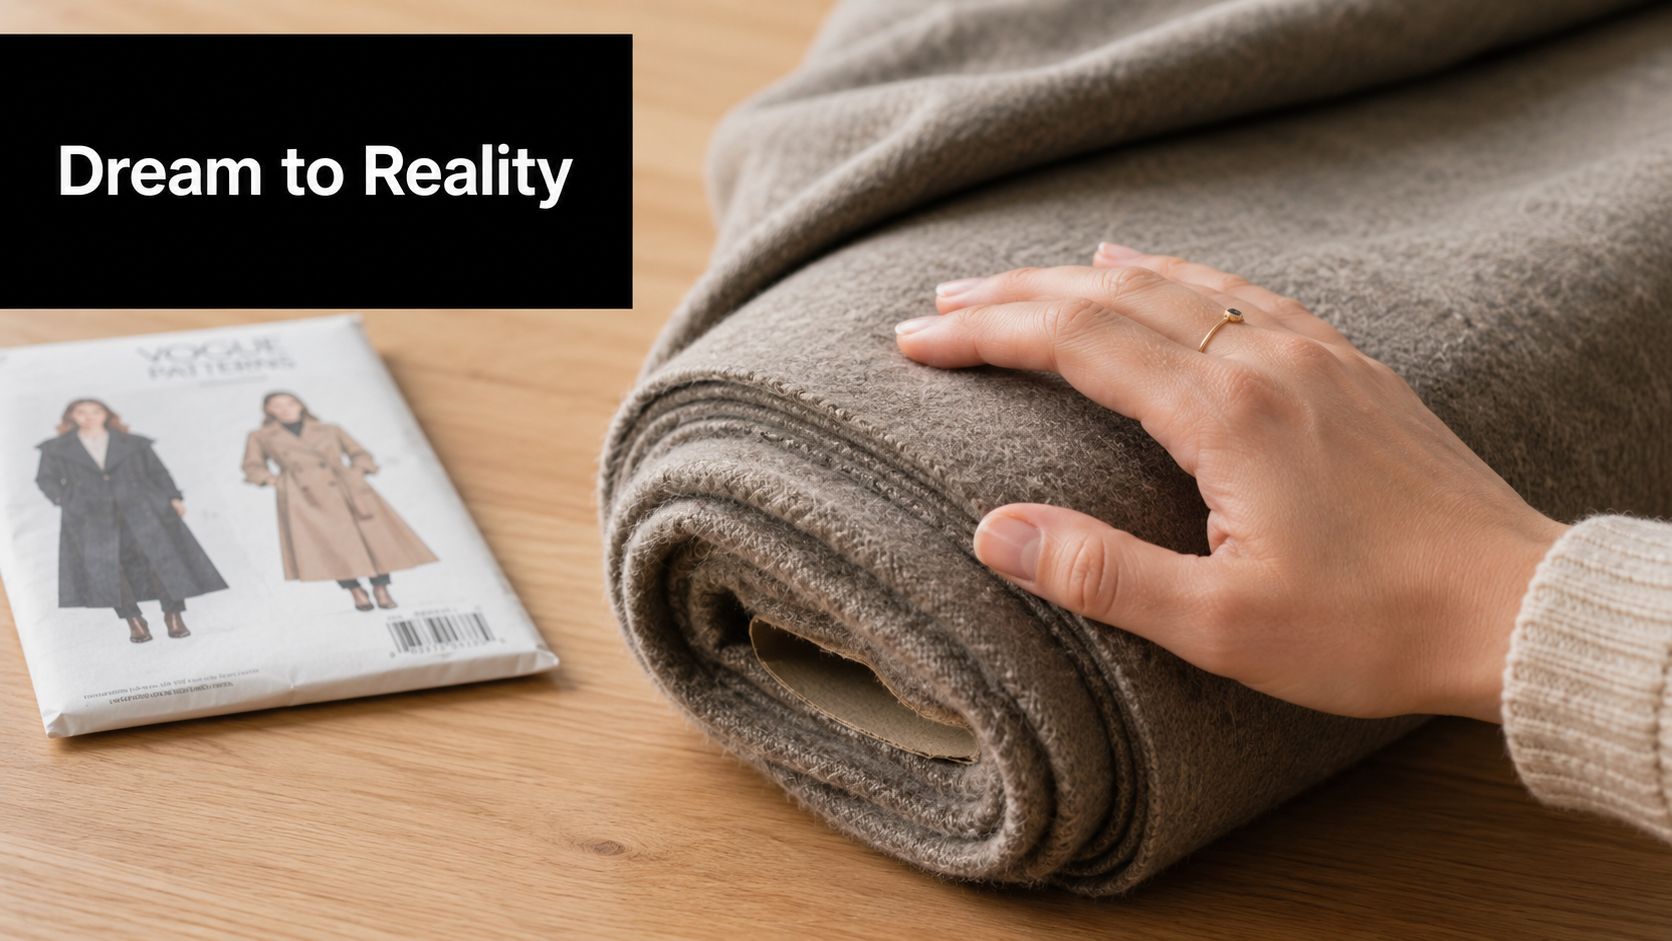
From Dream Coat to Sewing Reality
Most first coat projects begin with a fantasy version. A classic trench. A wrap coat with a soft collar. A structured wool coat that looks like it came from a proper shop window. Then reality arrives in the form of pattern pieces, interfacing, seam bulk, and the question nobody asks early enough. Will this still fit over my thickest winter jumper?
That's the turning point. A coat isn't just about style. It has to work in real weather, with real clothes underneath, and with the fabric you can handle on your machine.
The best coat projects start with a practical mindset. If you live in the UK, that usually means planning for cool days, frequent rain, and a coat that won't collapse or soak through the first time the weather turns. It also means being honest about your patience. A coat can absolutely be a first big project, but only if you treat it as a series of careful jobs rather than one long rush to the finish.
Practical rule: Choose the coat you'll actually wear, not the one that only looks good on the pattern cover.
Historically, coat patterns have never really been one generic formula. British coat drafting has long been tied to specific eras and silhouettes. Historical references show distinct styles dated to the 1720s, 1740s to 1760s, 1770s, Regency period from the 1790s through 1810s, and 1850s through 1910s in reconstructed pattern collections at Reconstructing History's coat patterns archive. That matters now because modern coat patterns still carry those old shape traditions. Some are built for structure, some for drape, and some for military-style sharpness.
If I could give one early warning, it would be this. Don't buy fabric first and hope the pattern will adapt. Buy the pattern, study it properly, and let that tell you what sort of coat you're really making.
How to Read and Choose Your Coat Pattern
A pattern envelope is a set of instructions, not a promise. The photo on the front might show a sleek, structured coat, but the success of your project sits on the back. That's where the useful information lives.
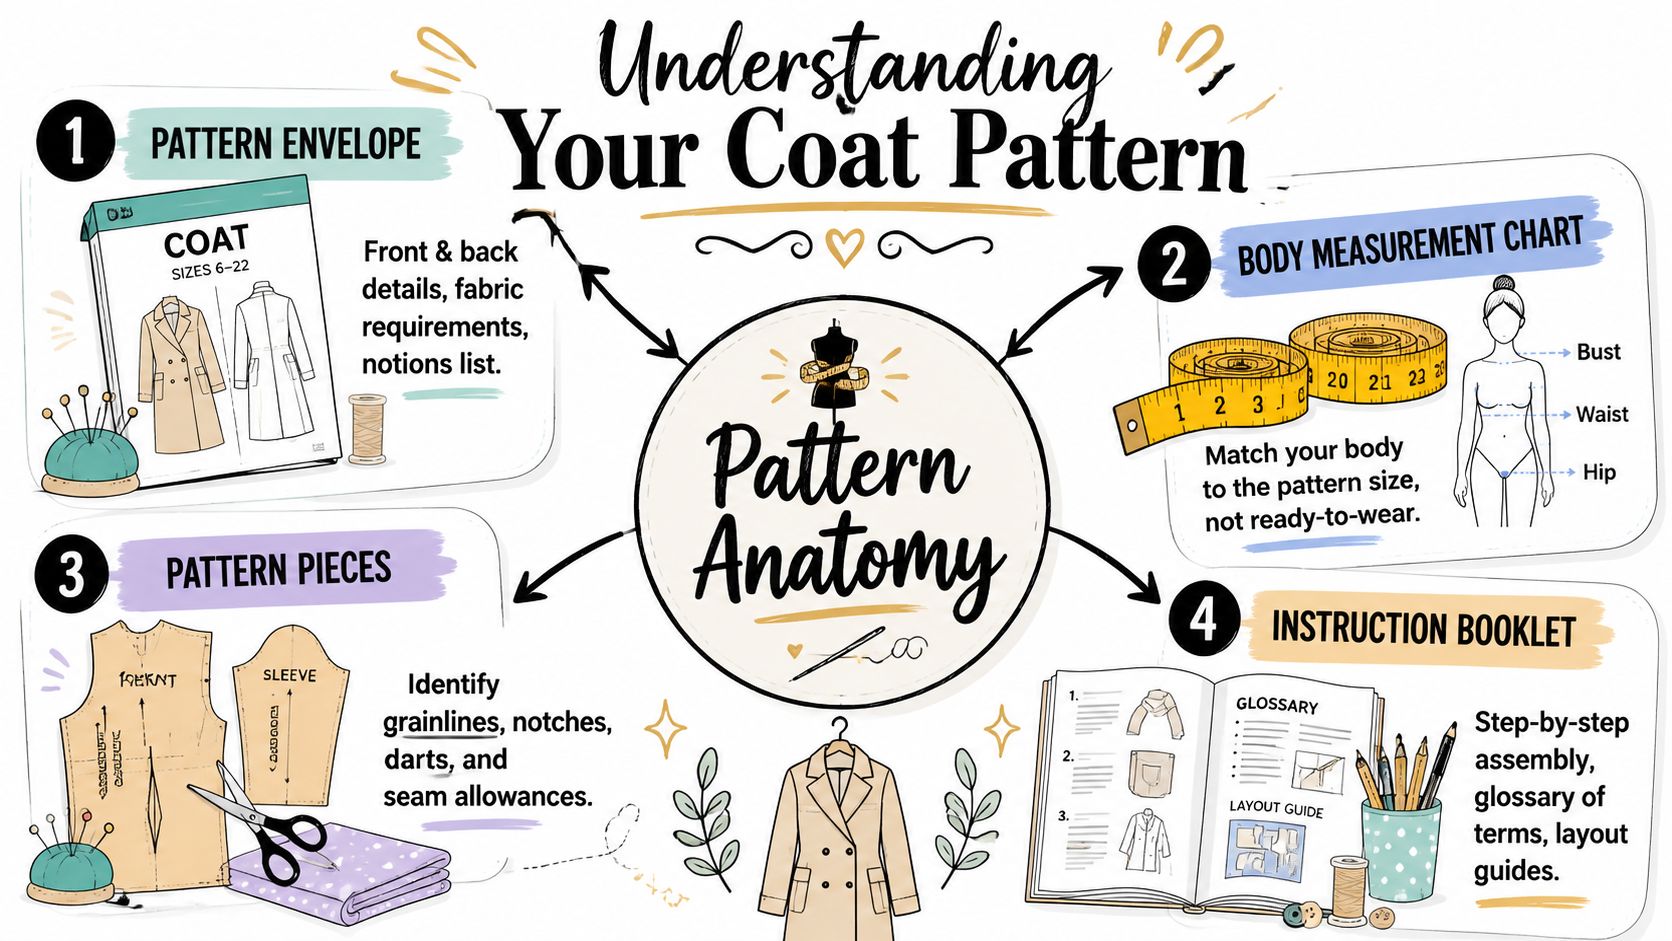
Start with the line drawing
The line drawing tells you more than the model photo ever will. Look for the actual shape of the coat.
A few examples help:
- A trench-style pattern usually has more structure, more pieces, and more details to control. Storm flaps, belt carriers, collars, facings, and topstitching all add work.
- A wrap coat often gives you more fitting forgiveness through the body, but the fabric choice becomes more important because the whole garment depends on drape.
- A fitted princess-seam coat can look beautiful, but it will expose fitting problems quickly at the bust, shoulder, and upper back.
The trench deserves special attention because it sits at the root of so many modern coat details. Thomas Burberry developed gabardine in 1879, and by 1901 he had delivered trench-coat plans to the United Kingdom War Office, where they were accepted as an officer's raincoat or windbreaker, as outlined in this history of the trench coat. That military origin still shows up in modern patterns through storm flaps, belted waists, protective collars, and weather-ready shaping.
Ignore your shop size
One of the most common mistakes is choosing a coat pattern by your ready-to-wear size. That's how people end up with shoulders in the wrong place and sleeves that feel tight before a lining even goes in.
Check these instead:
- Your actual body measurements from the envelope chart
- The finished garment measurements if the pattern includes them
- The intended silhouette shown by the line drawing
A pea coat and a relaxed overcoat will not fit the same way even if they start from the same bust measurement. One is meant to skim with structure. The other is meant to sit away from the body.
Don't treat ease as spare fabric. In a coat, ease is what lets you move, layer, sit down, and reach for your bag without hearing stitches complain.
Read the instruction booklet before buying fabric
Many sewists skip this if they can, and it's a mistake. If you can preview the instructions, do it. You want to know whether the pattern expects you to handle pad-stitching, bagged lining methods, bound buttonholes, sleeve heads, or a more stripped-back construction.
Pay attention to these parts:
Fabric recommendations
If the pattern asks for coating, melton, wool blends, or gabardine, believe it. A pattern drafted for crisp cloth won't behave the same way in something floppy.Notions list
Count the buttons, interfacing, shoulder pads, lining, and any specialist closures. Coats become expensive because of all the extras, not just the outer fabric.Pattern piece count
More pieces usually means more shaping and more opportunities to get a beautiful result. It also means more places to lose accuracy.
Match the pattern to your actual life
Before committing, ask yourself a blunt question. Will you wear this on a wet school run, a commute, a weekend market trip, or only on the rare day when everything aligns?
That answer should guide your sewing pattern for a coat more than fashion images do. A dramatic full-length style might be lovely, but if you mostly need warmth, movement, and a quick throw-on over knitwear, a simpler style often works harder in a real wardrobe.
The Right Fabric and Tools for a Lasting Coat
Fabric decides whether your coat feels dependable or disappointing. You can sew beautifully and still end up with a coat that never leaves the hanger because the cloth was too stiff, too limp, too bulky, or entirely wrong for your weather.
For UK sewing, this choice matters even more. The climate brings frequent rain and cool conditions, which makes warmth, durability, and fabric behaviour central to the project, as noted in this discussion of fabric choice for coats in UK weather. A coat that looks nice indoors but struggles in damp air isn't much use.
What works for which coat
Structured styles need cloth with body. Soft styles need cloth that bends and falls cleanly. This sounds obvious, but it's where many coat projects go wrong.
If you want a classic, shaped coat, wool coating or melton usually supports that architecture well. The collar holds up better, the front hangs straighter, and the whole coat looks more deliberate. The trade-off is bulk. Heavy cloth can make seam intersections hard work, especially at collars, hems, cuffs, and pocket welts.
If you want something softer, boiled wool or a lighter coating can be easier to shape around the body without looking rigid. The downside is that some softly structured fabrics don't support sharply defined details very well. A lapel might look less crisp. A hem may ripple if it isn't stabilised.
Gabardine earns its place for trench coats for good reason. It has historical credibility, practical weather logic, and enough firmness for details without the thick loft of a winter coating. If the pattern has military-inspired lines, gabardine usually makes more sense than a plush coating.
Coat fabric comparison for UK weather
| Fabric Type | Warmth Level | Weather Resistance | Best For… | Sewing Difficulty |
|---|---|---|---|---|
| Wool coating | High | Good in cool, damp weather | Tailored winter coats, structured styles | Moderate to high |
| Melton wool | High | Good | Pea coats, military-inspired coats, firm silhouettes | High due to thickness |
| Boiled wool | Moderate to high | Fair to good | Softer coats, simpler shapes, less formal outerwear | Moderate |
| Gabardine | Moderate | Good | Trench coats, transitional coats, sharper details | Moderate |
| Recycled blends | Varies | Varies | Practical coats when you assess handle carefully | Moderate |
| Deadstock outerwear cloth | Varies | Varies | Unique projects if you test drape and thickness first | Varies |
Test before you commit
Coat fabric needs handling, not guessing.
Try this before cutting:
Scrunch test
Crush a corner in your hand, then let go. Does it spring back, stay creased, or collapse? That tells you a lot about how the coat will wear.Hem test
Fold up a mock hem and press it. If the fold becomes hard and bulky, you may need to grade aggressively or rethink the pattern.Seam stack test
Layer a few folded scraps together. If your machine struggles over that stack now, it won't enjoy collar points later.
A fabric can be beautiful on the bolt and miserable in a coat. Handle it the way the finished garment will need to behave.
Tools that pull their weight
Good tools don't make a bad coat good, but they stop preventable problems.
At minimum, gather these before you start:
- Sharp dressmaking shears for clean cutting on thick cloth
- A pressing ham and sleeve roll for shaping curves and sleeves
- A clapper or firm pressing block if you have one, because coats respond well to serious pressing
- Strong thread that won't snap under strain
- Machine needles suited to heavier fabrics
- Tailor's chalk or a visible marker for notches, dots, and match points
- Fusible interfacing with enough firmness to support fronts, collars, hems, and other stress points
One thing beginners often underestimate is interfacing. In a coat, it isn't an optional extra for “niceness”. It's part of the engineering.
Mastering the Fit for Layers and Comfort
A coat can look generous on the hanger and still feel restrictive the moment you put it over a jumper. That's why fit has to be tested in motion, not just judged standing still in front of a mirror.
Most fitting trouble shows up in the same places. Upper back. Shoulder. Bicep. Armhole. The exact spots that matter when you reach forward, sit down, or wear knitwear underneath. That's also why choosing an oversized style doesn't solve the problem. Oversized coats can become clumsy and bulky if the pattern isn't adjusted where movement happens. This point is stressed in this guide to adapting coat patterns for layering.
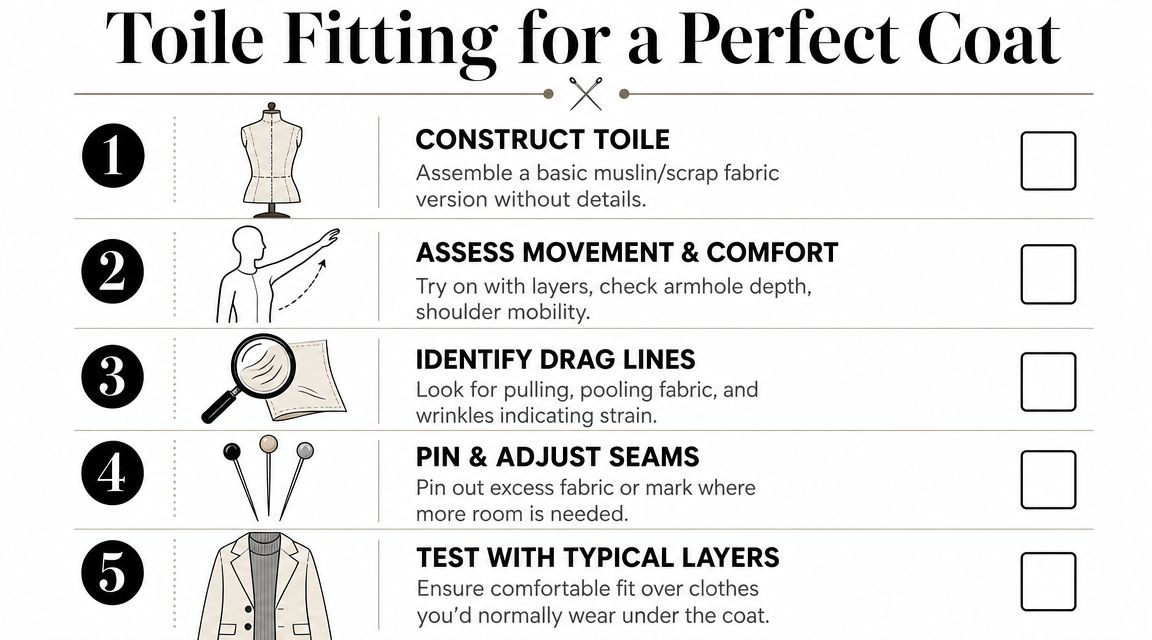
Make the toile even if you don't want to
This is the step people try to skip because coat fabric feels expensive and exciting. That's exactly why the toile matters.
You don't need every detail in it. You do need the parts that affect fit:
- main body
- sleeves
- collar area if neckline fit matters
- enough seam allowance to make changes
- key markings for bust, waist, hip, and grain
Use plain fabric you can mark on easily. Put it on over the sort of clothes you'll wear under the finished coat.
What to check in the fitting stage
Don't just stand there with your arms down. Move properly.
Try these actions:
- Reach forward as if you're driving or holding a shopping bag.
- Bend your arms as if you're carrying something.
- Sit down because coats that fit only when standing are annoying.
- Wear your usual jumper and see whether the coat still closes comfortably.
- Check sleeve mobility before worrying about decorative details.
Watch the fabric. Horizontal pull lines across the upper back usually suggest you need more width there. Tightness around the upper arm often points to a bicep issue. Drag lines from bust to armhole can mean the front needs reshaping rather than just “more room everywhere”.
If the coat only fits over a T-shirt, it doesn't fit. It's a display sample.
Adjustments that often matter most
For a first coat, these are the changes worth learning.
Broad back adjustment
If you feel strain across the shoulder blades or the back rides up when you reach forward, add width through the upper back rather than sizing up the whole coat. This keeps the neckline and shoulder from becoming too loose.
Bicep adjustment
A sleeve can look wide enough laid flat and still be tight once your arm bends inside it. Add room where your arm needs it. If the sleeve binds while the body feels fine, fix the sleeve, not the side seams.
Shoulder correction
Shoulders control the whole coat. If the shoulder is too wide, the sleeve hangs badly and the coat looks dropped and tired. If it's too narrow, everything above the bust feels pinched. Get this area right before dealing with smaller refinements.
Bust shaping on tailored styles
On princess-seamed or more fitted coats, bust shaping often needs proper adjustment rather than hoping thickness will hide the problem. Coat cloth is forgiving in some ways, but drag lines still show.
A practical drafting example
If you're drafting or adapting from a block rather than relying purely on a commercial pattern, there's a clear tailoring workflow described by M. Müller & Sohn's coat construction method. It starts from a size-40 basic coat block, sets the finished back length to 98 cm, then redraws the side seams with controlled waist shaping. The front side seam is extended by 1 cm and the back side seam by 1.8 cm at the waist before sleeves, facings, and collars are traced. The same method recommends closing the bust dart through a cut from the side seam to the bust point and shortening the side dart to protect the front roll line and reduce chest bulk.
You don't need to draft your own coat to learn from that method. The useful lesson is that good coats are controlled piece by piece. They aren't just enlarged garments. The shaping is deliberate.
Fit the coat you need, not the coat photograph
A coat meant for office wear over a blouse needs a different interior volume from one meant to sit over knitwear and a blazer. Decide what your real use is before finalising your changes.
If you're between adding ease and preserving a clean line, favour movement in the upper body first. A slightly roomier coat that gets worn every winter is a better result than a sleek one that stays on a hanger because the sleeves are too tight over a jumper.
A Sewist's Guide to Coat Construction
Construction is where a coat starts to look serious. This is also where rushing becomes visible. A coat remembers every shortcut. Uneven interfacing shows up in the front edge. Poor clipping distorts collars. Inaccurate seam matching twists hems.
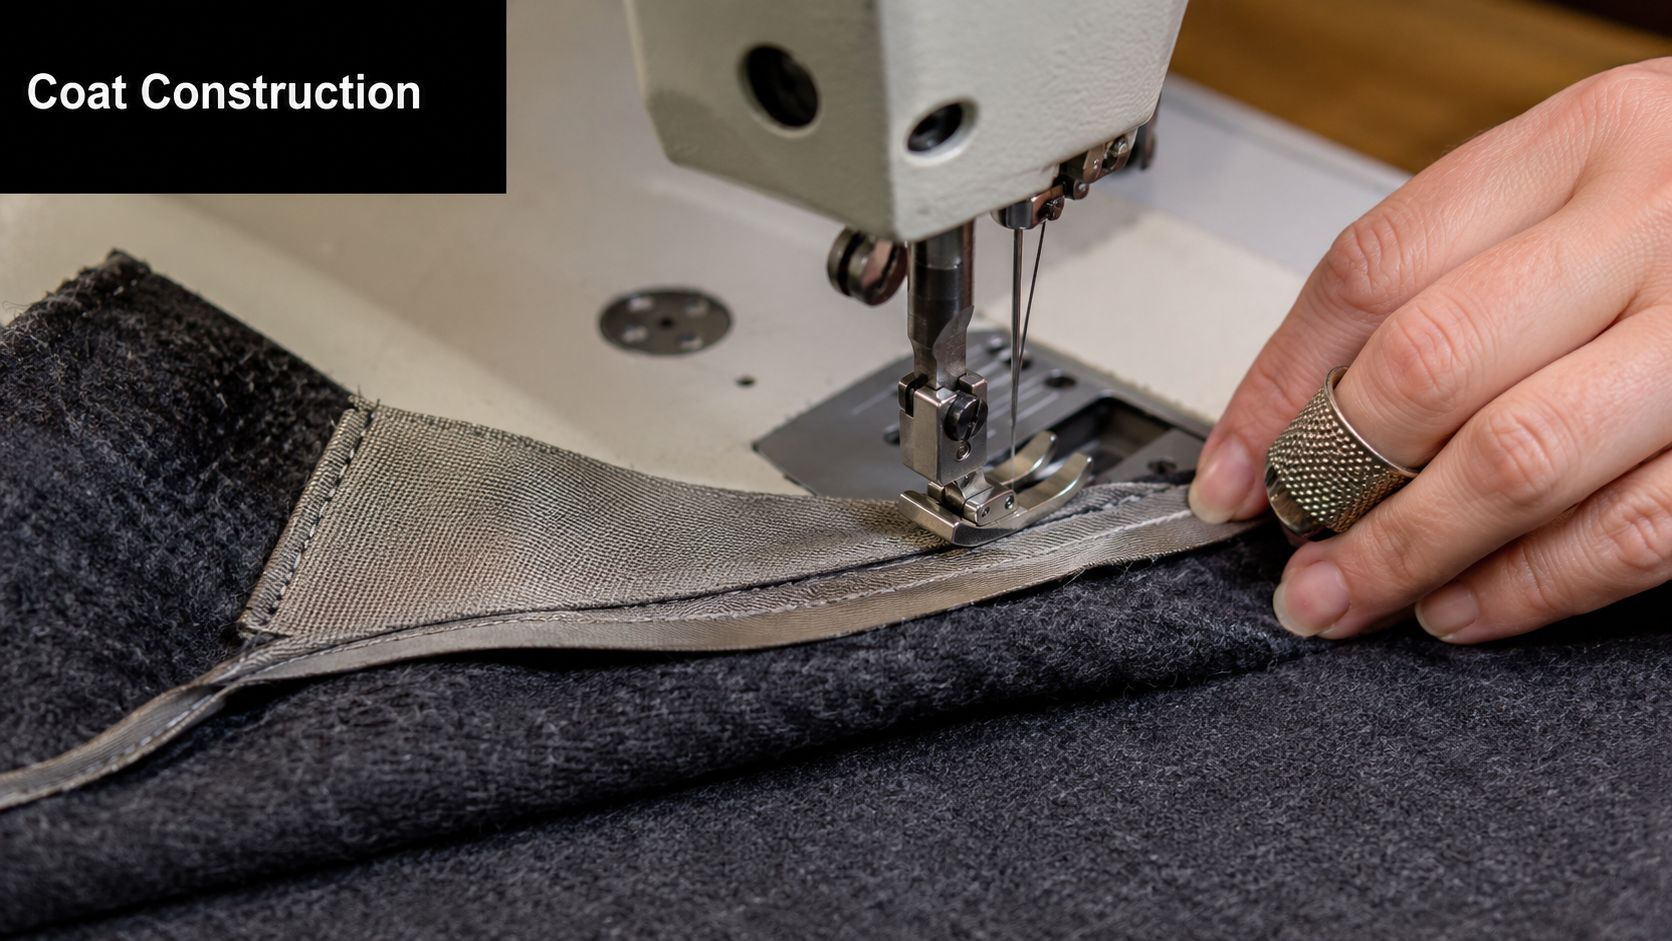
The strongest habit you can build here is precision before speed. On major seams, 1.5 cm seam allowance is a reliable benchmark in coat assembly, used on seams such as the shoulder, sleeve, and side seams in a trench-coat drafting tutorial discussed in this coat assembly reference. That same guidance also stresses clipping curves before turning and pressing so the finished shape lies cleanly.
Build the structure first
Think of coat construction in layers of function.
The outer fabric creates the look, but the internal structure creates the authority. Start with interfacing in the areas that control shape and wear. Firm fusible support is especially useful on coat fronts, upper back, upper sleeves, and hems, because those parts take stress and determine whether the coat keeps its line.
Then sew and press the shaping elements carefully:
- darts or seam shaping through the body
- shoulder seams with accurate matching
- side seams with smooth blending
- collar and facing pieces kept true to the grain
If a seam doesn't match properly, stop and fix it. Heavy cloth won't hide poor alignment. It often exaggerates it.
Clip concave curves enough to release tension, but don't attack them blindly. Under-clipped seams ripple. Over-clipped seams weaken and fray.
One practical sequence works well on thick coat fabric. Mark your notches and grain lines clearly, sew the shaped seam accurately, clip or trim where needed, turn if required, then press firmly while the fabric is still warm. Pressing warm cloth helps the shape set instead of springing back.
Handle bulk before it handles you
Bulk is a significant hidden challenge in coat sewing. The pattern may be correct, but if you don't reduce thickness strategically, the coat will look homemade.
Focus on these trouble spots:
- Collar points where several layers meet
- Lapels and facings where turn-of-cloth matters
- Hems especially with thick wool coatings
- Pocket welts and flaps where even a small mismatch stands out
- Sleeve caps where excess fabric can pucker
Trim and grade seam allowances so each layer steps down rather than stacking at one thickness. Press after each reduction. A clapper helps, but even a firm press and cooling time makes a difference.
A walking foot can help feed thick layers evenly, particularly on long seams or where interfaced fabric wants to shift. It won't solve poor preparation, but it does make the stitching line more consistent.
Add the details with patience
The details are where the coat either sharpens up or starts to wobble.
Set-in sleeves need support from careful easing, not force. If the sleeve head won't sit smoothly, don't keep sewing and hope the iron will rescue it. Re-pin, redistribute, and try again.
Collars also deserve more time than people expect. The upper collar and undercollar need to roll naturally, not fight each other. If the collar refuses to sit flat, check bulk, check clipping, and check whether the interfacing is too stiff for the fabric.
A useful visual walk-through can help once the main body is underway:
For linings, keep them neat but not tight. The lining should support the coat's wearability, not drag against the hem or pull the outer shell upward. A good lining gives ease and a clean inside finish. A bad lining makes an otherwise solid coat feel awkward every time you move.
Finishing Techniques and Troubleshooting
Many sewists think the hard part ends once the coat is assembled. It doesn't. The final stretch decides whether the coat looks careful or merely completed.
Pressing is the biggest difference-maker. Not one dramatic press at the end. Repeated pressing all the way through. Seams need to be set, opened, shaped, and cooled. Collars need coaxing. Hems need settling. If you skip that work, the coat keeps a soft, puffy, unfinished look no matter how good the stitching is.
What lifts the finish
A few details carry enormous visual weight:
- Hand-finished lining hems often hang better than a rushed machine finish
- Clean topstitching gives trench and utility styles authority
- Careful button placement keeps the front hanging straight
- Neatly shaped buttonholes make the whole coat feel more polished
People often rush buttonholes because they're tired by that stage. That's exactly when to slow down. Test them on layered scraps with interfacing first. Coat fronts are thick, and your machine may need adjustment.
When something looks wrong
Most coat problems can still be improved near the end if you diagnose them properly.
A collar that won't lie flat usually isn't being difficult for no reason. It's asking you to check seam bulk, clipping, and pressing order.
Use this quick troubleshooting list:
| Problem | Likely cause | What to do |
|---|---|---|
| Collar won't sit flat | Too much bulk, poor clipping, uneven collar shaping | Trim and grade seams, re-press over a ham, check symmetry |
| Hem looks thick and lumpy | Fabric too bulky at turn-up | Reduce hem depth if suitable, grade aggressively, steam and press firmly |
| Lining pulls the coat up | Lining attached with too little ease | Release and reset the lining with more movement room |
| Sleeve has puckers at cap | Ease not distributed well | Unpick that section and ease again in smaller increments |
| Pocket area looks distorted | Interfacing or seam bulk too heavy | Reassess layers, trim where possible, press from the wrong side |
The coat doesn't need to be perfect to be excellent. It does need the final details to be treated as part of the craft, not as tidying up.
If you're ready to turn your coat plans into a real project, More Sewing is a useful place to start. Their range of fabrics, haberdashery, tools, swatches, and dressmaking supplies suits both beginners choosing their first coating and experienced makers looking for something more distinctive.