Guides
Mastering Your Swimsuit Sewing Pattern
A lot of people come to swimsuit sewing after one too many changing-room disappointments. The legs cut in where they should sit smooth. The bust feels unsupported. The torso is too short, or the seat is too low, or the coverage is never quite what the label promised. A good swimsuit sewing pattern changes that equation because you stop trying to fit yourself to the garment and start fitting the garment to you.
Sewing swimwear can look technical from the outside. The fabric is slippery, the seams need to stretch, and elastic can feel unforgiving. In practice, it is a series of manageable steps. If you can sew a neat knit top and stay patient while you test settings, you can make a swimsuit you are proud to wear.
Your Journey to a Custom-Fit Swimsuit Starts Here
The first successful swimsuit is usually not the fanciest one. It is the one that fits your body and your life. That might mean a simple scoop-back one-piece with full lining, a high-waisted two-piece with secure leg openings, or a practical suit for lane swimming rather than lounging.
A beginner often thinks the hard part is the sewing. Usually, the hard part is trusting that a handmade swimsuit can outperform a shop-bought one. It can. When you control torso length, strap placement, leg height, and lining, you solve the exact problems that mass-produced swimwear tends to ignore.
Homemade swimwear has a long history
Home-made swimwear is not a modern workaround. It has a long sewing history behind it. The earliest documented swimsuit sewing pattern appears in a Spanish tailor’s manual from 1580, and by the 1930s, women were using magazine patterns and hand-knitting to make fashionable swimwear at home, which made it more accessible beyond costly commercial brands such as Jantzen, as described in this history of the sewing paper pattern.
That history matters because swimwear has always pushed sewists to be resourceful. Pattern cutting, fabric efficiency, and clever construction were not abstract ideas. They were practical skills.
What makes swimsuit sewing worth it
A well-chosen swimsuit sewing pattern gives you control over details that matter:
Coverage: Raise the neckline, lower the leg line, or choose a fuller seat.
Support: Add power mesh, shelf bra pieces, cups, or firmer elastic.
Comfort: Adjust strap width, move seams away from pressure points, and line the whole suit.
Style: Pick prints, solids, contrast binding, or a clean minimalist finish.
Tip: If this is your first swimsuit, do not chase complexity. Pick a pattern with clear instructions, moderate coverage, and straightforward elastic application.
The reward is not only the finished suit. It is the confidence that comes from understanding why it fits. Once you have sewn one, the next project becomes far less mysterious. You stop seeing swimwear as specialist sewing and start seeing it as knit sewing with a few extra rules.
Choosing the Perfect Swimsuit Pattern and Fabric
Your swimsuit sewing pattern and your fabric need to agree with each other. If the pattern expects high stretch with excellent recovery and you choose a soft jersey that bags out after handling, the result will disappoint even if your sewing is tidy.
Start with the pattern, not the print
The best first pattern is not always the most exciting envelope. It is the one with a shape you will wear and construction details you can manage.
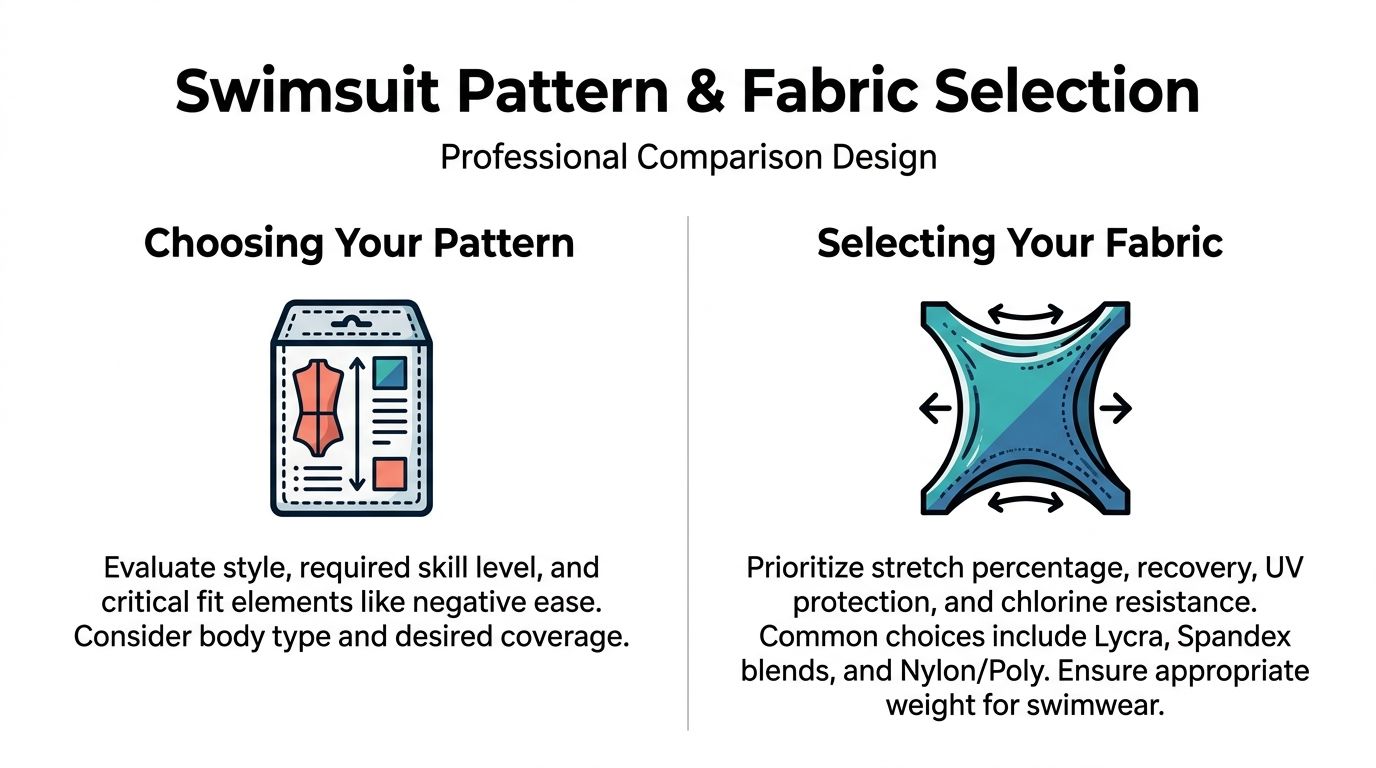
When choosing a swimsuit sewing pattern, assess these points first:
Skill level: A lined bikini bottom with enclosed elastic is simpler than a one-piece with cups, cross-back straps, and multiple panels.
Coverage preferences: Do not assume you will “get used to” a higher leg or lower back. If you know you prefer secure coverage, choose that from the start.
Support needs: Look for patterns drafted with shelf bra options, cup insertion, wider straps, or underbust elastic if support matters.
Torso shaping: One-pieces live or die on torso length. If you often buy long-torso clothing, choose patterns that include adjustment lines.
Lining instructions: Clear lining order matters. Good swim patterns show when to baste, turn, and topstitch.
A two-piece is often the easiest starting point because the fit is more forgiving. You can fit the top and bottoms separately. A one-piece is still very achievable, but it asks more from your measuring and fitting.
UK sourcing is a real obstacle
Many UK sewists run into the same issue. The pattern is easy enough to buy, but finding proper swim fabric locally is harder than expected. According to Patterns for Pirates swim basics, UK sewing forums and Google Trends data from 2025 showed a 25% spike in searches for “swimwear fabric UK”, with 60% of users on platforms like Sewing Chatter frustrated by finding quality stretch fabric that does not curl. That frustration is familiar because a lot of online advice assumes easy access to US swimwear suppliers.
The practical answer is to shop by fabric behaviour, not by marketing label. For swimwear, the useful questions are simple.
Does it have four-way stretch?
Does it recover well after being pulled?
Is it dense enough not to go sheer when stretched?
Does it feel smooth against the skin?
Will it cope with lining and elastic without becoming bulky?
What works best in practice
For most home sewists, the safest choices are nylon or polyester blends with spandex or Lycra. They resist stress well, recover better than ordinary fashion jersey, and feel closer to commercial swimwear.
Recycled swim bases can also work beautifully if the recovery is firm. Some sustainable options feel slightly drier or more matte than classic shiny swim fabric, which many sewists prefer. Deadstock can be excellent value, but only if you test stretch and opacity before committing.
Tencel blends and soft jerseys have their place in sewing, but they are not automatically swimwear fabrics. If a fabric lacks spring and snaps back slowly, it is better suited to lounge or activewear projects than a swimsuit that needs to stay put in water.
Swimwear fabric comparison
| Fabric Type | Composition | Stretch % | Key Features | Best For |
|---|---|---|---|---|
| Nylon swim knit | Nylon with spandex/Lycra | Check supplier listing | Smooth hand, good recovery, classic swim feel | One-pieces, bikinis, children’s swimwear |
| Polyester swim knit | Polyester with spandex/Lycra | Check supplier listing | Often more resistant to fading, stable surface | Pool swimwear, sporty styles |
| Recycled swim fabric | Recycled polyamide or polyester with elastane | Check supplier listing | Sustainable option, often soft and dense | Fashion swimwear, lined suits |
| Deadstock performance knit | Varies | Check supplier listing | Unique prints or finishes, quality varies by roll | Special projects if tested first |
| Cotton jersey or ordinary viscose jersey | Varies | Usually unsuitable for swimwear use | Comfortable for clothing, poor choice for immersion and recovery | Not recommended for swimsuits |
Key takeaway: Four-way stretch and strong recovery matter more than fibre labels alone.
Fabric choices that make life easier
If you are buying for a first project, look for:
A plain or subtle print. Stripe matching and directional prints add work.
Medium weight fabric. Very thin fabric can feel flimsy and show every ripple.
A matching lining. Swim lining or another suitable stretch lining keeps the outer fabric from turning sheer.
A small test quantity if possible. Stretch it hard in your hands. If it stays distorted, put it back.
A practical beginner combination is a medium-weight swim knit, full lining, and a pattern with standard elastic finish on the neck, legs, and underbust. That combination gives you room to learn without fighting the materials.
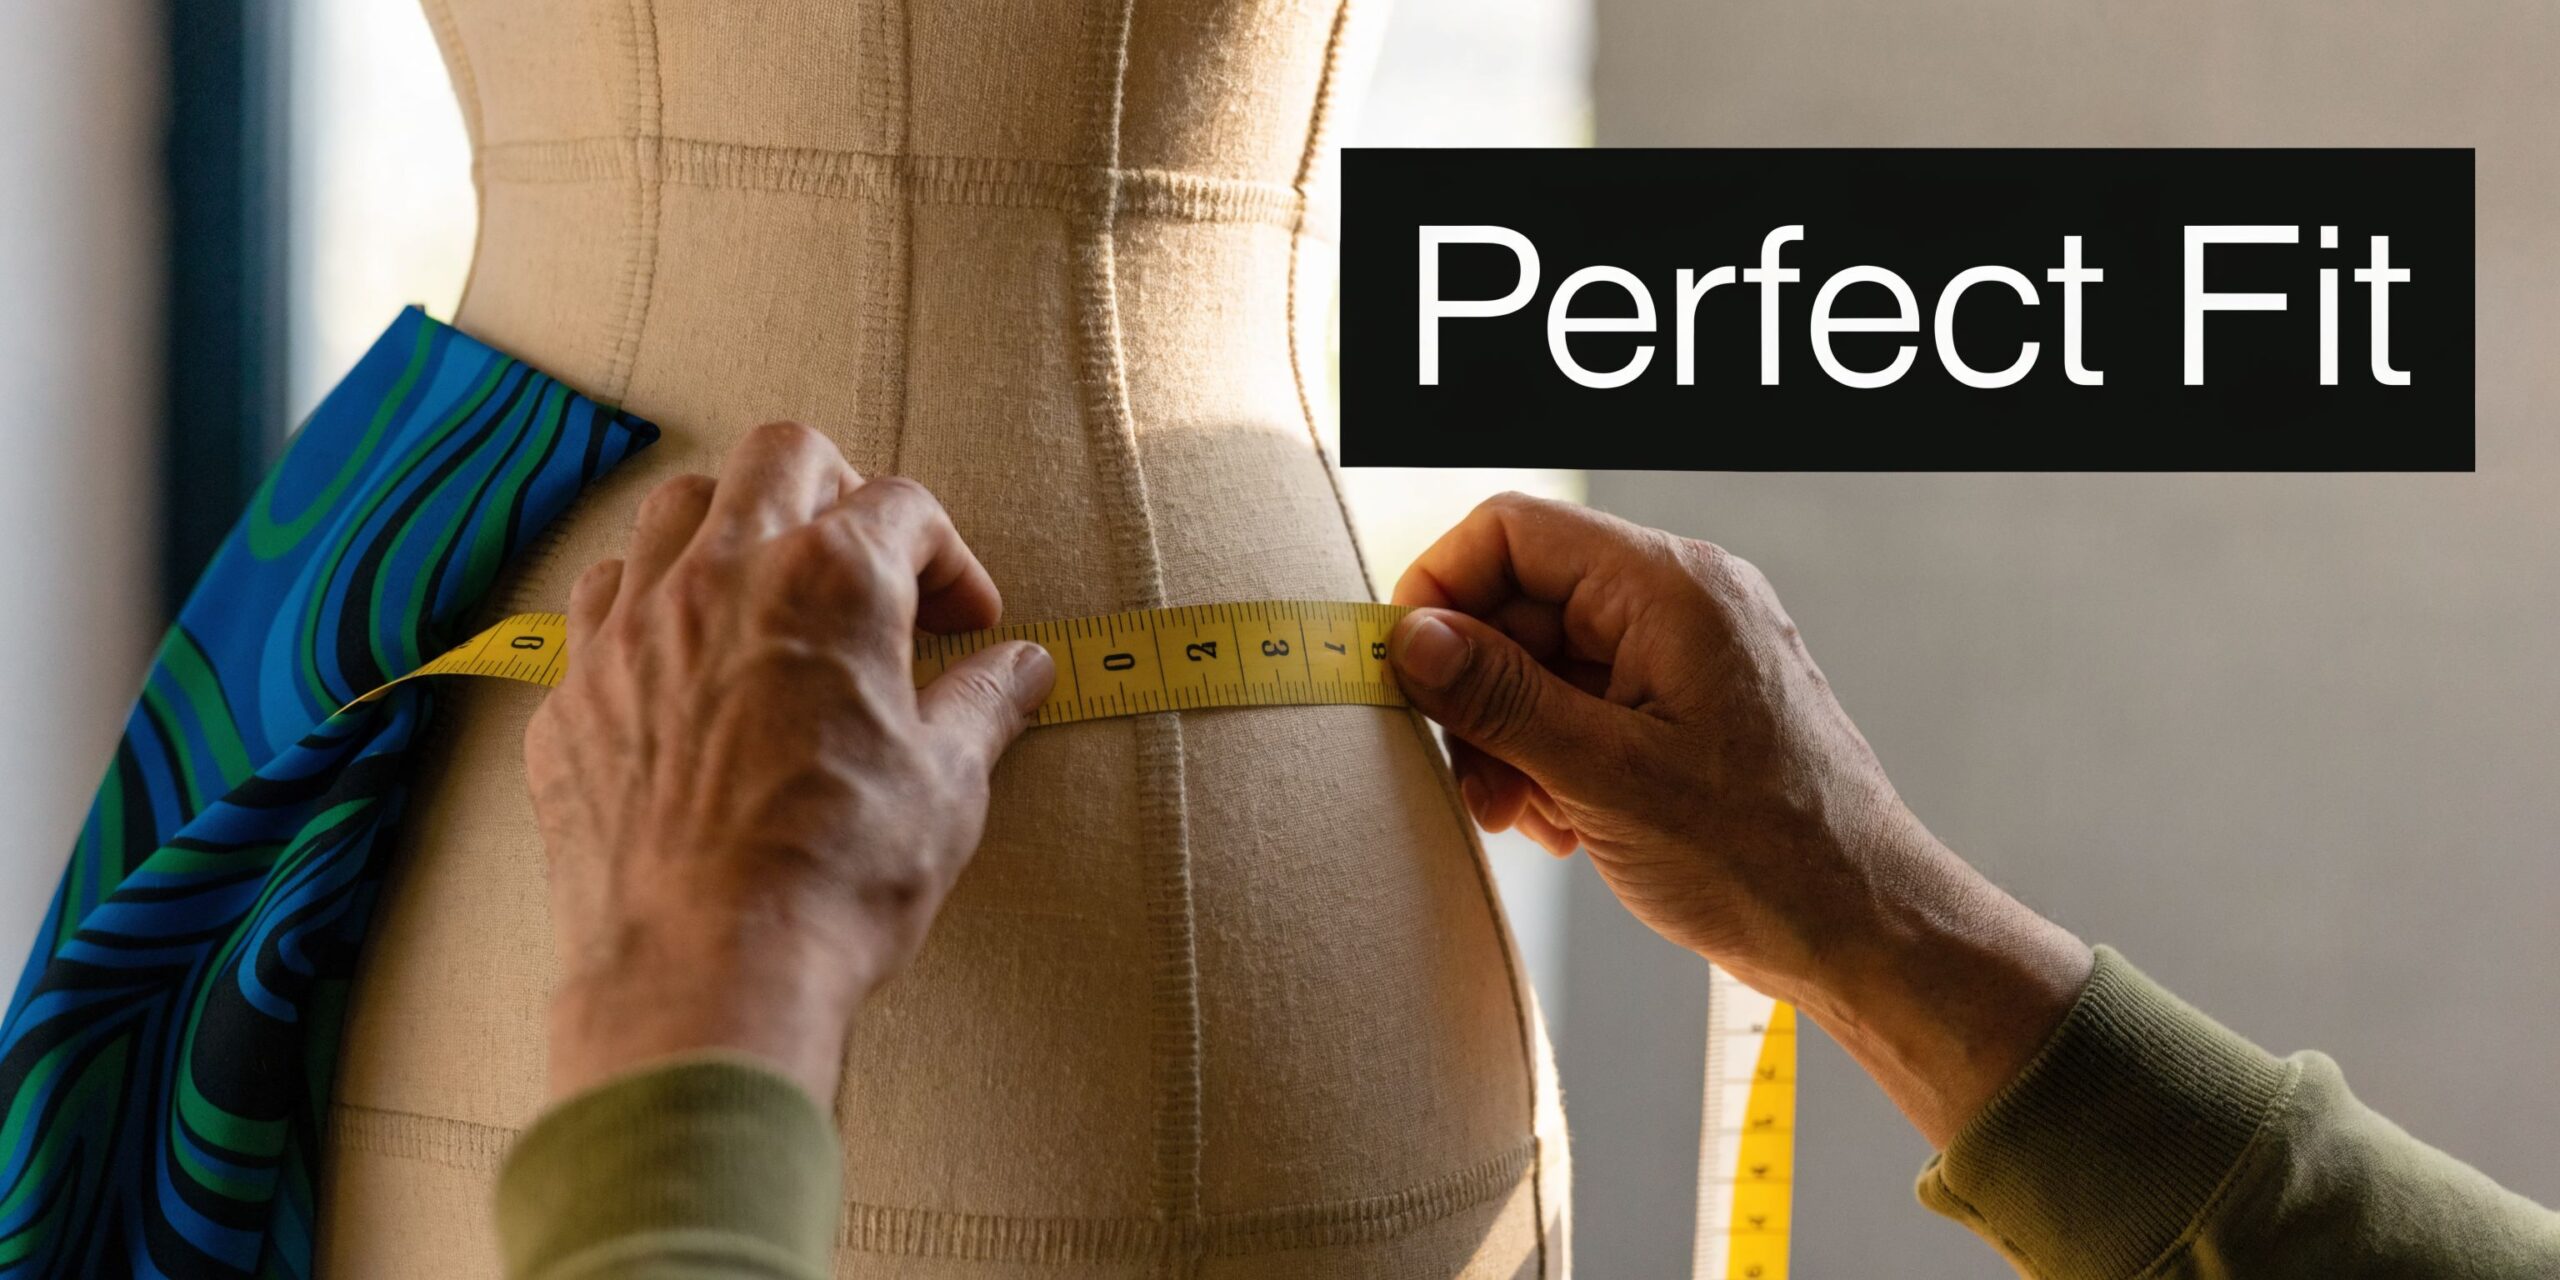
Mastering Measurements and Fit Adjustments
A swimsuit sewing pattern is drafted with negative ease. That means the finished garment is smaller than your body, and the fabric stretches to fit. If you treat it like a woven dress and choose size by one measurement alone, the fit can go wrong quickly.
The measurements that matter most
Bust, waist, and hip still matter, but swimwear needs a few extra checks.
High bust and full bust: Useful for choosing top size and deciding whether you need more front room.
Waist and full hip: Important for bottoms and one-pieces.
Torso or vertical trunk: Essential for one-pieces. This is often the reason a suit pulls down at the shoulders or rides up at the crotch.
Side waist length and rise preference: Helpful for bikini bottoms and tankinis.
Desired leg opening height: A style choice, but also a fit issue.
If you need a refresher on measuring accurately, this guide on how to take accurate body measurements is useful because small measuring errors show up fast in stretch garments.
Size by the pattern, not by ready-to-wear labels
Pattern sizes are not shop sizes. Ignore the number you buy on the high street. Compare your measurements to the pattern chart and, when available, the finished garment information.
For a two-piece, it is normal to cut different sizes for top and bottoms. For a one-piece, blend between sizes if needed, but protect the seam lines. Sharp jumps create awkward shaping.
Common fit problems and how to correct them
Long or short torso
If a one-piece drags at the shoulders, cuts into the crotch, or creates diagonal pull lines through the body, suspect torso length first.
To lengthen:
Find the pattern’s lengthen/shorten lines.
Cut across on the marked line.
Spread evenly by the amount you need.
Tape extra paper behind.
Redraw side seams smoothly.
To shorten, overlap instead of spreading. Never add or remove length randomly at the neckline or leg opening. That disturbs the shape.
Full bust adjustment on princess seams
A full bust adjustment in swimwear needs restraint. Add too much and the neckline loses tension.
A practical method for a princess-seamed top is:
Slash through the front panel where the bust fullness sits.
Spread slightly at the fullest point.
Add the matching length to the corresponding seam on the side front.
Walk the seams together and smooth the curve.
Then test in a mock-up using similar stretch fabric. In swimwear, a small adjustment often goes further than you expect.
Leg opening too high or too low
Leg openings affect both comfort and appearance. A higher cut can make the leg look longer, but it must still sit securely.
To lower the leg line for more coverage, redraw the curve downward at the front or back, then blend gently into the side seam and crotch. Make the same change to the lining and check that your elastic length still makes sense for the new opening.
Use a test version strategically
A full toile in expensive swim fabric is not always necessary, but some sort of test is wise. You can:
Baste the main seams first: Check torso, bust, and leg height before adding elastic.
Test just the top: Useful if support is your main concern.
Cut one side in lining: Enough to check shaping without using all your outer fabric.
Tip: Try the basted suit on before elastic. If the body feels wrong at this stage, elastic will not rescue it.
Where beginners often go wrong
They overfit on the table. Swimwear should feel firm, not loose. If the test version looks slightly small lying flat, that is often correct. What matters is how it behaves on the body. You want smooth tension, no cutting in, no collapsing, and no standing-away edges.
A good fit is a balance. The fabric should hug. The seams should stay stable. The elastic should support, not strangle.
Preparing and Cutting Stretch Fabrics with Confidence
The mood can change the moment swim fabric comes out of the parcel. It slides off the table, curls at the edges, and seems to move when you are not touching it. That is normal. Calm handling makes a bigger difference here than speed.
Prepare the fabric before cutting
Pre-wash if the supplier recommends it, or at least rinse and dry the fabric in the way you plan to care for the finished swimsuit. You want any surface finish, dye bleed, or relaxation to happen before cutting, not after sewing.
Then let the fabric rest flat. Straight off the bolt, some stretch fabrics hold a slight curl or tension. A little time on the table helps them relax.
Check the direction of greatest stretch
The direction of greatest stretch, often shortened to DOGS, matters in swimwear. Usually, the strongest stretch runs around the body, not vertically. That gives snug horizontal fit and helps the suit keep its shape.
Before placing pattern pieces:
Stretch the fabric crosswise and lengthwise.
See which direction extends more easily.
Confirm the pattern layout.
Mark the wrong side with chalk or removable tape if the surfaces look similar.
Cutting with the wrong stretch direction is one of the few mistakes that can ruin the whole project before sewing begins.
Use tools that stop the fabric shifting
Pins can distort fine swimwear knits. Pattern weights and a rotary cutter are usually cleaner.
A setup that works well is:
Large cutting mat for flat support
Sharp rotary cutter for clean, controlled edges
Pattern weights instead of pinning through the layers
Paper scissors kept separate from fabric scissors
Fine chalk or washable marker for notches and markings
If the fabric is especially slippery, cut in a single layer instead of on the fold. It takes longer, but accuracy improves.
A steady cutting routine
I like to cut swimwear in this order because it reduces confusion:
Main fabric pieces
Lining pieces
Bands or straps
Any power mesh support layers
Elastic lengths last, once the body pieces are confirmed
That sequence helps you catch mistakes early. If a front lining piece looks odd, you notice before everything else is already cut.
After you have seen the setup in action, this video is a helpful visual reference for handling the process smoothly:
Tip: Do not let the fabric hang off the table while cutting. The weight of the overhang can drag the grain and skew the shape.
Good cutting is quiet work. No wrestling, no tugging, no forcing. If the fabric starts fighting you, reset the table and begin that piece again. A clean cut edge makes every later step easier.
Essential Swimwear Sewing Techniques
Construction is where a swimsuit sewing pattern stops being theory and becomes a wearable garment. The methods are not difficult, but they do need precision. A swimsuit is small, close-fitting, and unforgiving of rushed sewing.
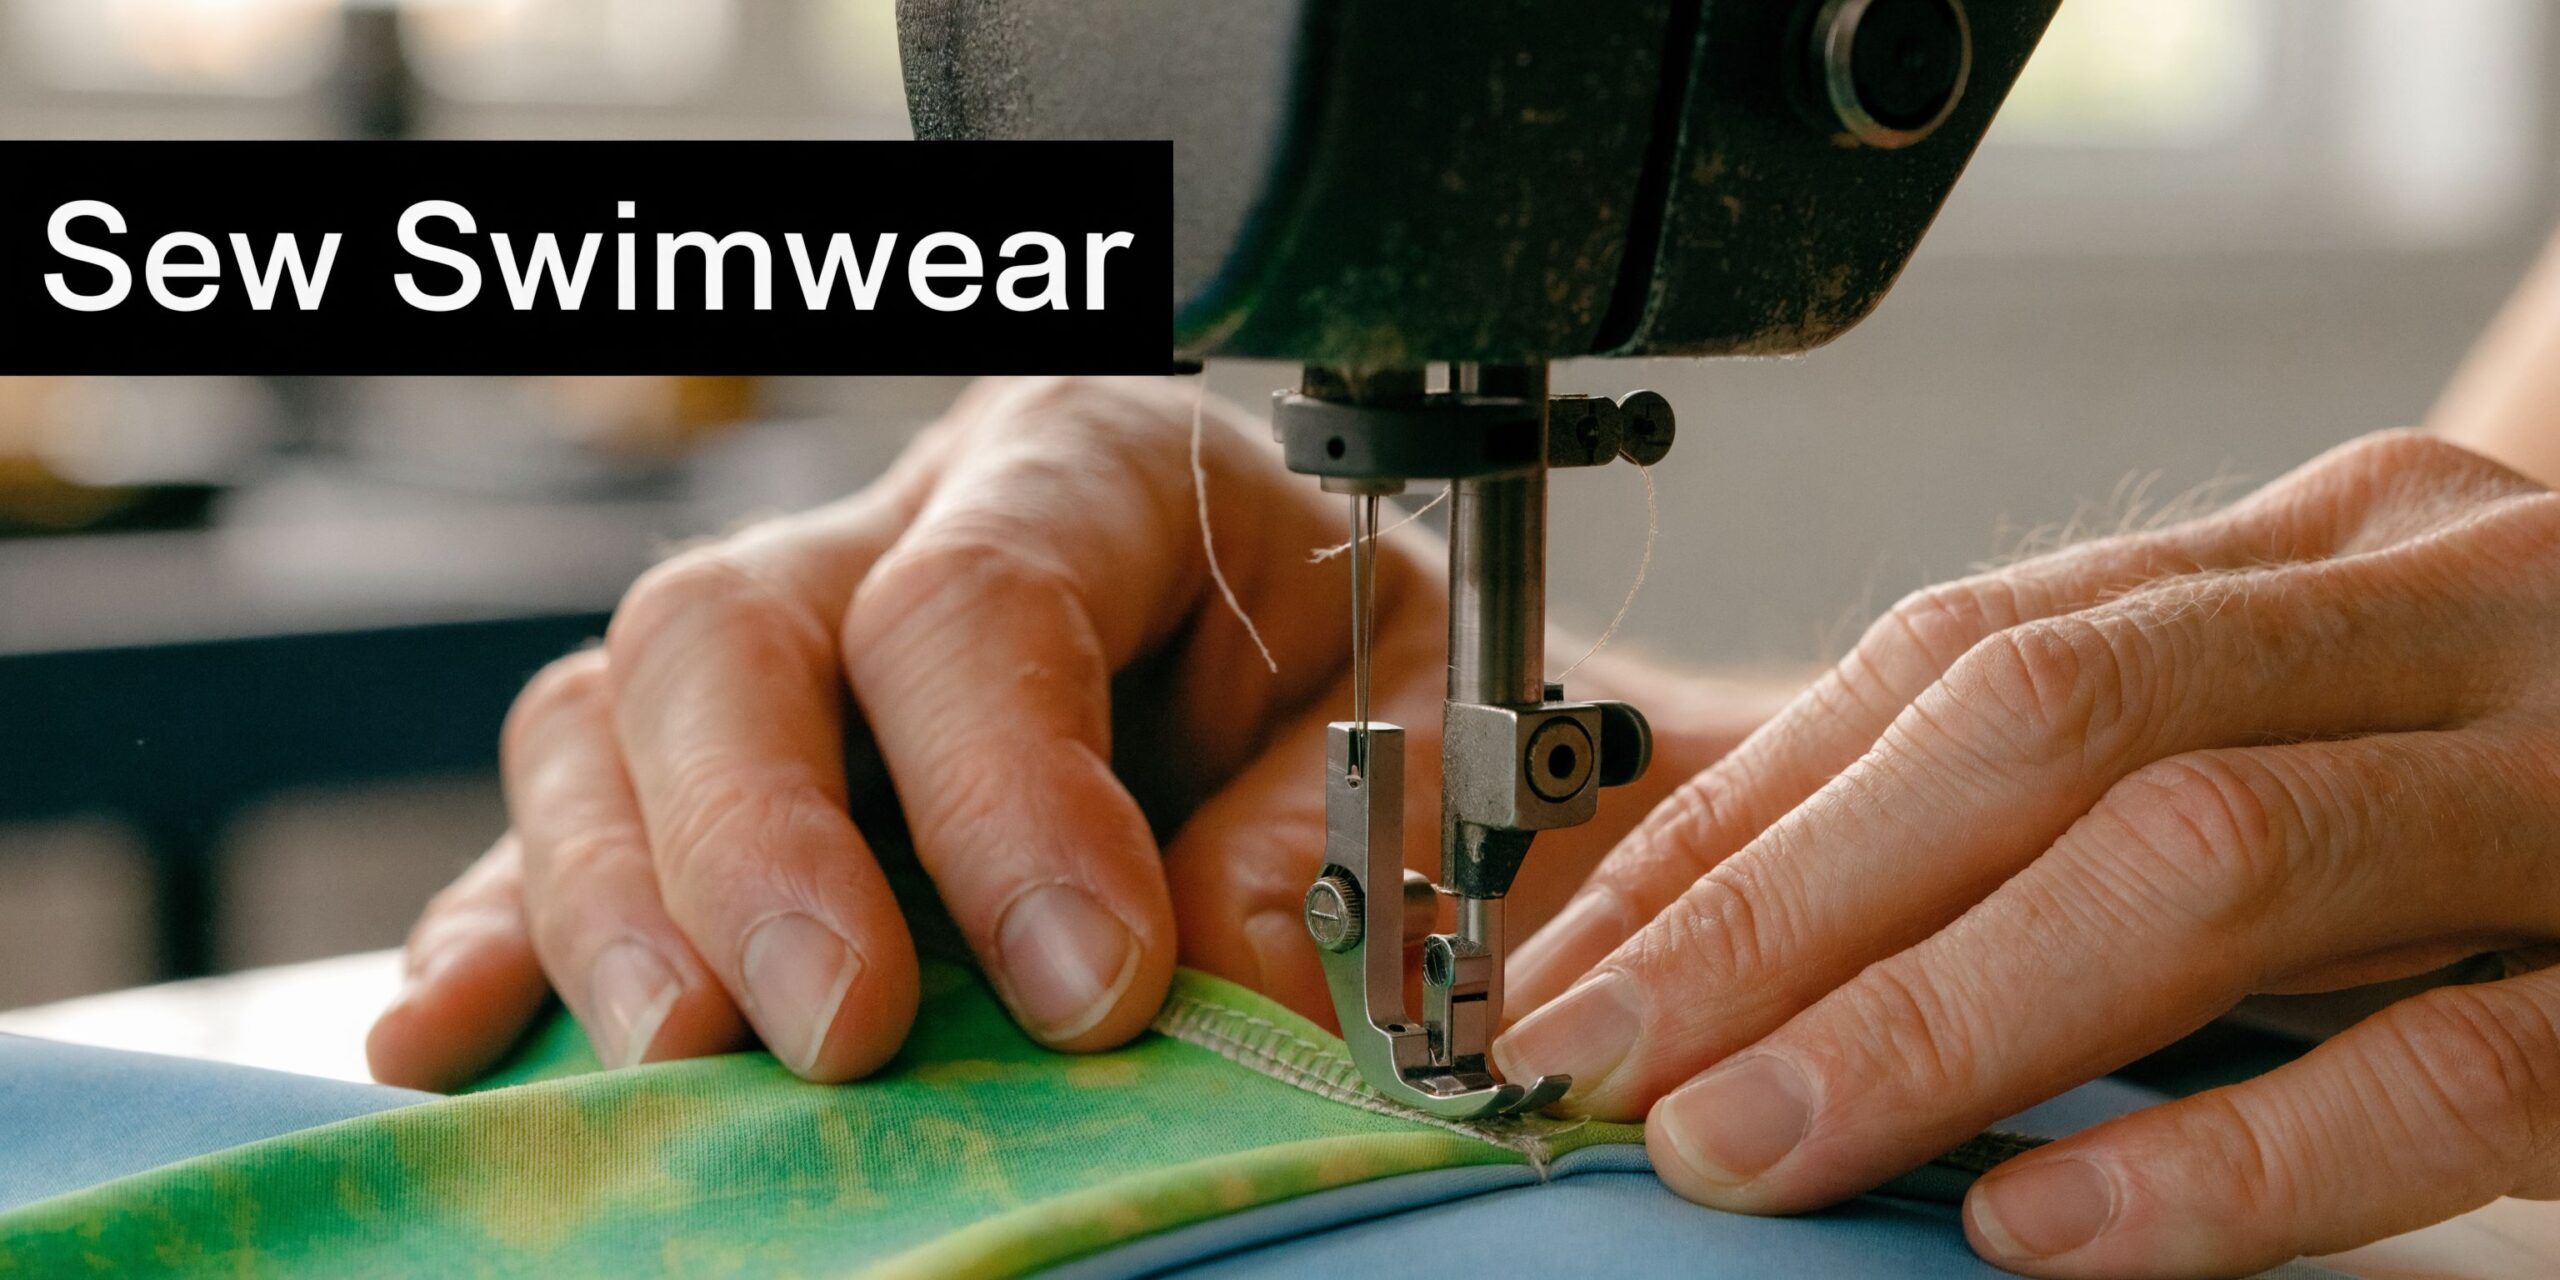
Choose stitches that stretch
Your seam must stretch with the fabric. A straight stitch on its own usually pops.
The most useful options are:
Narrow zigzag: Reliable on most domestic machines. Good for attaching elastic and topstitching.
Lightning bolt stitch: Excellent for construction seams because it stretches while staying tidy.
Three-step zigzag: Slightly bulkier, very useful for elastic because it spreads strain across multiple bites of thread.
Overlocker seam: Fast and neat for joining panels, but still test tension first.
Think of these stitches by job. Construction seams hold the shape. Elastic stitches control the edge. Topstitching finishes and secures.
Needles, thread, and test scraps
Use a stretch or jersey needle that suits your fabric weight. If skipped stitches appear, change the needle before changing everything else. A fresh needle fixes more swimwear problems than people expect.
Polyester thread is the practical choice for swimwear. It handles strain and moisture better than cotton thread.
Before you start on the garment, sew a proper test stack:
Outer fabric
Lining
Elastic if relevant
That sample tells you whether the machine feeds evenly, whether the tension is balanced, and whether the seam tunnels or ripples.
Lining without bulk
Most swimwear benefits from lining. Sometimes you line the whole garment. Sometimes only the front or crotch area.
A clean method for a lined suit is:
Sew the outer fabric seams.
Sew the lining seams separately where the pattern instructs.
Place wrong sides together if the pattern uses a bagged or basted method.
Baste around openings so the layers behave as one.
Apply elastic through both layers.
Basting is worth the extra few minutes. Without it, one layer often creeps while the other stays put, especially around curves.
Applying swimwear elastic neatly
Elastic gives the suit its grip. It should sit snugly against the body without drawing the edge into hard gathers.
For leg openings sewn in the round:
Quarter the opening and quarter the elastic.
Join the elastic into a loop if your method requires it.
Match quarter points.
Sew elastic to the wrong side, stretching the elastic between marks but not stretching the fabric itself.
Turn elastic to the inside.
Topstitch with zigzag or three-step zigzag.
For necklines and armholes sewn flat:
Apply elastic before the side seam if the pattern is drafted that way.
Keep the first and last sections stable.
Stretch most through the curved areas that need to hug the body.
The common beginner mistake is stretching both elastic and fabric at once. Stretch the elastic. Guide the fabric. Do not pull it.
Tip: If an opening stands away from the body, the elastic is often too loose. If it cuts in sharply and forms ridges, the elastic may be too tight.
Why two-pieces became so common
The popularity of two-piece swimwear did not happen by accident. During WWII, the US War Production Board’s Regulation L-85 required a 10% reduction in fabric for women’s beachwear, which pushed pattern makers toward two-piece designs. That fabric-saving approach fed directly into the rise of the bikini after its 1946 debut and changed home sewing patterns toward more efficient styles, as outlined in this history of swimwear.
That history still shows up in modern sewing. Many home sewists prefer two-pieces because they use less fabric, allow separate fit adjustments, and make support easier to tailor for the top and bottom independently.
A dependable order of construction
If you like a simple work sequence, this one is dependable for many patterns:
Sew primary seams first.
Assemble and attach lining.
Baste all edges.
Apply elastic to legs, neck, armholes, or waist.
Turn and topstitch.
Add straps, cups, closures, or final finishing.
Keep pressing light if you press at all. Many swim fabrics dislike too much heat. A finger press and careful topstitching usually do more than an iron here.
Finishing Touches and Troubleshooting Common Issues
The difference between “home sewn” and “well made” is often in the last half hour. At this stage, you trim bulk, secure thread tails, check symmetry, and make small decisions that improve comfort every time the swimsuit is worn.
Finishing details that improve wear
Optional foam cups can be stitched into the lining or held behind an internal cup opening. Keep them high enough to support, but not so high that they create a visible shelf line.
Adjustable straps are worth adding if shoulder fit is hard for you. Swimsuit hardware, stable strap elastic, and careful strap length testing can turn a nearly-right top into one you reach for constantly.
For closing small lining openings or hand-finishing a discreet area, a neat ladder-style finish helps. If you want a refresher on an invisible sewing stitch, that method is a useful one to keep in your toolkit for clean finishing.
Common problems and what fixes them
Wavy or lettuce-edge seams
This usually means the fabric stretched under the presser foot.
Try these fixes:
Reduce presser foot pressure if your machine allows it.
Support the fabric instead of pulling it through.
Shorten the stitch slightly and test again.
Use tissue paper or wash-away stabiliser for difficult topstitching.
Tunnelling with a twin needle
A raised ridge between the rows often points to tension or lack of support.
Use a stabiliser strip, loosen upper tension if needed, and test on the exact fabric stack first. Many swimwear sewists prefer zigzag topstitching for this reason.
Stitches popping when worn
This usually means the seam does not have enough stretch or the thread path is under strain.
Check the stitch type first. Then change the needle. Then test thread tension. It is better to resew one stressed seam than hope it settles later.
Care keeps the fit longer
Rinse the swimsuit after use, especially after chlorine or salt water. Wash gently, avoid harsh heat, and dry away from direct intense sunlight where possible. Do not wring it aggressively. Twisting damages both fabric and elastic.
A handmade swimsuit lasts best when the elastic and fabric are allowed to recover between wears. If you have made one that fits beautifully, treat it like any good garment. It is not disposable.
Tools worth keeping on hand
For future swim projects, a small dedicated kit helps:
Stretch needles
Polyester thread
Swimwear elastic
Wonder clips or fine pins
Rotary cutter and mat
Chalk or removable marker
Clear ruler for checking seam allowances
Small sharp scissors for trimming elastic ends
Sewing swimwear becomes much easier once these tools live together instead of being gathered in a rush.
Frequently Asked Questions About Sewing Swimwear
Can a beginner really sew a swimsuit?
Yes. Start with a simple swimsuit sewing pattern, moderate coverage, and full lining. Avoid your most expensive fabric for the first attempt. Precision matters more than advanced skill.
Do I need an overlocker?
No. A domestic machine can sew swimwear well. Use a narrow zigzag, lightning bolt stitch, or three-step zigzag, and test your settings on scraps first.
What if my fabric curls at the edges?
That is common with high-stretch knits. Let it rest flat, cut with weights instead of pins, and baste layers together early. Curling is annoying, but it is manageable.
Should I fully line the swimsuit?
For a first project, full lining is often easier to handle than partial lining because the garment feels more stable. It also improves opacity and helps the outer fabric behave better.
Why does my one-piece feel too short?
Torso length is usually the culprit. Check the vertical trunk measurement against the pattern and add length at the marked adjustment line rather than at the neckline or leg.
How tight should the elastic be?
Firm enough to hold the edge to the body, not so tight that it creates deep ridges. The right tension usually feels supportive rather than restrictive. Always test on a scrap curve if possible.
Can I use regular jersey from my stash?
Usually no, at least not for swimwear. Many ordinary jerseys do not recover well enough and may turn sheer or heavy when wet. Proper swim knit is the safer choice.
Is a bikini easier than a one-piece?
Often, yes. The separate pieces make fitting simpler, especially if your top and bottom need different sizes. That is why many ambitious beginners get a better first result from a two-piece.
Do I need special thread?
Polyester thread is the practical standard. It handles stretch and wear better than cotton for this kind of project.
How do I make the finish look more professional?
Baste carefully, trim seam allowances where needed, keep elastic application even, and secure thread tails properly. The polished result usually comes from patience, not fancy tricks.
If you are ready to start, More Sewing is a dependable UK source for quality fabrics, haberdashery, deadstock finds, and practical sewing supplies that make swimsuit projects easier to plan and finish well. Whether you need stretch fabrics, tools, or a ready-to-sew kit for your next make, it is a useful place to gather everything in one go.